
Now we are starting to get into the main parts of the build: The port upper main plane. This is another part of the build which is being done out of sequence. It’s also the last part that has already been commenced by the chap who originally bought the model.
He’d completed about 1/3 of the assembly of the wing and hadn’t done a bad job on it. He’d made a couple of errors and I can understand why he made them too. However, once I’d spotted them it only took about 15 minutes to correct the situation. A few wrongly added parts removed and a missing hole drilled. Other than that he’d done things by the book.
The fact that he’d built so much of this wing, and done it as Hasegawa intended, is one of the reasons I’ve decided to do the model half covered. I’d feel uncomfortable claiming it was my work if a substantial piece on display was made by another hand. The other reason is that Hasegawa have made a number of parts of the wing from wood when in fact in real life they were metal. On the exposed wings I’ll rectify this, but If I cover the built wing, the substitions will be hidden.
All that was required to finish the wing was to add the rib capping strips top and bottom, sand to shape the leading and trailing edges and the wing tip, fit the missing internal bracing spars and finally add the internal rigging.
As part of the rib capping process some small lengths of bent capping strip have to be added between the main ribs on the upper part of the leading edge as shown below.
These were a bit of a pain on two counts: Each strip needed to be soaked in hot water and then bent to shape and dried which took time, and they should have been metal anyway. After shaping and fitting one strip I decided that rather than faff about forming wood, I would pioneer the metal option that I planned to use on the bare wings. The formed strip wasn’t wasted though as I used it later on for something else.
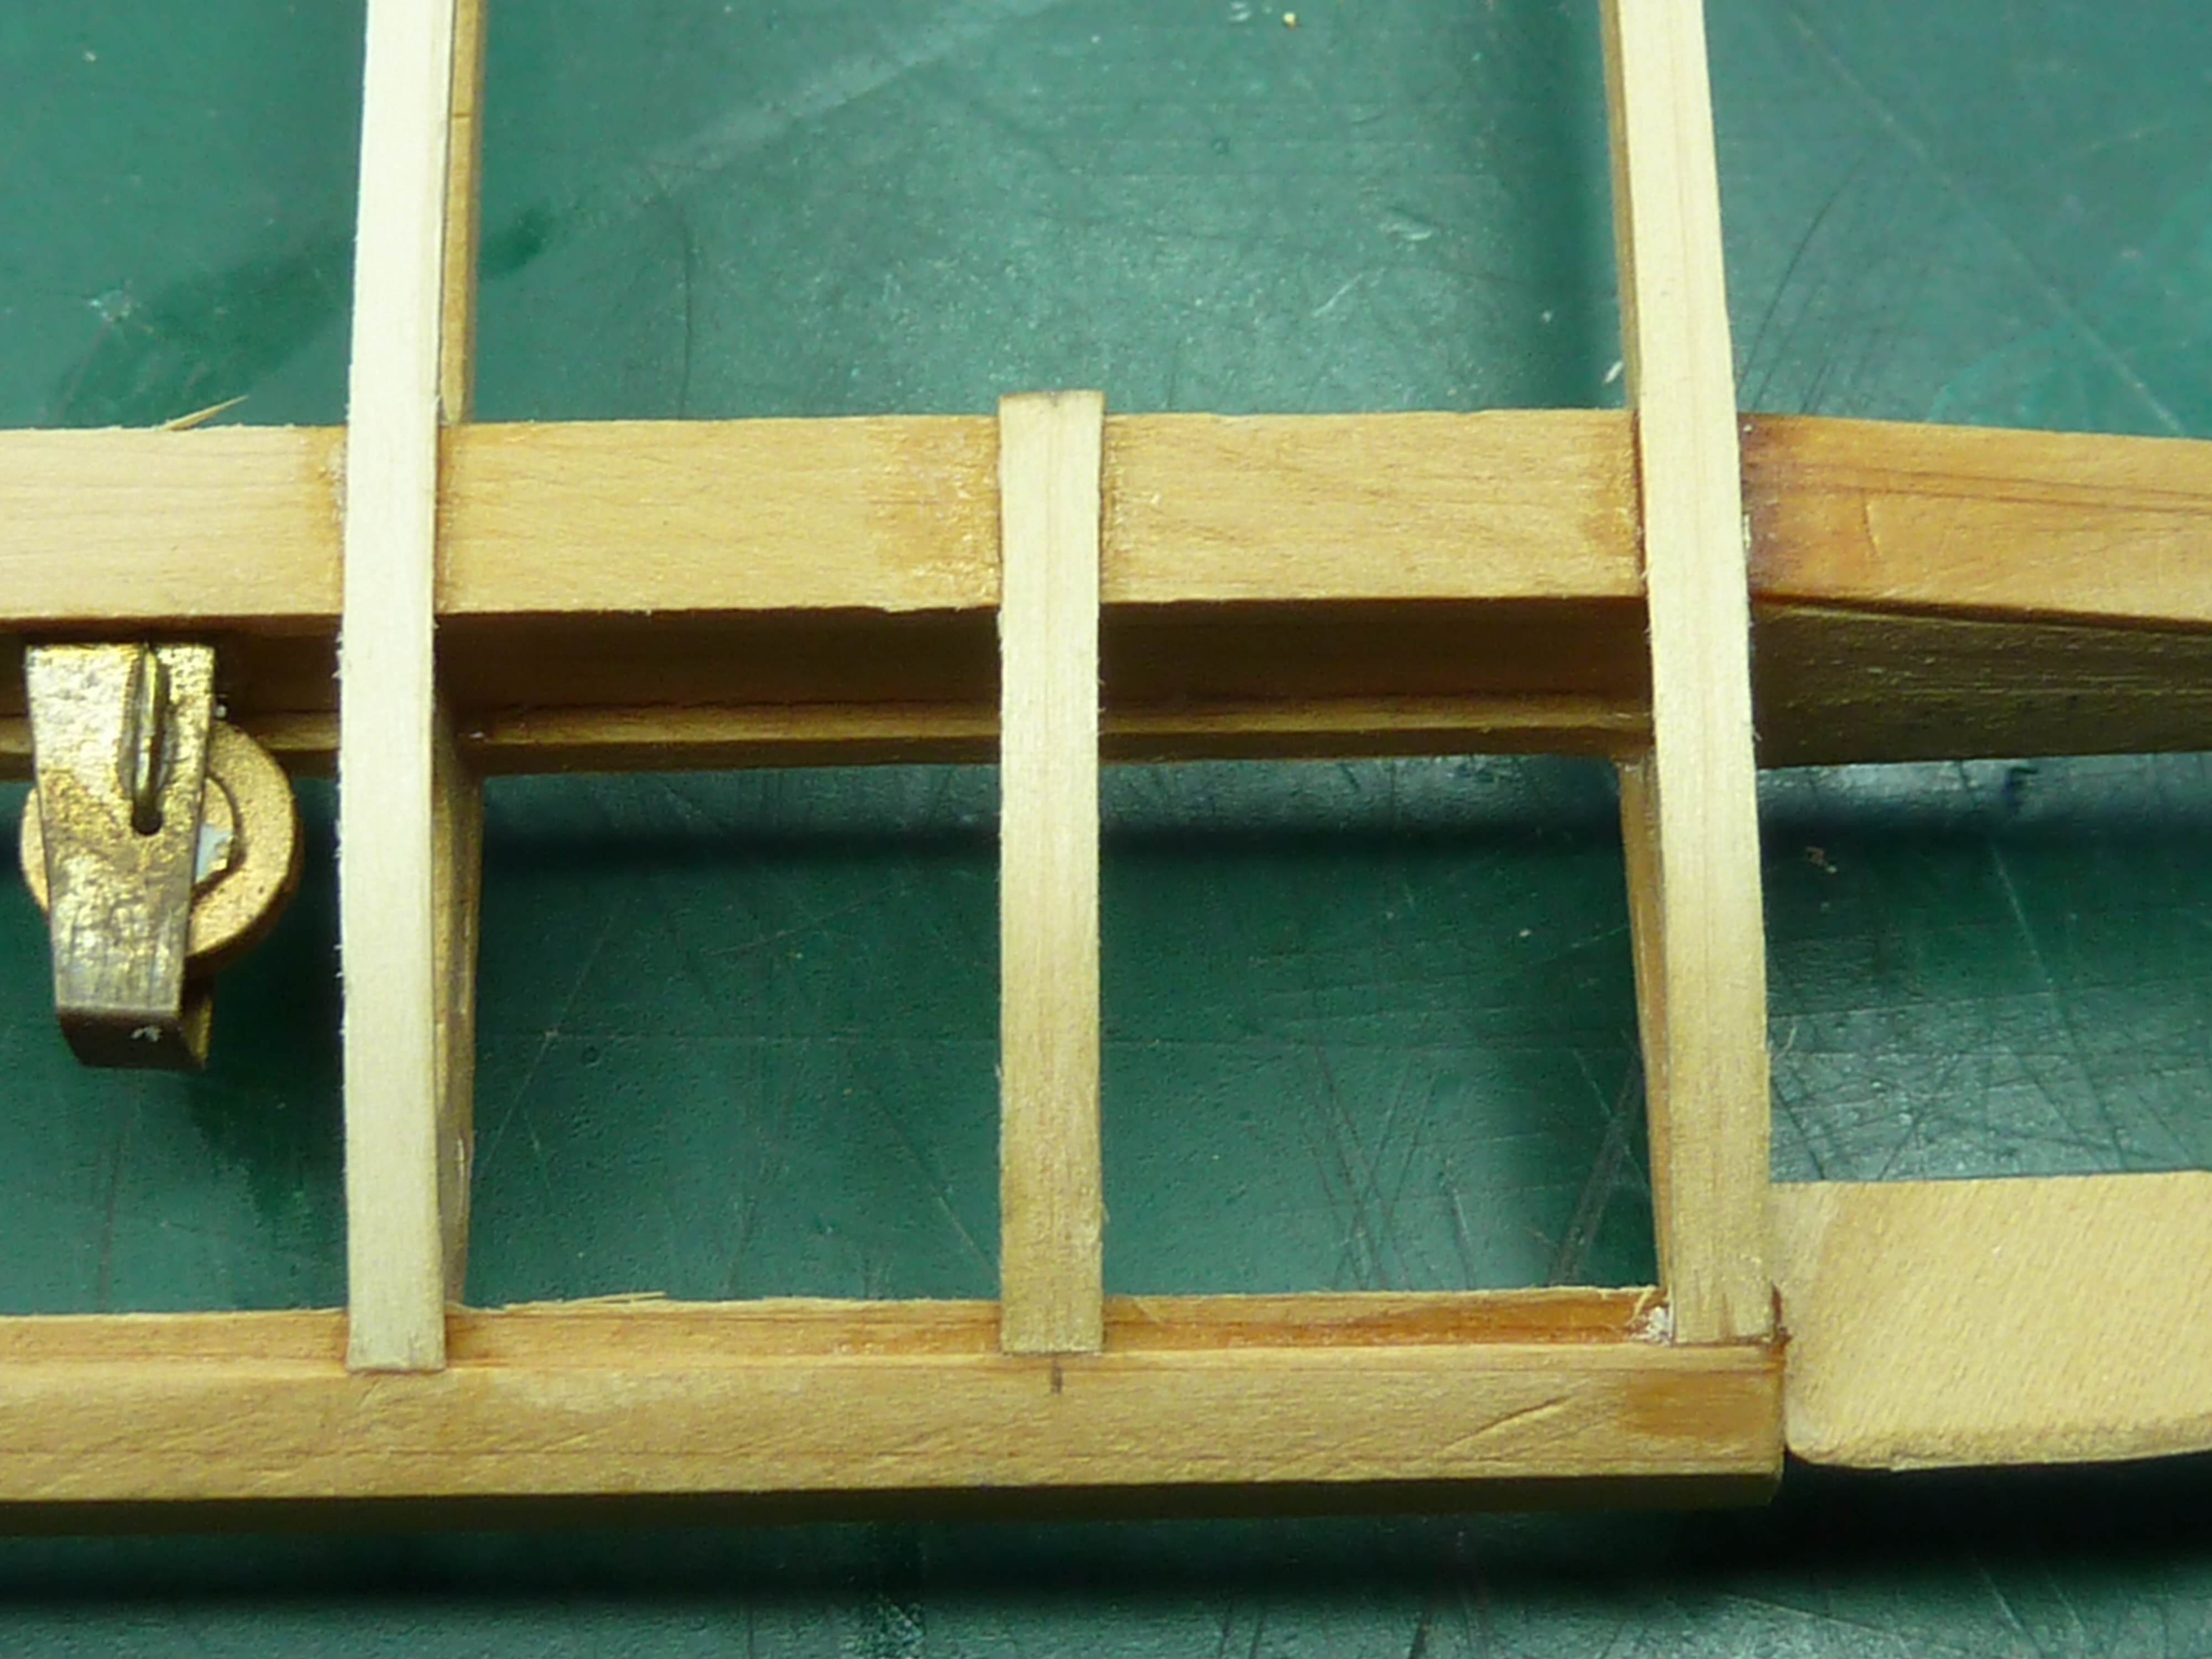
To shape the wires I made a small former out of a block of wood and then bent some 0.8mm copper wire around it. The trailing edge end of the wire was flattened slightly to simulate the fixing bracket on the real aircraft. The thing was them simply superglued into place.


Unfortunately the one in the lower picture was actually placed incorrectly when I took the picture. It should be offset inboard of the strut support (to the left in the picture), which it is now.
I also completed the internal rigging of the wing which took me a while, mainly because I didn’t read a small note in the instructions which meant they way I was trying to do it was almost impossible. Having gone back and reread stuff it was MUCH easier.

The simulated turnbuckles provided by Hasegawa are simply small copper tubes glued in place and I might try for something a little more realistic on the bare wings.

I’ll have a think about it and a surf. If there are aftermarket ones available I’ll go for them.
One other small detail I added to the wing is an observation window for the aileron control line pully in the leading edge of the wing. I assume it’s there to allow a quick check to make sure the cable hasn’t jumped the pully. On some aircraft it has been painted over at some point, but on most it is still clear.
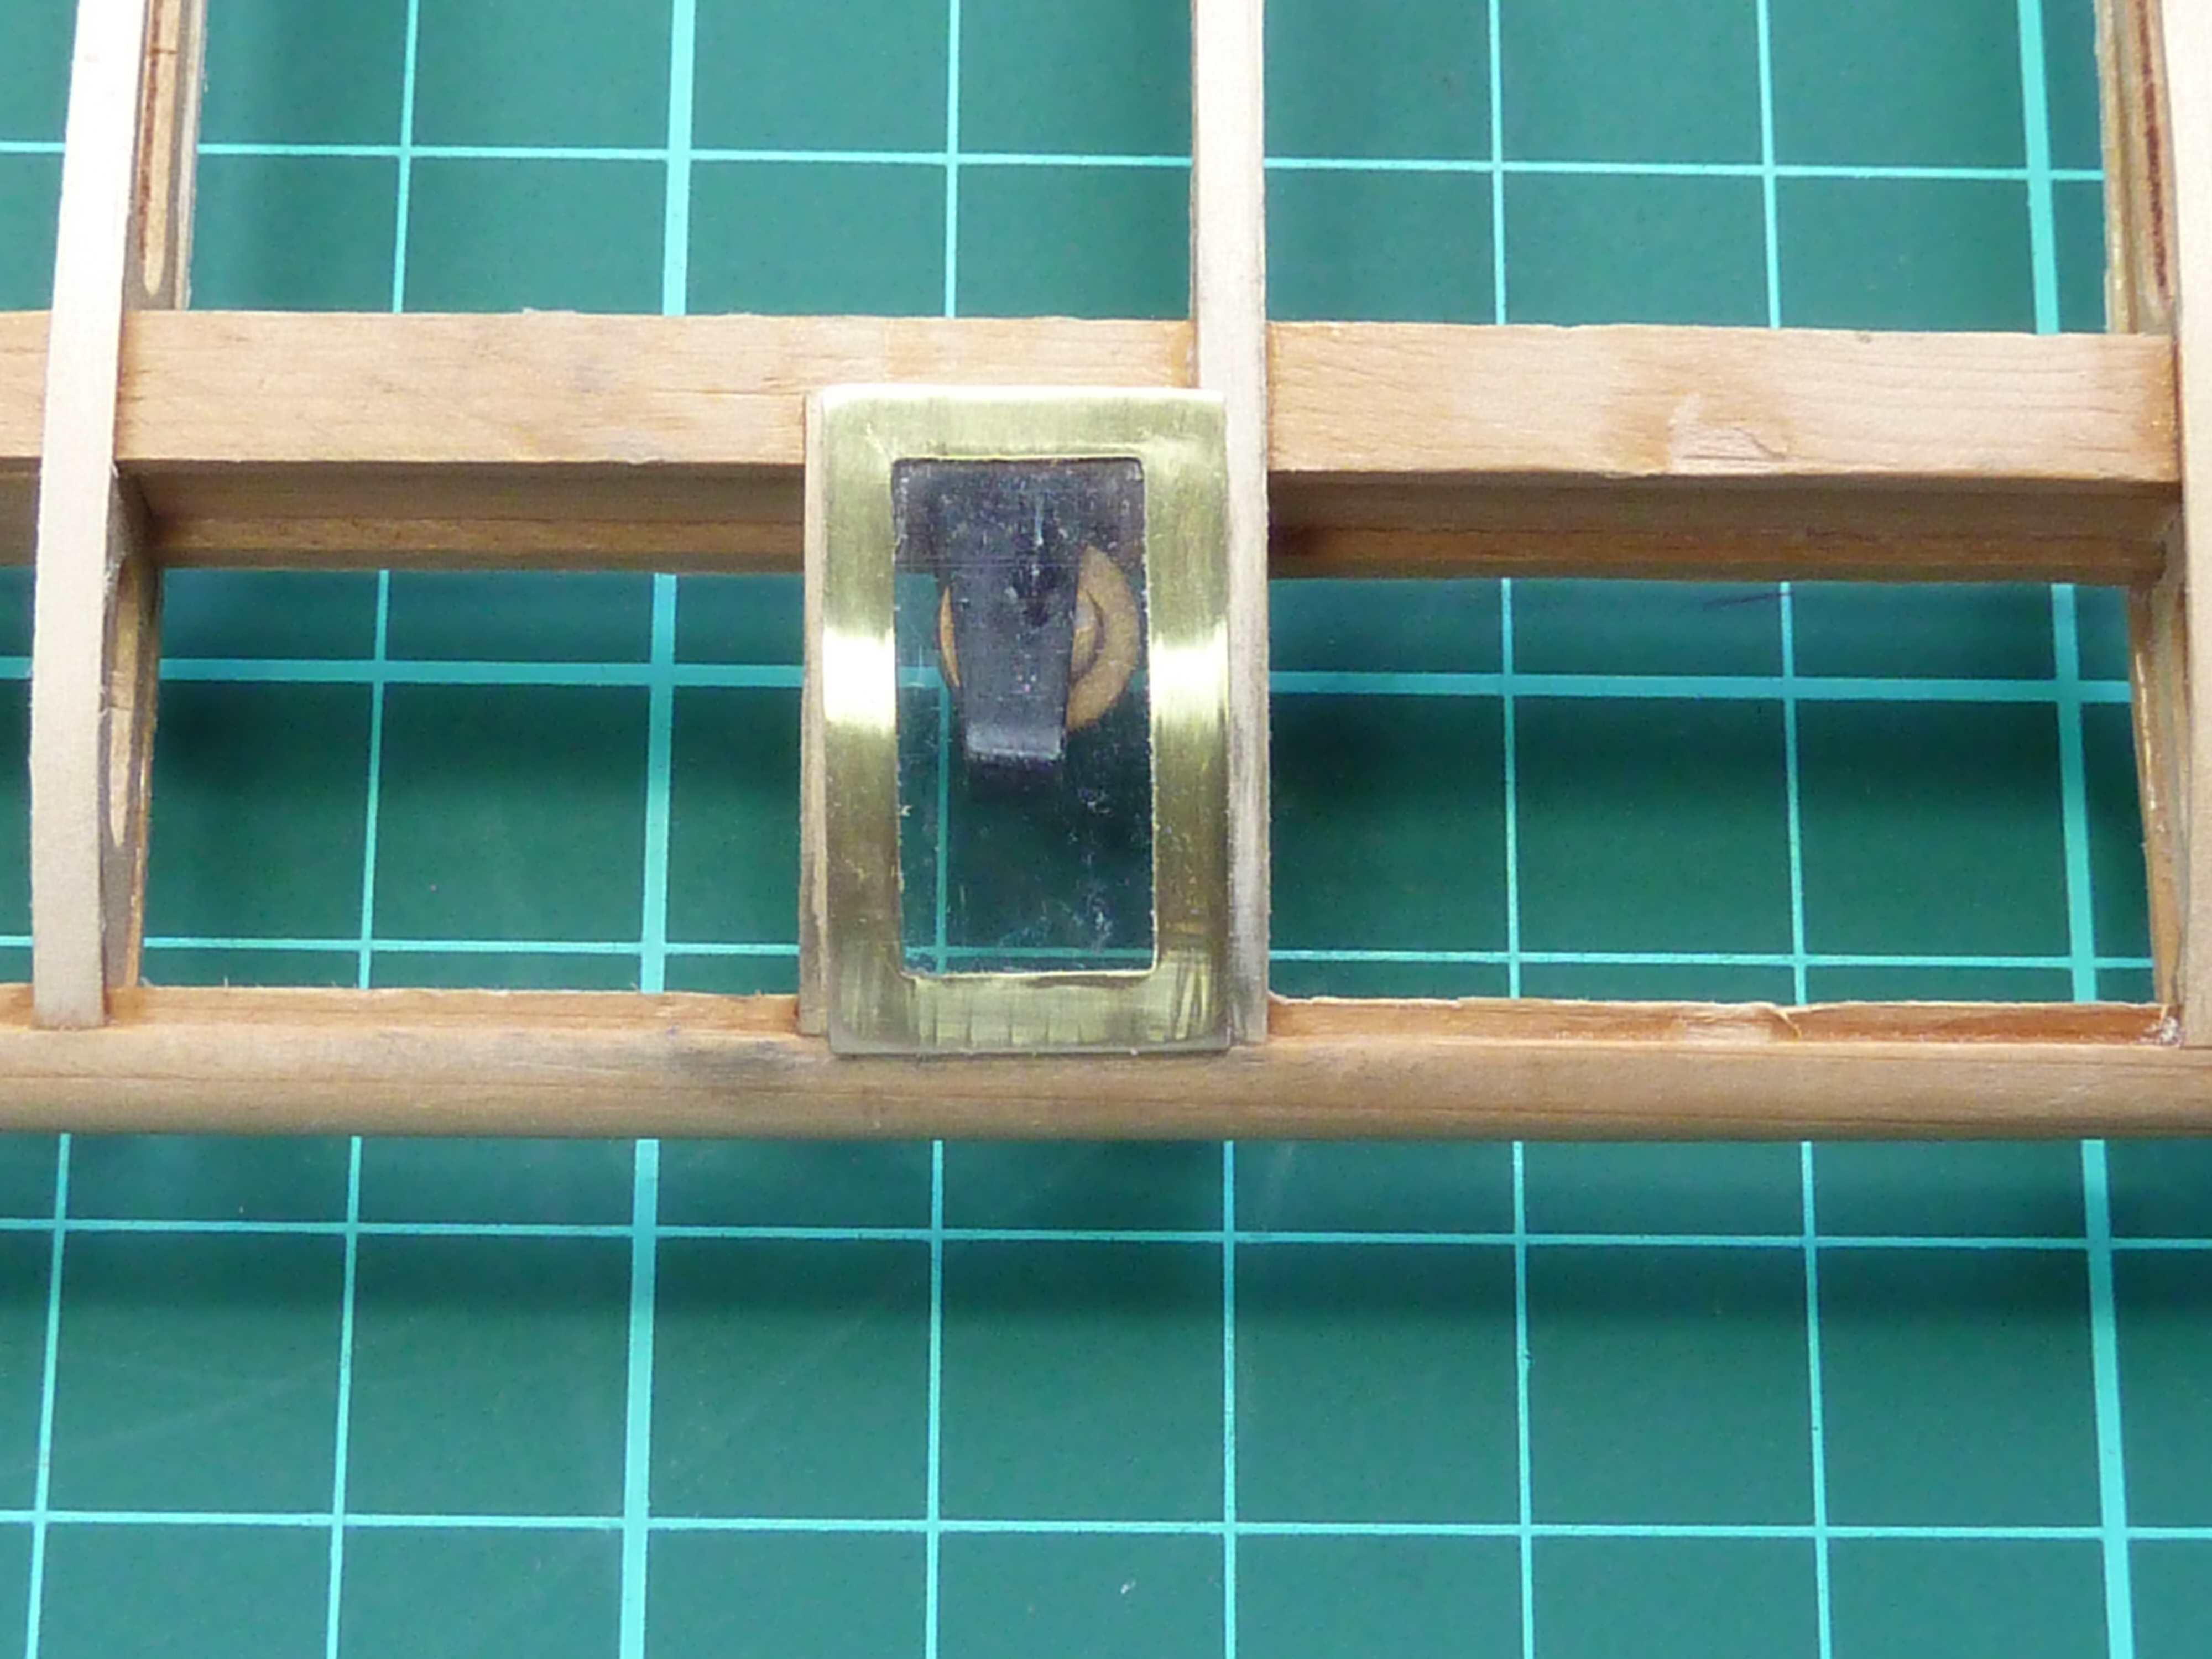

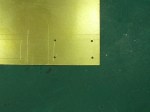
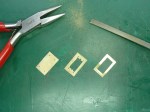
There was no great drama to the process though. Mark out the shape on a sheet of brass, cut to size, drill out the centre and file to shape. Then add a thin acetate sheet made from the window on a cake box. The whole thing is then held in place with superglue, using the bent capping strip made earlier to support in the inboard edge and give it shape.
So that was the upper port mainplane finished except for covering and painting which I will do when I do the whole aircraft.

The next step will be to complete the lower port main plane. This one will also be covered when the model is complete, so I aim to use it to pioneer all the metalwork mods I’m planning. That way if they look a bit untidy first time around I’ll be able to hide the evidence.

Thai is a fascinating build, I’m looking forward to further progress.
LikeLiked by 1 person
Wow Pete. Looks amazing.
LikeLike