
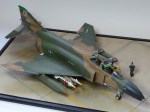
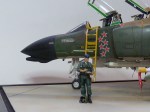
A bit of a departure this. The Camel is still progressing but I’ve been taking some pictures of the Phantom F-4D this morning as it is due to be picked up tomorrow by my friend who actually flew the aircraft when he was in Vietnam. It occurred to me that I haven’t actually updated this site to include the diorama base and case that I have made for the model so that it can be displayed safely.
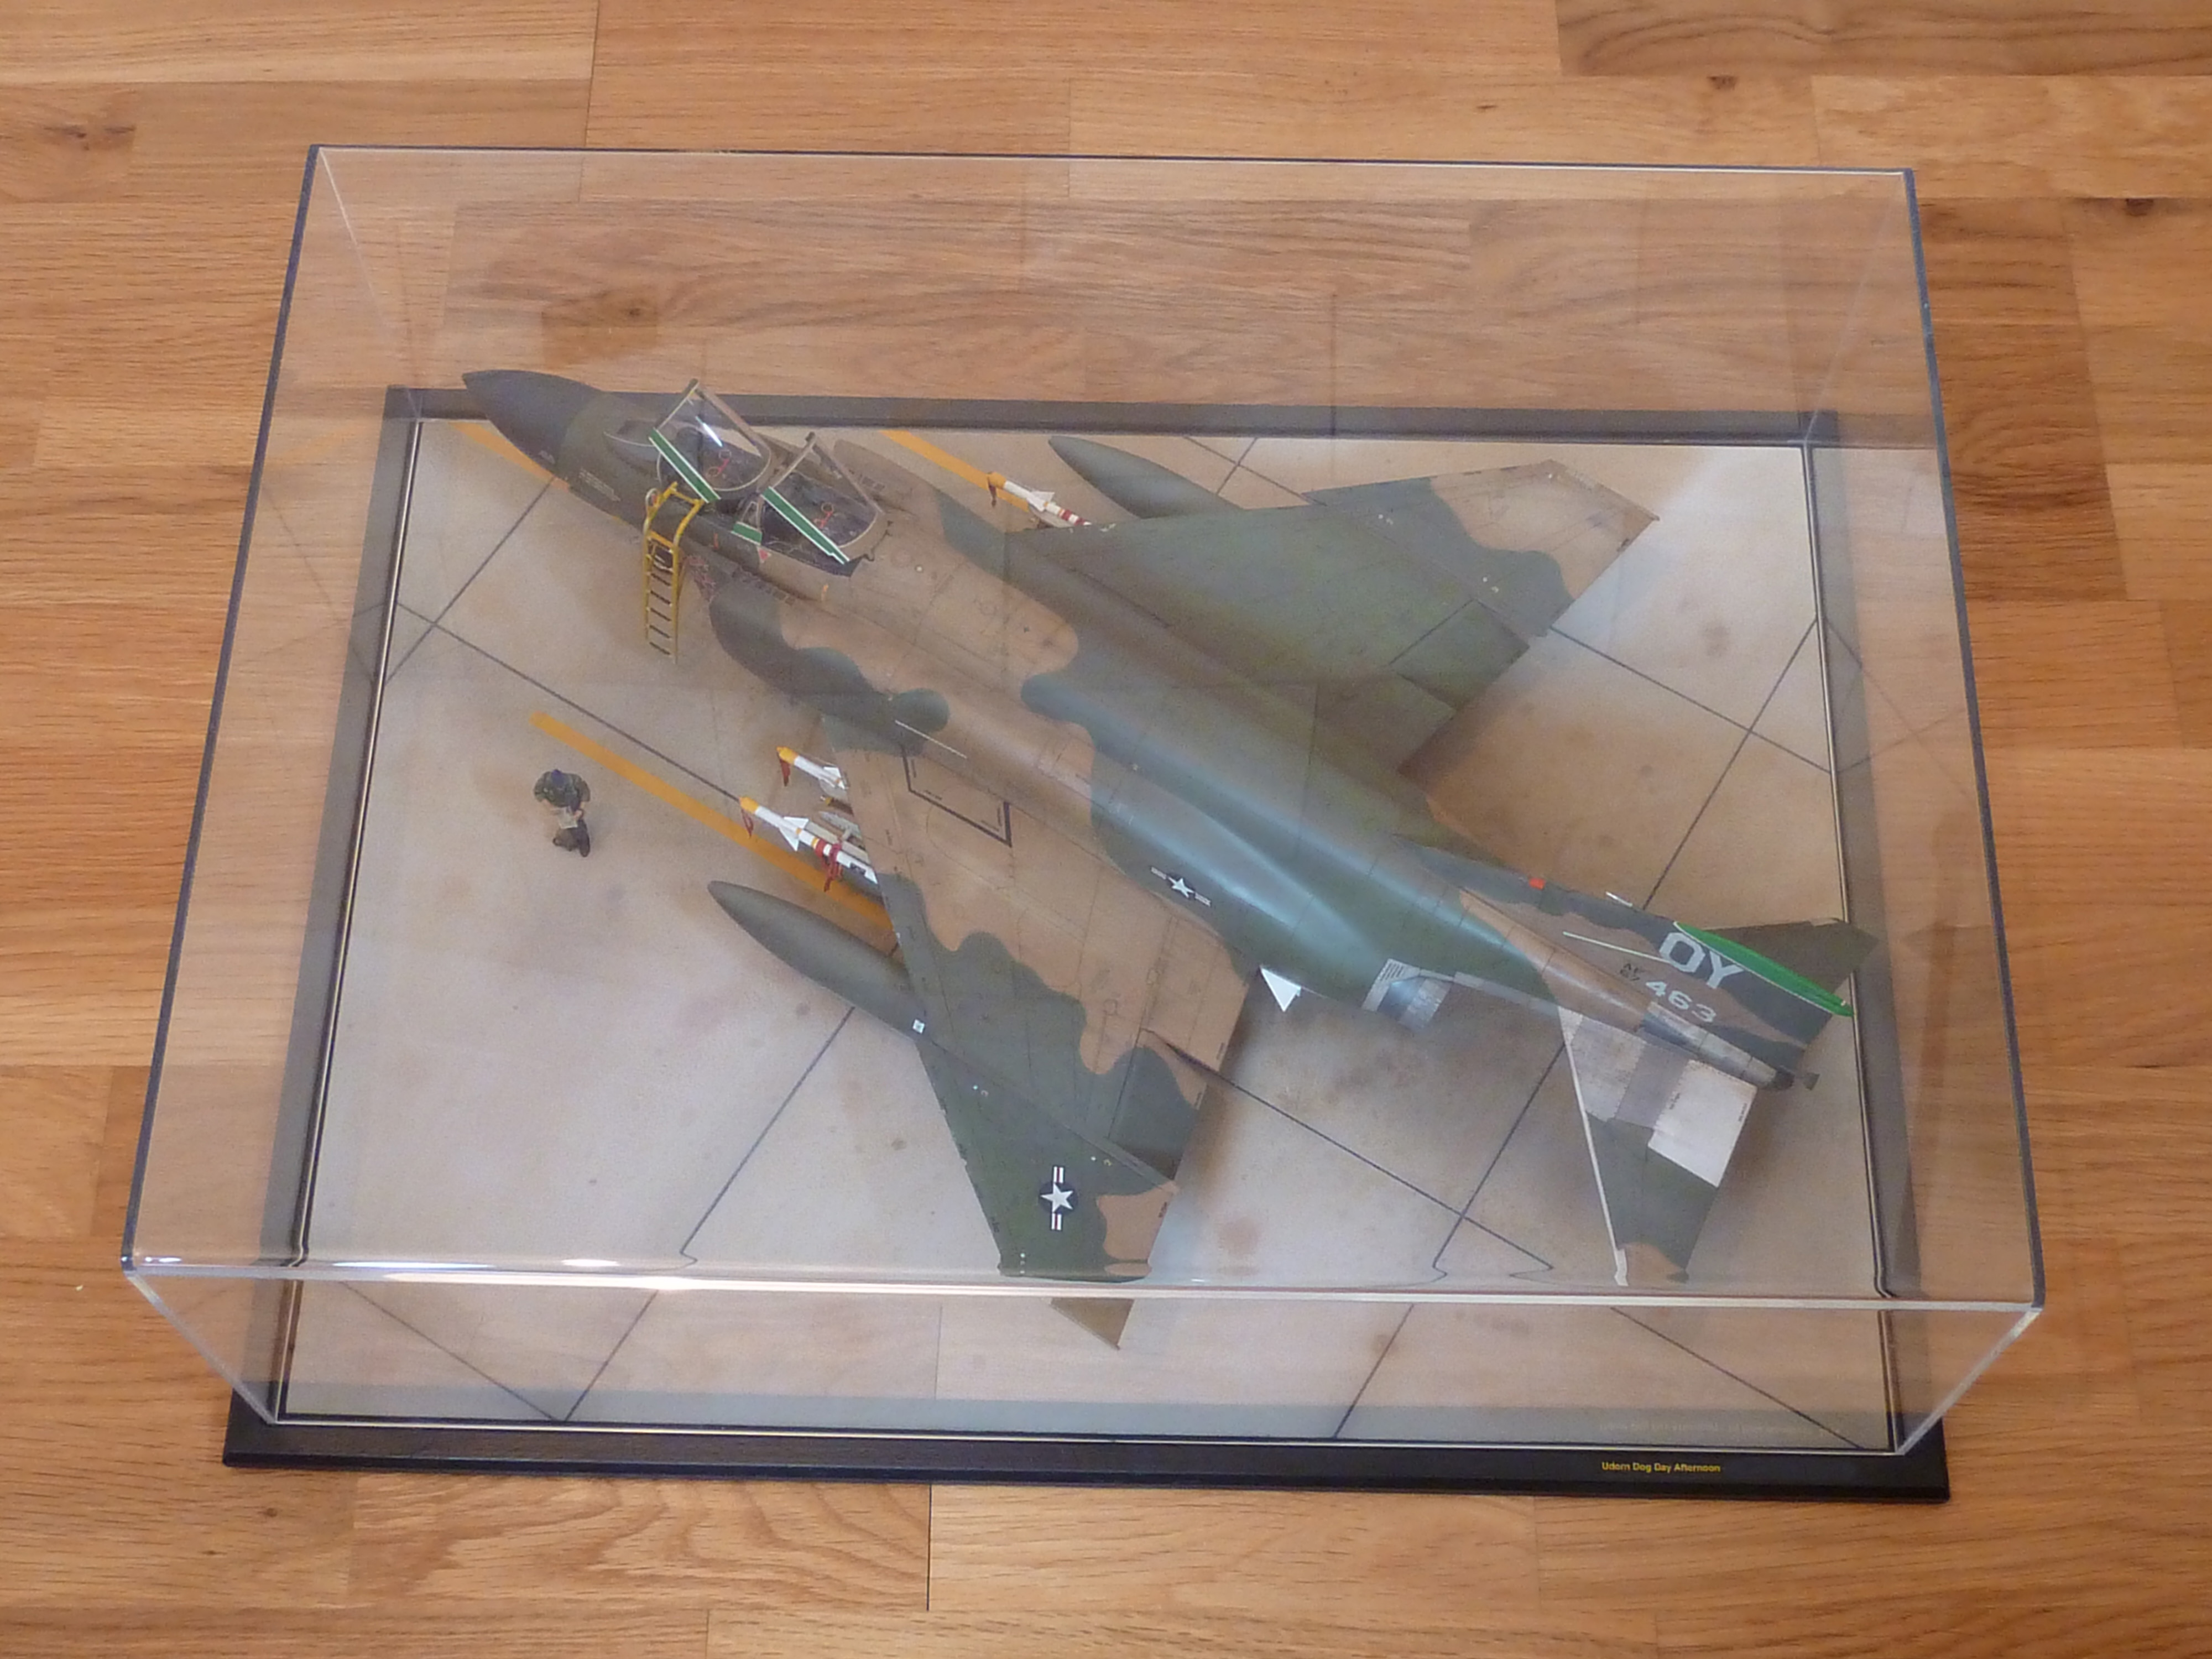
To keep the size of the overall case down to manageable proportions I wanted it to be as small as it could realistically be. Handily this meant displaying the aircraft at an angle which usually looks best anyway. A few measurements with the ruler and I had the basic minimum inner dimensions for the case, plus 15mm or so just to make sure.
Making cases isn’t my thing and I have none of the equipment to do the job and, given the number I use, it isn’t worth investing in it either. So I placed another order with Acrylic Display Cases which arrived about 10 days later.
The first job, after checking that I had actually got the case measurements right, was to mark out the positioning of the aircraft by placing it where I wanted it and then sticking small bits of masking tape by the wheels.
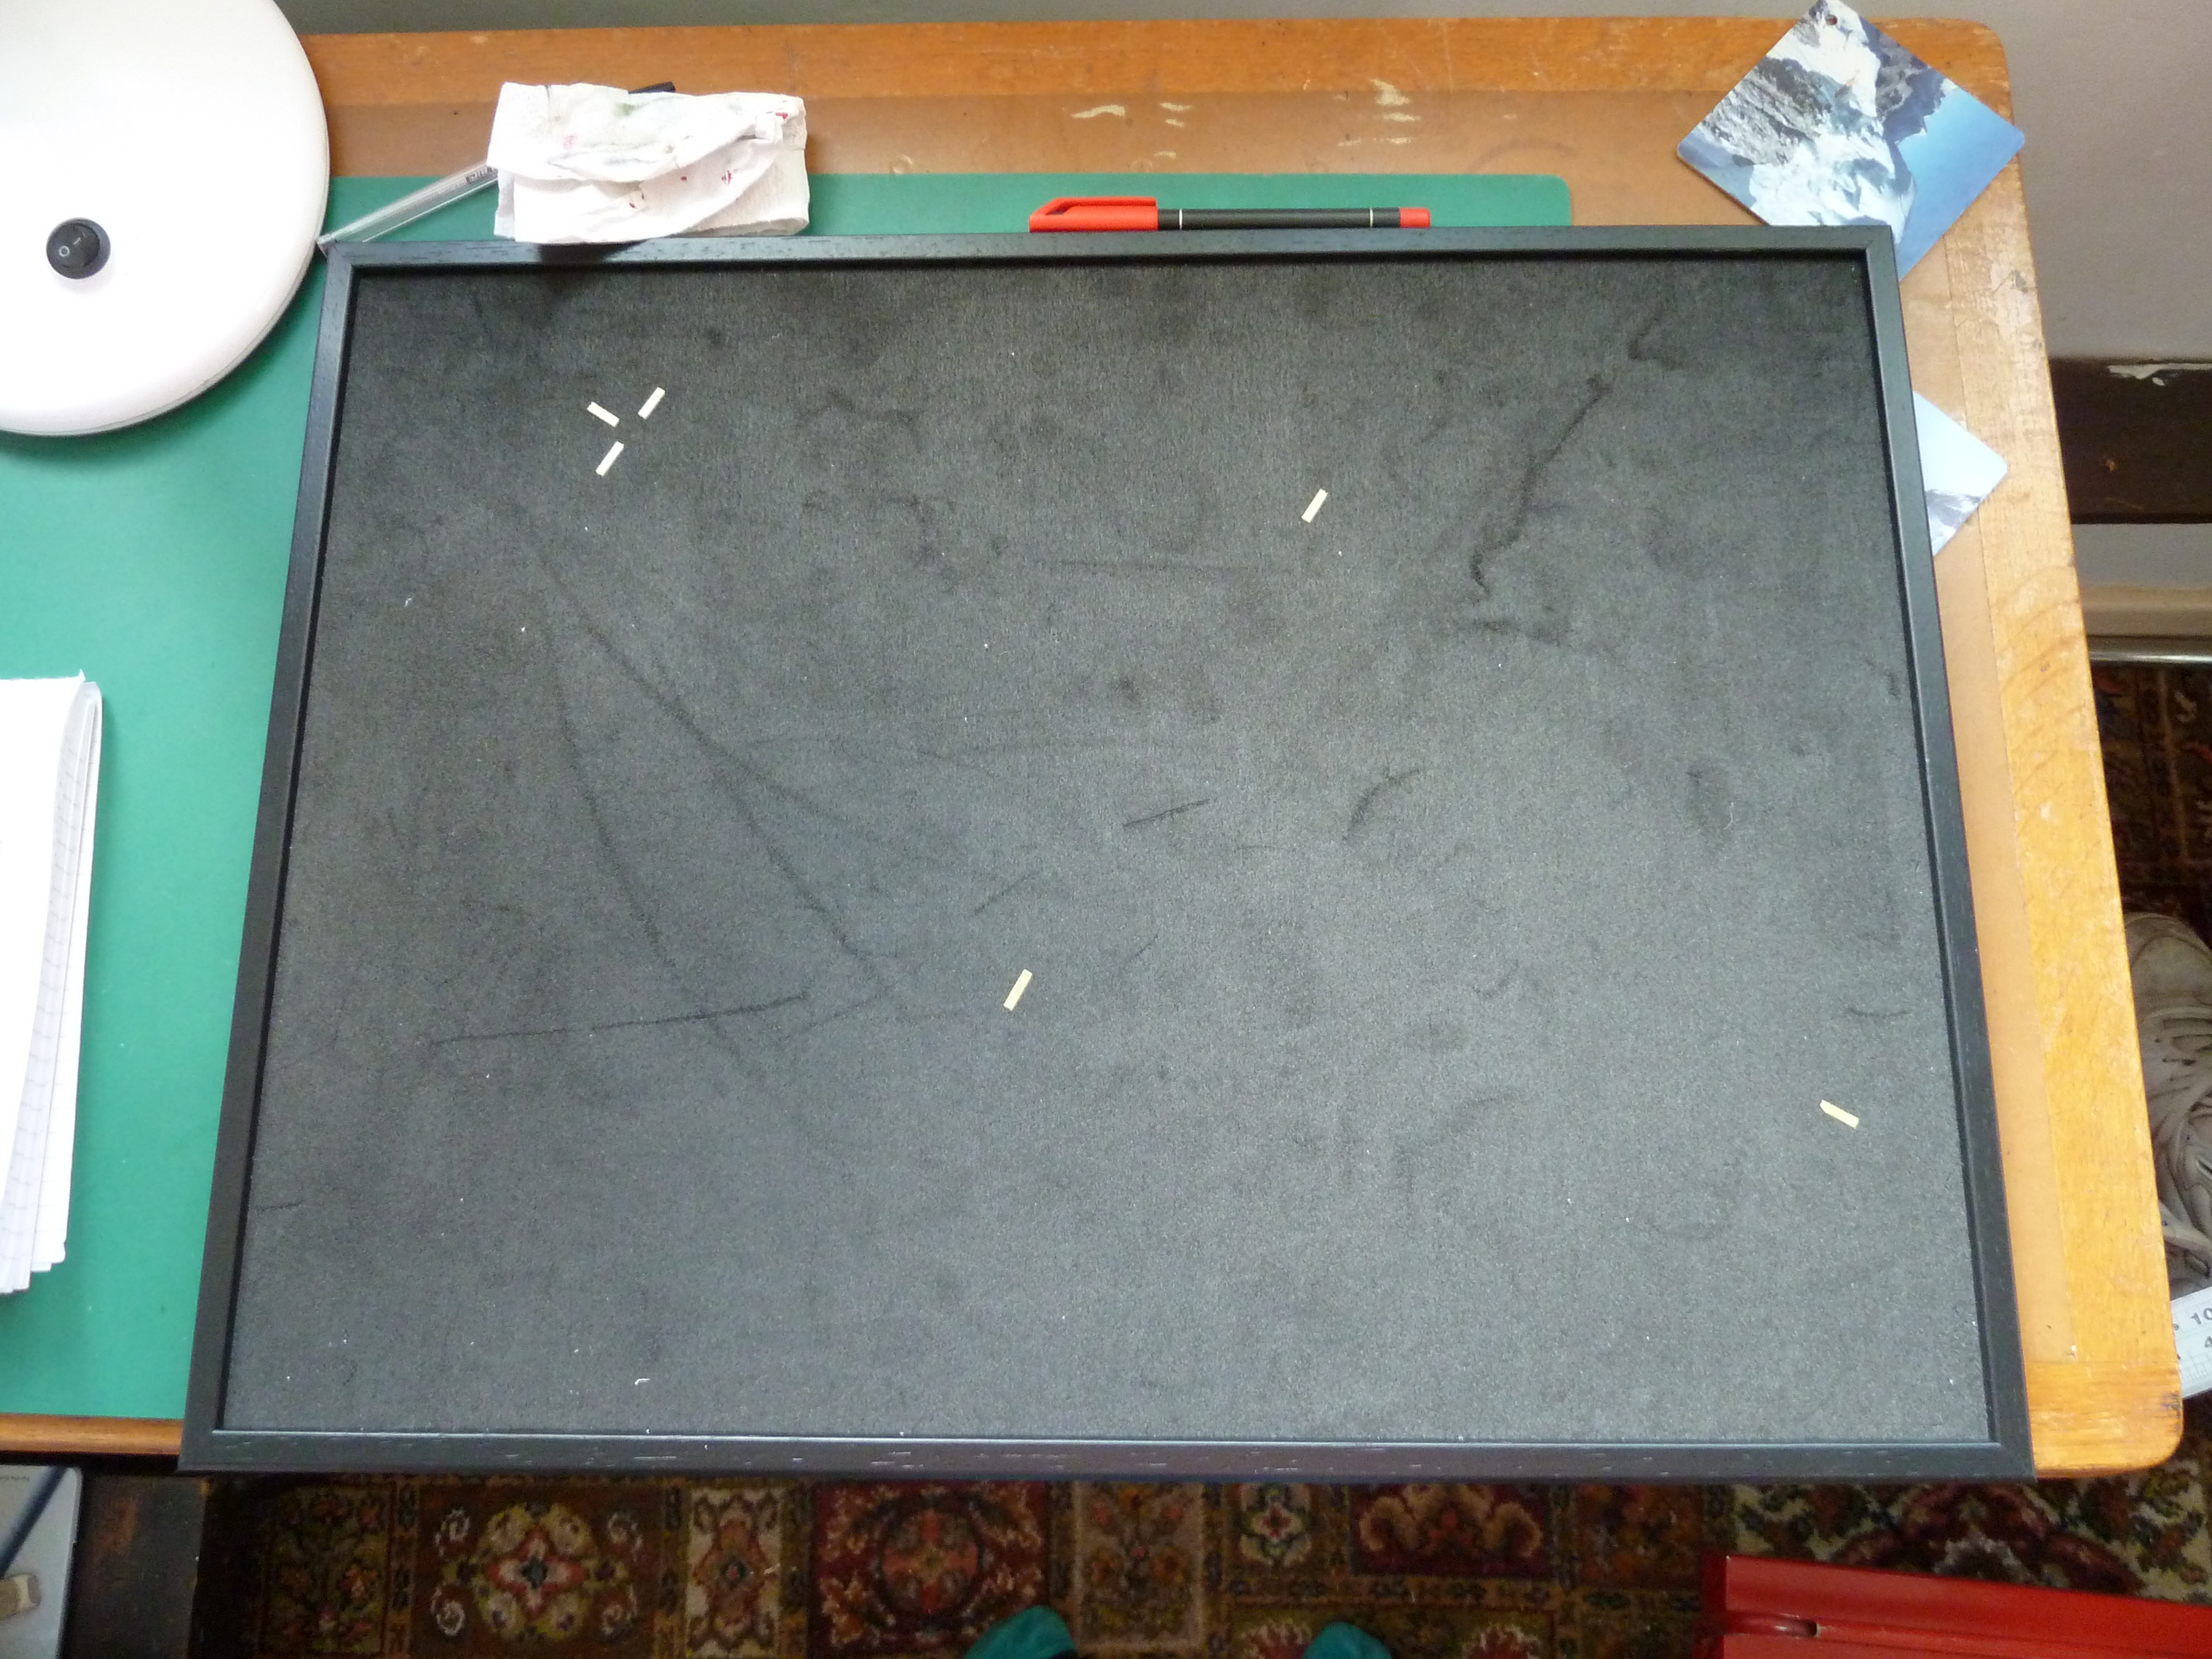
The painted part of the diorama base was going to be made using a sheet of 4mm polystyrene glued to the existing base with a border of 5mm around it for the case lid to sit in. After the sheet was cut to size I transferred the location markings for the model to it and sketched out a rough layout of the planned scene. 
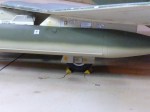
After checking that everything still lined up with the model and that the lid would fit without fouling I drilled the mounting holes in the polystyrene sheet where the wheels would be. The polystyrene sheet was then placed in position in the main base and the holes drilled through to ensure they would line up. The plan was to glue threaded rods into the aircraft’s wheels and secure it with nuts from below, the nuts being recessed into the base of the display so they didn’t scratch the surface it was resting on.
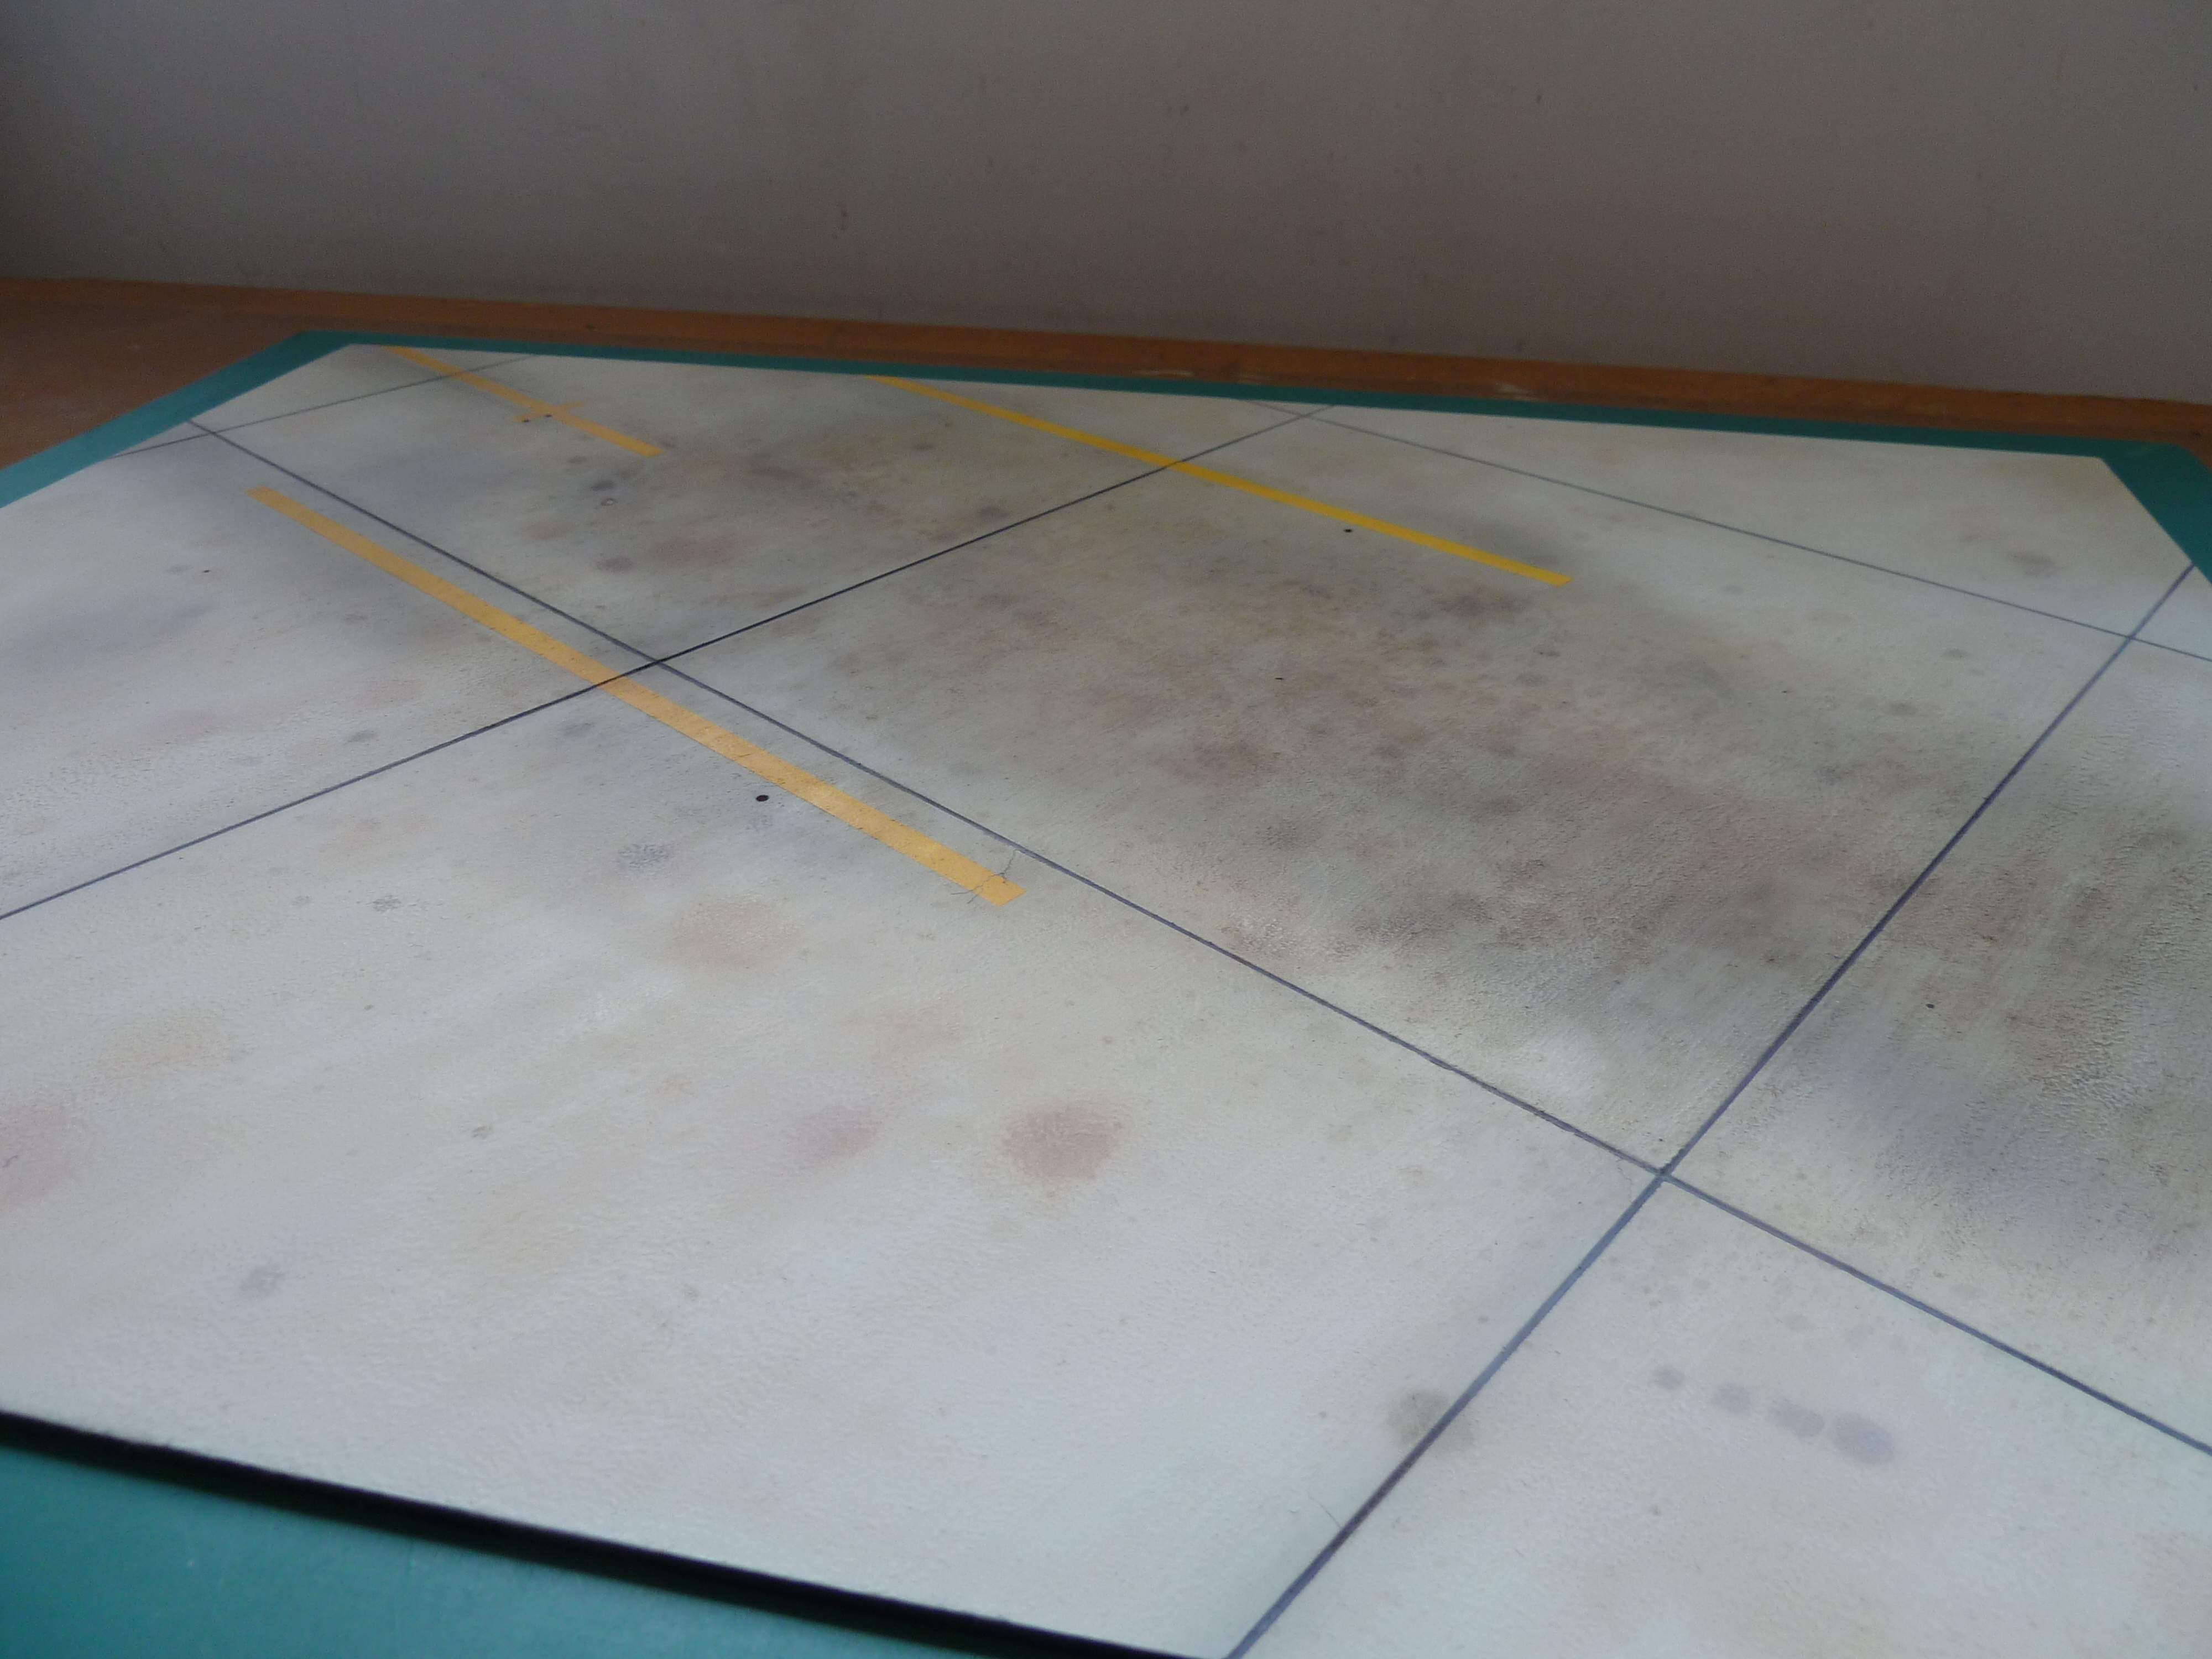
Having sketched the scene the next step was to score the expansion gaps in the concrete hardstanding into the plastic using the blunt end of a 1.5mm drill and a straight-edge. In retrospect this gave a groove which was quite overscale and I think I should really have gone for 1mm or less.
Once I’d established the basics of the base I drilled the tyres and hubs of the model and glued the threaded rods in, making frequent checks to ensure that everything lined up with the diorama base.

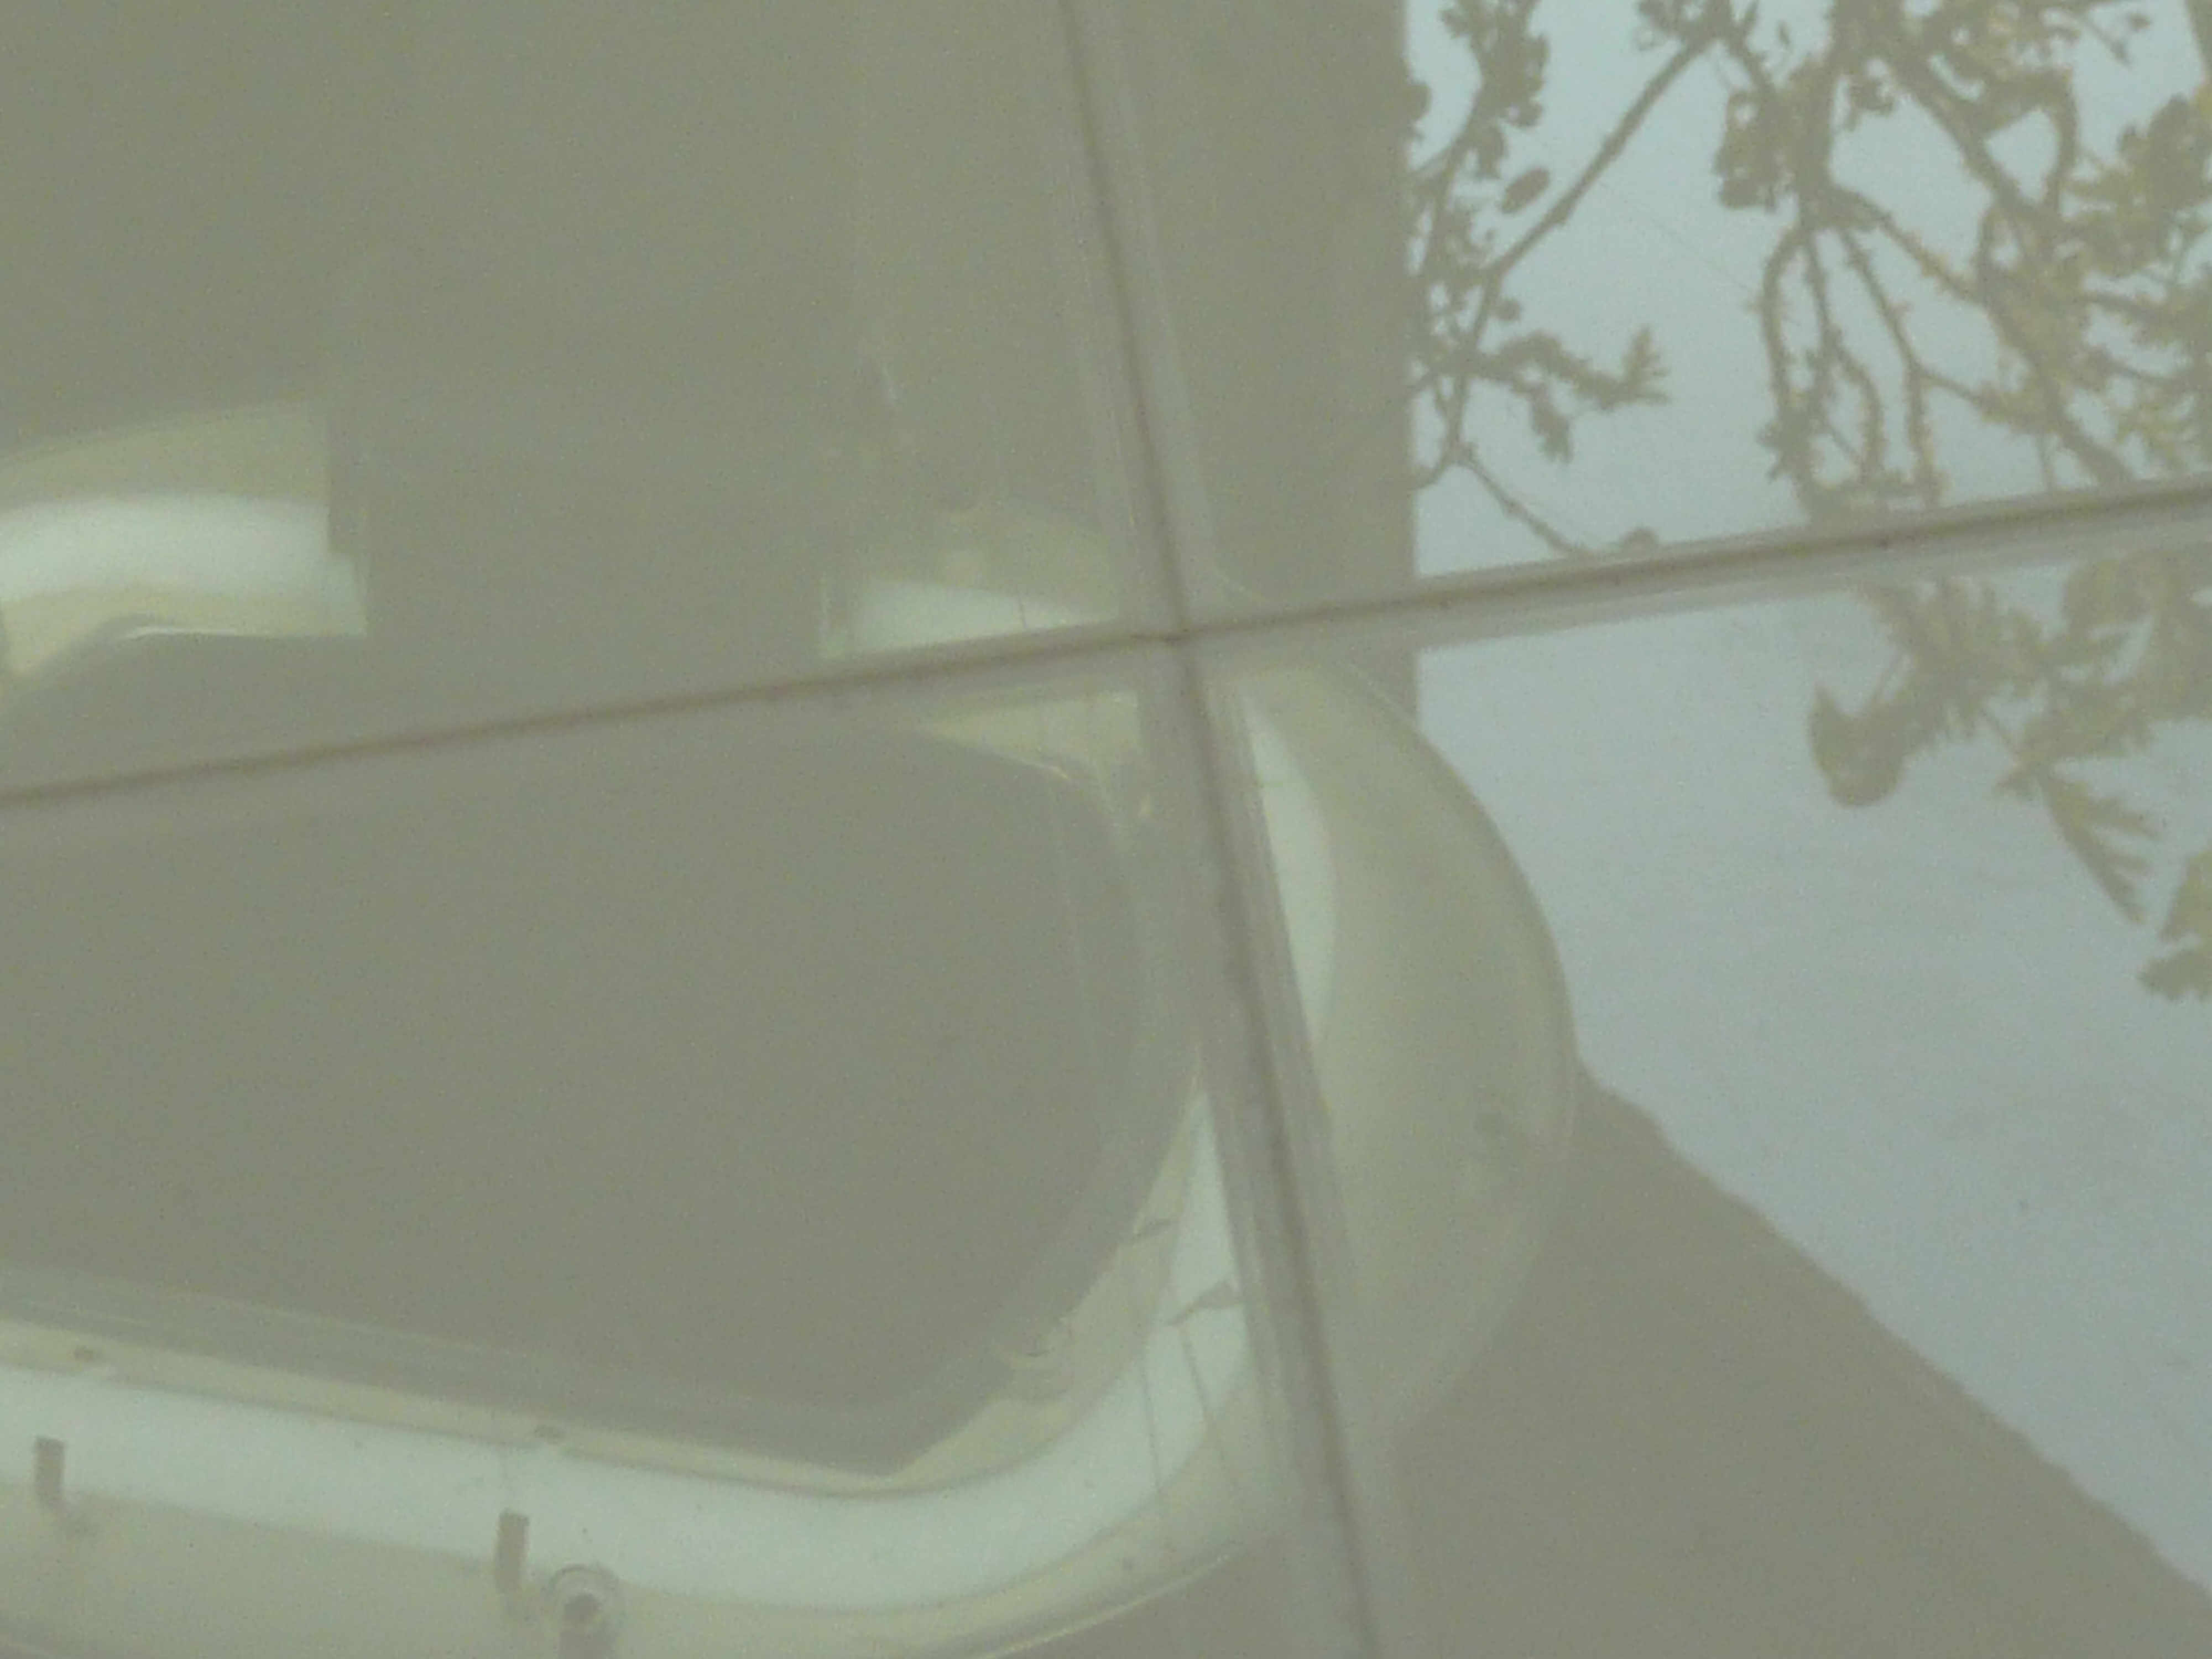
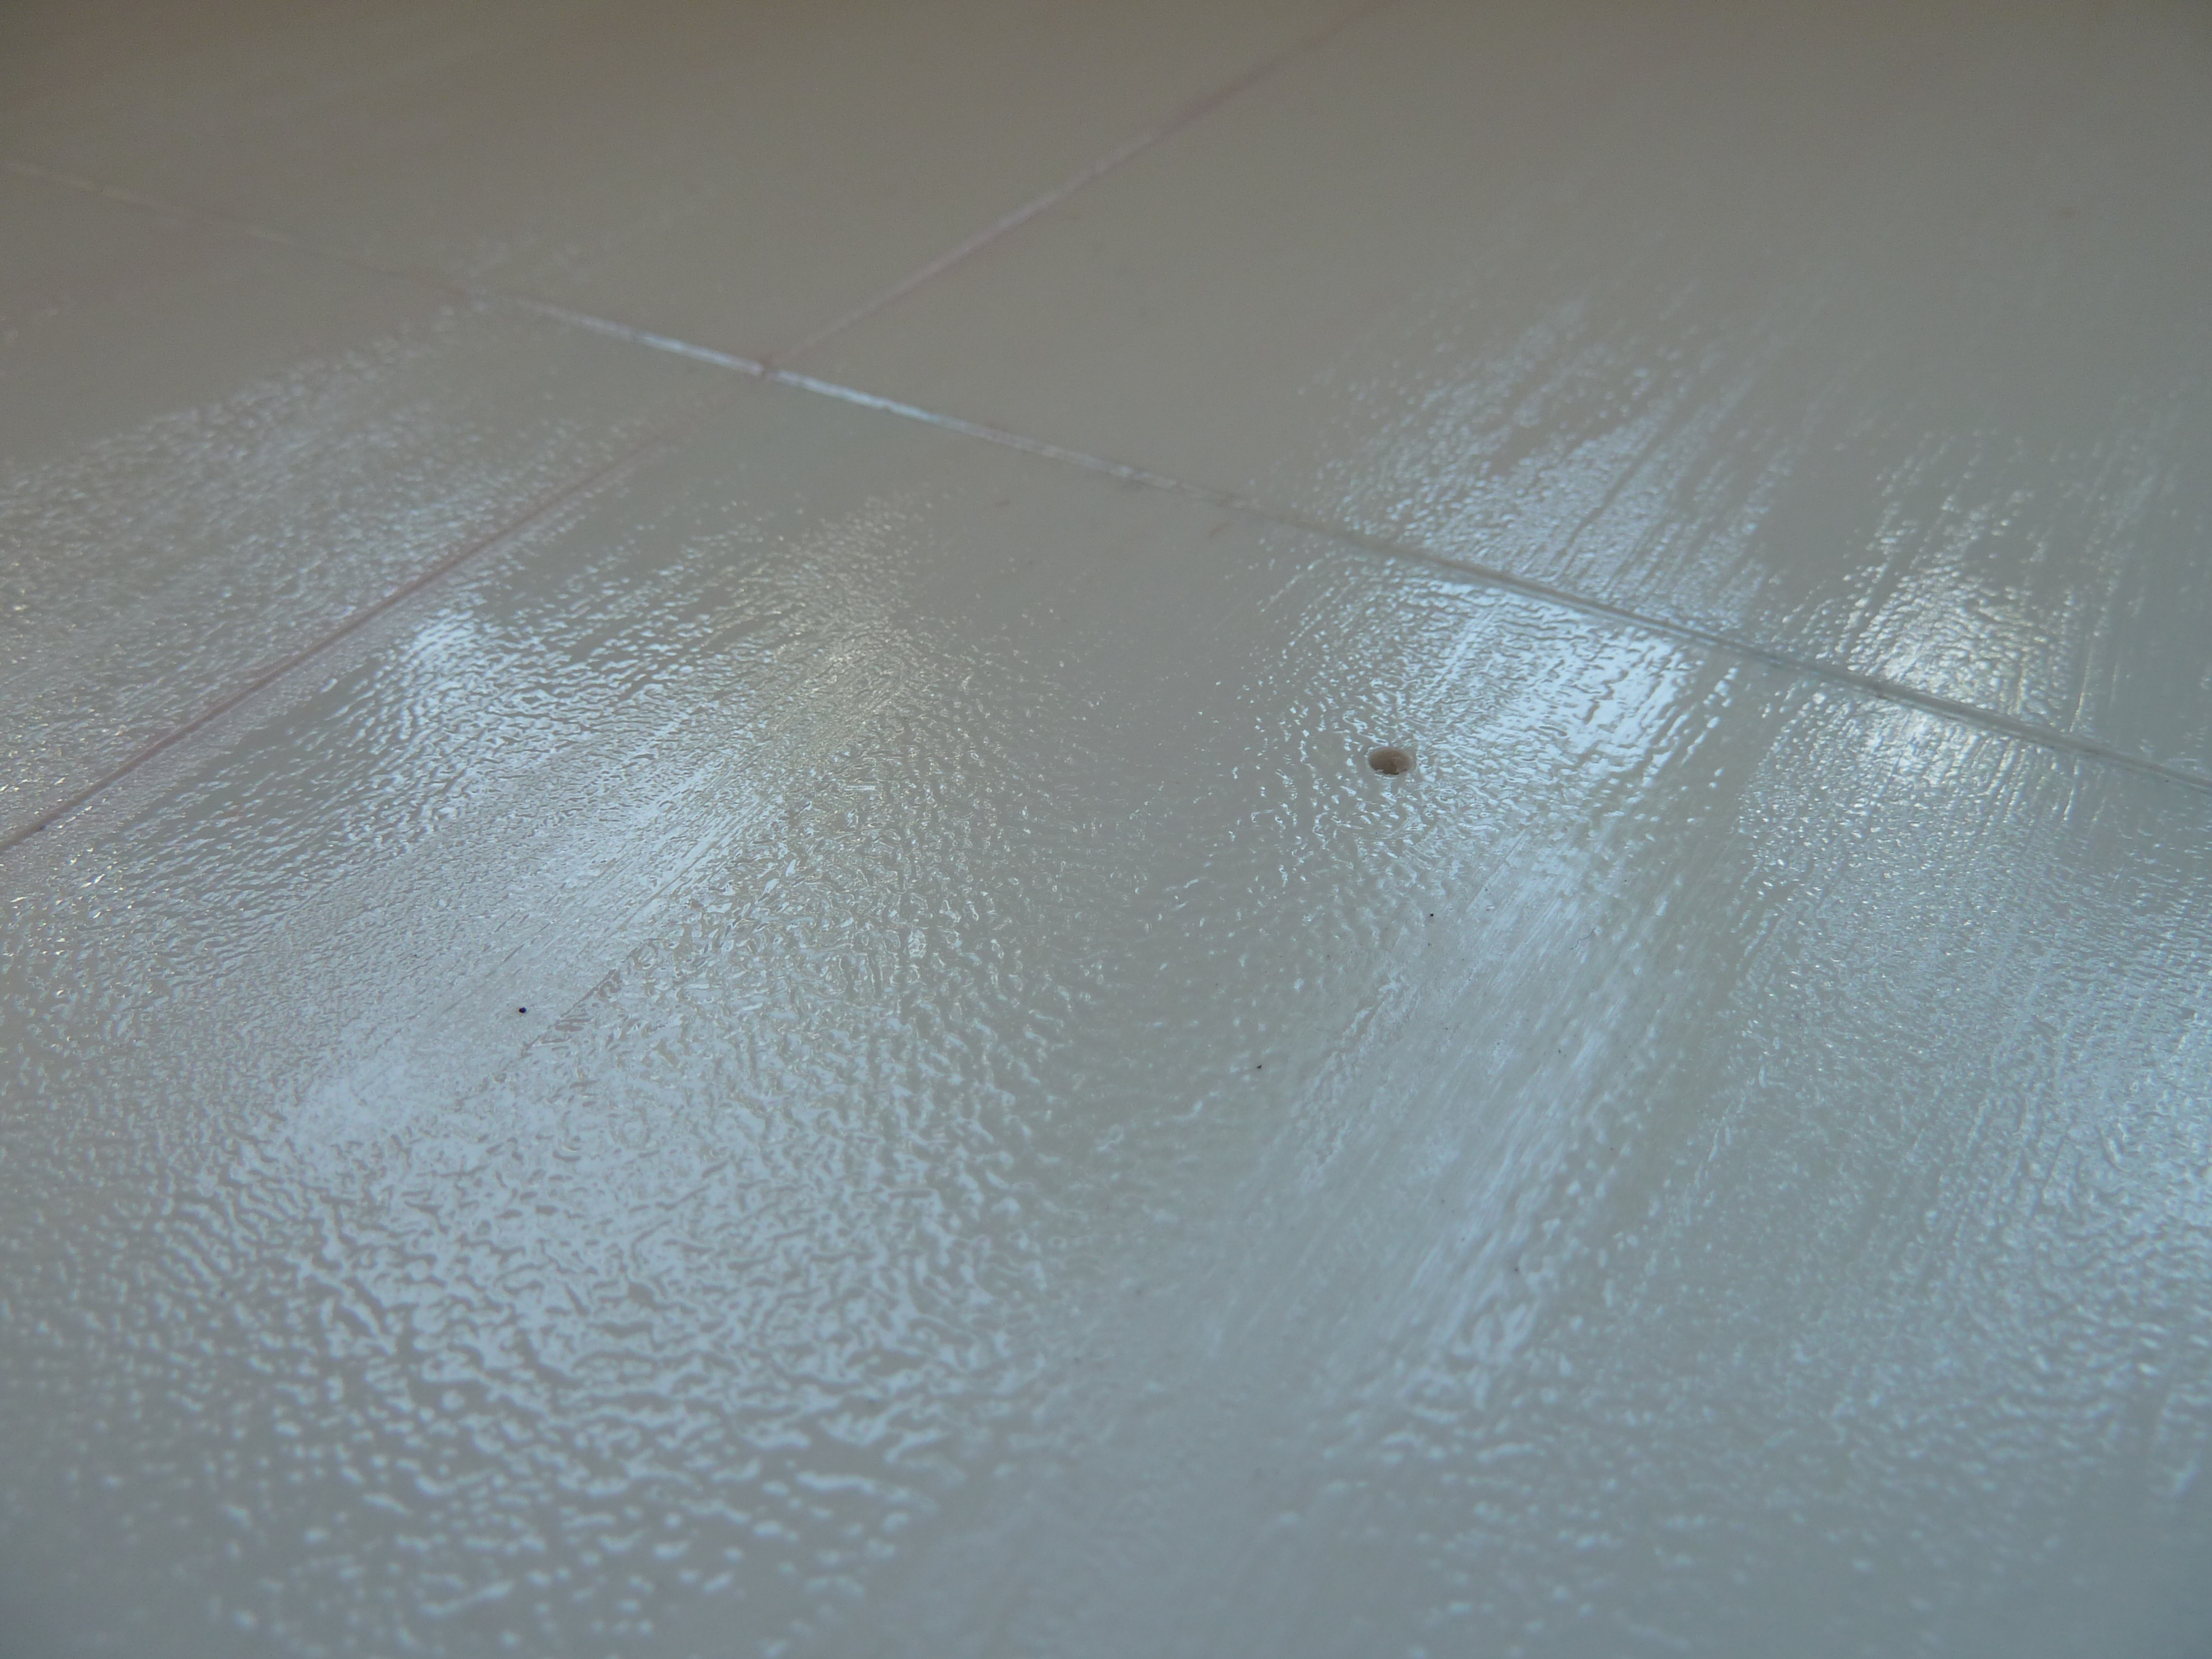
As you can see in the pictures the base came with a high gloss finish which was hardly representative of a concrete hardstanding. To give the surface some texture I masked off each concrete section and brushed the surface with cellulose thinners to melt it and then dragged a stiff brush across it.
I did each section separately as I wanted to ensure there were distinct changes in texture at the joints. The result was a nicely roughened surface.
Next up was a little bit of pre-shading.
Then a coat of enamels, which I over did a bit and lost most of the pre-shading. It looked too stark while I was airbrushing, but seemed to disappear as the top coat dried. Ho hum…

Next I inked in the expansion joints with a ruler and a black ballpoint pen. This actually caused me some problems later.

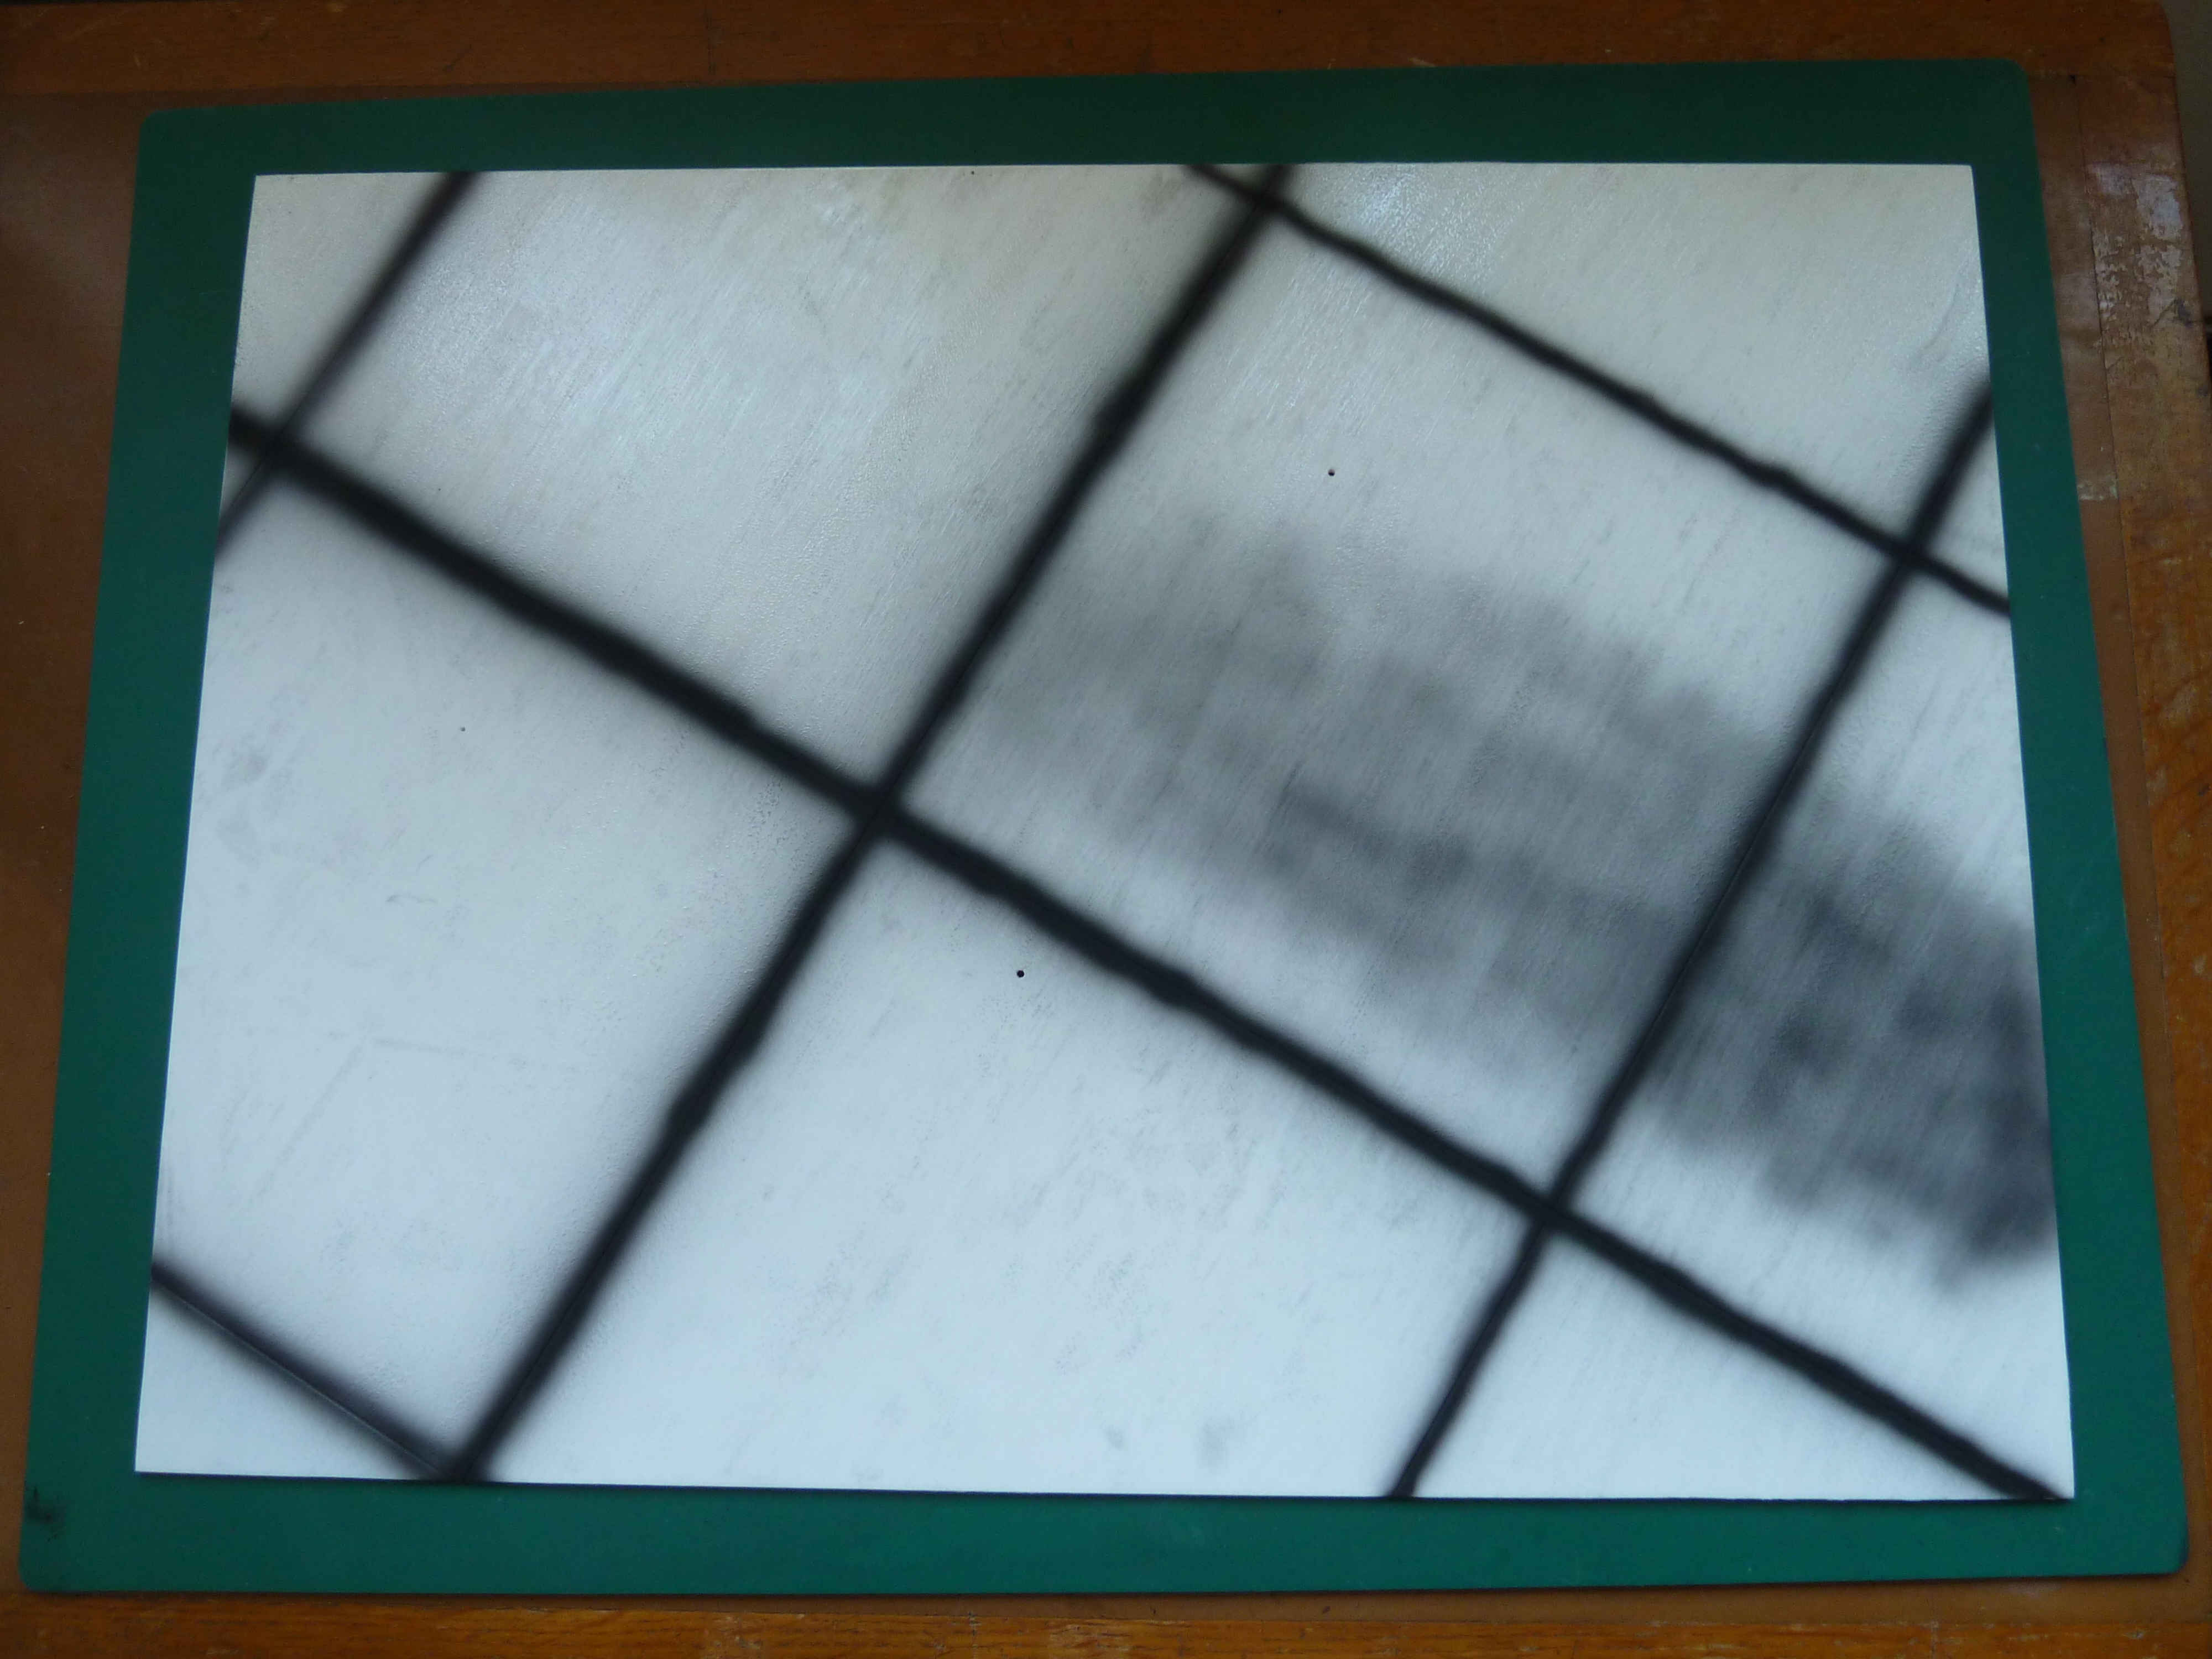
Based on photos of various Phantoms in revetments at Udorn AFB in Thailand I masked up and airbrushed the ground markings. I deliberately avoided making them exactly align with the aircraft as I haven’t seen a parked aircraft in Vietnam that was positioned perfectly. The guys obviously had better things to do.

When I came to protect the enamels from the weathering stages with a coat of acrylic varnish, the solvents in the acrylic made the ballpoint ink bleed quite badly. To be expected when you think of it but I didn’t at the time. The mistake necessitated some retouching of the enamels and redrawing of the lines. Second time around I protected the ink from the acrylic varnish with a quick coat of enamel varnish first. Eventually we got there and I was ready to move on to weathering.
The pictures I’ve seen show the revetments to be pretty dirty places so I set to with multiple washes and stains using artists’ oils dissolved in white spirit. To get a random distribution of marks I used a stiff toothbrush to flick the stains in general areas. The diorama at this stage began to look alarmingly like a Jackson Pollock painting (in his brown and black period).
In order to tone things down a bit I over-sprayed everything with a very light misting of a very pale tan colour and a misting of pure black under the aircraft and behind it. This pulled everything together and I was reasonably happy with the result.

All that was left to do after that was to remove the centre part of the flock covering in the display case, glue the polystyrene sheet in with 5 minute epoxy resin, and then put the aircraft in place and bolt it down. The result is actually quite sturdy.
As a final touch I mounted the USAF Verlinden figure, covered in one of my first posts on here, in front of the aircraft. He is held in place with a little bit of brass rod inserted into one of his feet.

Overall I’m pleased with the result and I hope my friend gets a lot of pleasure from the model. 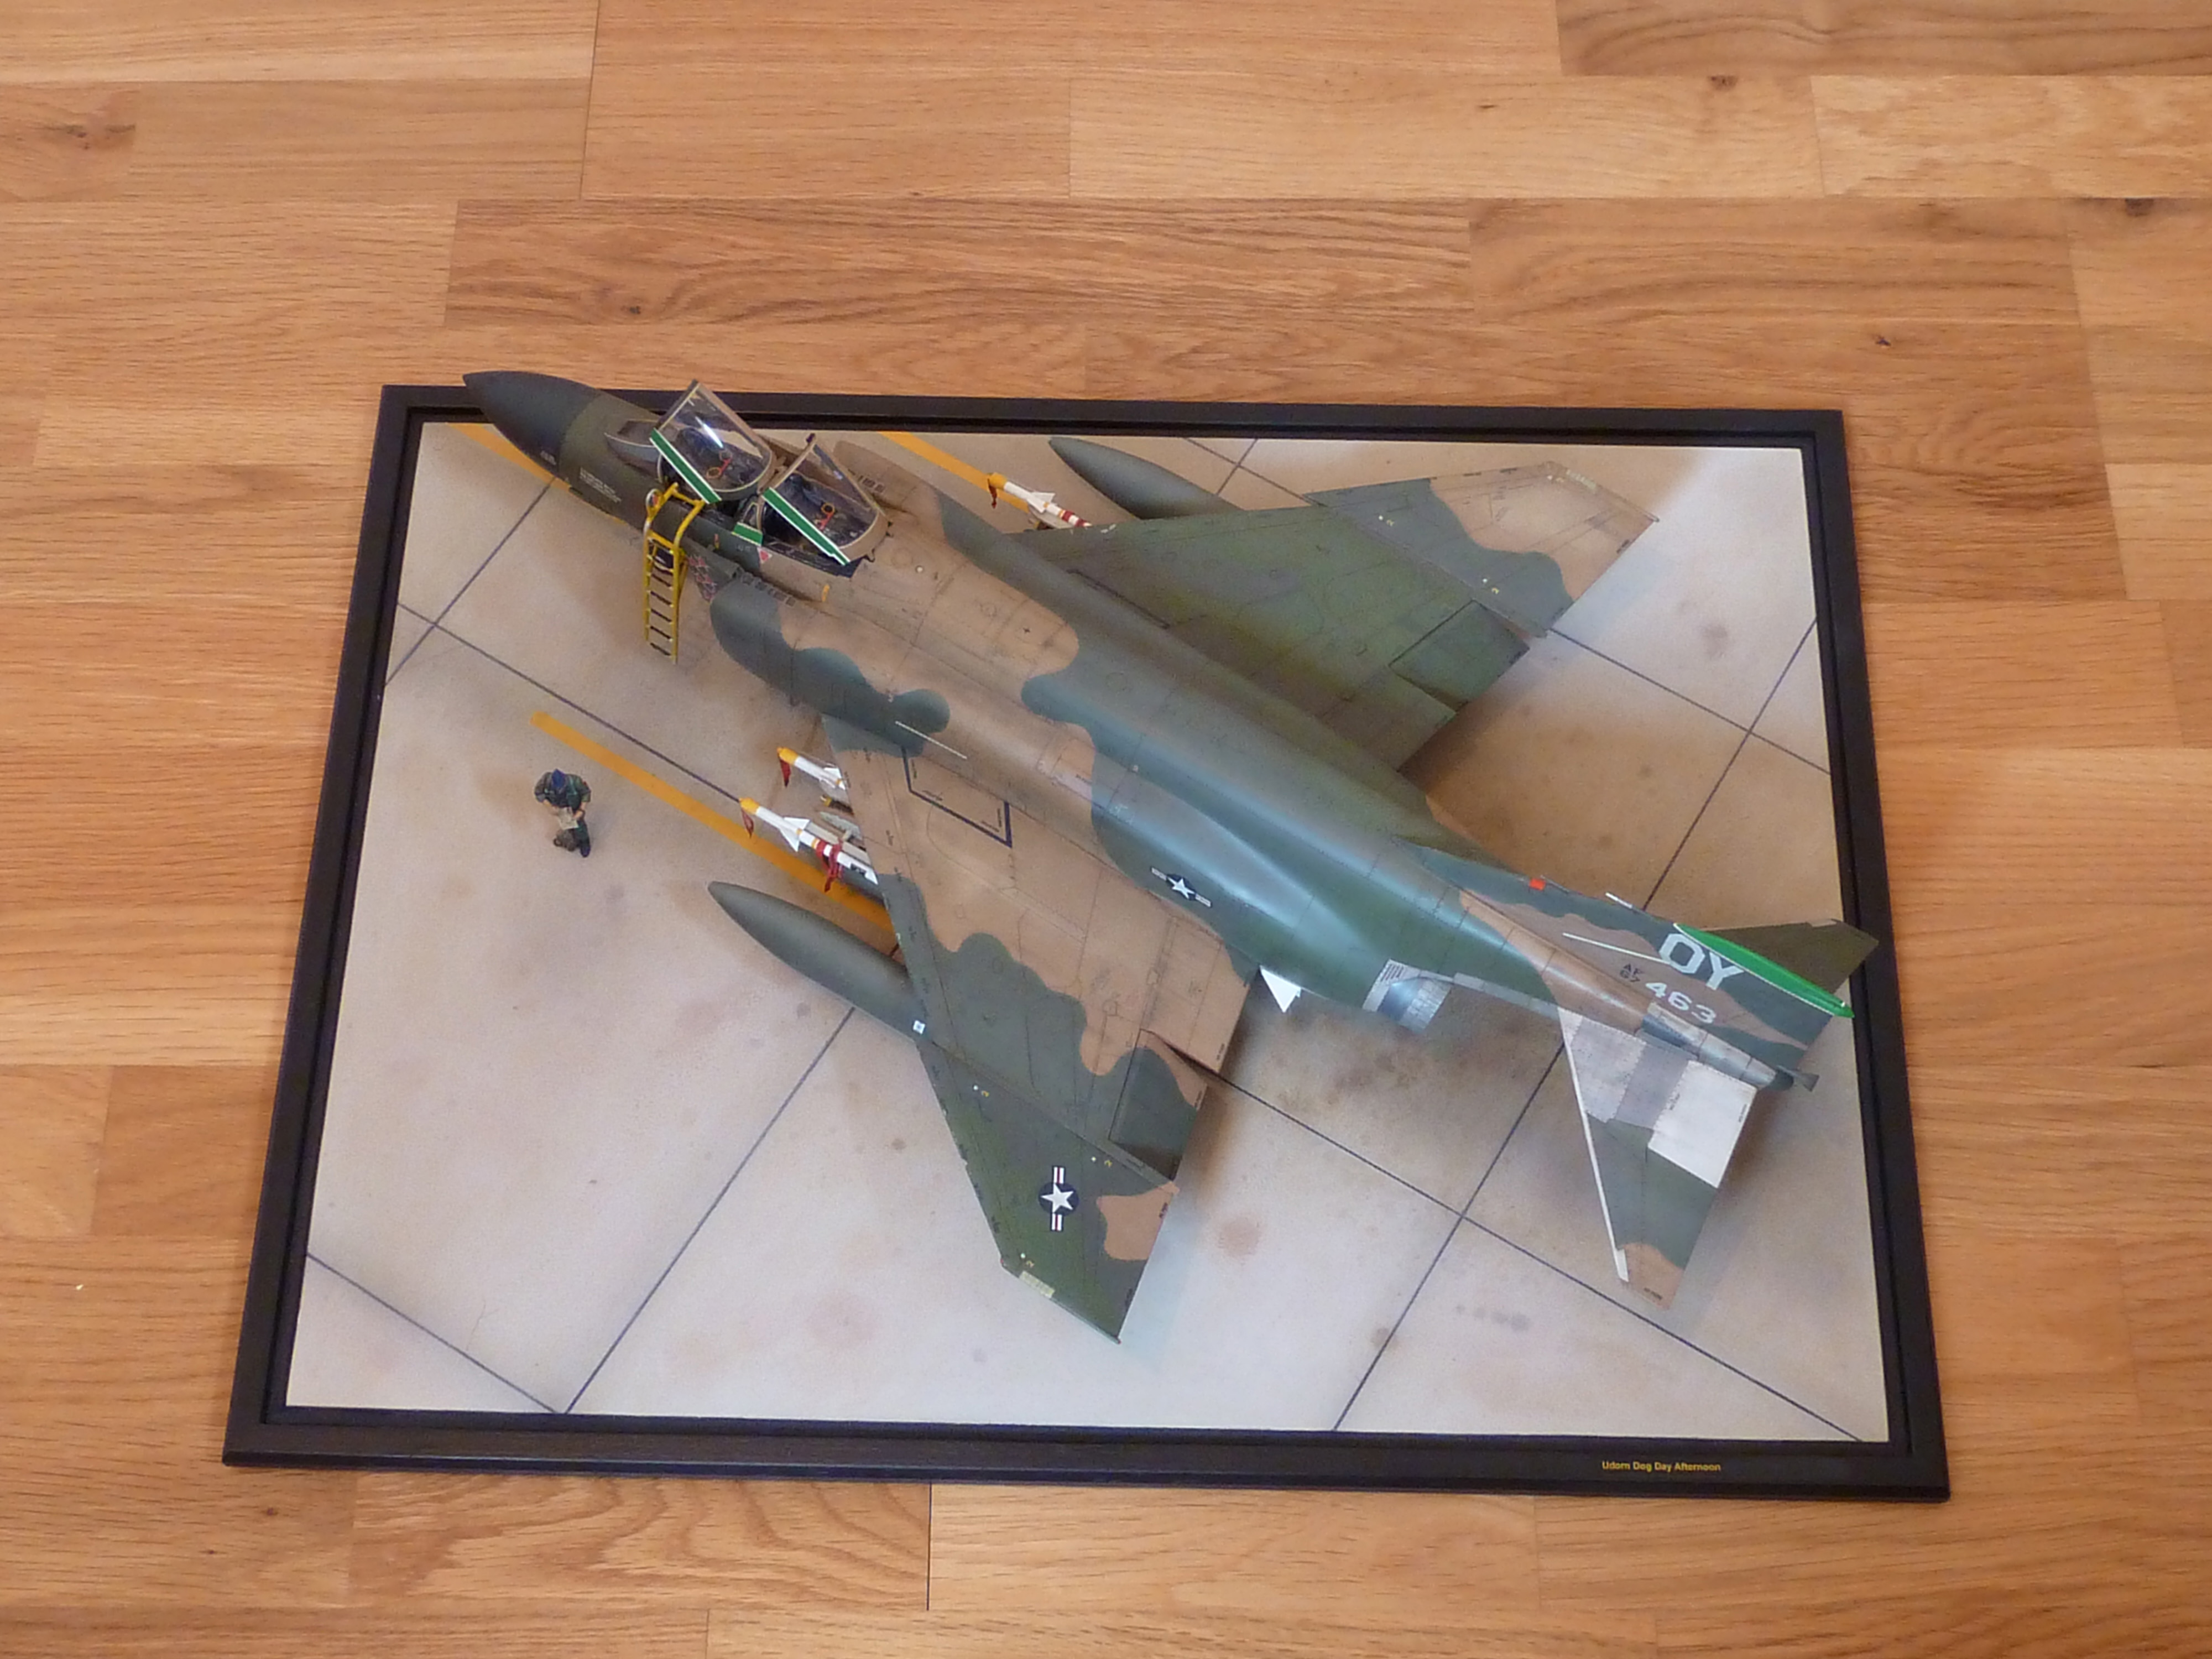


That is stunning. The detail in the base and presentation reflects the model superbly. I’m sure your friend will be very pleased with the finish and proud to display it to all his visitors. Thank you for sharing this with us, I look forward to seeing more.
LikeLiked by 1 person
Thank you very much.
To be honest the diorama only took a few days to do, and most of that was waiting for stuff to dry. I’d done it so quickly that I forgot to document it. It was only when I found the chocks I’d made, and forgotten to fit as well, that I thought to actually put it on here.
LikeLiked by 1 person
Well you did a fne job.
LikeLike
Reblogged this on Aviation Trails and commented:
A stunning model presented in a top class case. A prize possession for any display cabinet.
LikeLike
Reblogged this on My Forgotten Hobby and commented:
Nice diorama… Brings back good old memories.
LikeLiked by 1 person