
Having successfully dodged the main event in this model I’d reached the stage where I had to get going with the fuselage. I don’t know why I’d been putting it off, but I had.
I dithered over whether to stain the fuselage parts before the build, or do the whole assembly afterwards. As a lot of subcomponents had to be fitted before it was completed, and so would need masking off for spraying, I decided to stain all the wood first.
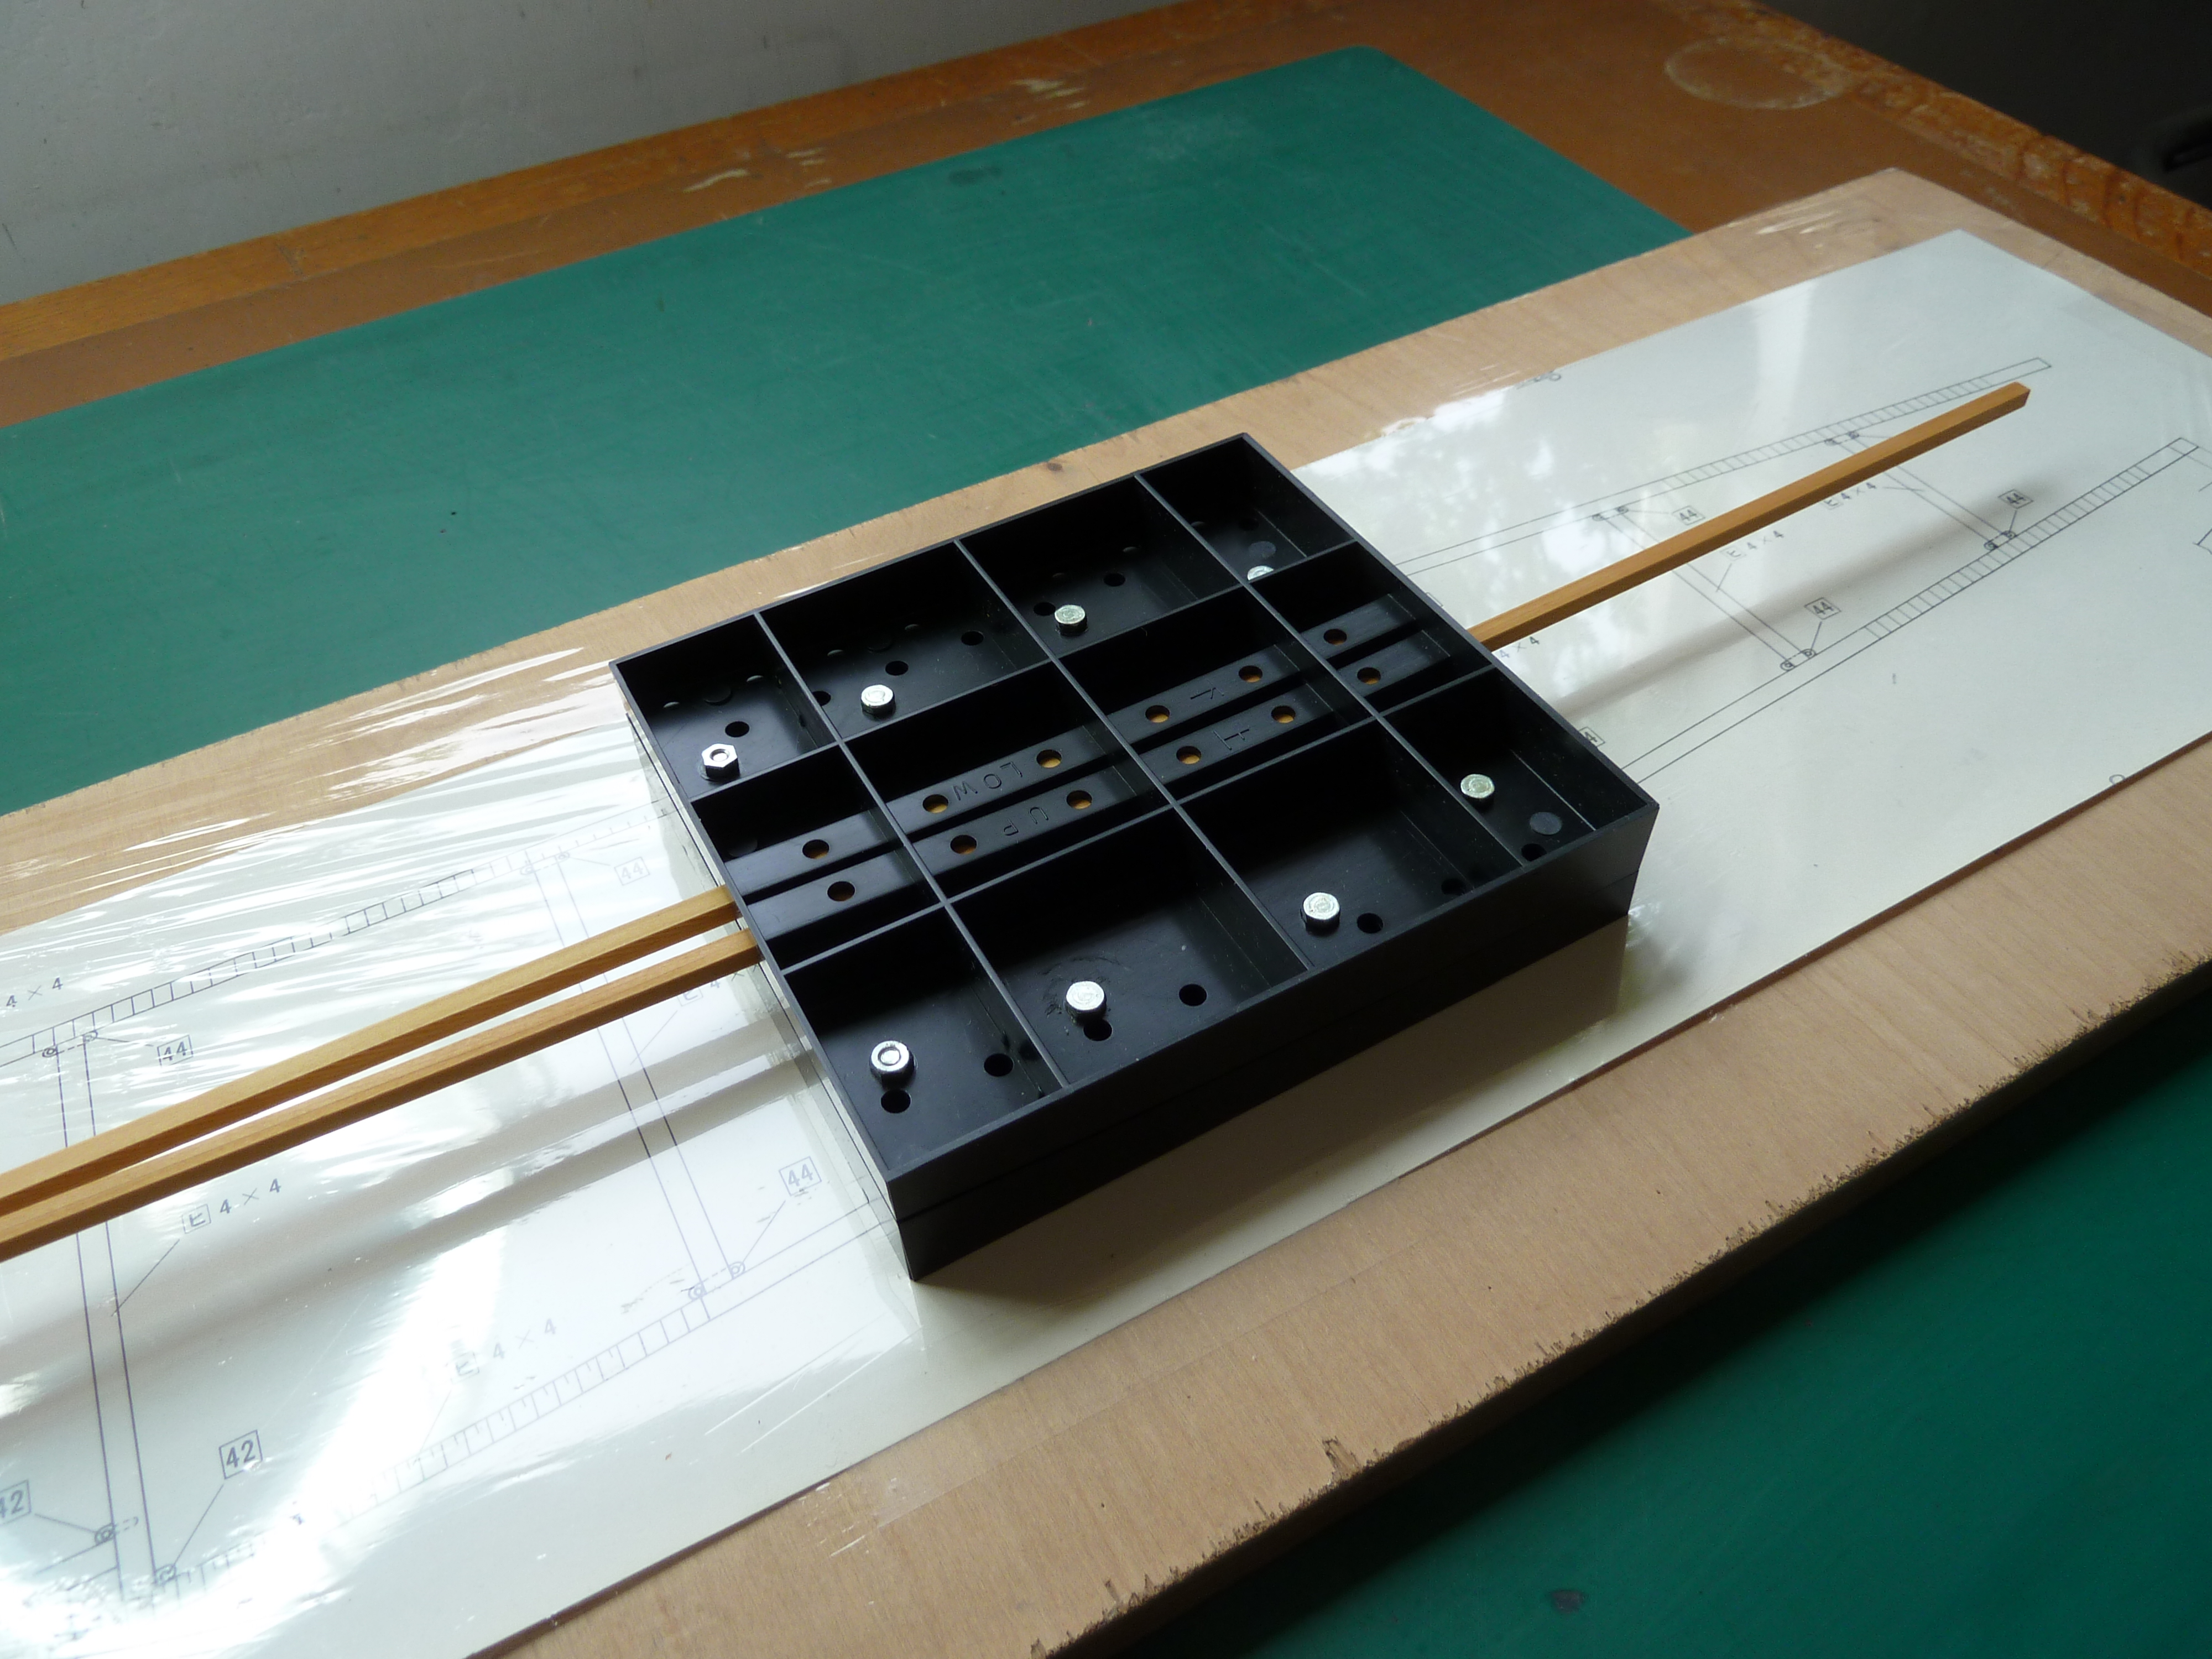
Once that was complete the first step in assembling the fuselage was to bend the longerons into the correct shape. The kit comes with some handy formers to allow you to do this. The instructions tell you to make minor cuts on the insides of the curves before dampening the wood and putting it in the former to dry and take a set shape.
I didn’t want to make the cuts as they’d be very visible and weren’t on the real aircraft, so I just went with dampening the wood prior to bending and omitted the saw cuts. In fact I put the pieces in near boiling water for a few minutes and found they bent to shape easily.
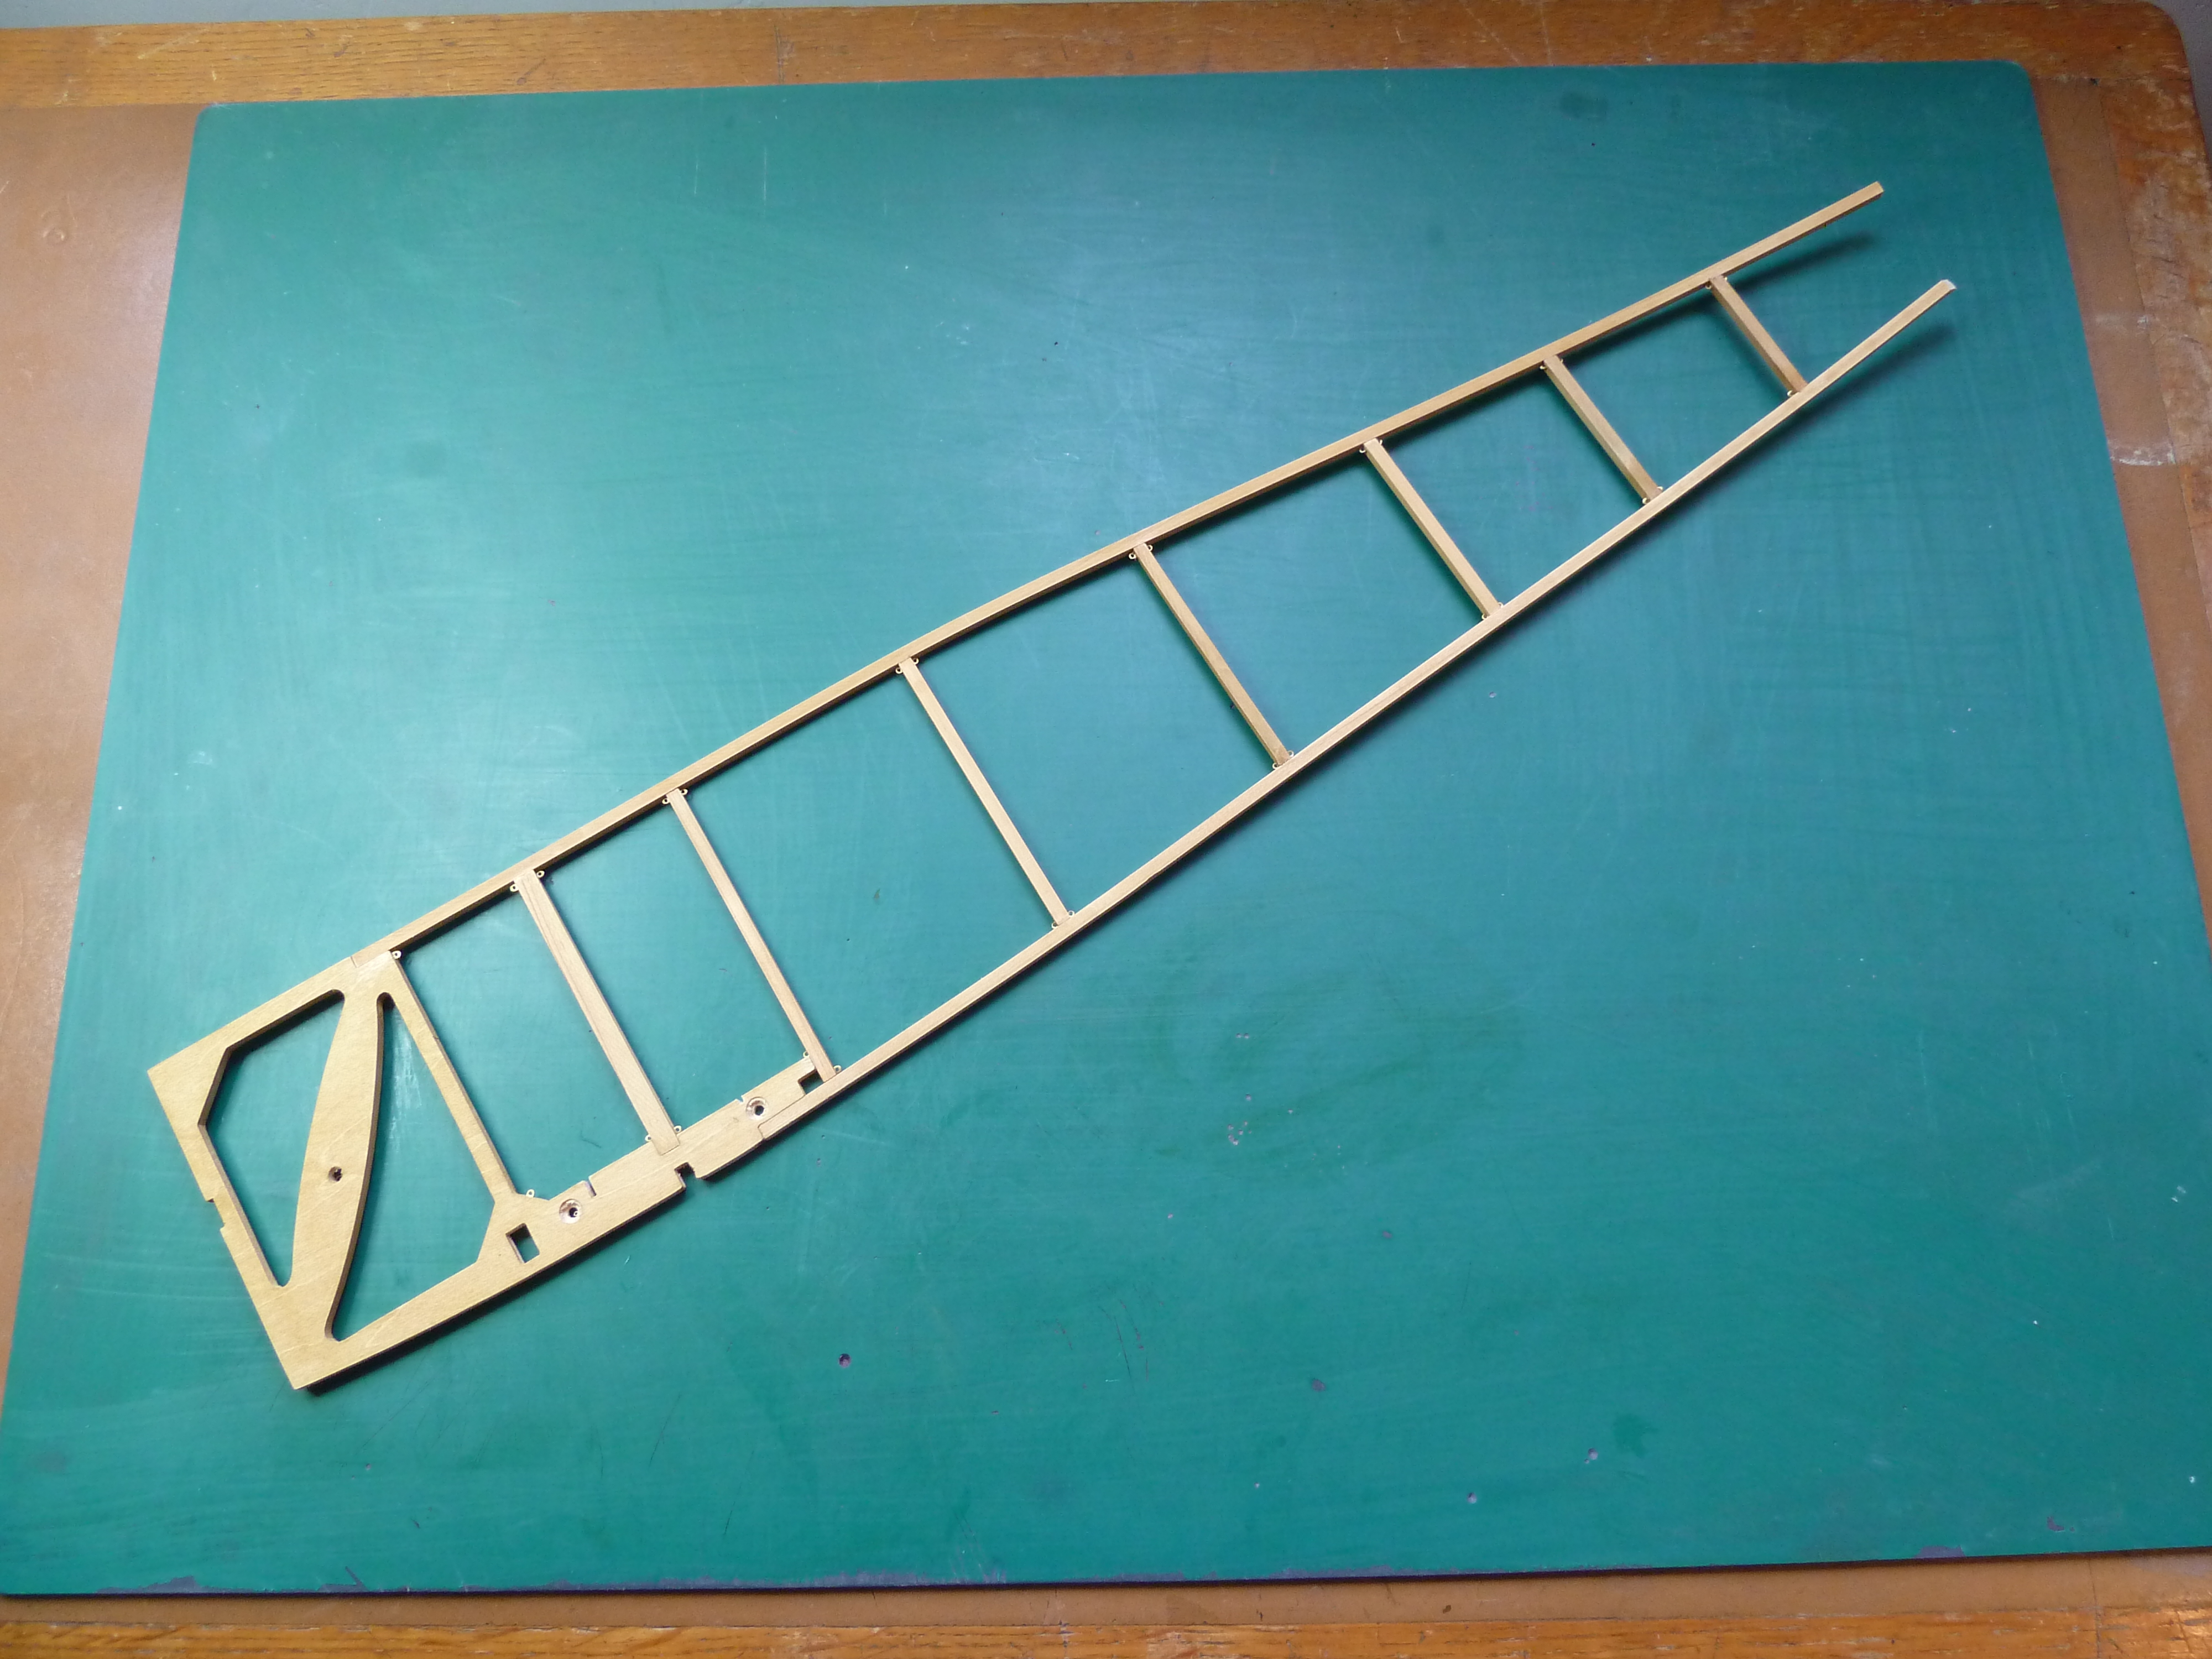
These were then pinned in place on the plans and the rest of the structure built up around them . When each side was complete a further bending operation was required to curve the side structure in the vertical plane. Both aft of the cockpit area and at the tail. The tail section is shown below to give you and idea of the finished shape achieved.

At the end of the stage I was left with matching fuselage halves looking like this.
The kit also provides you with a couple of jigs to allow the fuselage sides to be joined together. One ensures the cockpit area is square and correctly spaced apart while a second ensures the tail section joins at the correct angle and is symmetrical. As an added bonus the latter also extends vertically so that the model sits correctly on the table with the longitudinal datum horizontal. The jigs are extremely useful and a nice addition to the build process.
Once the two halves of the fuselage were joined I moved on to start equipping the cockpit area as per the build instructions.
One alteration that I did make early on was to add the magnetos and oil pump behind the engine. As I mentioned at the start, the lady who sold me this model also included a full Le Clerget engine kit. This had the magnetos and oil pump parts, and it was a relatively simple task to adapt them to fit. A few shots of them in situ are shown below. They’ll barely be visible on the finished model, but you should just be able to see them. For those interested they were airbrushed with Humbrol’s Metalcote Steel and, once dried, buffed to the final finish. Some pipework detailing was added using lacquered copper wire.


This left the model ready for the full assault on the cockpit area.

I am still amazed by what you are building.
LikeLike
The model is quite impressive. I’m very glad I got it.
LikeLiked by 1 person
Very good progress, and nice results !
LikeLiked by 1 person
Thanks.I have to confess that having been ill, updating the blog has taken a bit of a back seat. It’s quite a long way behind actual progress, but I’ll catch up quickly I hope.
Where are you in your build?
LikeLike
Ok it explains the turbo-progress, i almost got motion sickness here !
I’m still in “research mode”..
Finishing my PPL took most of spare time and money during summer and autumn.
Got a 2 year old in the house and at the moment I’m looking into a proper work place to avoid a total disatser.. 🙂
Research just now is how to make or even buy spooked main gear wheels.
I’m not sure i will manage to scratch build them at the moment, maybe confidence will come when the build progressed a bit.
LikeLike
I made my own which wasn’t that hard. Frustrating at times, but not hard. There’s a blog post specifically on that build here if you want to see how I did it.
One thing that doesn’t fit is the tyres are 700×75, but the rim size of the Hasegawa parts is no where near that in scale. For what it’s worth, the tyres are black too whilst the real ones were a light tan or grey as it was before they started adding carbon to the rubber compounds.
LikeLike
OK, i’ll save the wheels for later and have go.
LikeLike
I can’t wait to see the main build on this. It’s stunning so far!
LikeLiked by 1 person
I am staggered by this models progress. I purchased that model around 20 years ago and have just looked at the kit from time to time. I recently thought that perhaps I might start building it when I came across your website. I see that you keep many of your models but was wondering if you had any thoughts perhaps of selling to a good home? It is just incredible and I realize that it is completely beyond my own talents to build something even close. Regardless I look forward to seeing it completed and hope your illness is short.
LikeLike
Many of my other models I’d be happy to part with, but this one is one that I specifically built for me after waiting 20 yrs to get hold of it. So it’s not for sale.
If my health improves enough (it’s a chronic problem so won’t ever go away) I’d be happy to assemble your model for you subject to an consideration and build spec.
LikeLike
I would be very interested in you doing that. Can you provide a range of figures that might encompass doing the job properly? I am inclined to leave it uncovered entirely, but want to wait until I see yours completed.
Best,
Bruce
LikeLike
Very nice work,a real inspiration!Ive got all three and maybe this will finally get me to start one of them.I also have a spare DR-1 if you know anyone interested in a trade for something interesting?Looking forward to seeing the finished aircraft,Cheers,
John Vasil
LikeLiked by 1 person
I am impress with all the extra detailing in building all these models, I purchase my sopwith camel and the fokker dr 1 over 30yrs ago.
I also have a curtis jn 4d jenny.
I build plastic model race cars & tanks, but not at the detail 1/8 scale,
i don’t want to mess-up such a beautiful kit.
So I’am looking over assembly closely.
Thanks for sharing.
rodney fong
LikeLiked by 1 person
It’s a daunting kit to start, but not so bad when you get into it.
LikeLike