
With the cockpit floor complete I moved on to the seat.
This is made from two pieces of sheet aluminium the back section of which has to be bent to shape around the seat base. The kit parts are secured by bend over tabs which aren’t very realistic so I opted to use CA glue. Initially the coating on the kit parts stopped the glue gaining and purchase at all, but once sanded back to the base aluminium a good joint was obtained. The real seat also had a plywood base so I added one made from 1mm ply which also added to the strength.

To simulate fixings for the lap straps I added some brass loops with 1mm nuts glued in place underneath. This is a bit of make-believe on my part as I have been unable to find out exactly how the real straps were secured.


You can see from the photos that I also added the padding strip around the seat back as required by the kit. In retrospect I wish I hadn’t as it wasn’t there on the real item. However, it’s well fixed and is staying now!
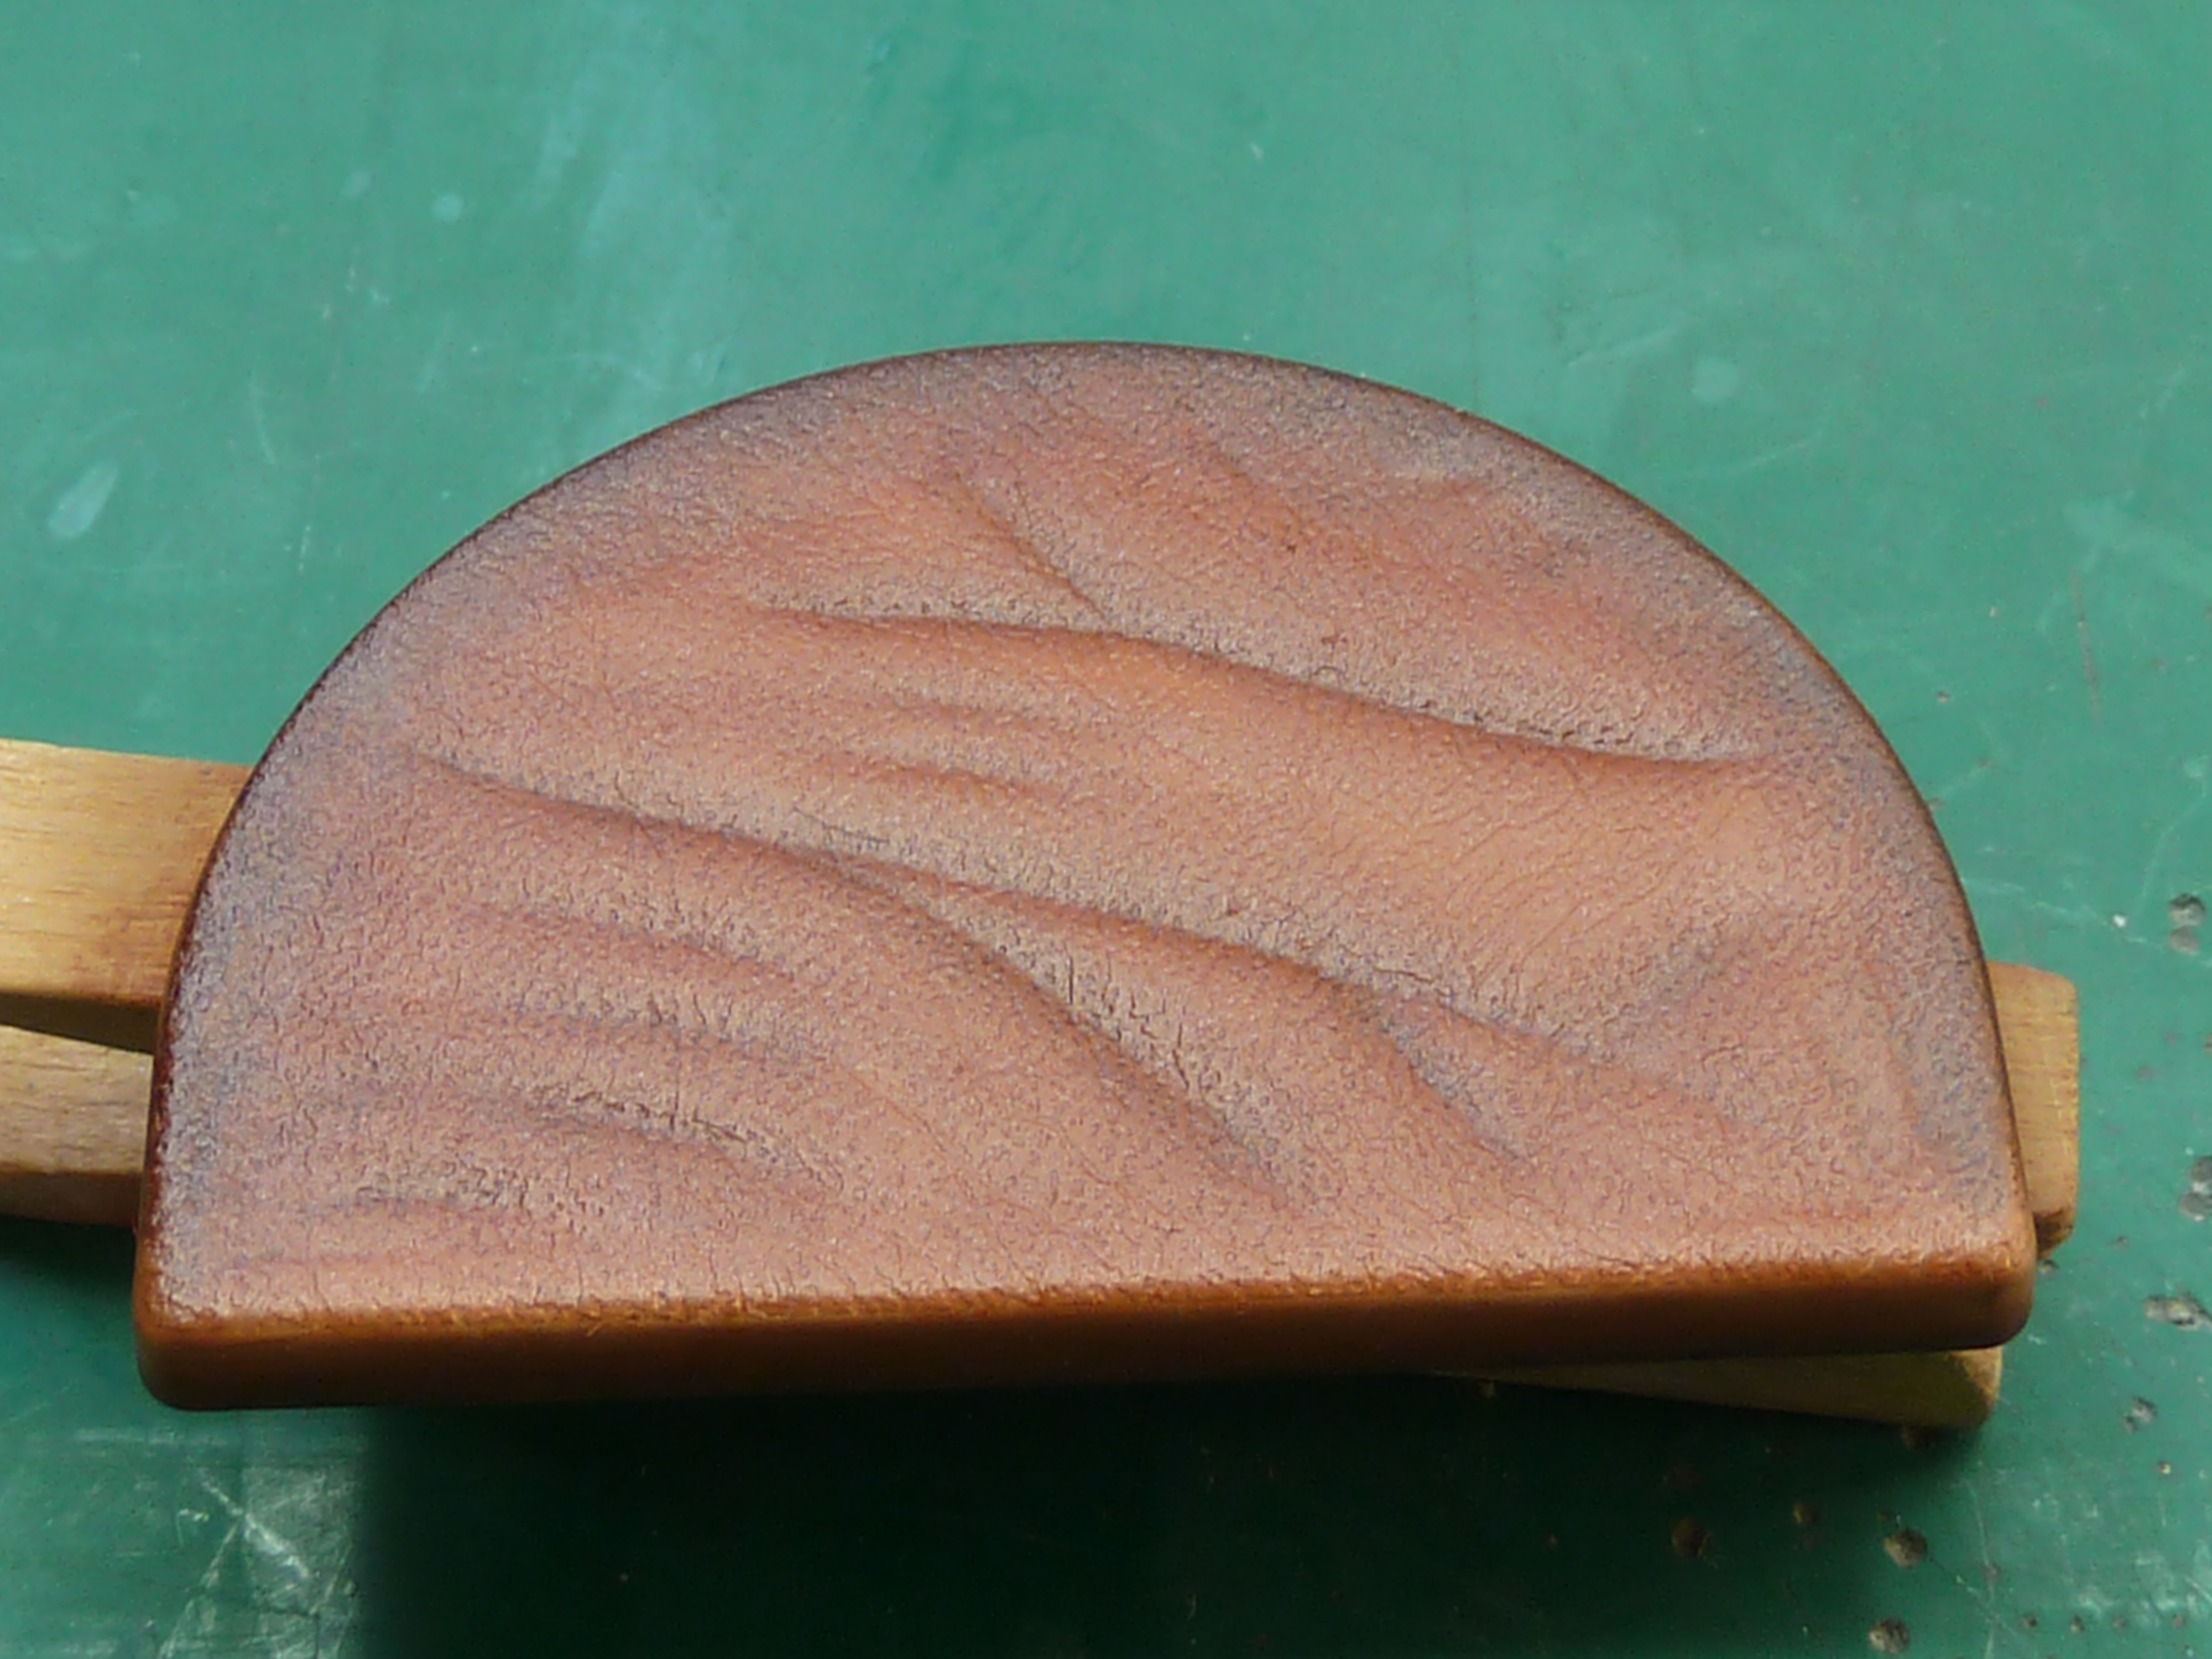
The seat squab was painted a mid brown and then left to bake on the radiator for a few days. It was then detailed with artist’s oils. An initial coat of Burnt Sienna to prepare the surface, then Burnt Umber in the shadow areas and pure white in the highlight areas.

These were then blended together.
When I came to fit the squab in to the seat I found it fouled on the brass seatbelt loops, so I had to trim them off flush. Serves me right for not checking before.
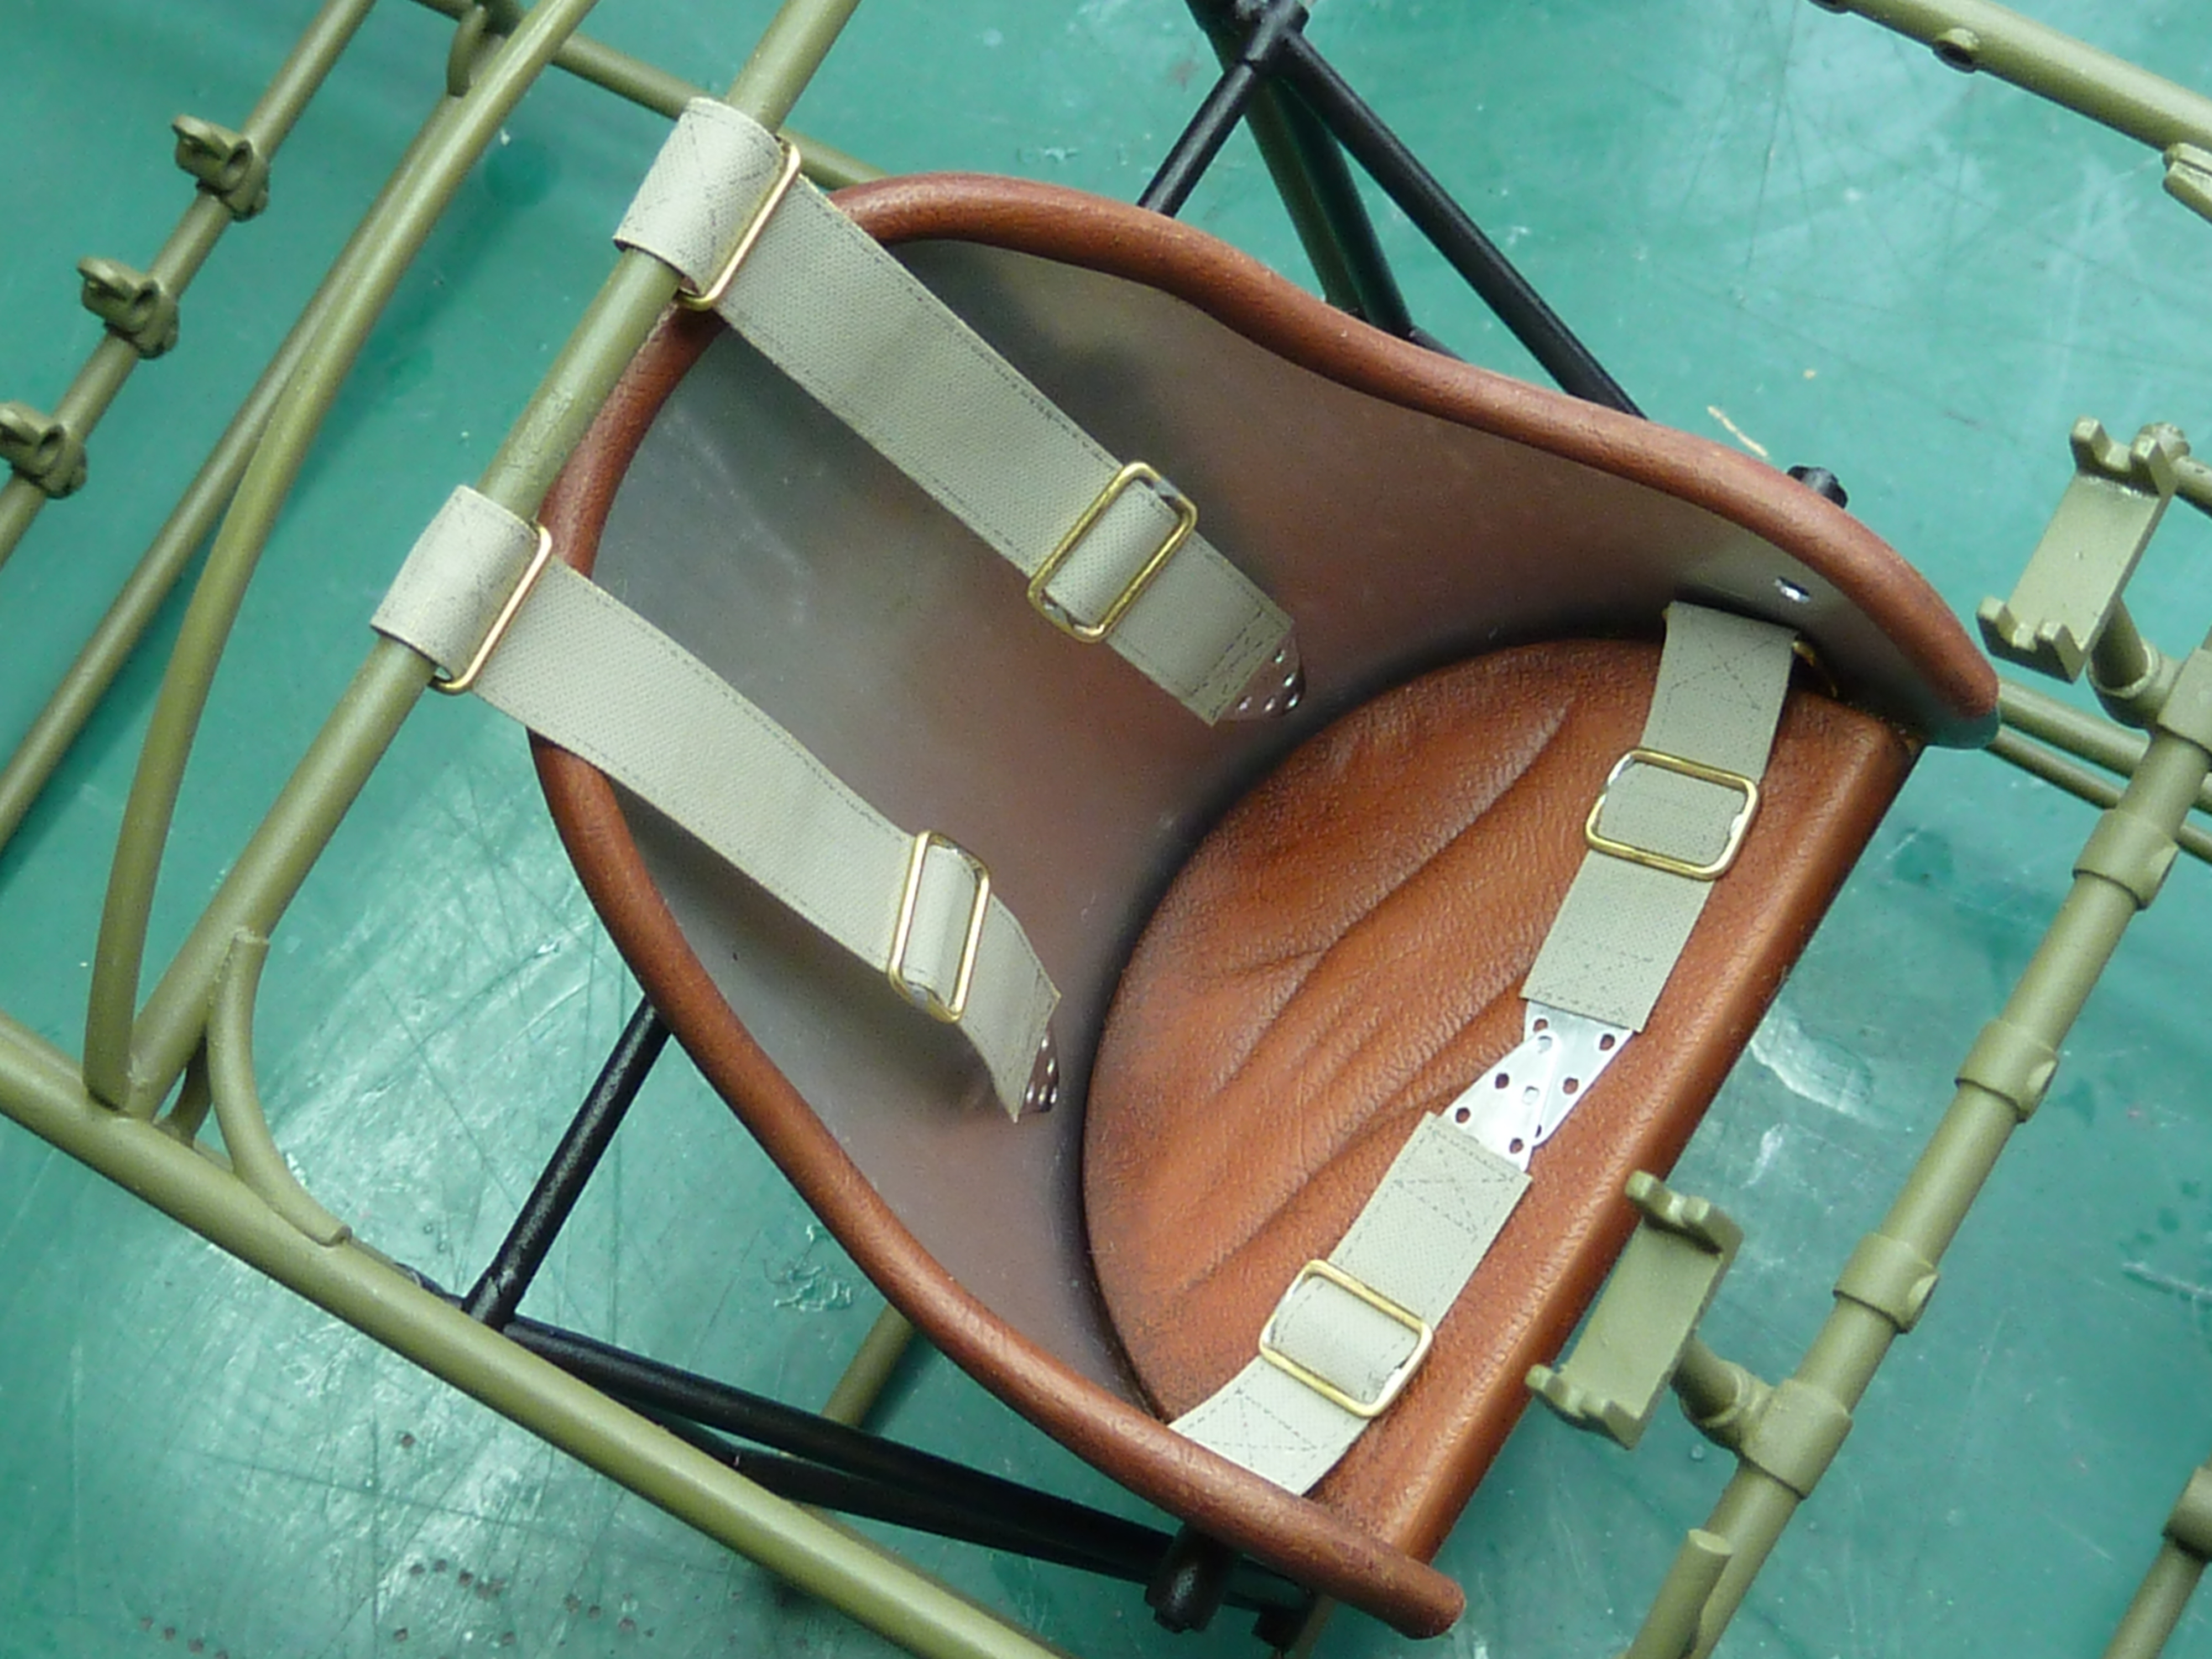
Seat belts were made up using Solartex in the same manner as the Camel model earlier and buckles from 0.3 mm al sheet. Adjusters were fashioned from 0.5 mm brass wire.
The style of the harness was guessed from various photos, the first attempt looking like this.


However, a moment’s reflection told me that there is no way the harness would actually be stitched into the aircraft as I’d done it and also the cross piece on the straps would likely garotte anyone who used it. So a Mk.II harness was designed with a more believable fixing method and no cross piece.
and that is what I have gone with. I know it’s not completely accurate though, but I’m relatively happy with the finished appearance.
Oh, and the last two pictures nicely demonstrate the change in frame colour from steel to the current green.

Inspiring…
LikeLiked by 1 person
Beautiful work as always.
I hadn’t realized the Germans were using shoulder harnesses in WWI! I guess they were always a step ahead.
LikeLike
This was early 1918 so they weren’t so far ahead. The Sutton harness was developed and introduced around the same time by Oliver Sutton an RFC pilot. He was unfortunately killed in 1921 in the crash of an aircraft he was testing at Martlesham Heath.
LikeLike
The harness as I’ve modelled it isn’t totally accurate anyway. The central spigot onto which the buckles fix is missing (it was similar to the Sutton’s early fixing method as far as I can tell) and some German harnesses did have a cross piece, but it was lower down than I put it originally on this one. I’ve also seen other modellers have the shoulder straps attached to the waist straps like infantry webbing.
I haven’t been able to find any definitive answer so have opted for a bit of licence. There is one picture of Richthofen’s Dr.1 with part of what must be the shoulder strap hanging over the cockpit rim. It would have been too long for it to be a lap strap I think, though that’s pure conjecture on my part.
There is a well known picture of Gontherman’s crashed Dr.1 which shows the shoulder straps. His was an early 1917 Dr.1 which suffered the dreaded wing failure. His death contributed to the decision to withdraw the Dr.1 from service until the design was modified.
LikeLiked by 1 person
What’s really interesting to me is I know several WWII types had lap belts only in the early years. 20+ years later!
It would be like a new car today not having air bags. I just hadn’t realized how far behind that was.
LikeLike
Your frame color is very close to RAL 6003, several variations of tone are evident when you google it. In the U.S. Floquil used to make a naval color called Ocean Green 5-O which seems a dead ringer for RAL 6003.
LikeLiked by 1 person