
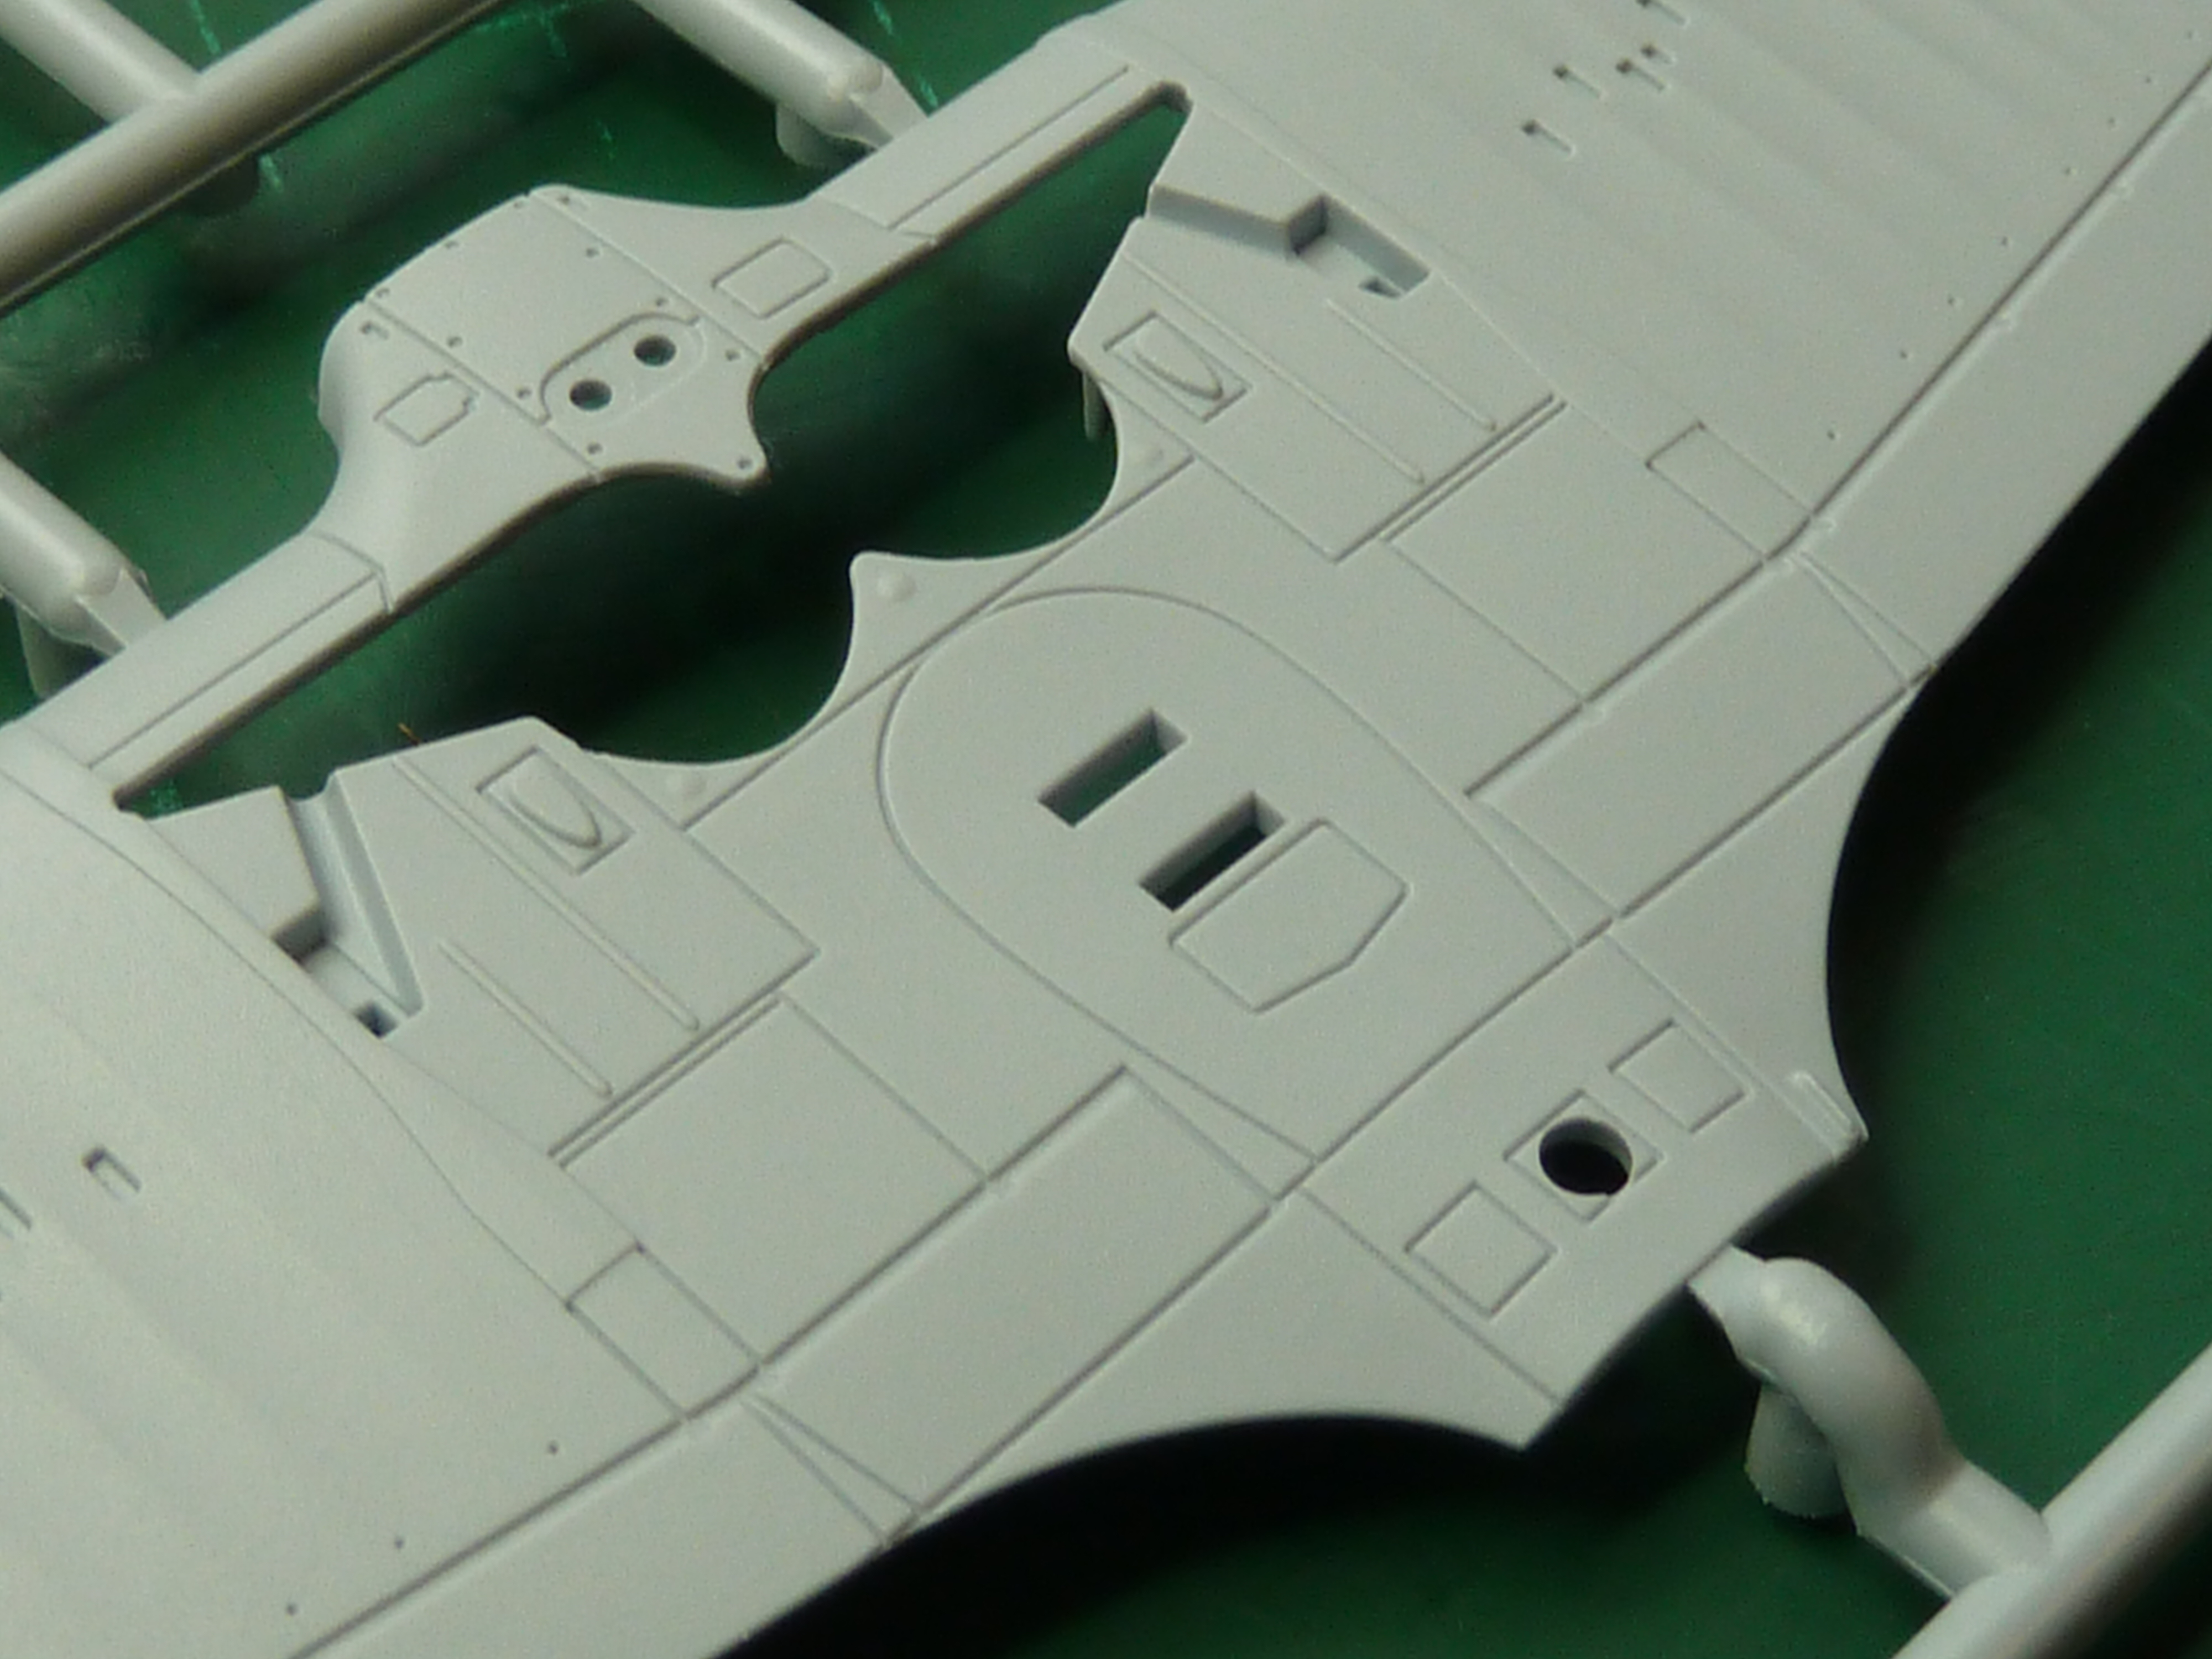
As I was waiting for some parts from the US to continue the DR.1 build, and because I needed a rest from it, I had a little modelling holiday in the form of a 1:72 scale Airfix kit. Specifically, their new Hurricane Mk.1 Fabric Wing model.The model (A01010) is one of Airfix’s new tooling models rather than a re-release of an old favourite. The mouldings are crisp and the fit of the parts pretty good. The new tooling models are streets ahead of what Airfix used to produce.
In addition to the basic Airfix kit I also bought Eduard’s detailing set (73501), and some 5 spoke resin wheels from CMK as the wheels in the kit are the 4 spoke items that appeared in the metal wing Mk.1.

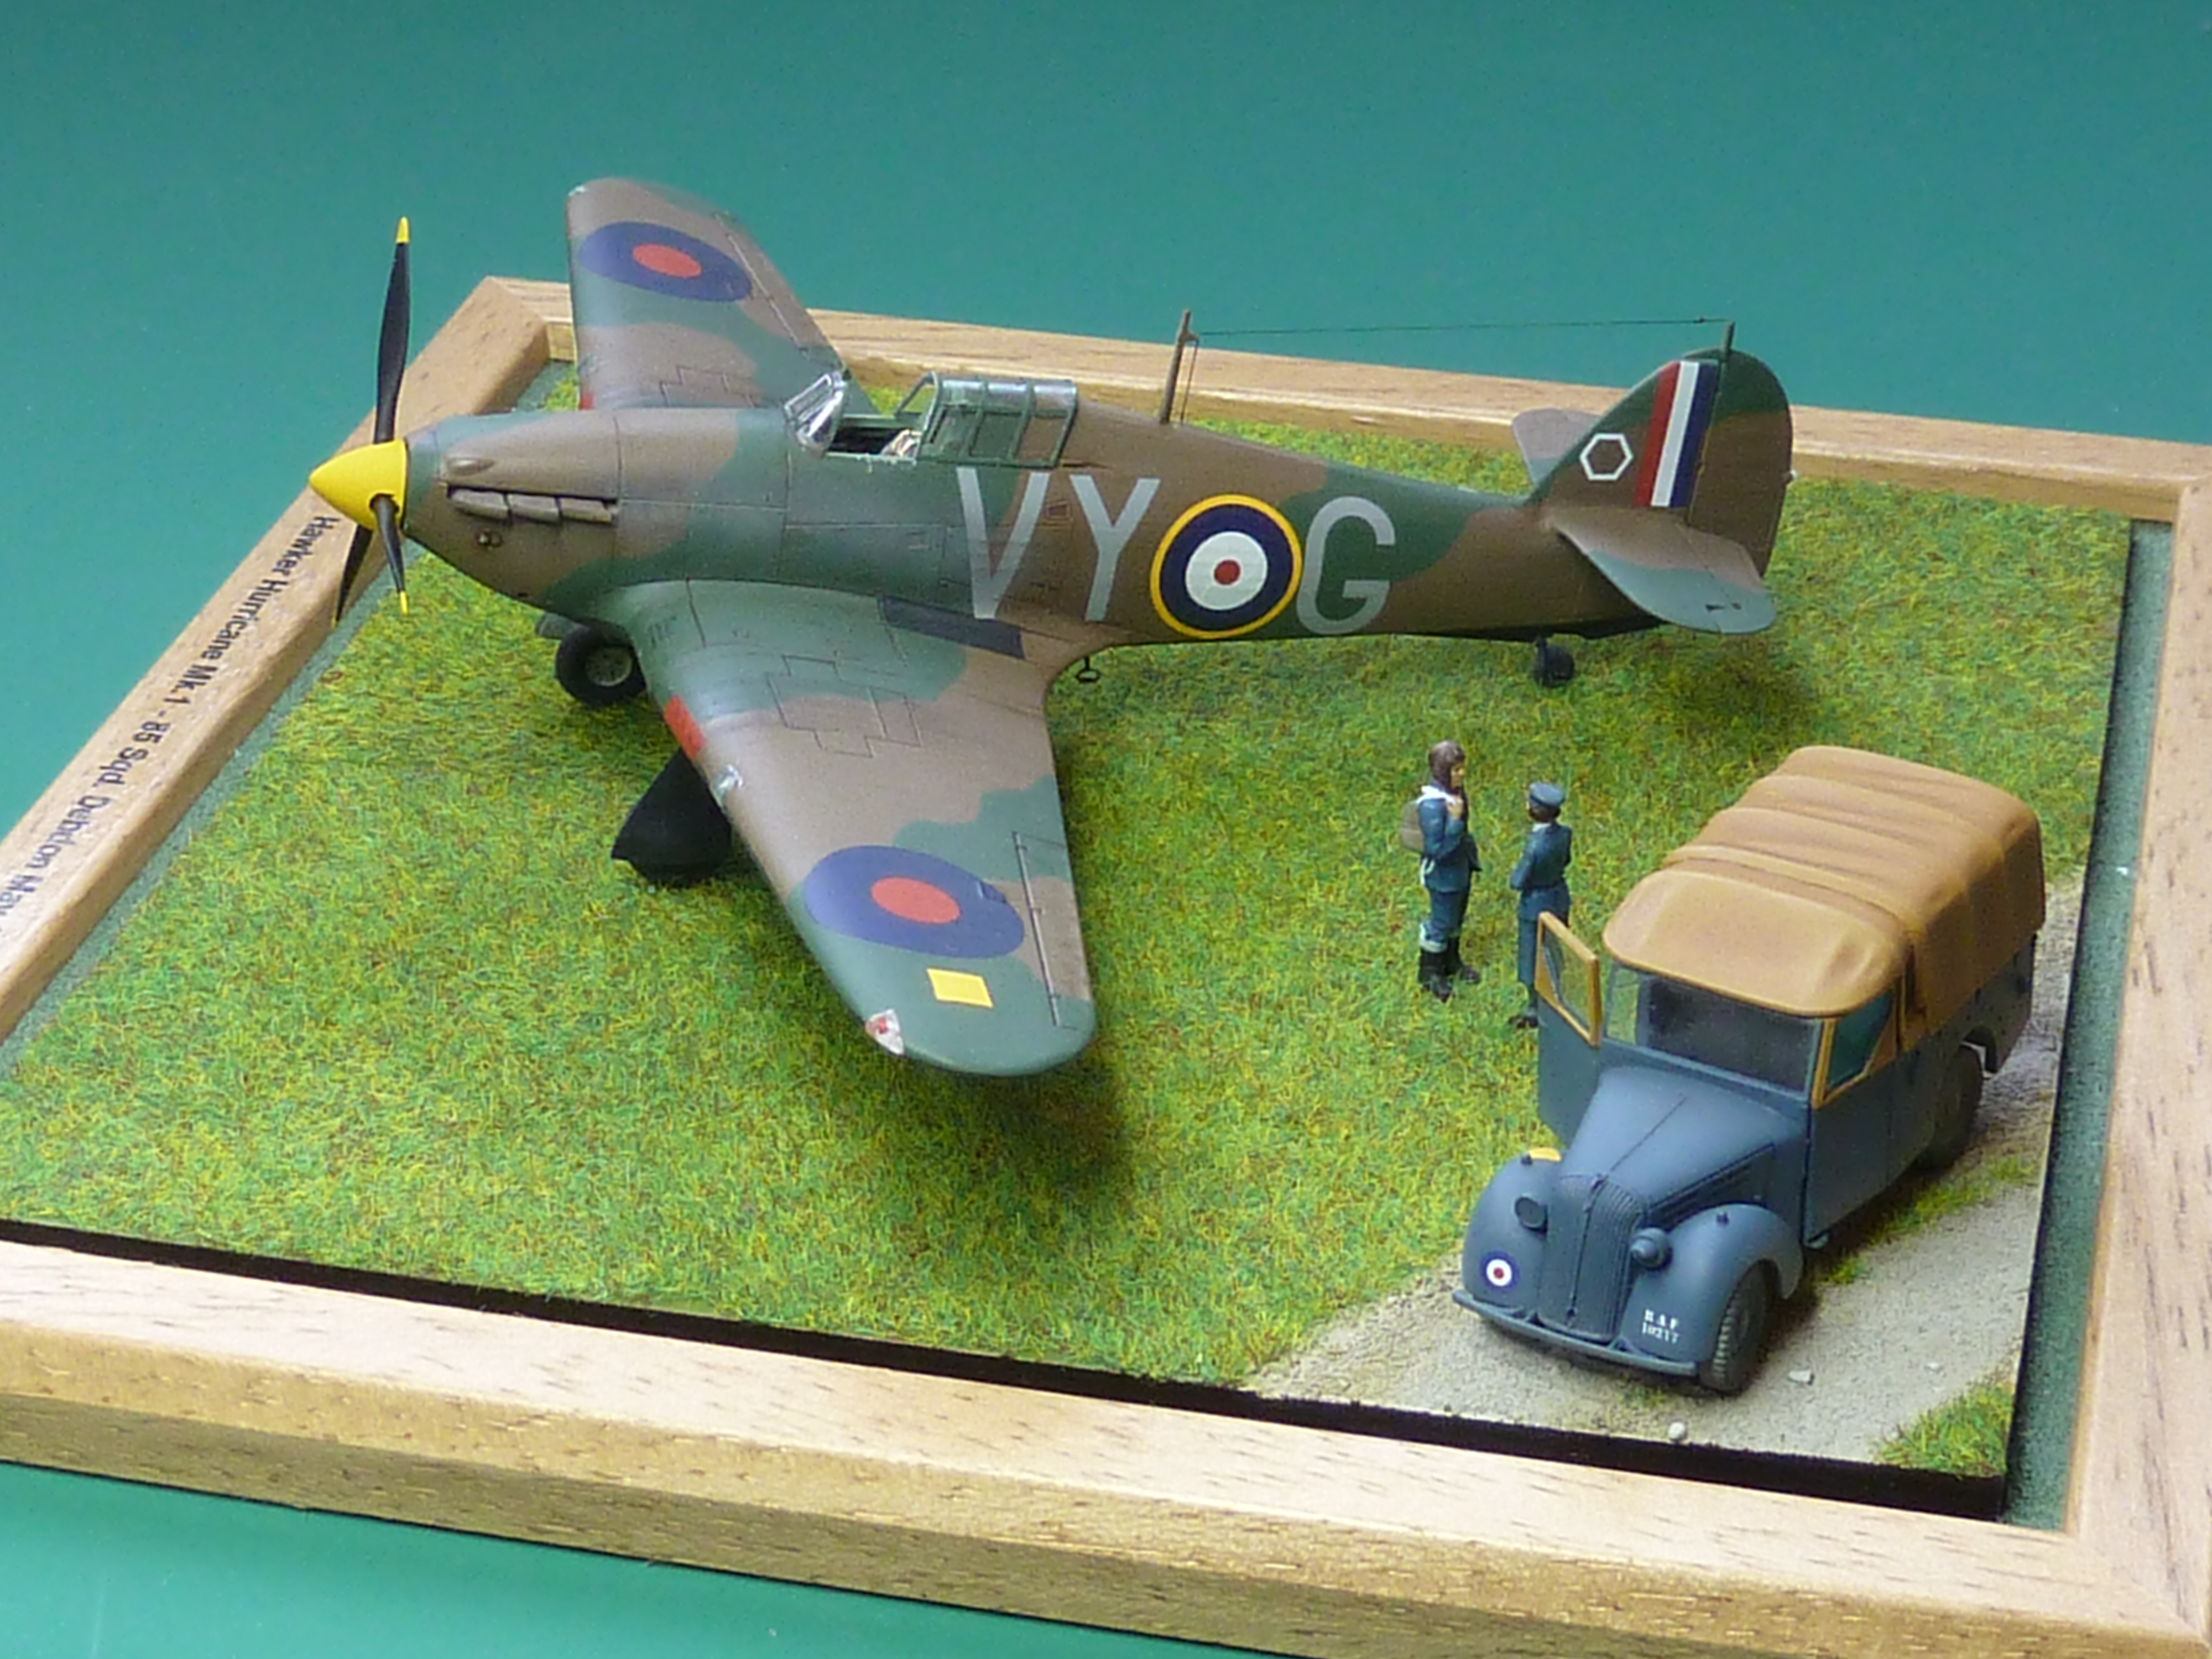
This model was actually made for a friend, but I’ve enjoyed it so much, and like the end result, so I think I may make another (the Airfix decals give you two options from 85 Sqd in May 1940) for my loft squadron.
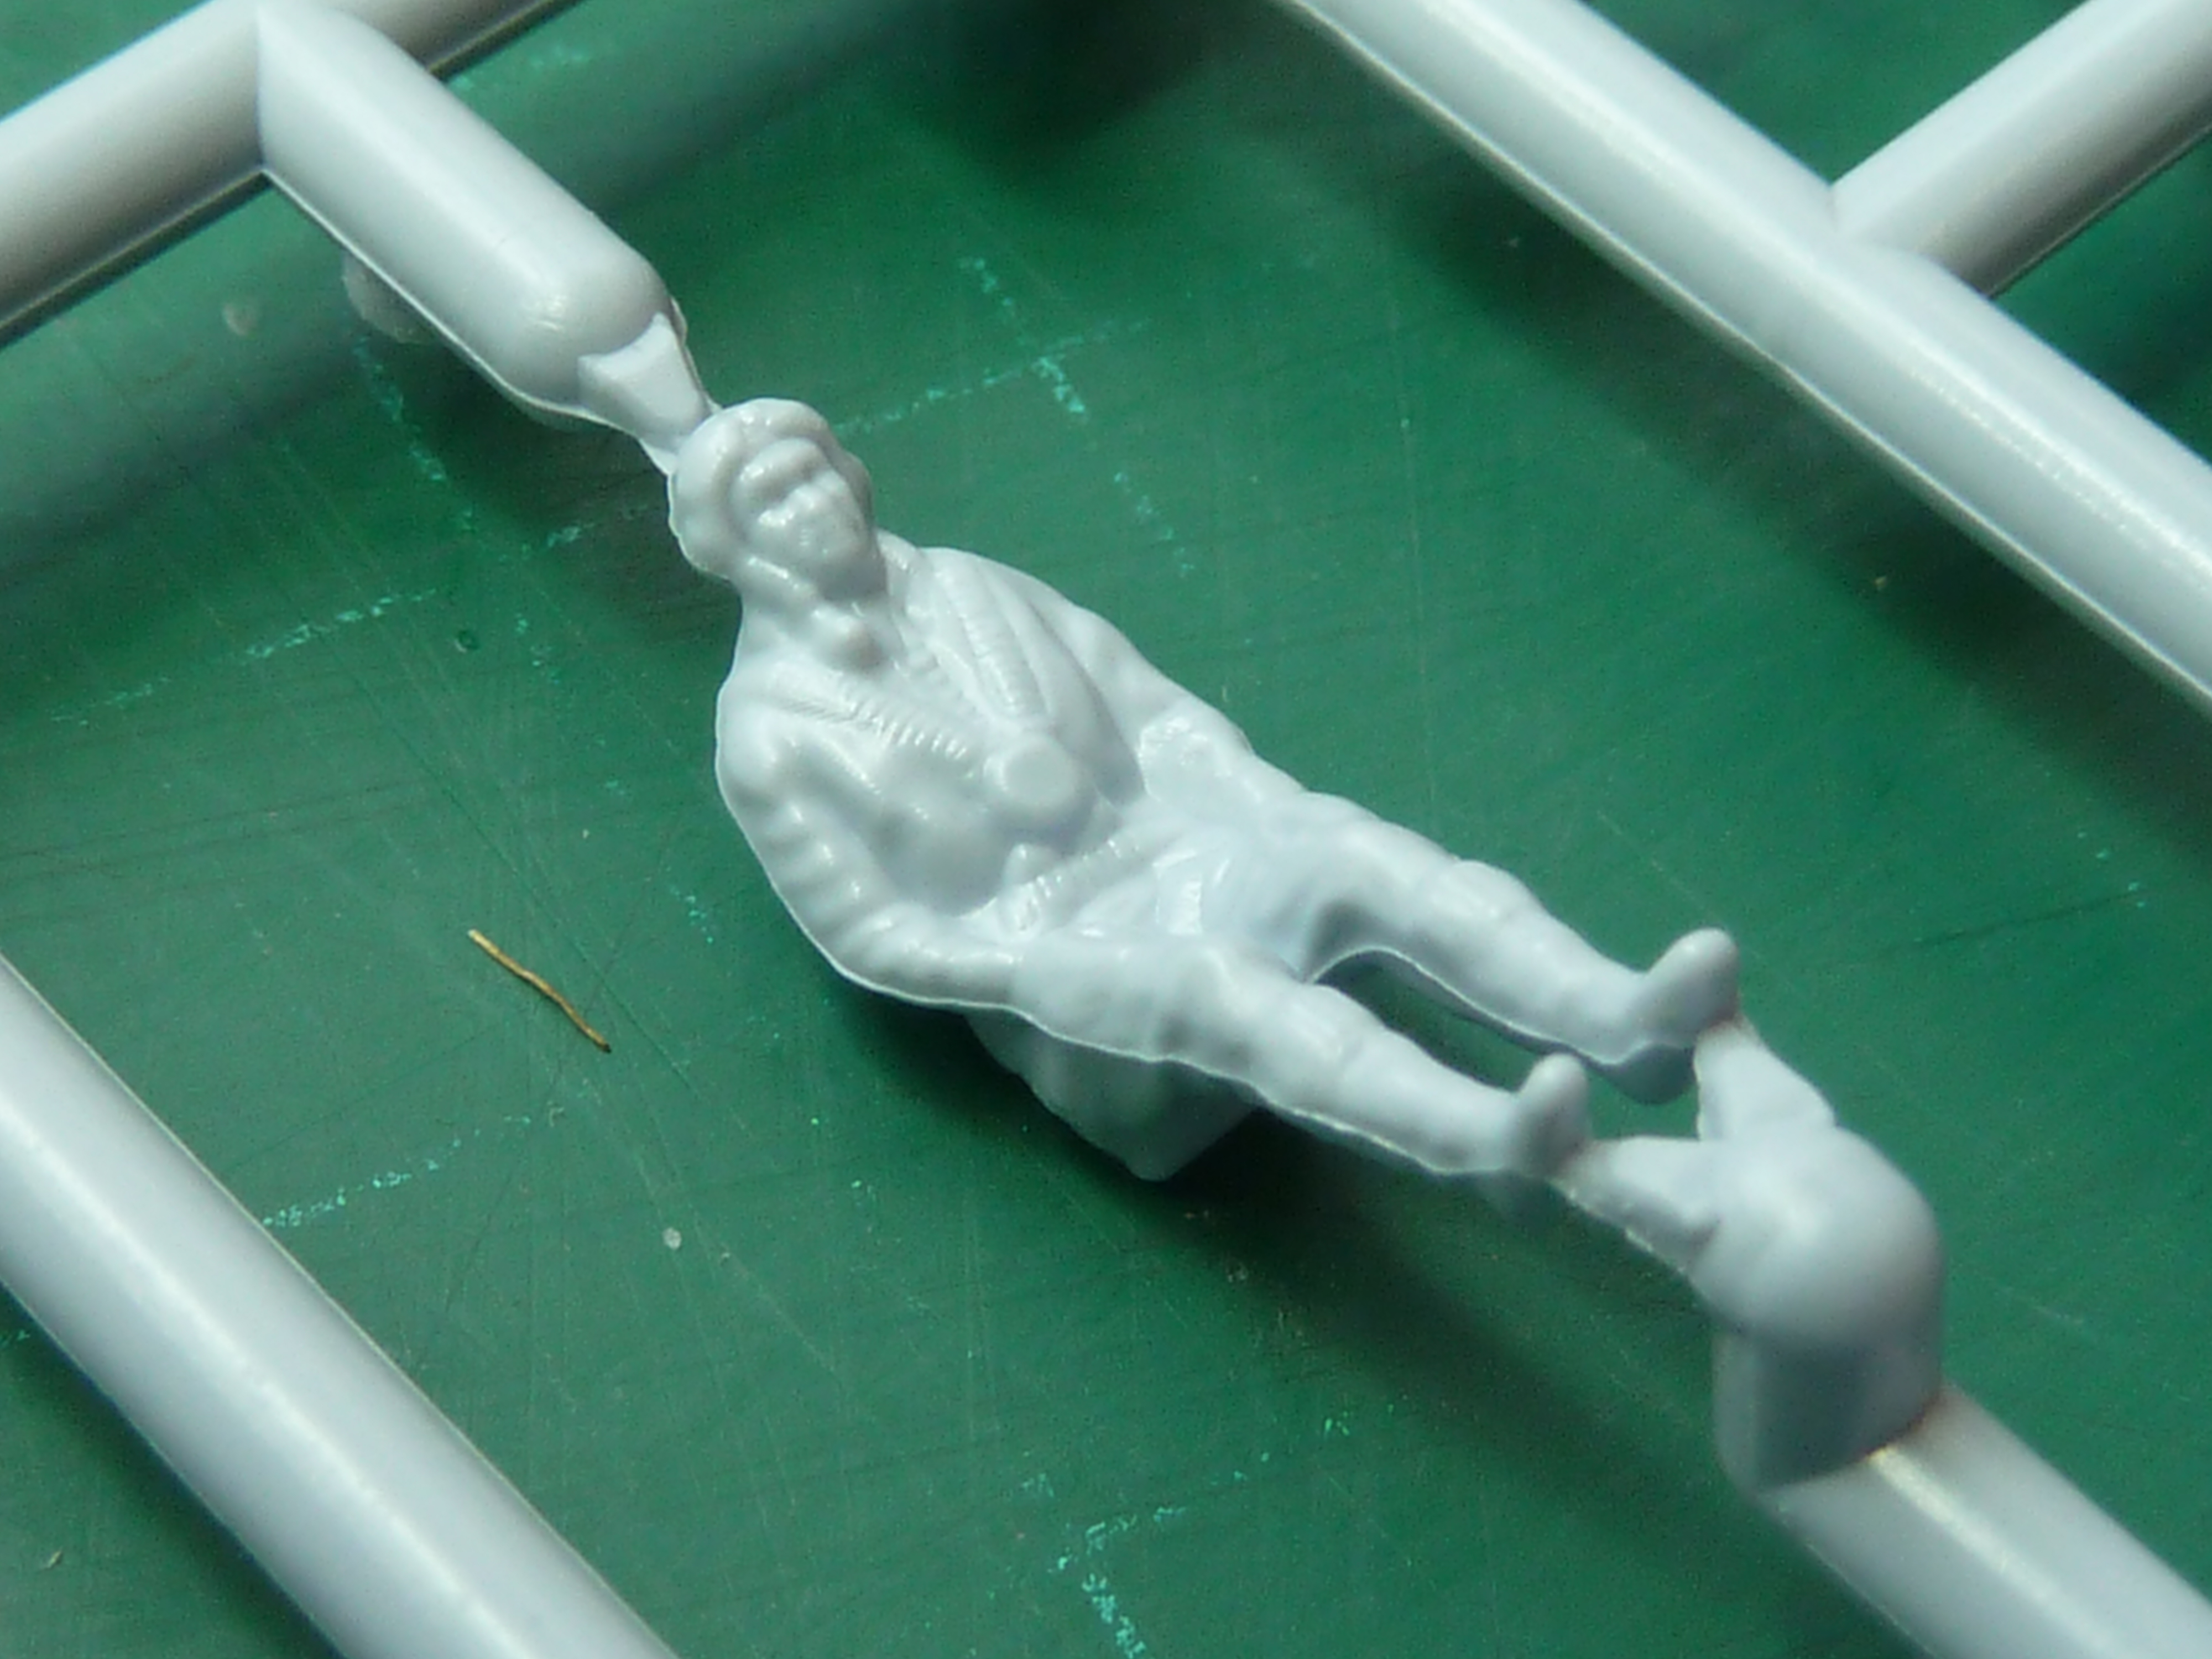
The one part of the kit which is poor is the pilot. He is reminiscent of the old standard and not in keeping with the rest of the kit. However, I’d already decided I would make the aircraft with the cockpit empty and canopy open to maximise the view of the interior.
I wanted a pilot to stand next to the aircraft in the final diorama and whilst searching for a suitable figure discovered that there are a dearth of WW2 RAF figures in 1/72 scale, which given how many kits there are of that era is a surprise. In the end I opted for Airfix’s WWII RAF Personnel, which is also no longer available now. The figures in it are in soft polythene plastic too, so not ideal by any means. However, if you use a very sharp scalpel and fine emery paper they do clean up acceptably.
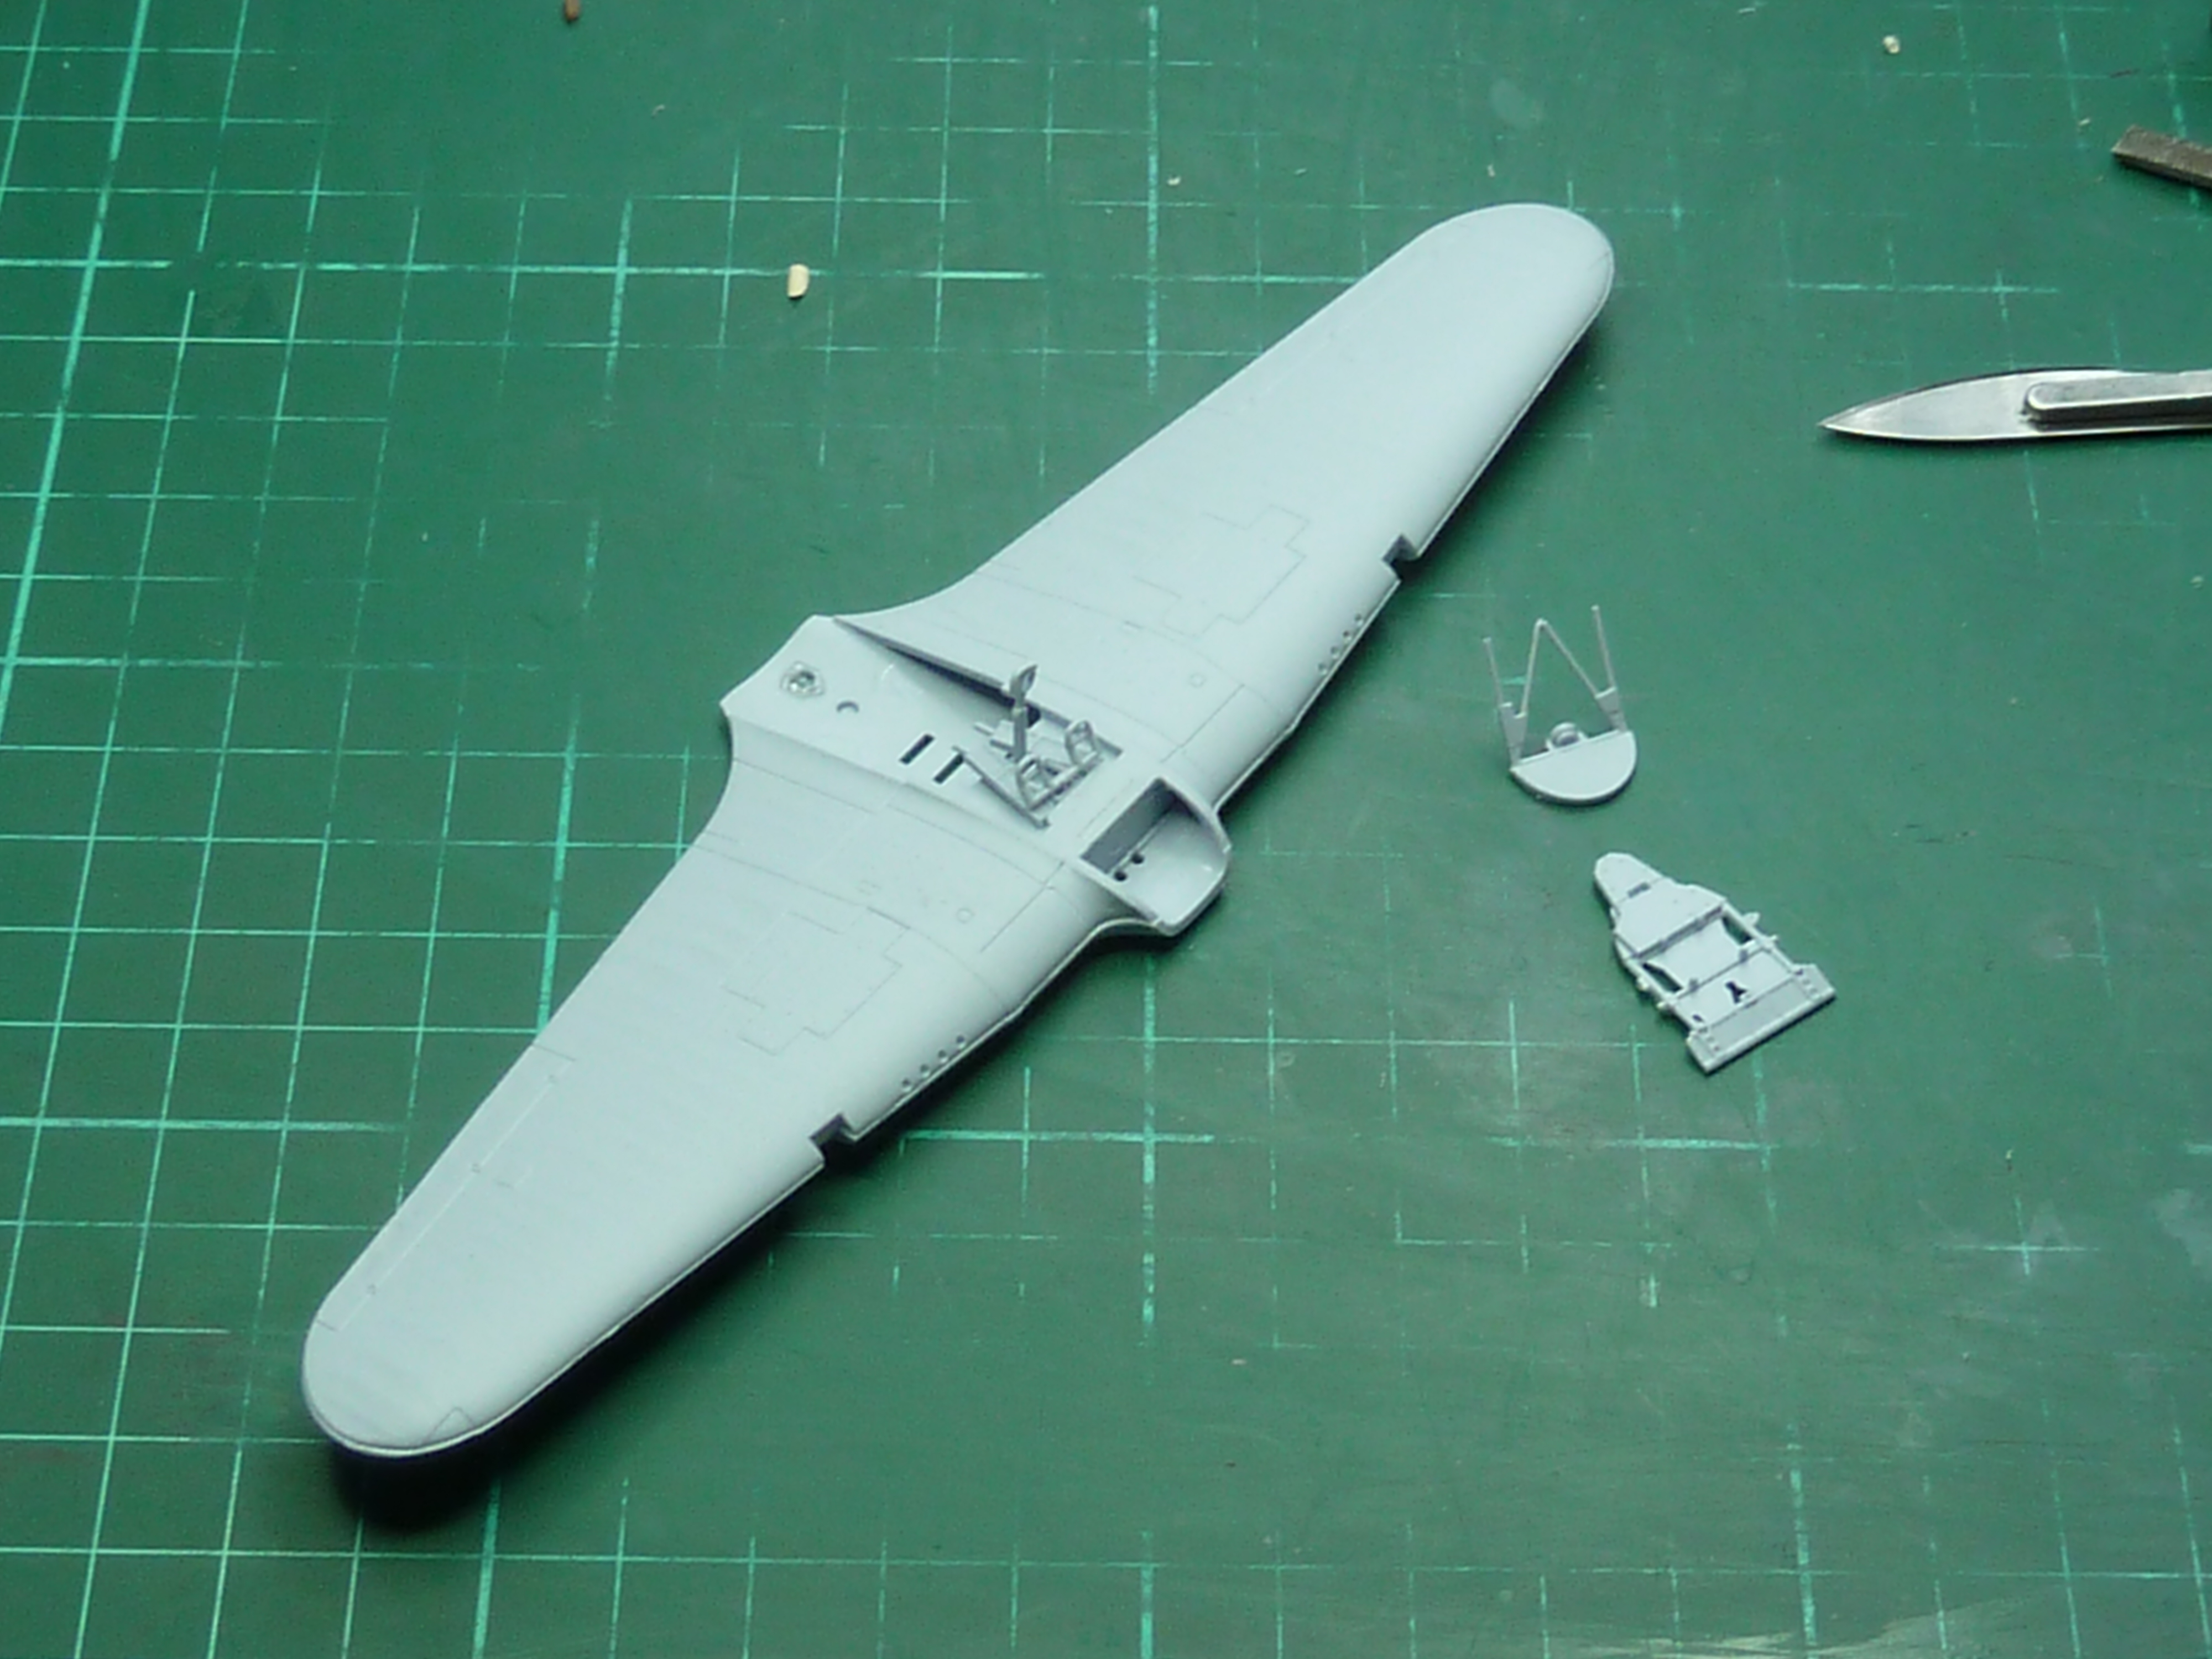
Assembly starts with the undercarriage bay and wings, on top of which is built part of the cockpit.
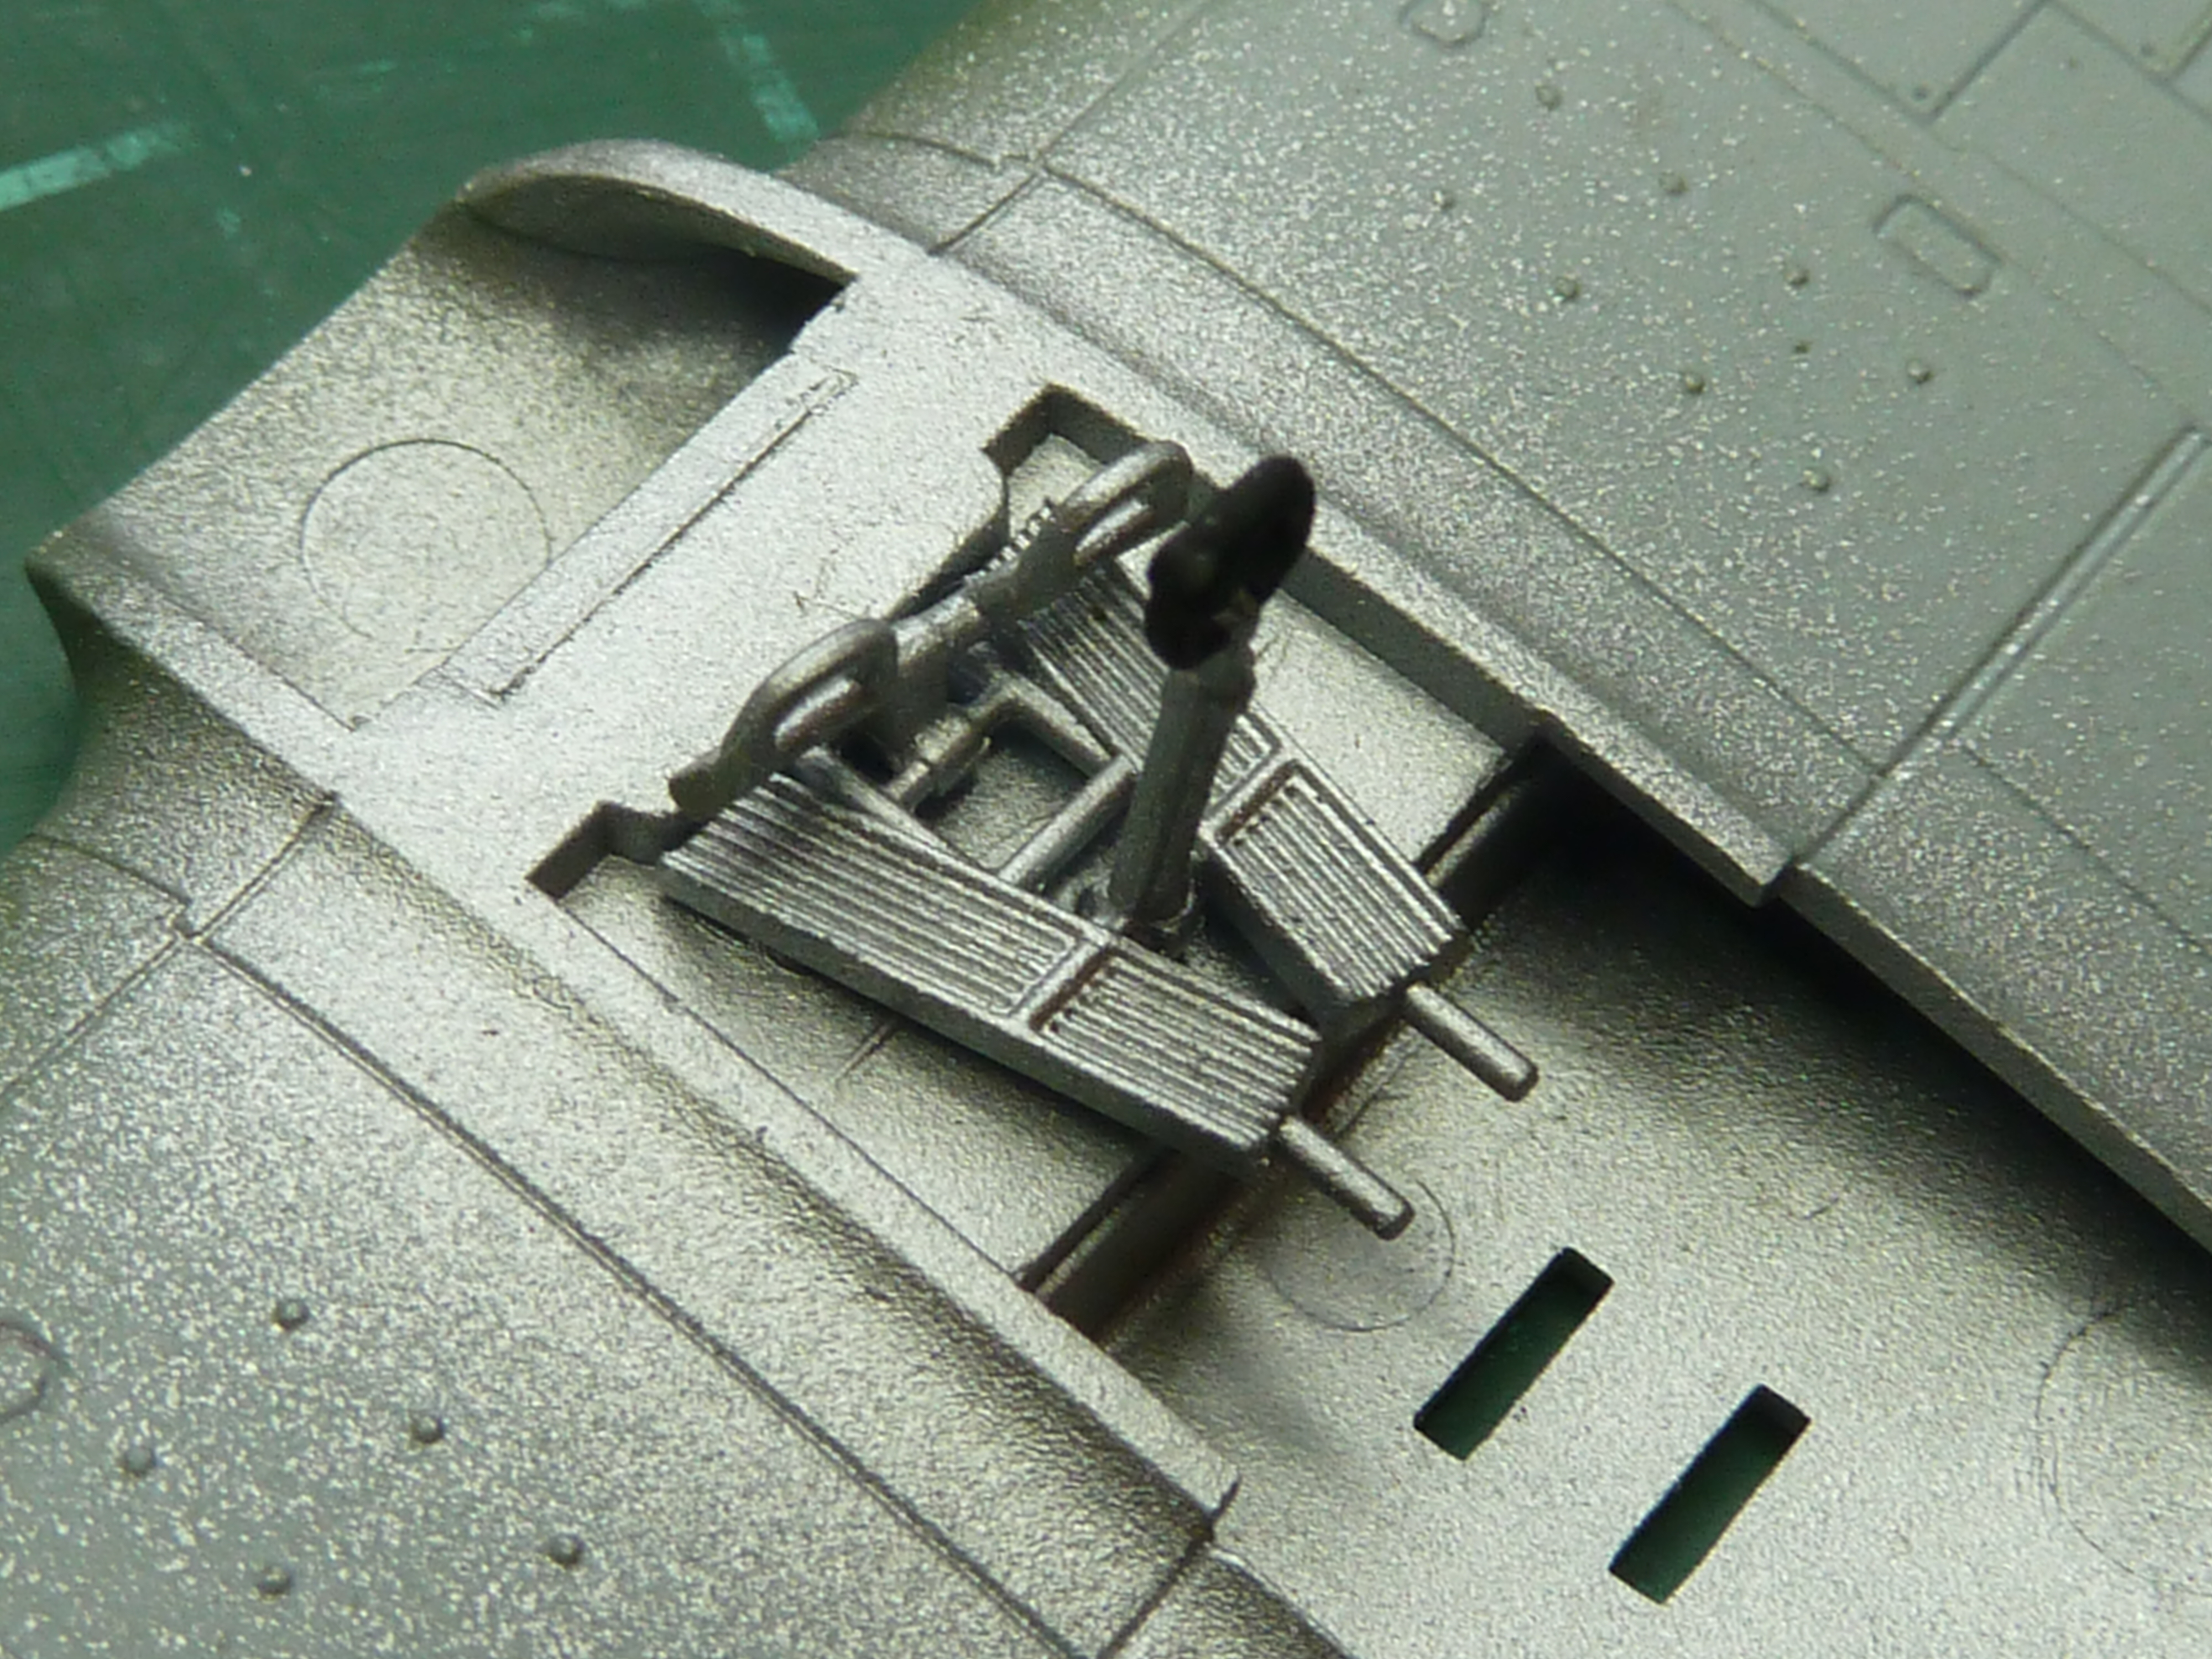
A quick spray with aluminium, and if you’re wondering why the rudder bar is slightly askew it’s because I planned to position the rudder itself slightly off centre too, to add a little interest to the final diorama.
Then assembling the rest of the cockpit with the Eduard detail set.

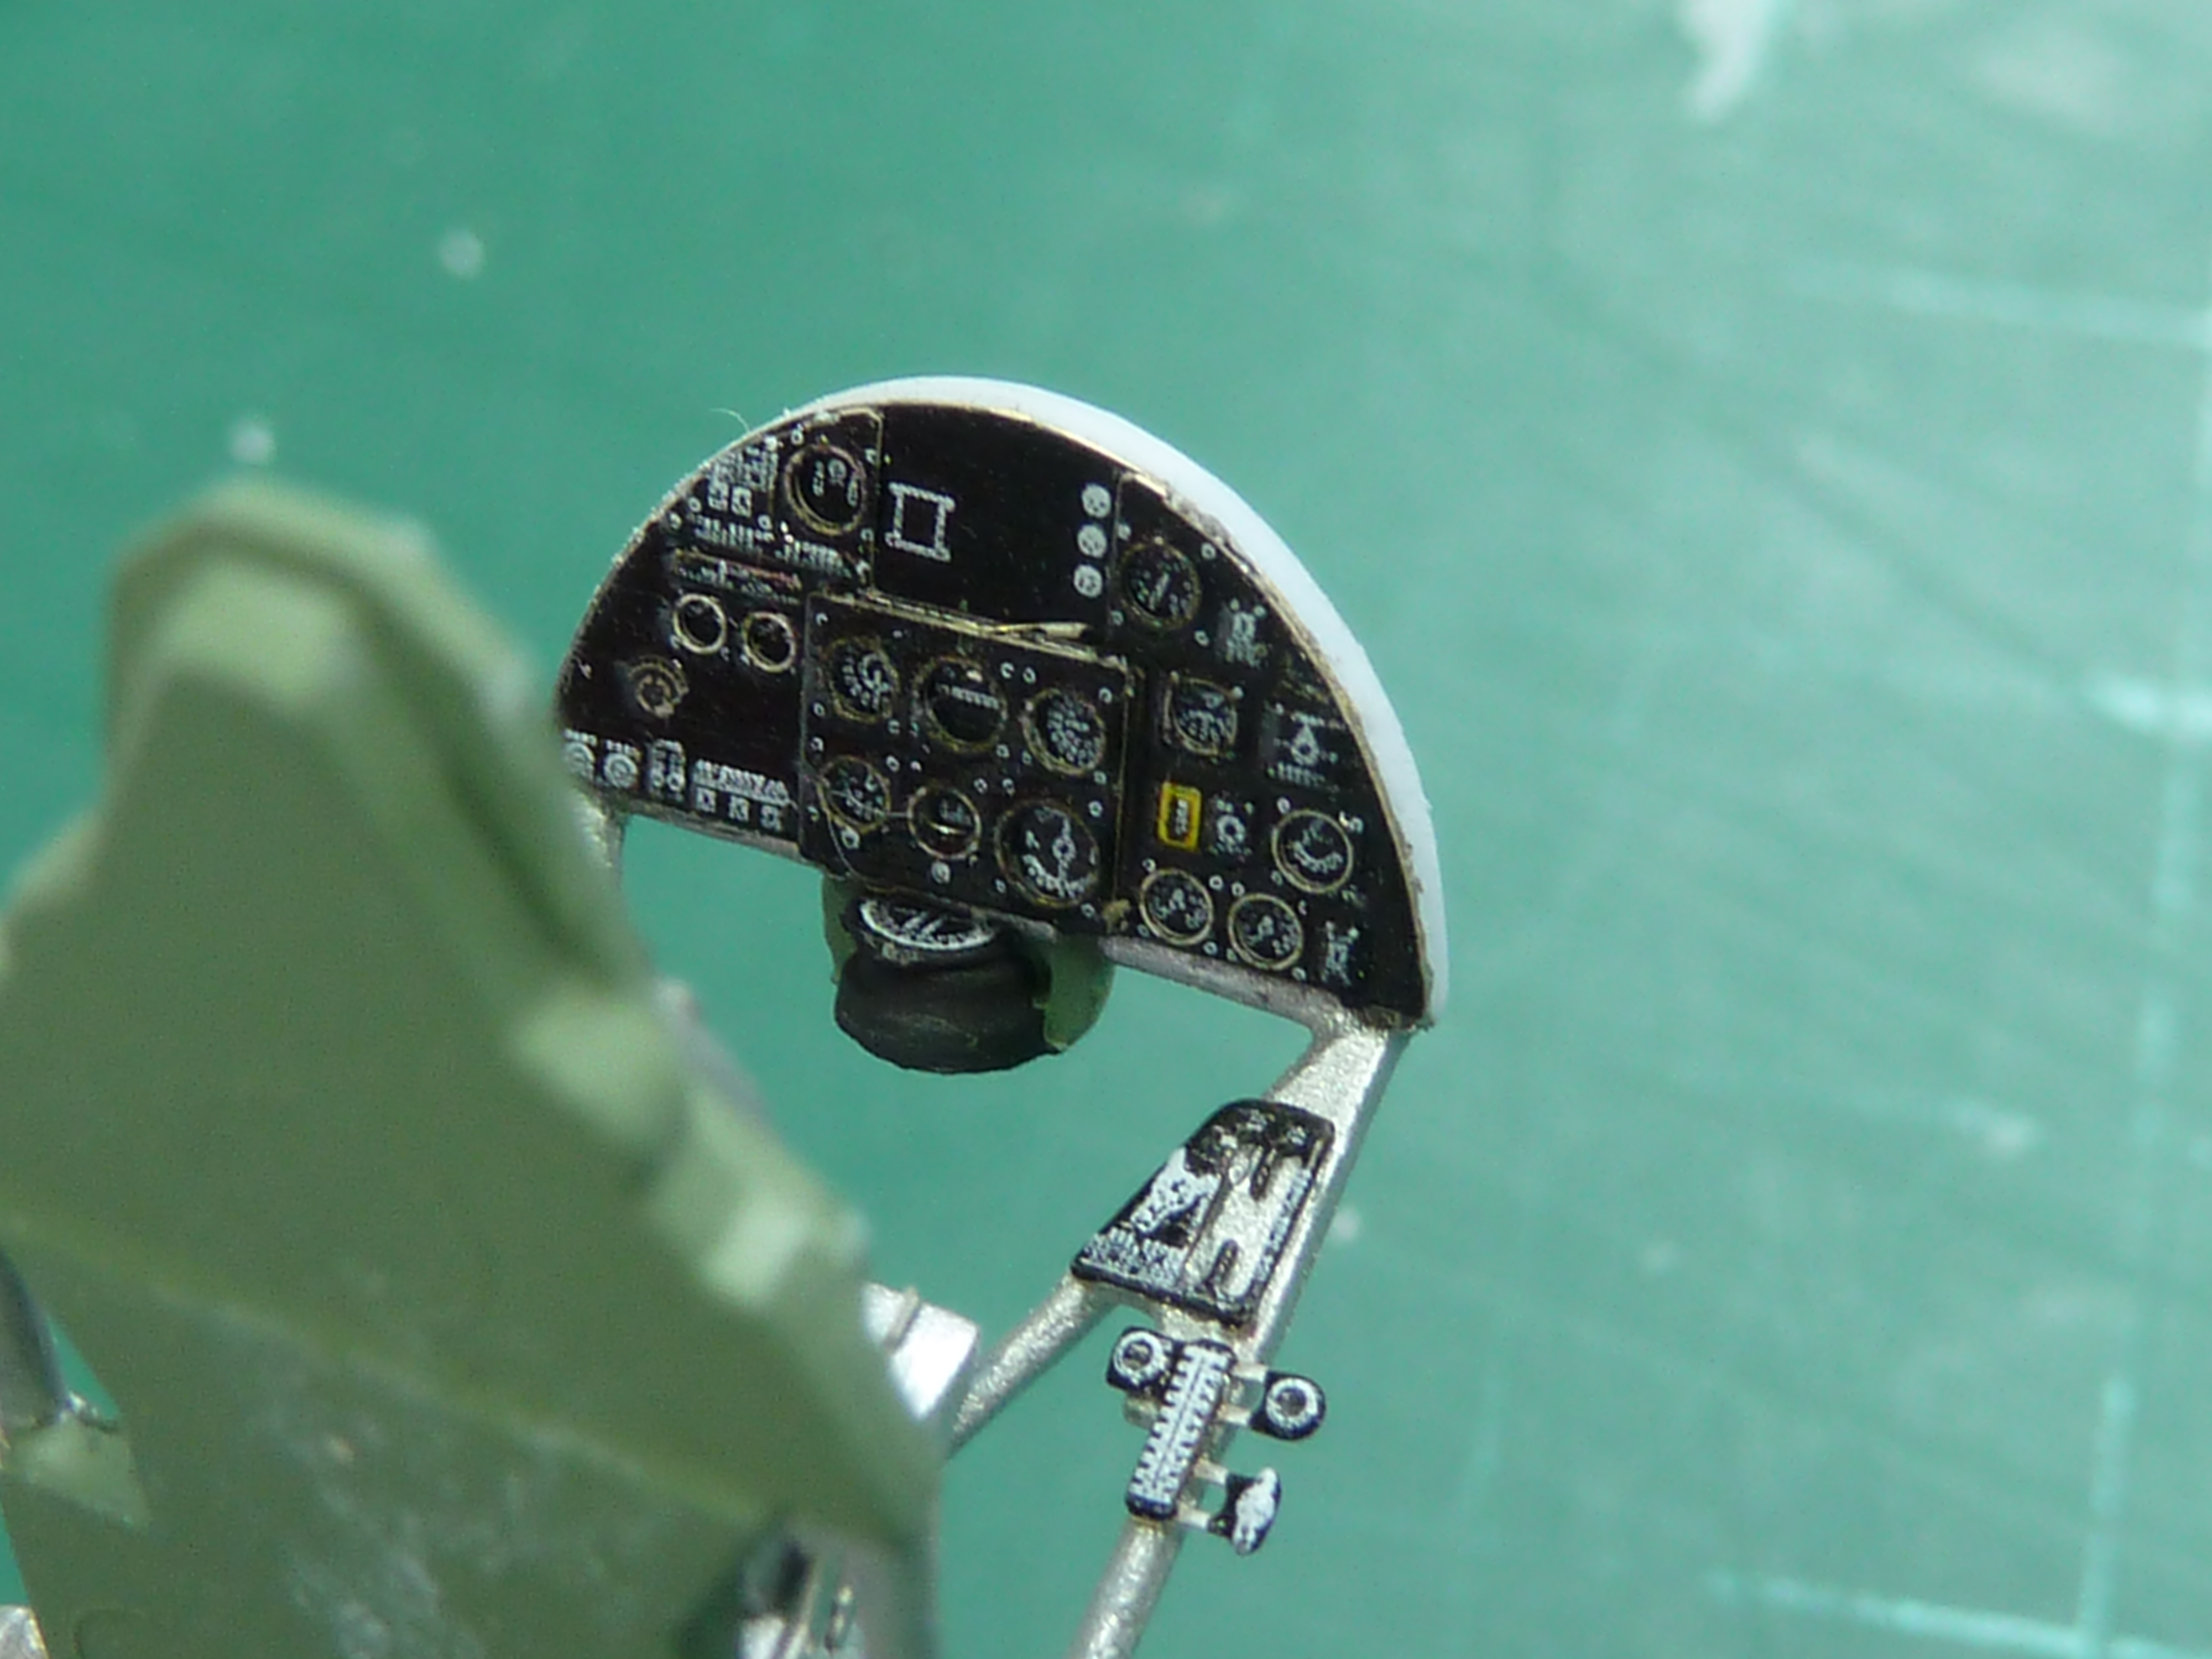
The fit of the Eduard components was very good indeed.
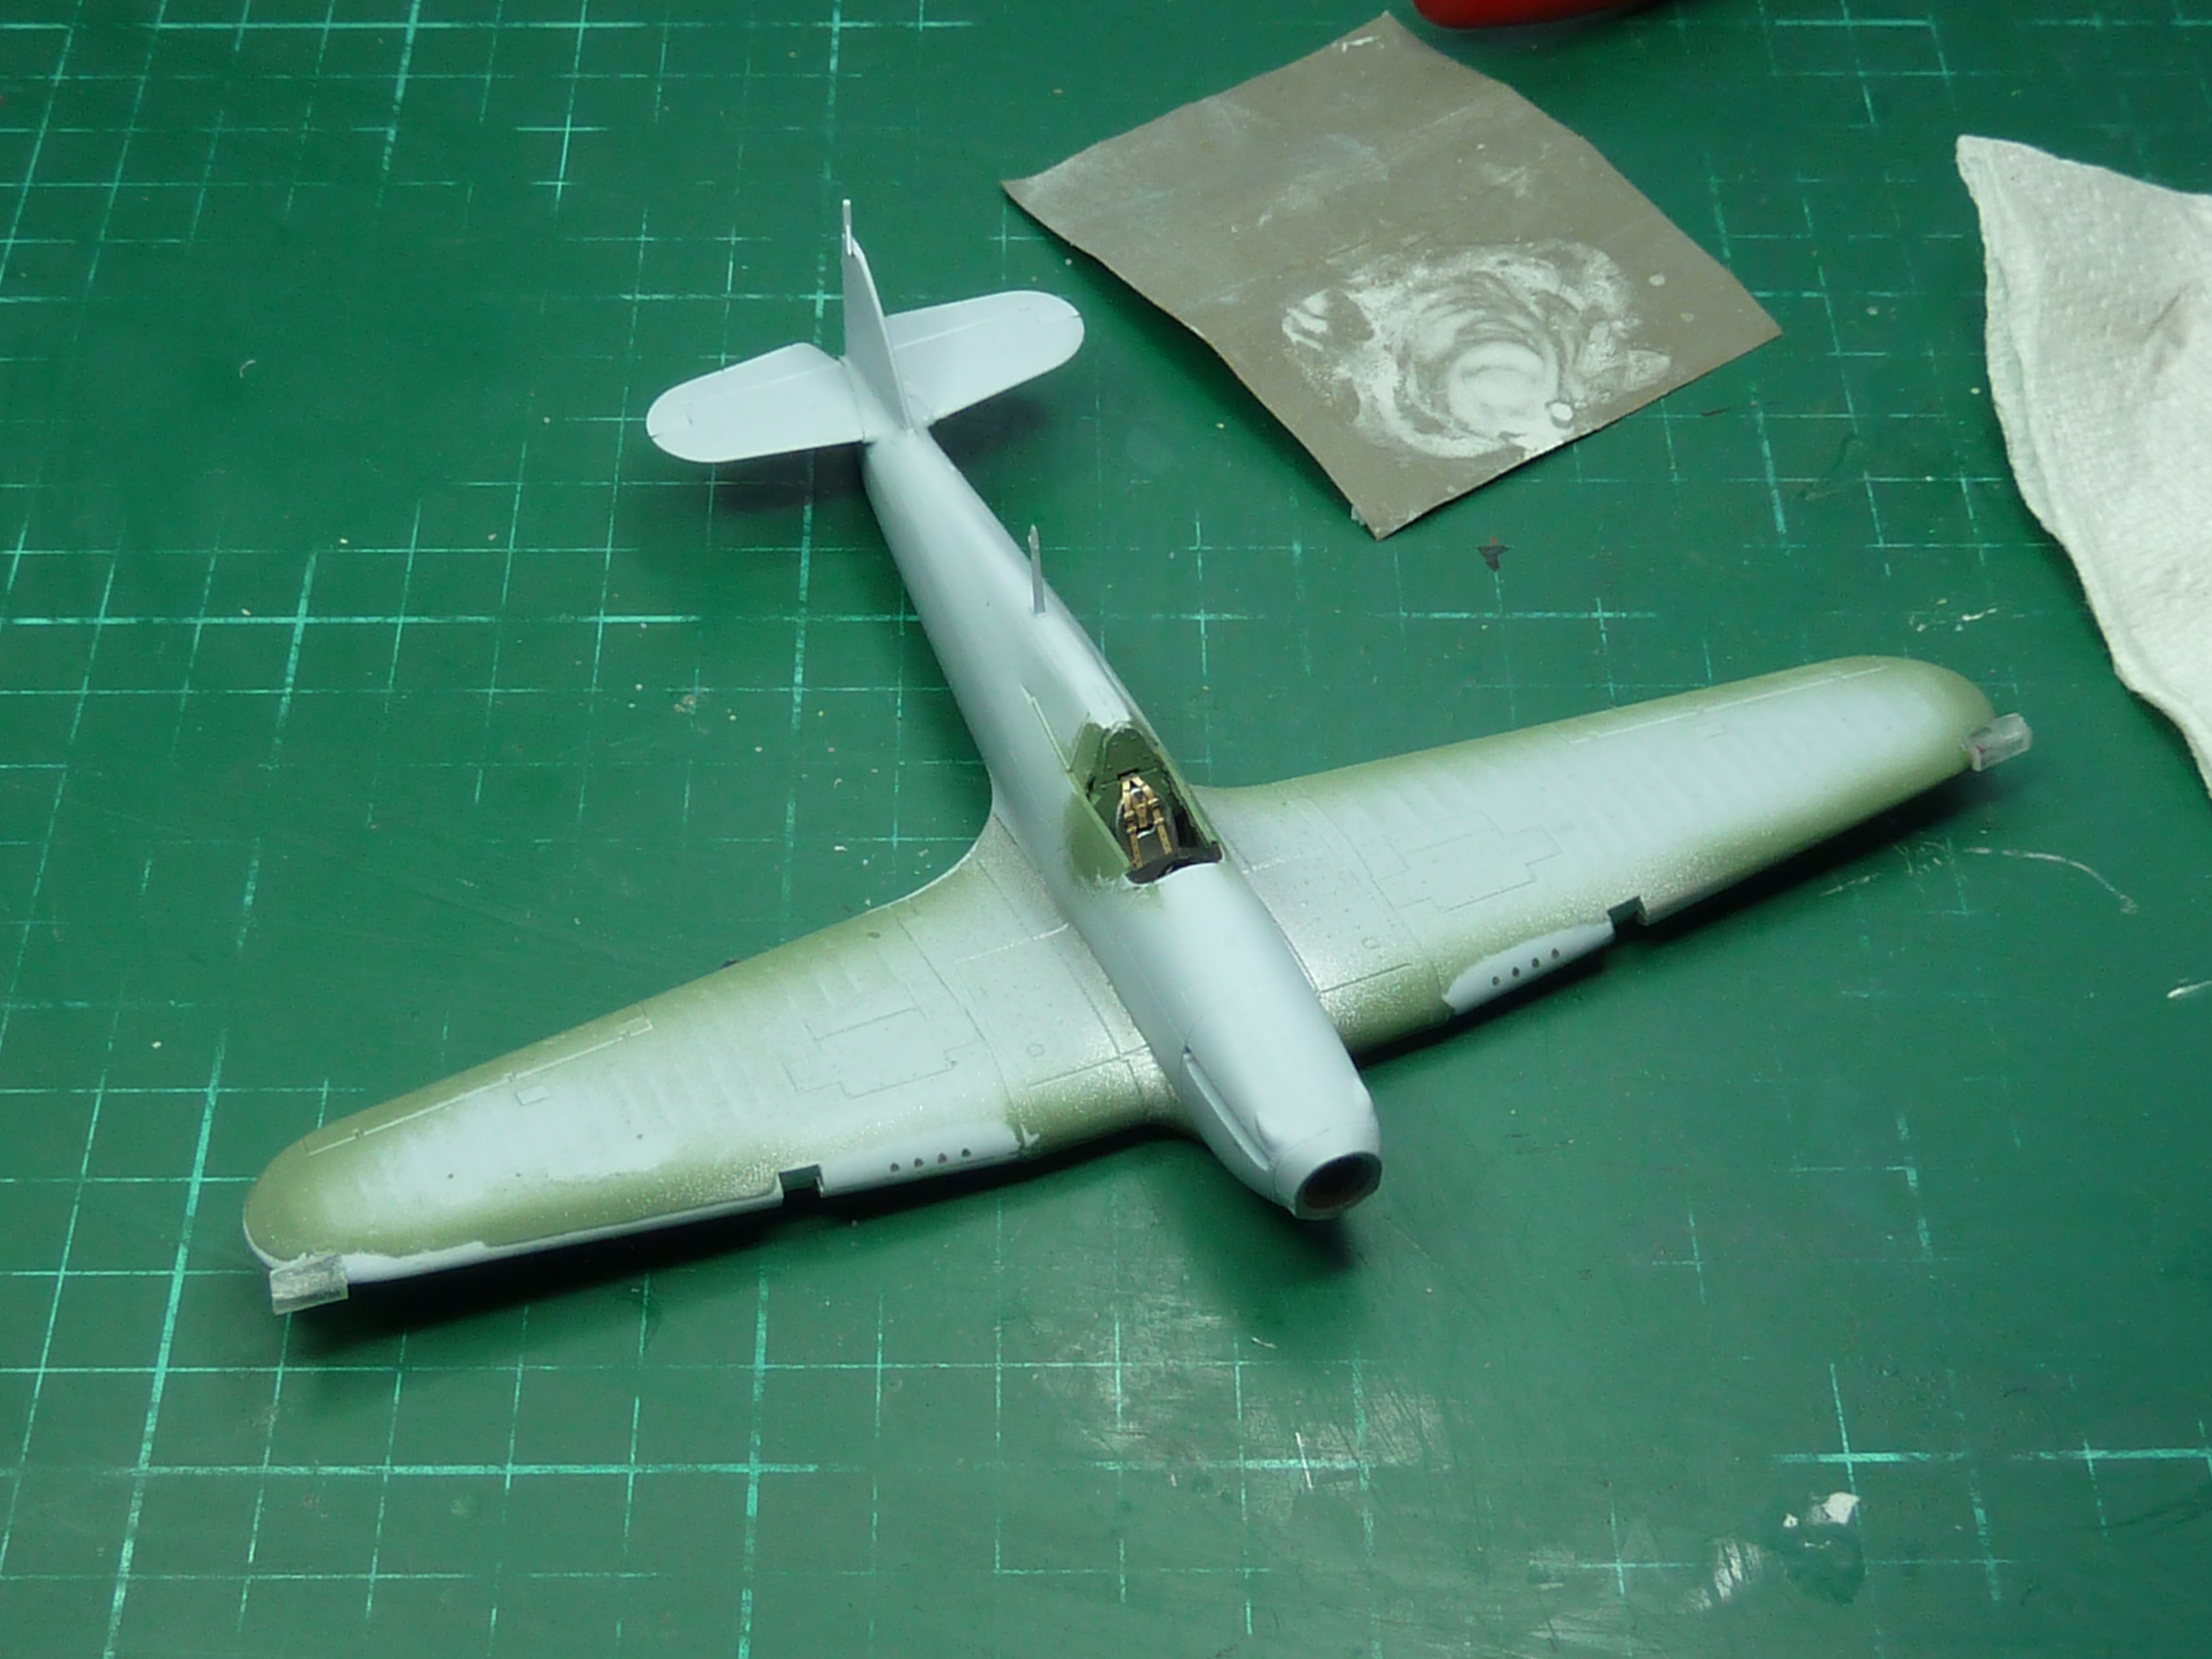
Once the cockpit was complete the fuselage was assembled and the wings attached. With care you can get virtually no seam, though I did have a problem with getting a decent join around the front of the wingroot and fuselage. After a degree of fettling I still needed to add a little filler to get a reasonable finish, but that was the only real problem.
One aspect of the kit that I didn’t like was the navigation lights which are moulded into the wing rather than being separate clear components. I cut out the moulded sections then and replaced them with clear blocks taken from the canopy sprues. These were pre-drilled with ‘lights’ which were then painted red and green respectively for port and starboard.
Once glued in place they were then filed and sanded back to match the profile of the wing.

I wasn’t entirely happy with the fit of the landing lights either (which are provided as clear components). Once installed I filled the small gaps left with super glue and sanded them smooth too. Then it was on to the painting.
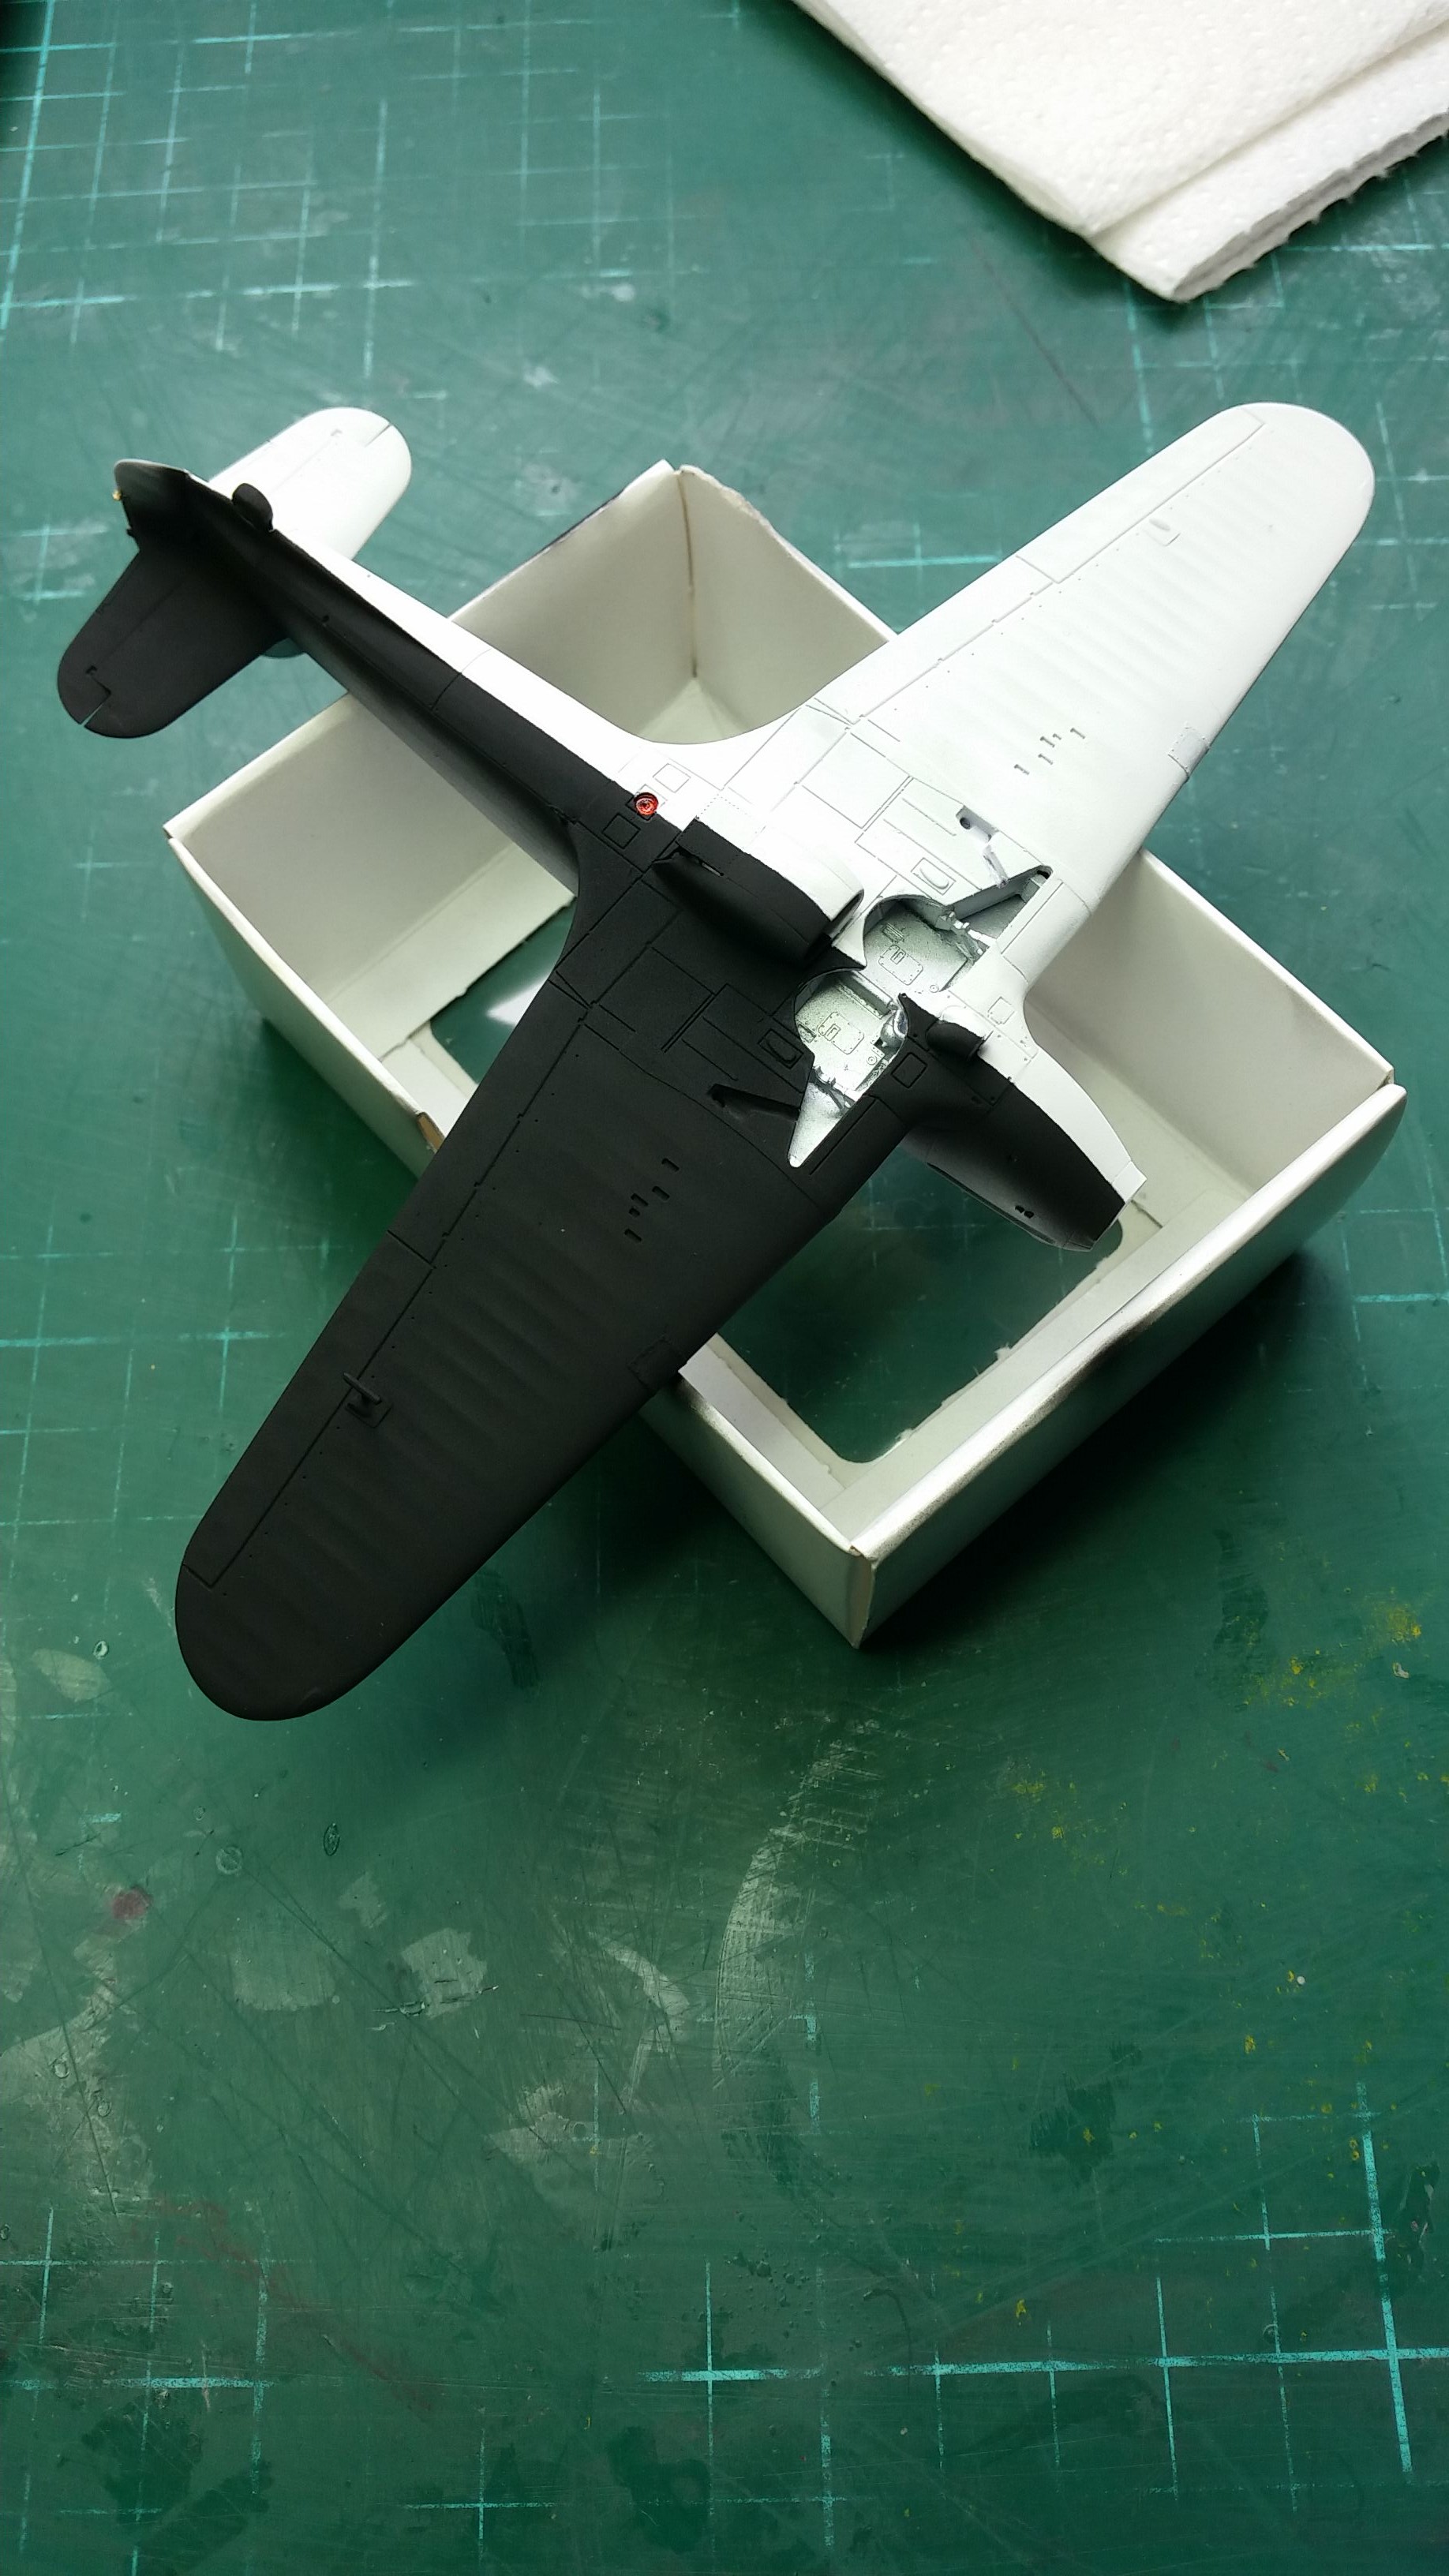
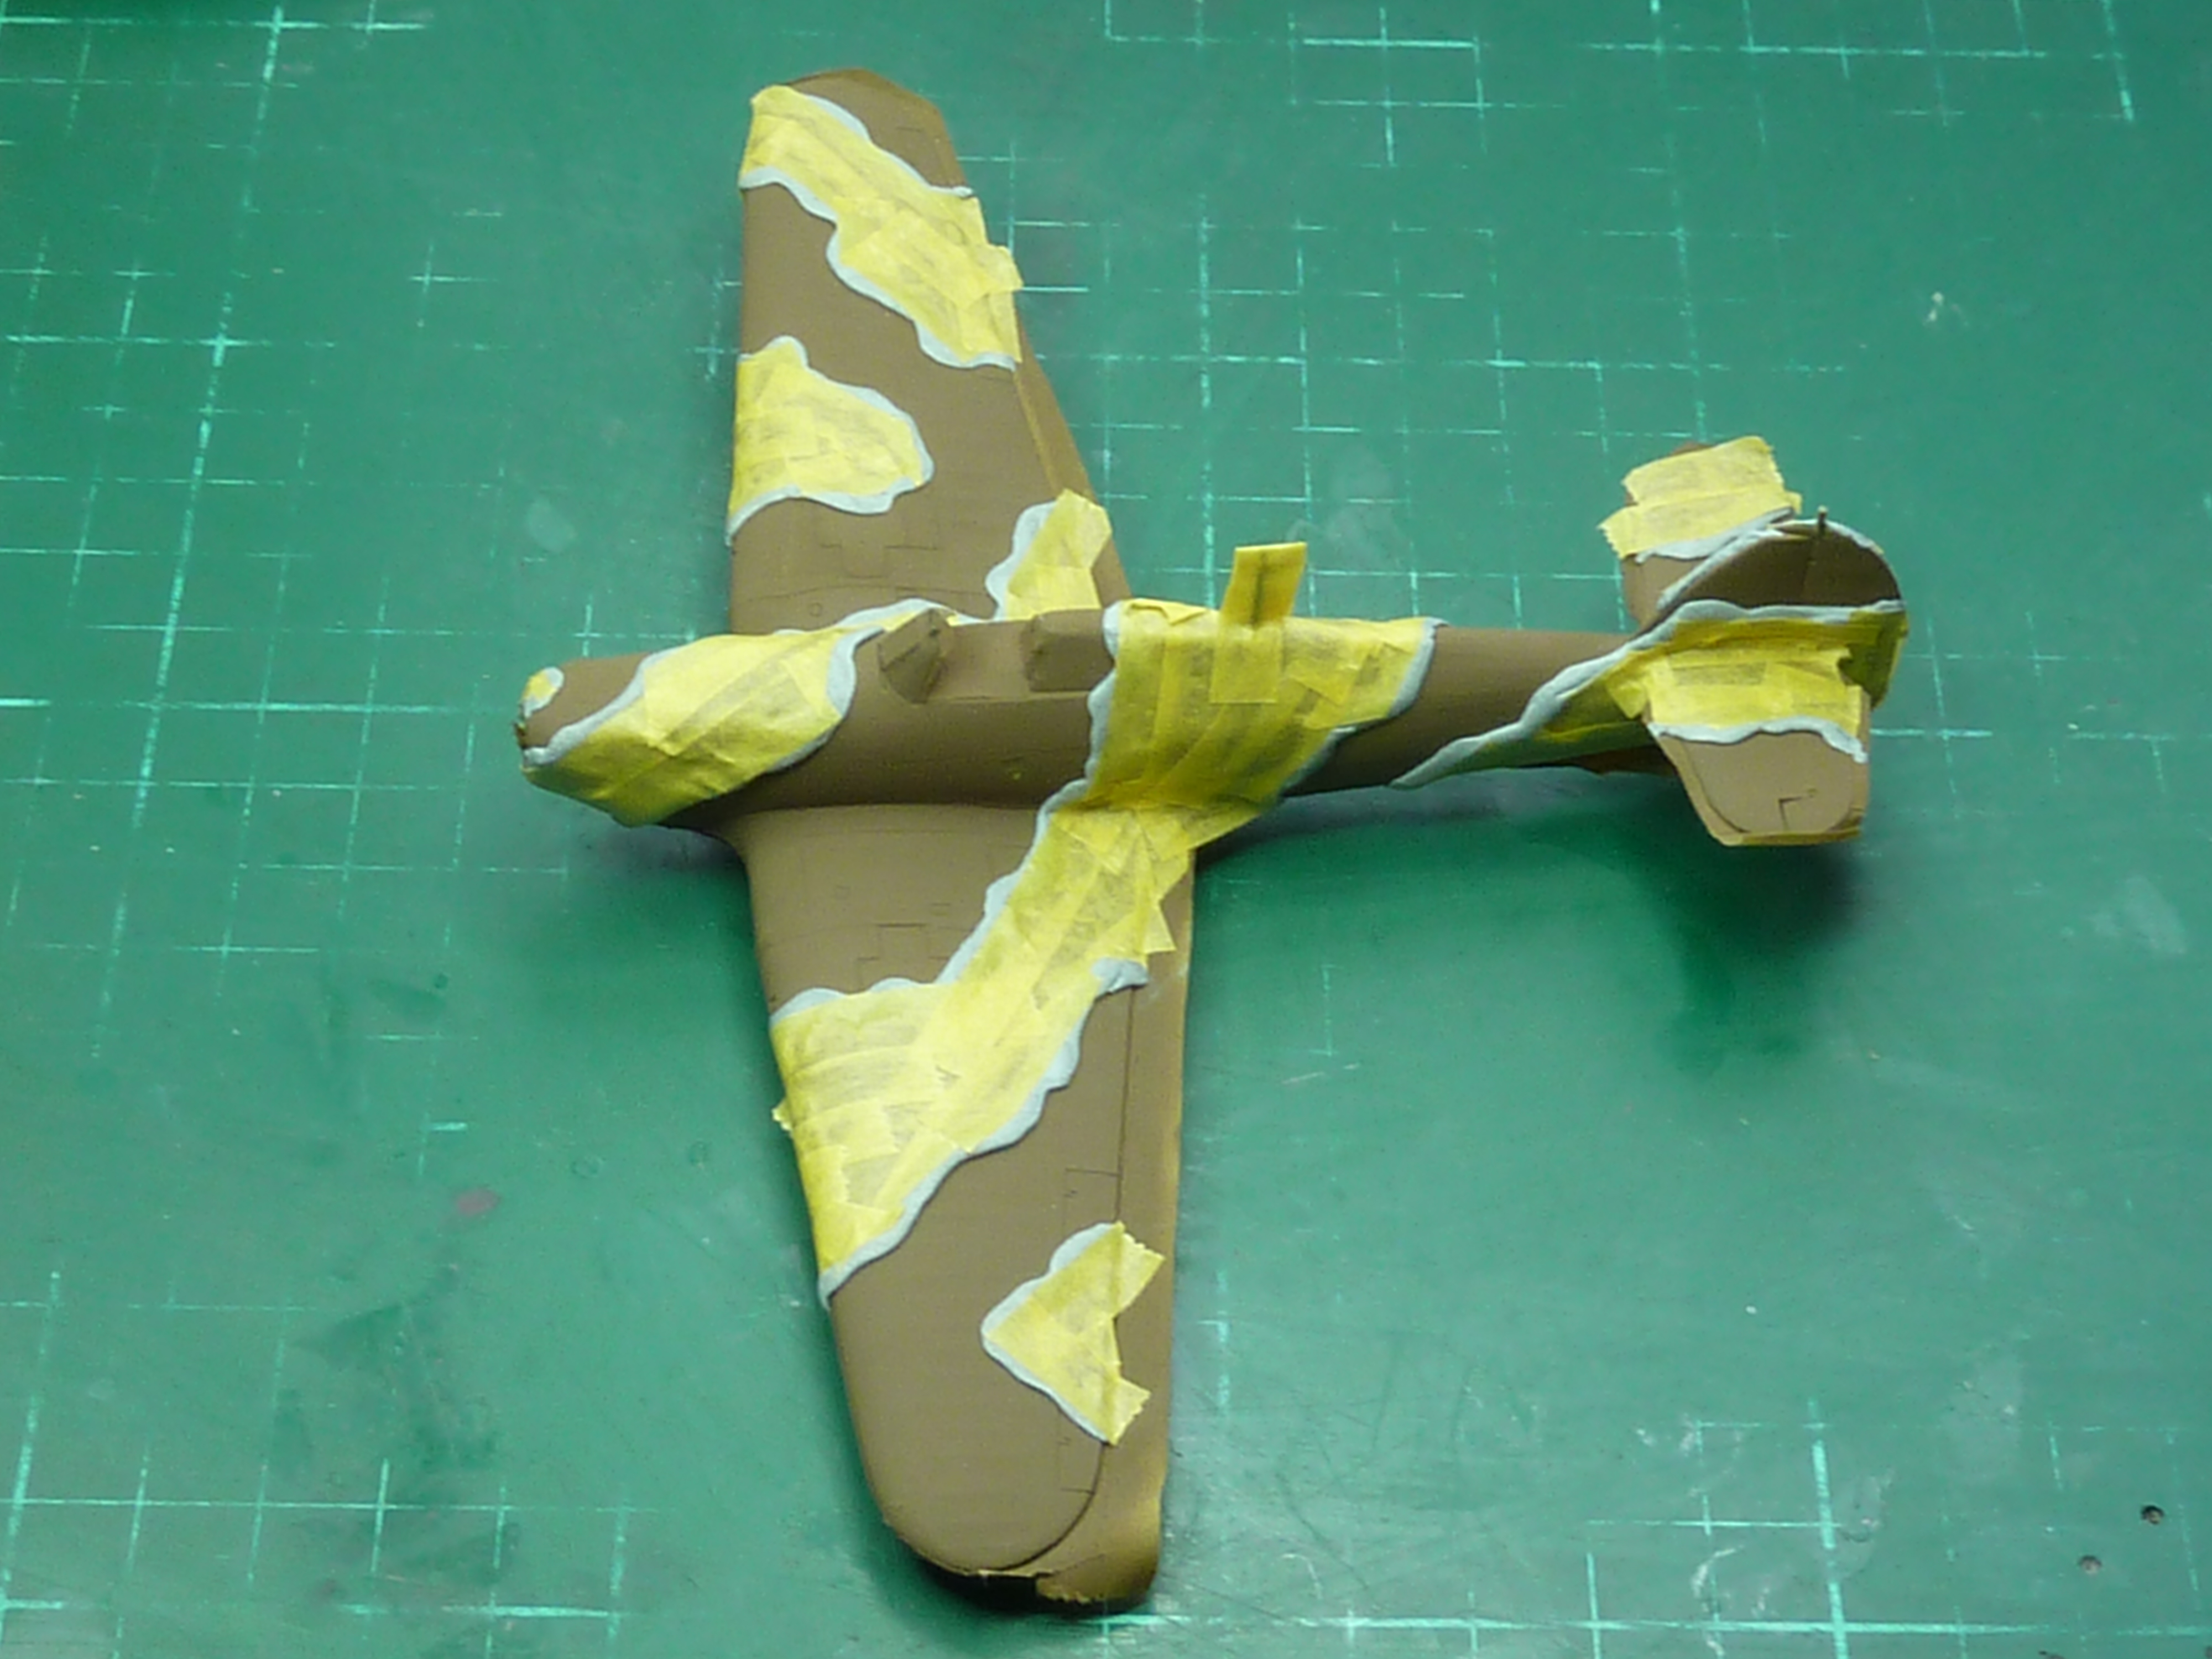
The underside of the Hurricane is in the early black/white finish adopted by the RAF. It was quickly dropped once France fell and changed to the more usual Duck Egg Blue seen on the battle Of Britiain aircraft.
Then the two tone green/brown of the upper surfaces was done. I used rolls of blu-tack to mask the edges and then filled in with Tamiya tape.
Then it was the usual coat of Klear/Future floor polish to get a glossy surface for the decals.

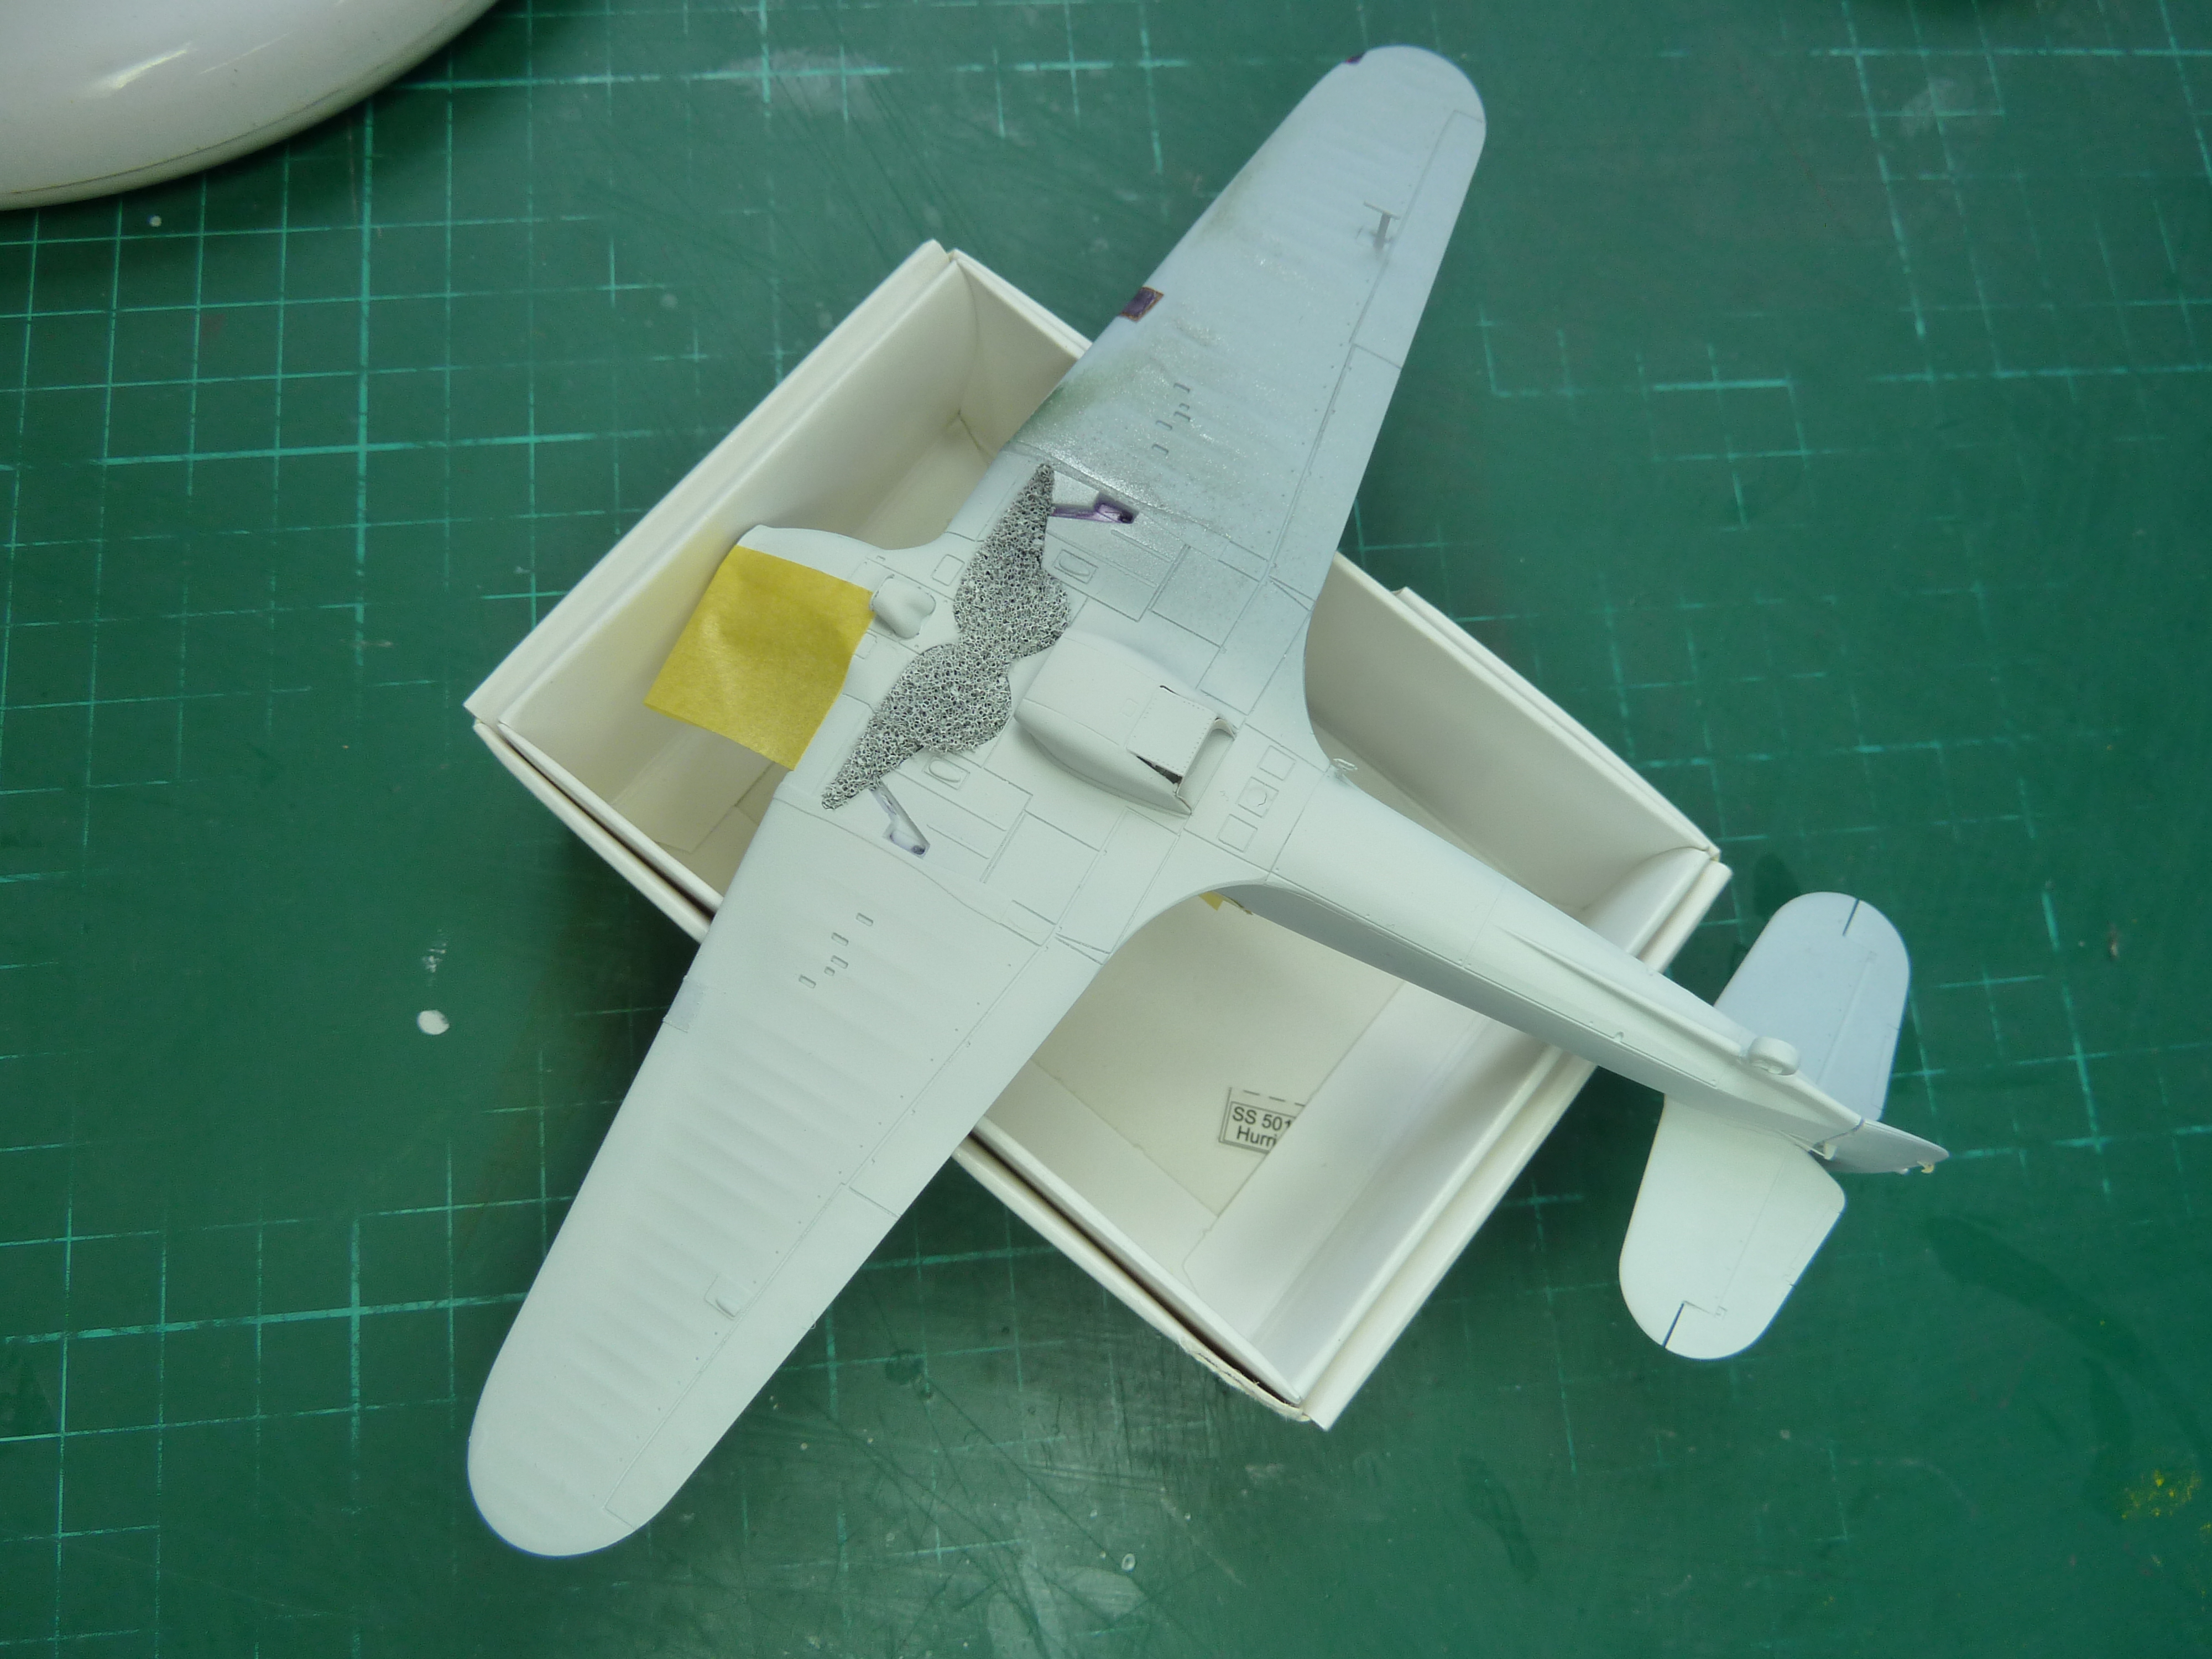
I’m just in the process of applying a wash to the bring out the panel lines in this photo. I used diluted ‘burnt umber’ artists’ oils for this on the top surface and black underside, then diluted ‘Paynes Grey’ for the white underside.
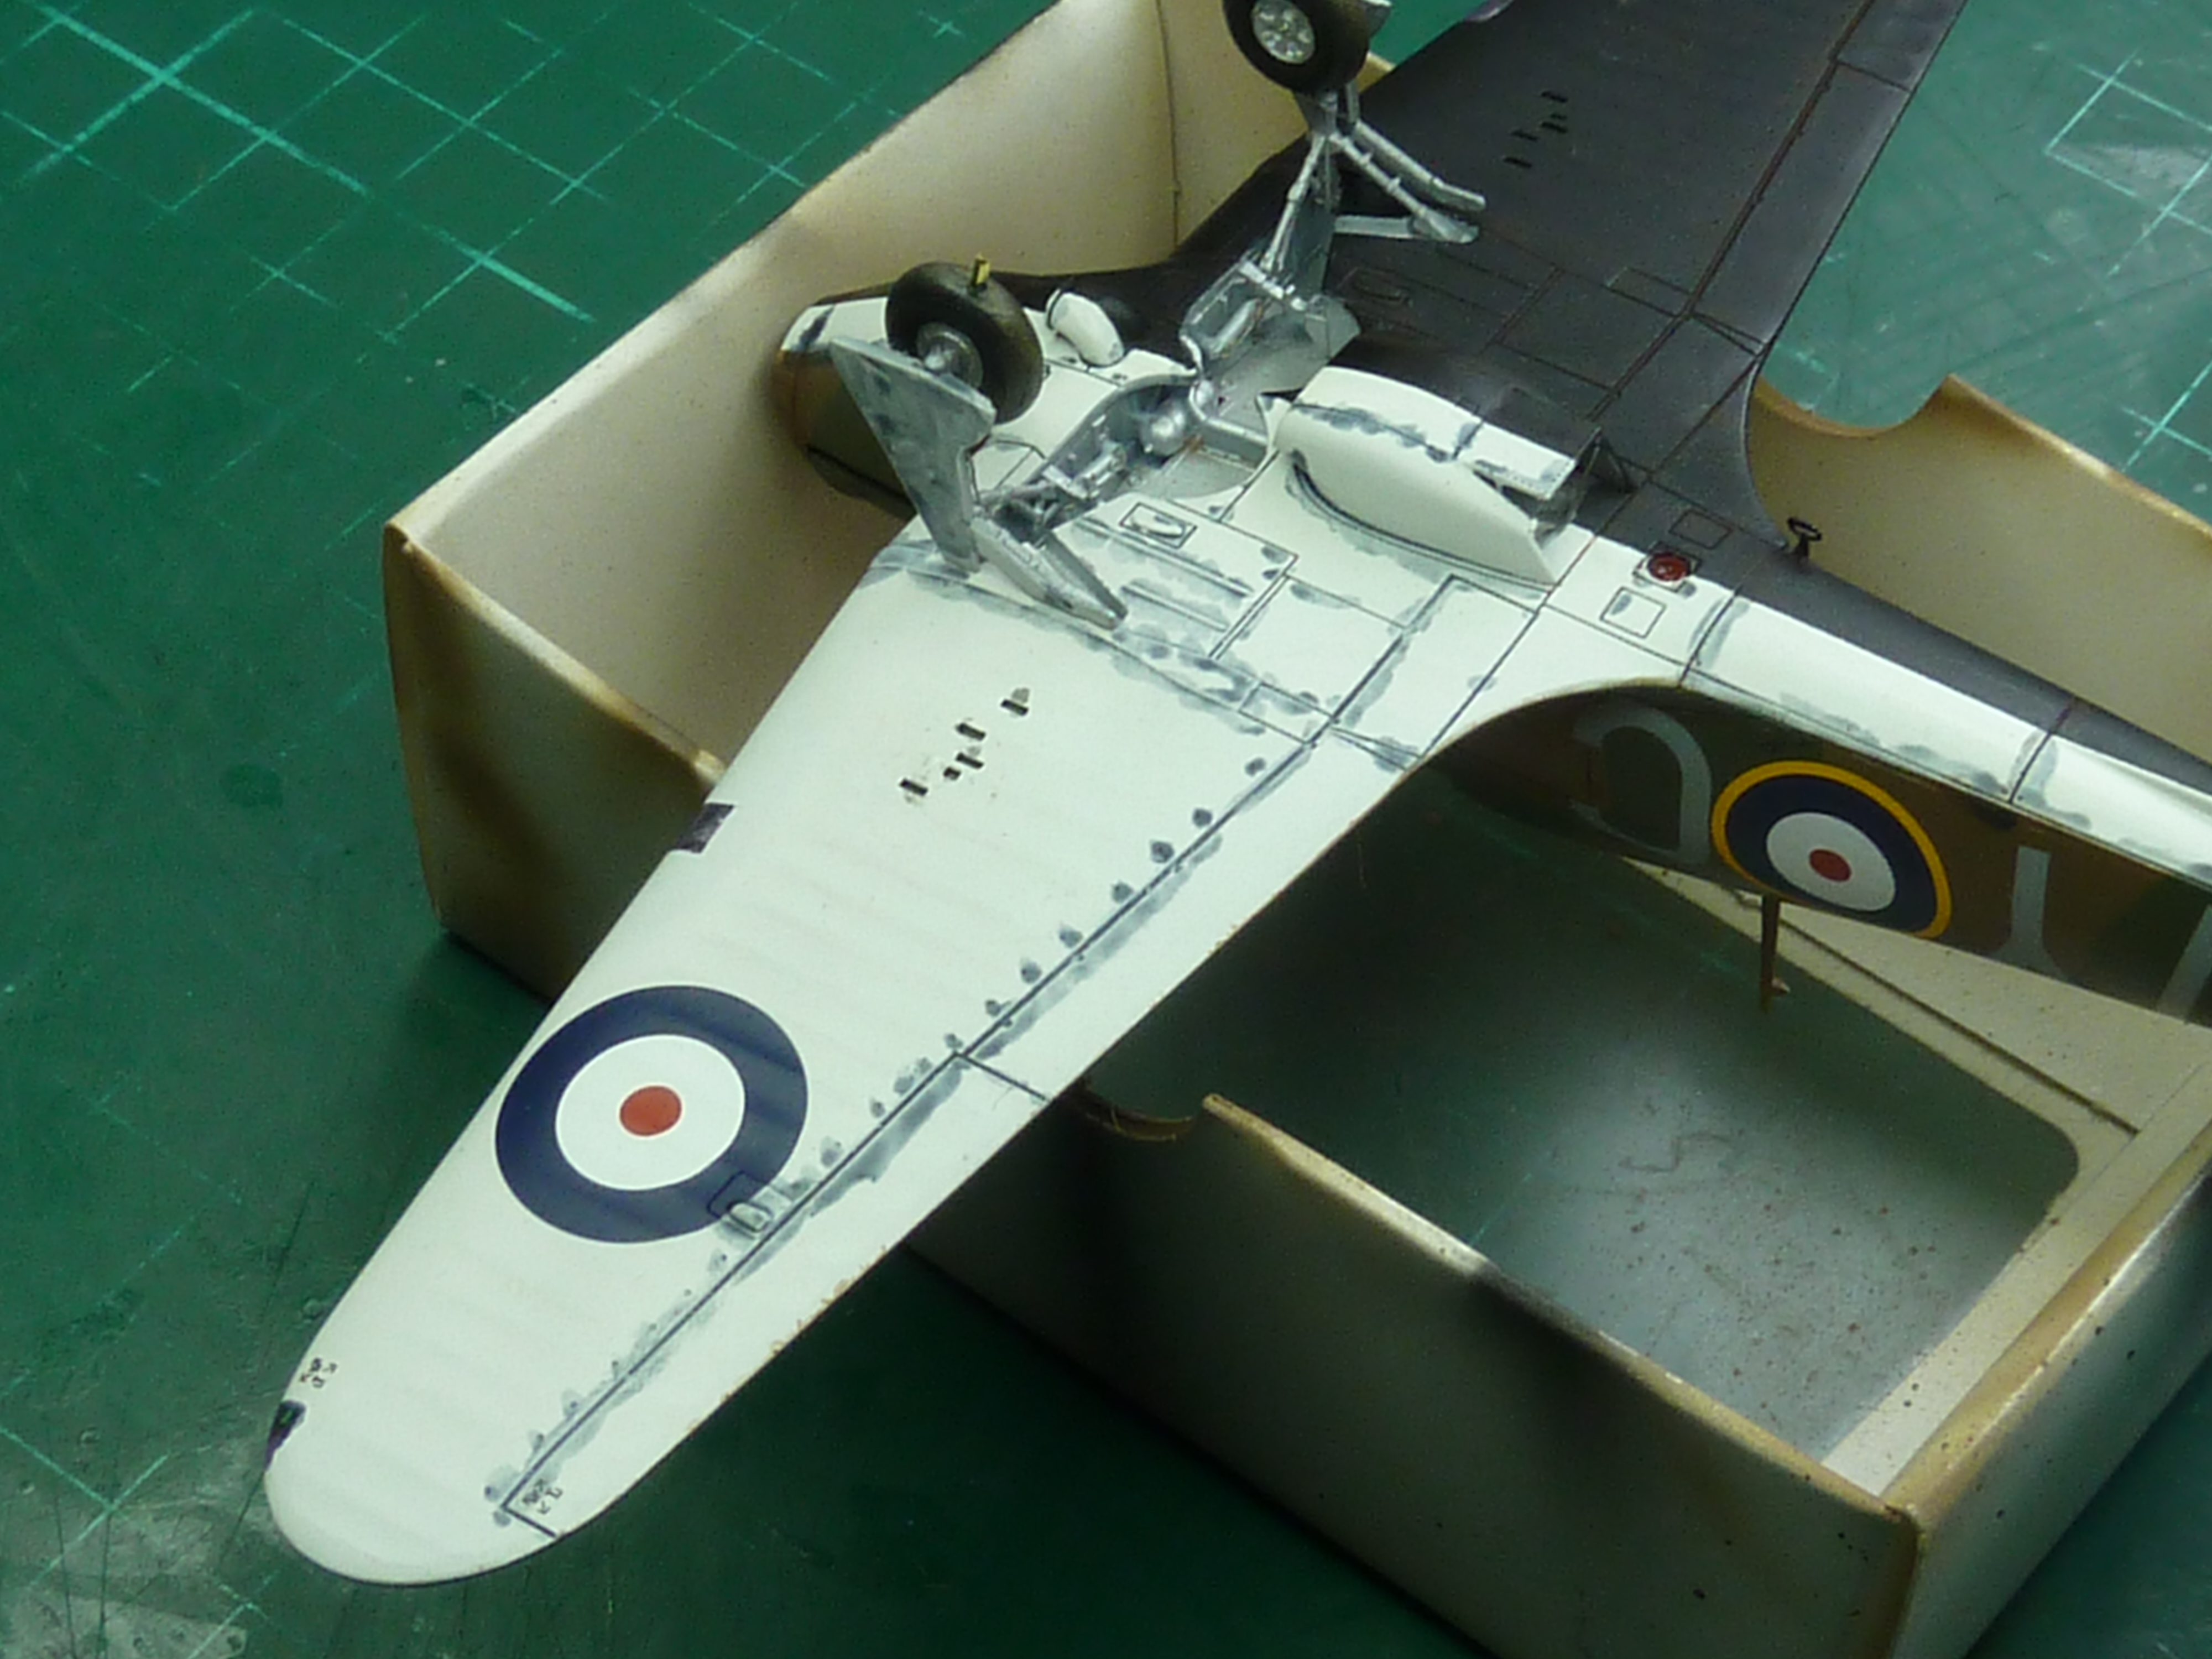
Once the washes were complete I added further details in the form of gunsmoke stains and exhaust marks with artists’ pastels.
To complete the slightly weathered look I gave the whole model a very light misting over with Tamiya’s Deck Tan to give the impression of general dust. Also every serious modeller seems to use Deck Tan at some point in a build and I didn’t want to be left out.
The pilot was parted from his moulded on stand and mounted on some 0.5 mm brass rod, then cleaned up using a very sharp scalpel and 3000 grit emery paper.
Here he is with the main colours blocked out.
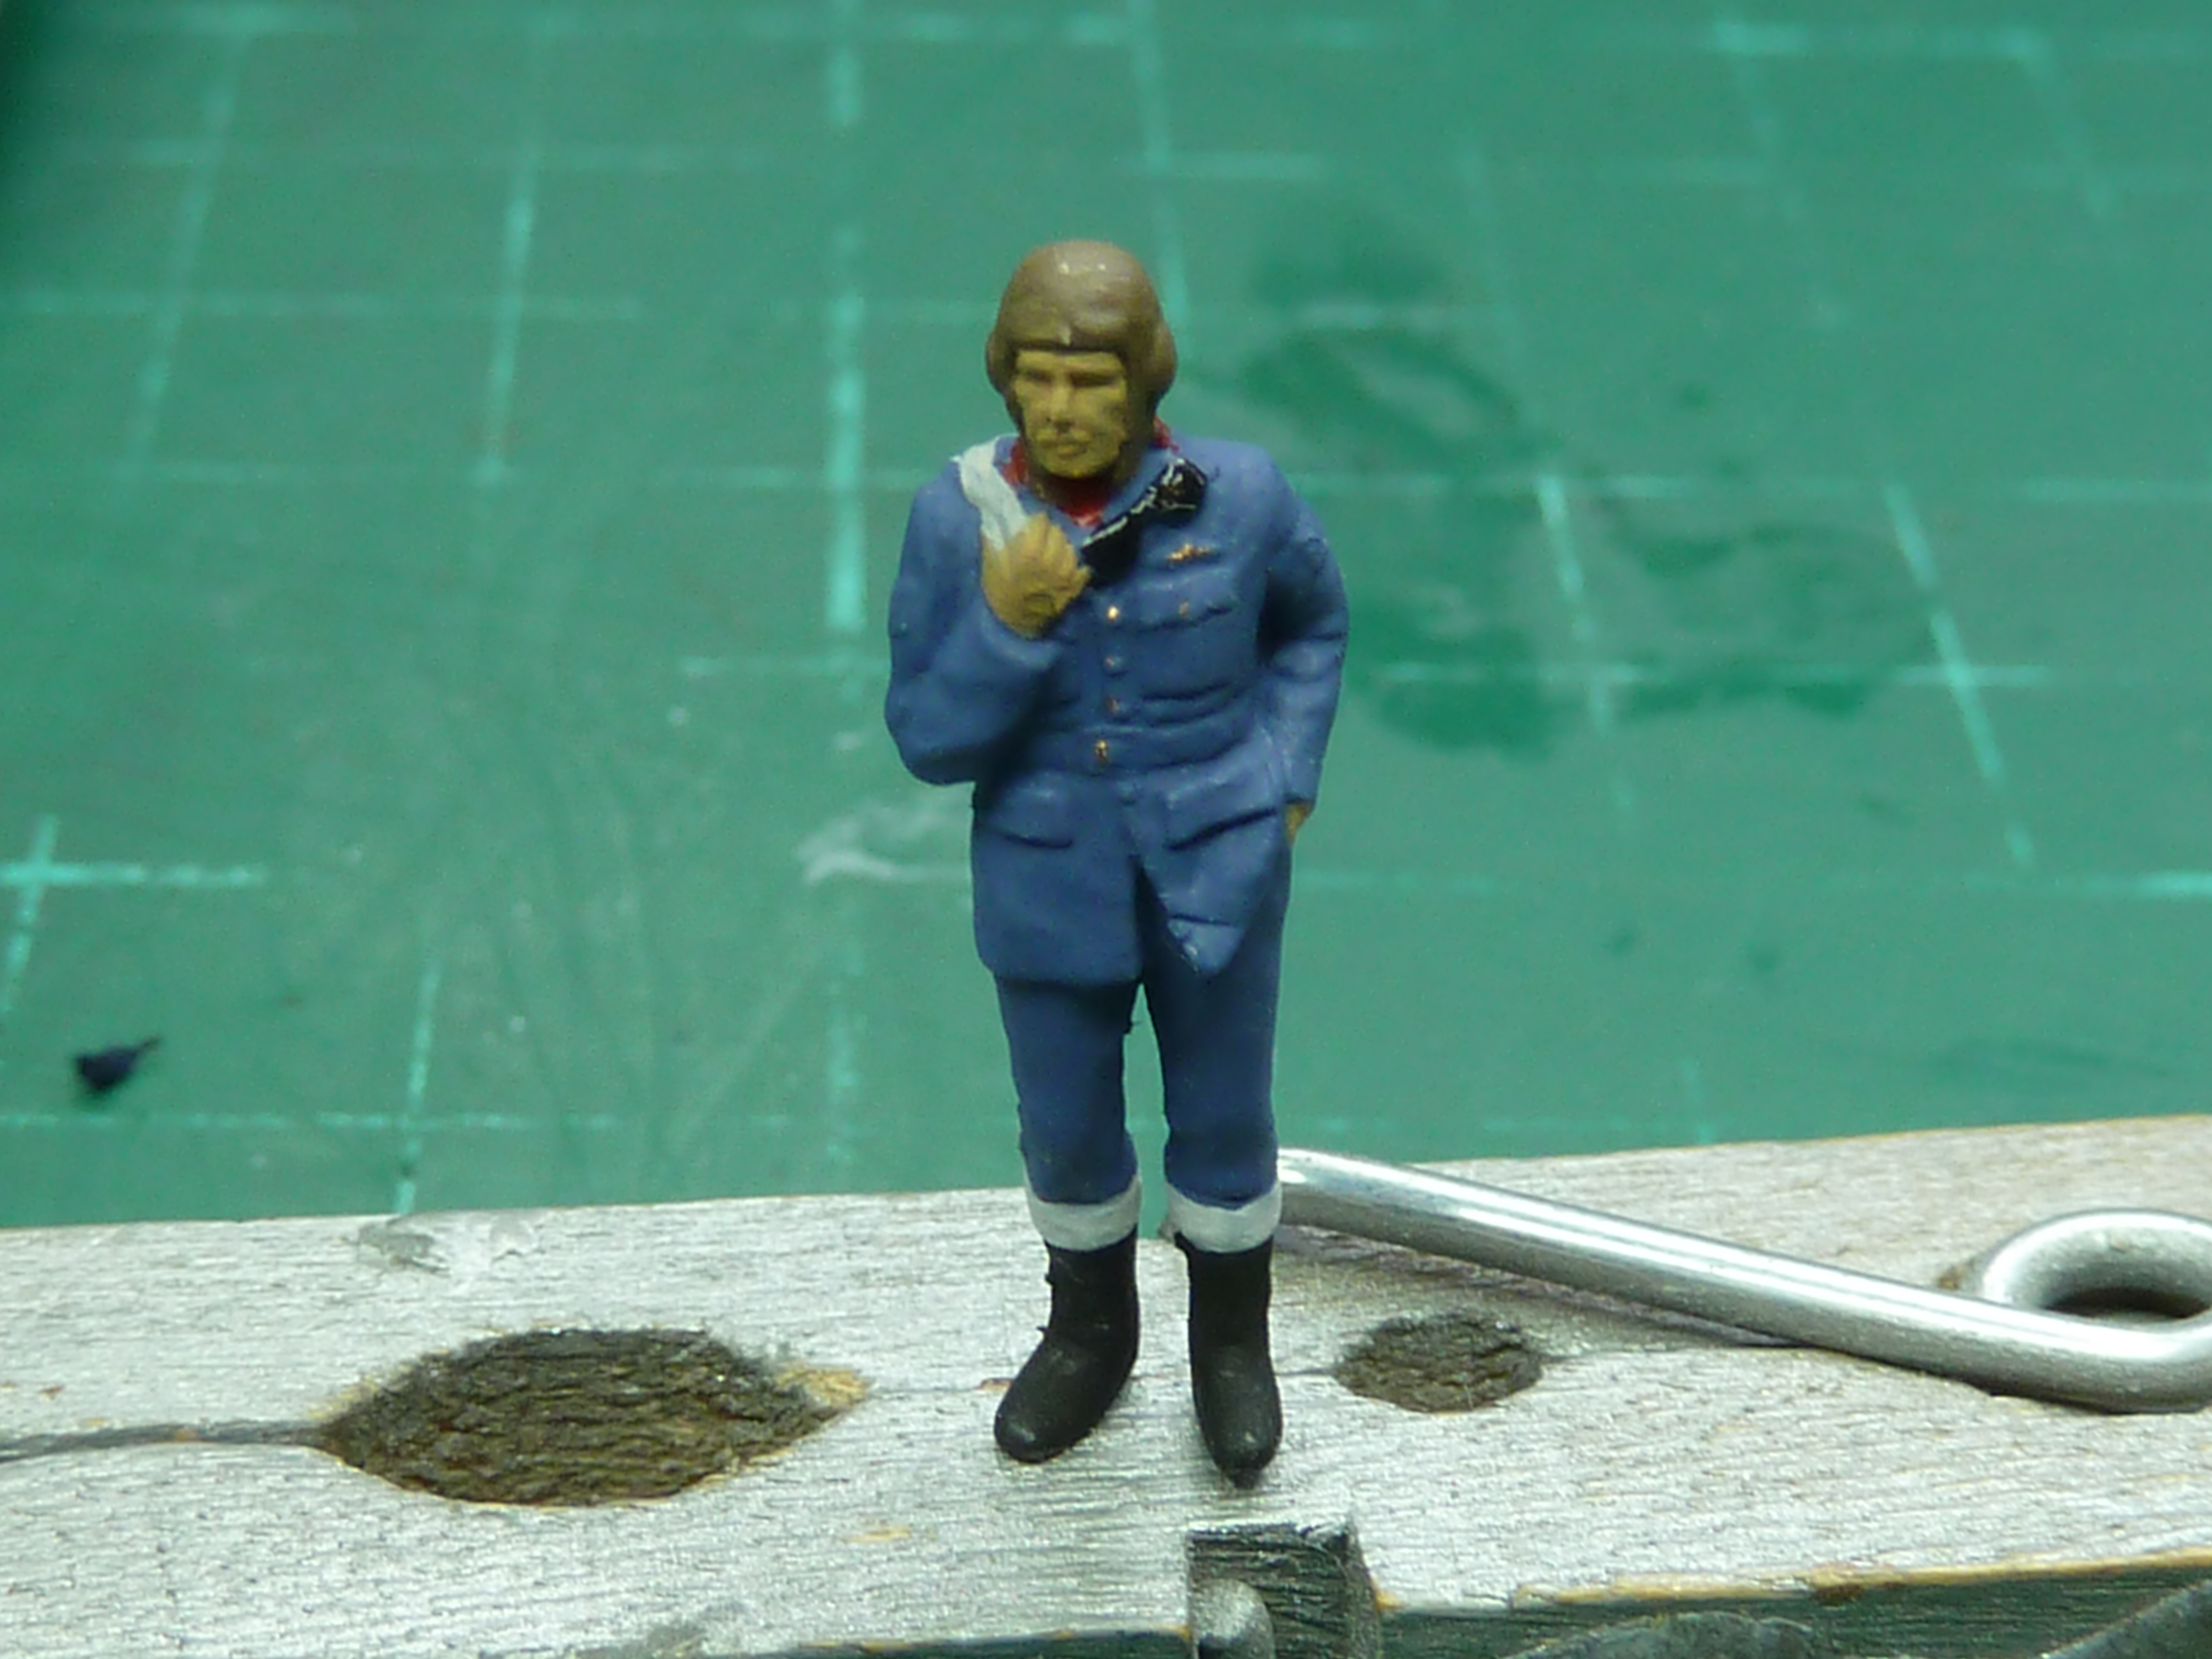
Then with a bit of shading added using various artists’ oils.


He still looks a bit ‘blobby’ though as I’m not up to scratch at this scale. I did however manage to add eyes adequately, which is a first for me at this size! Oh and the thing in his boot is supposed to be a map. You know you’re not doing well when you have to explain what things are…
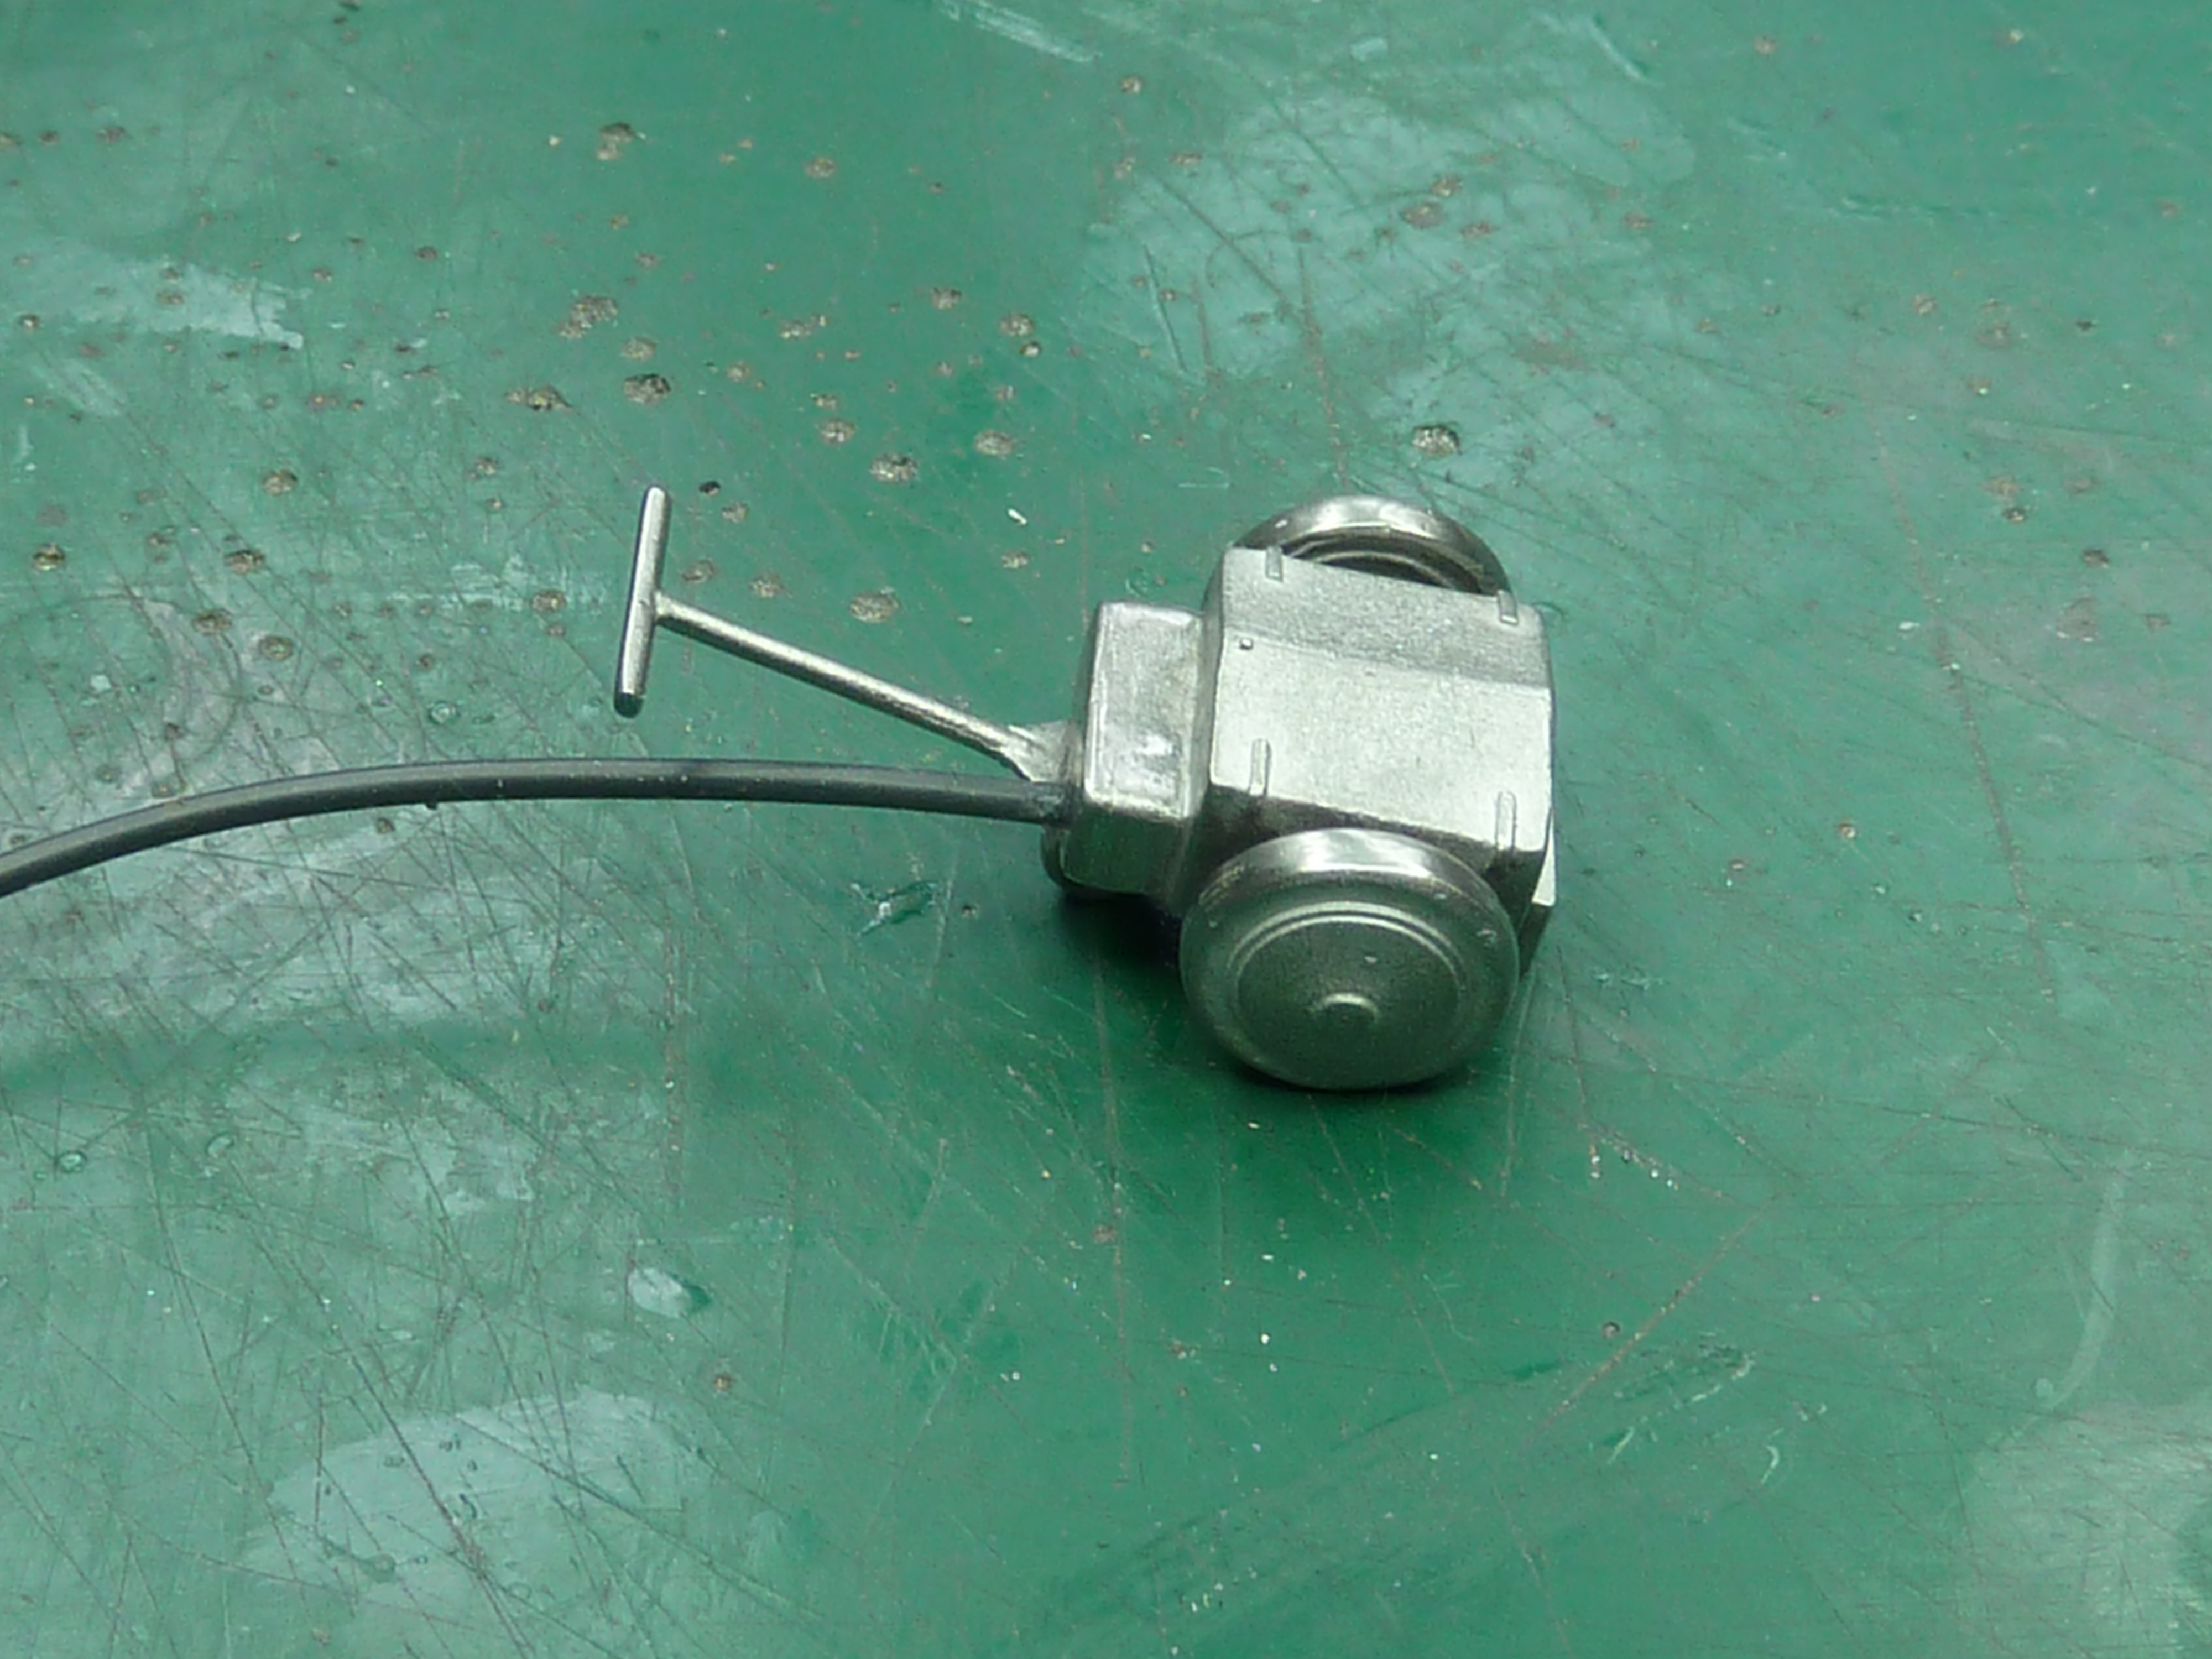
To add a bit more interest to the diorama I also purchased Flightpath’s RAF Trolley Accumulator Set (72005). This provides 4 Trolley Accs of various designs, only one of which is actually suitable for this era of aircraft. The others all being post 1942 designs. It was easy to assemble, but I found the tube supplied for the cable too large at this scale and so changed it to some thinner stuff I had in stock. This is it with the supplied tube before I swapped it.
The base of the diorama was made from 4mm polystyrene sheet which was first painted in various shades of green and some browns, prior to ‘static grass’ being added. I’ve never used this before so it was a learning experience for me.
I covered the painted sheet with white PVA glue, then sprinkled on the static grass using an applicator, working in small patches. once the grass was on and dry, it looked a bit uniform. More golf course than airfield. So I added some shading using my airbrush. When I do it again I will experiment with different lengths of grass.

The aircraft, trolley acc and pilot were all mounted on the finished sheet with brass rod super glued into holes drilled through it. This allowed me to position the parts and apply the glue from the rear which worked well. I put rods in all three contact points of the aircraft to ensure it was well secured.


Overall it was a lovely little kit to make, and a nice break from the big scales that I’ve been making for the last few years. I already plan to do a similar build for my own loft squadron and it’s encouraged me to get back into the plastic modelling scene more.
Since making this model for my friend I have made a second example for myself using the alternative aircraft codes provided in the kit. I have included some pictures of this model in the gallery section.

Beautiful!
LikeLiked by 1 person
That sure is a stunner! A great tribute to Airfix too!
LikeLike
For the price they are charging I think it’s a fantastic little kit. I hope they can bring the rest of the old kits up to a similar standard, as some are well below par now.
LikeLiked by 1 person
From someone who grew up on Airfix I totally agree – I have a few left over from the ‘old’ days and they are quite frankly awful. The more up to date lot are far far better!
LikeLiked by 1 person
I was the very grateful recipient of the first Hurricane and every time I look at it it makes me smile. I’ve seen a few of the projects in this blog in the “flesh” and they are astonishing.
LikeLiked by 1 person