
As I was getting a bit cheesed off with the problems with the Chris Craft Barrel Back model, and also because of the apparent mountain to be climbed to get a decent set of fittings for it, I decided to take a bit of a modelling holiday. My motivation was waning so I opted to tackle a smaller project to replenish it.
Enter Airfix’s 1:72 WWII RAF Bomber Re-Supply Set…
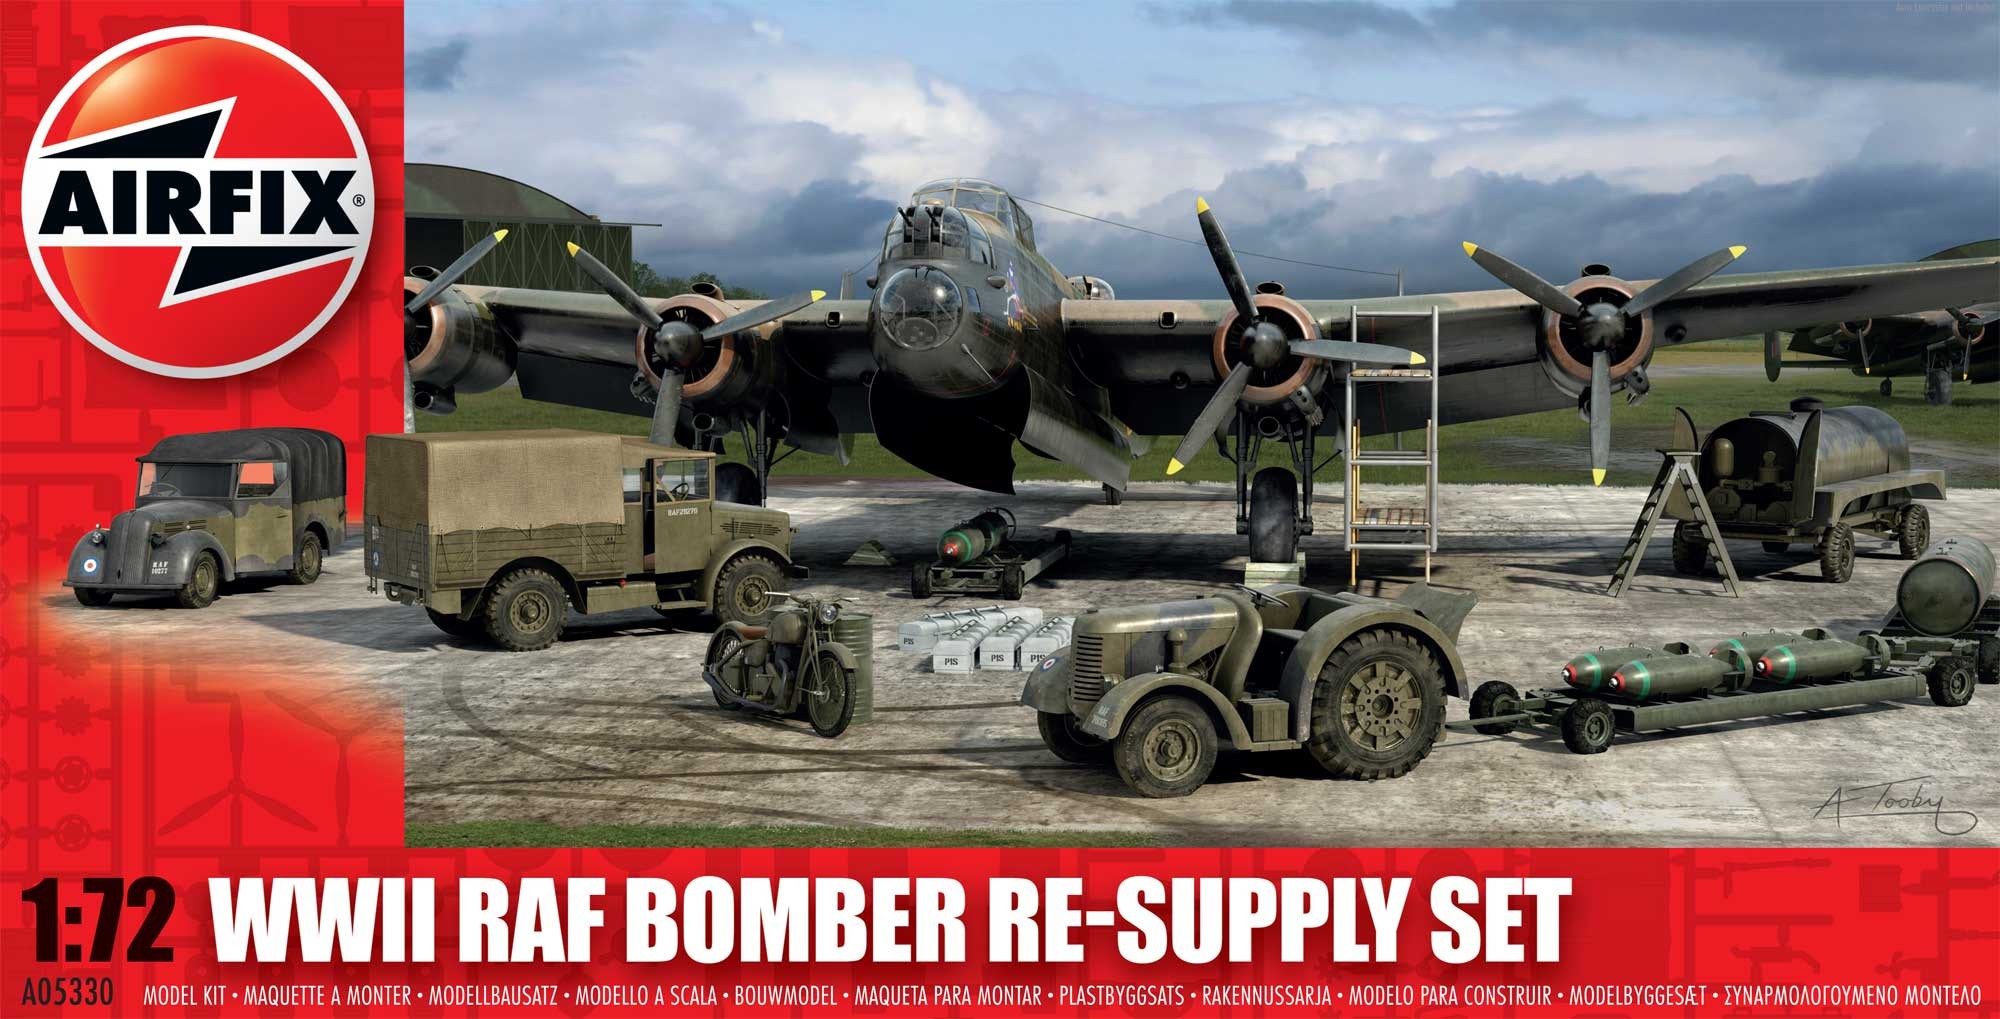
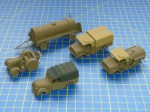
The picture below shows what is included in the kit, though I haven’t used the maintenance staging, step ladders etc.
One point to note is that you can build EITHER the Bedford tanker OR the Bedford truck. The kit does not allow you to build both. I have in this blog because I had a Bedford MWC/MWD kit left over from a previous build.

The kit is A05330 and is intended to compliment Airfix’s range of RAF bomber models I suppose. Certainly that is what I intend to do with it. I have plans to build a Lancaster III diorama and this set was ideal for that purpose.
The parts come in the standard Airfix light grey/blue plastic and being newly engineered are of very good quality.


I built all of the vehicles in parallel and assembled them fully, with the exception of wheels, doors and canvas tilts prior to painting. The latter parts I painted and weathered separately. Brass pegs were inserted in the wheel bottoms as these will be used to secure the models to the diorama base when it is made.
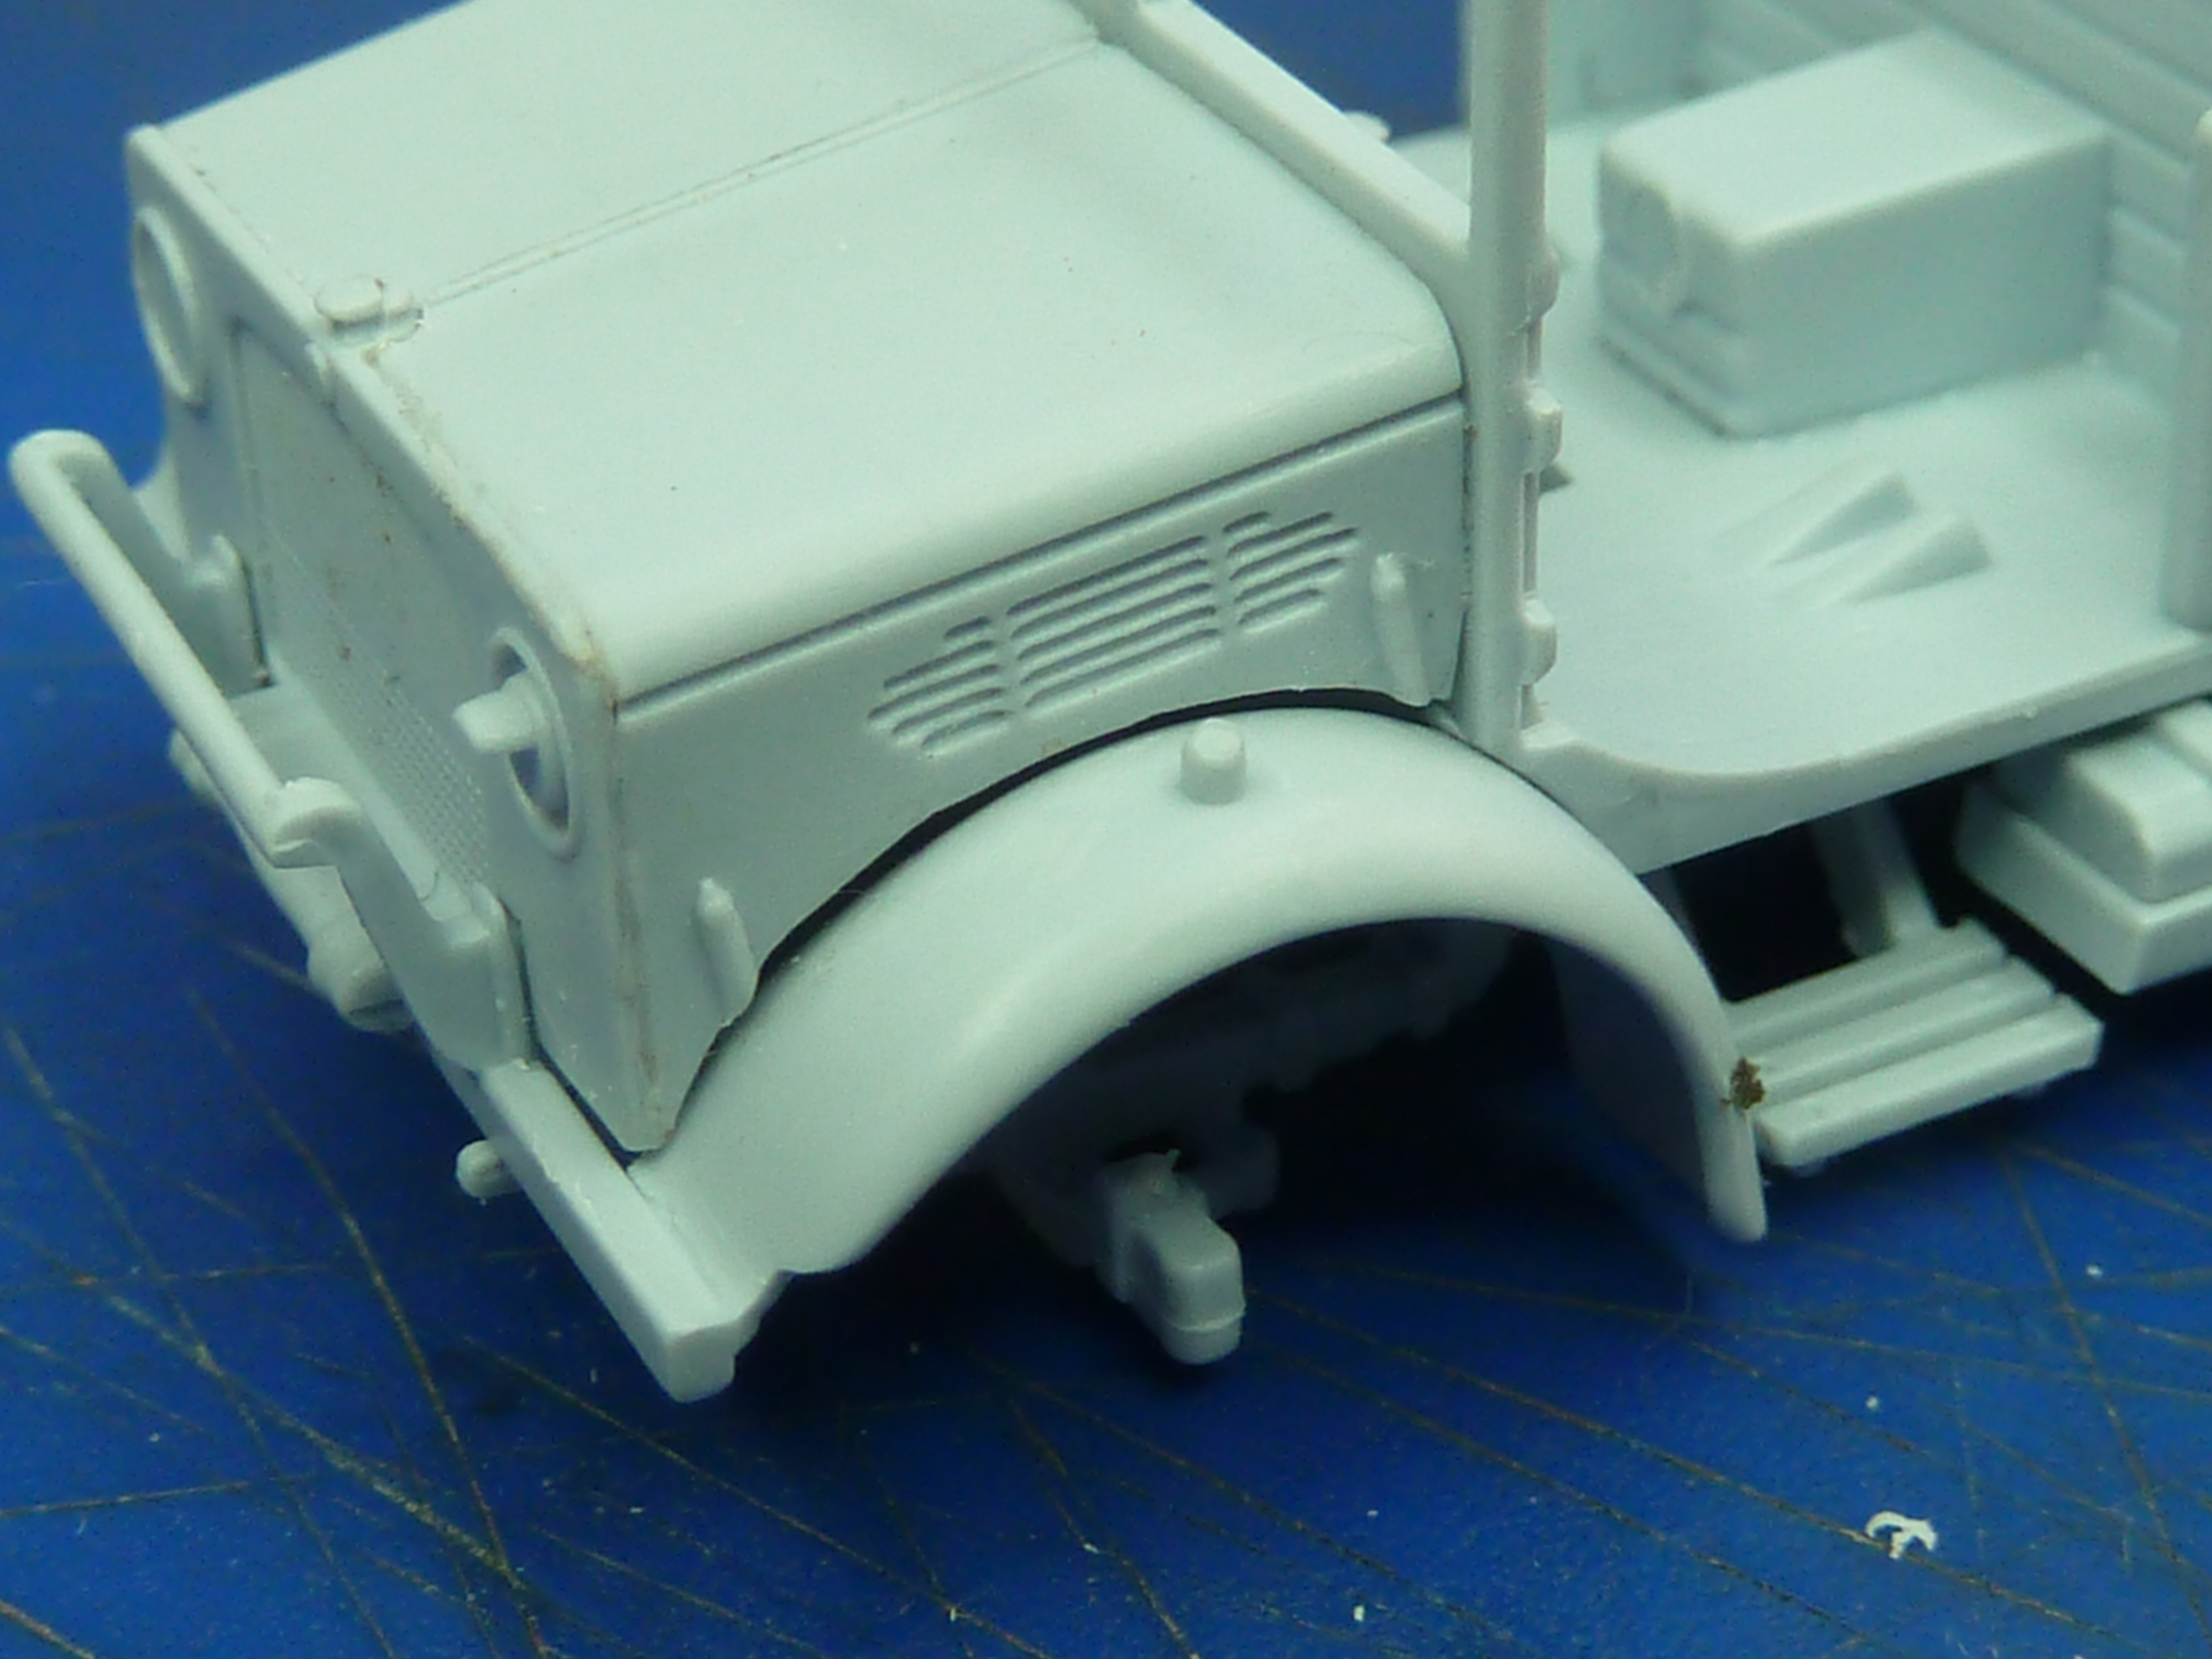
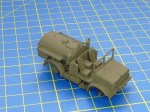
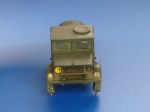
The first vehicle to be assembled was the Bedford MWD.

As with all of the new Airfix releases the fit of the parts was in general good, and very little cleaning up required. I did however have a problem with the fit of the engine bay sides around the front mud guards and had to use a little filler there.
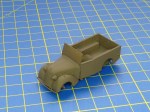
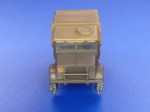
The second vehicle to be assembled was the Bedford MWC bowser. Having had difficulties with the MWD, I was extra careful in the assembly of the front end, but still had the same problem. I also ended up with a bit of a gap around the radiator cap, but that was my own fault. Mustn’t go so mad with the sanding stick next time.


The MWC has a nudge bar at the rear which is quite delicate. That’s my excuse, because I broke one side off during the assembly. I tried to glue it back, but it wasn’t very satisfactory, so in the end I cut both of them off, drilled out the bracket and replaced them with some brass wire.
before the break.

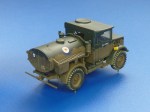
Next was the Standard Tilly van. This is identical to the one I built for my second Hurricane diorama, though that one was in pre-war colours whilst this one will be in wartime plumage. As with all the vehicles in this kit there isn’t a great deal to them.

Where the canvas tilts have windows in them Airfix have moulded the entire part in clear plastic.

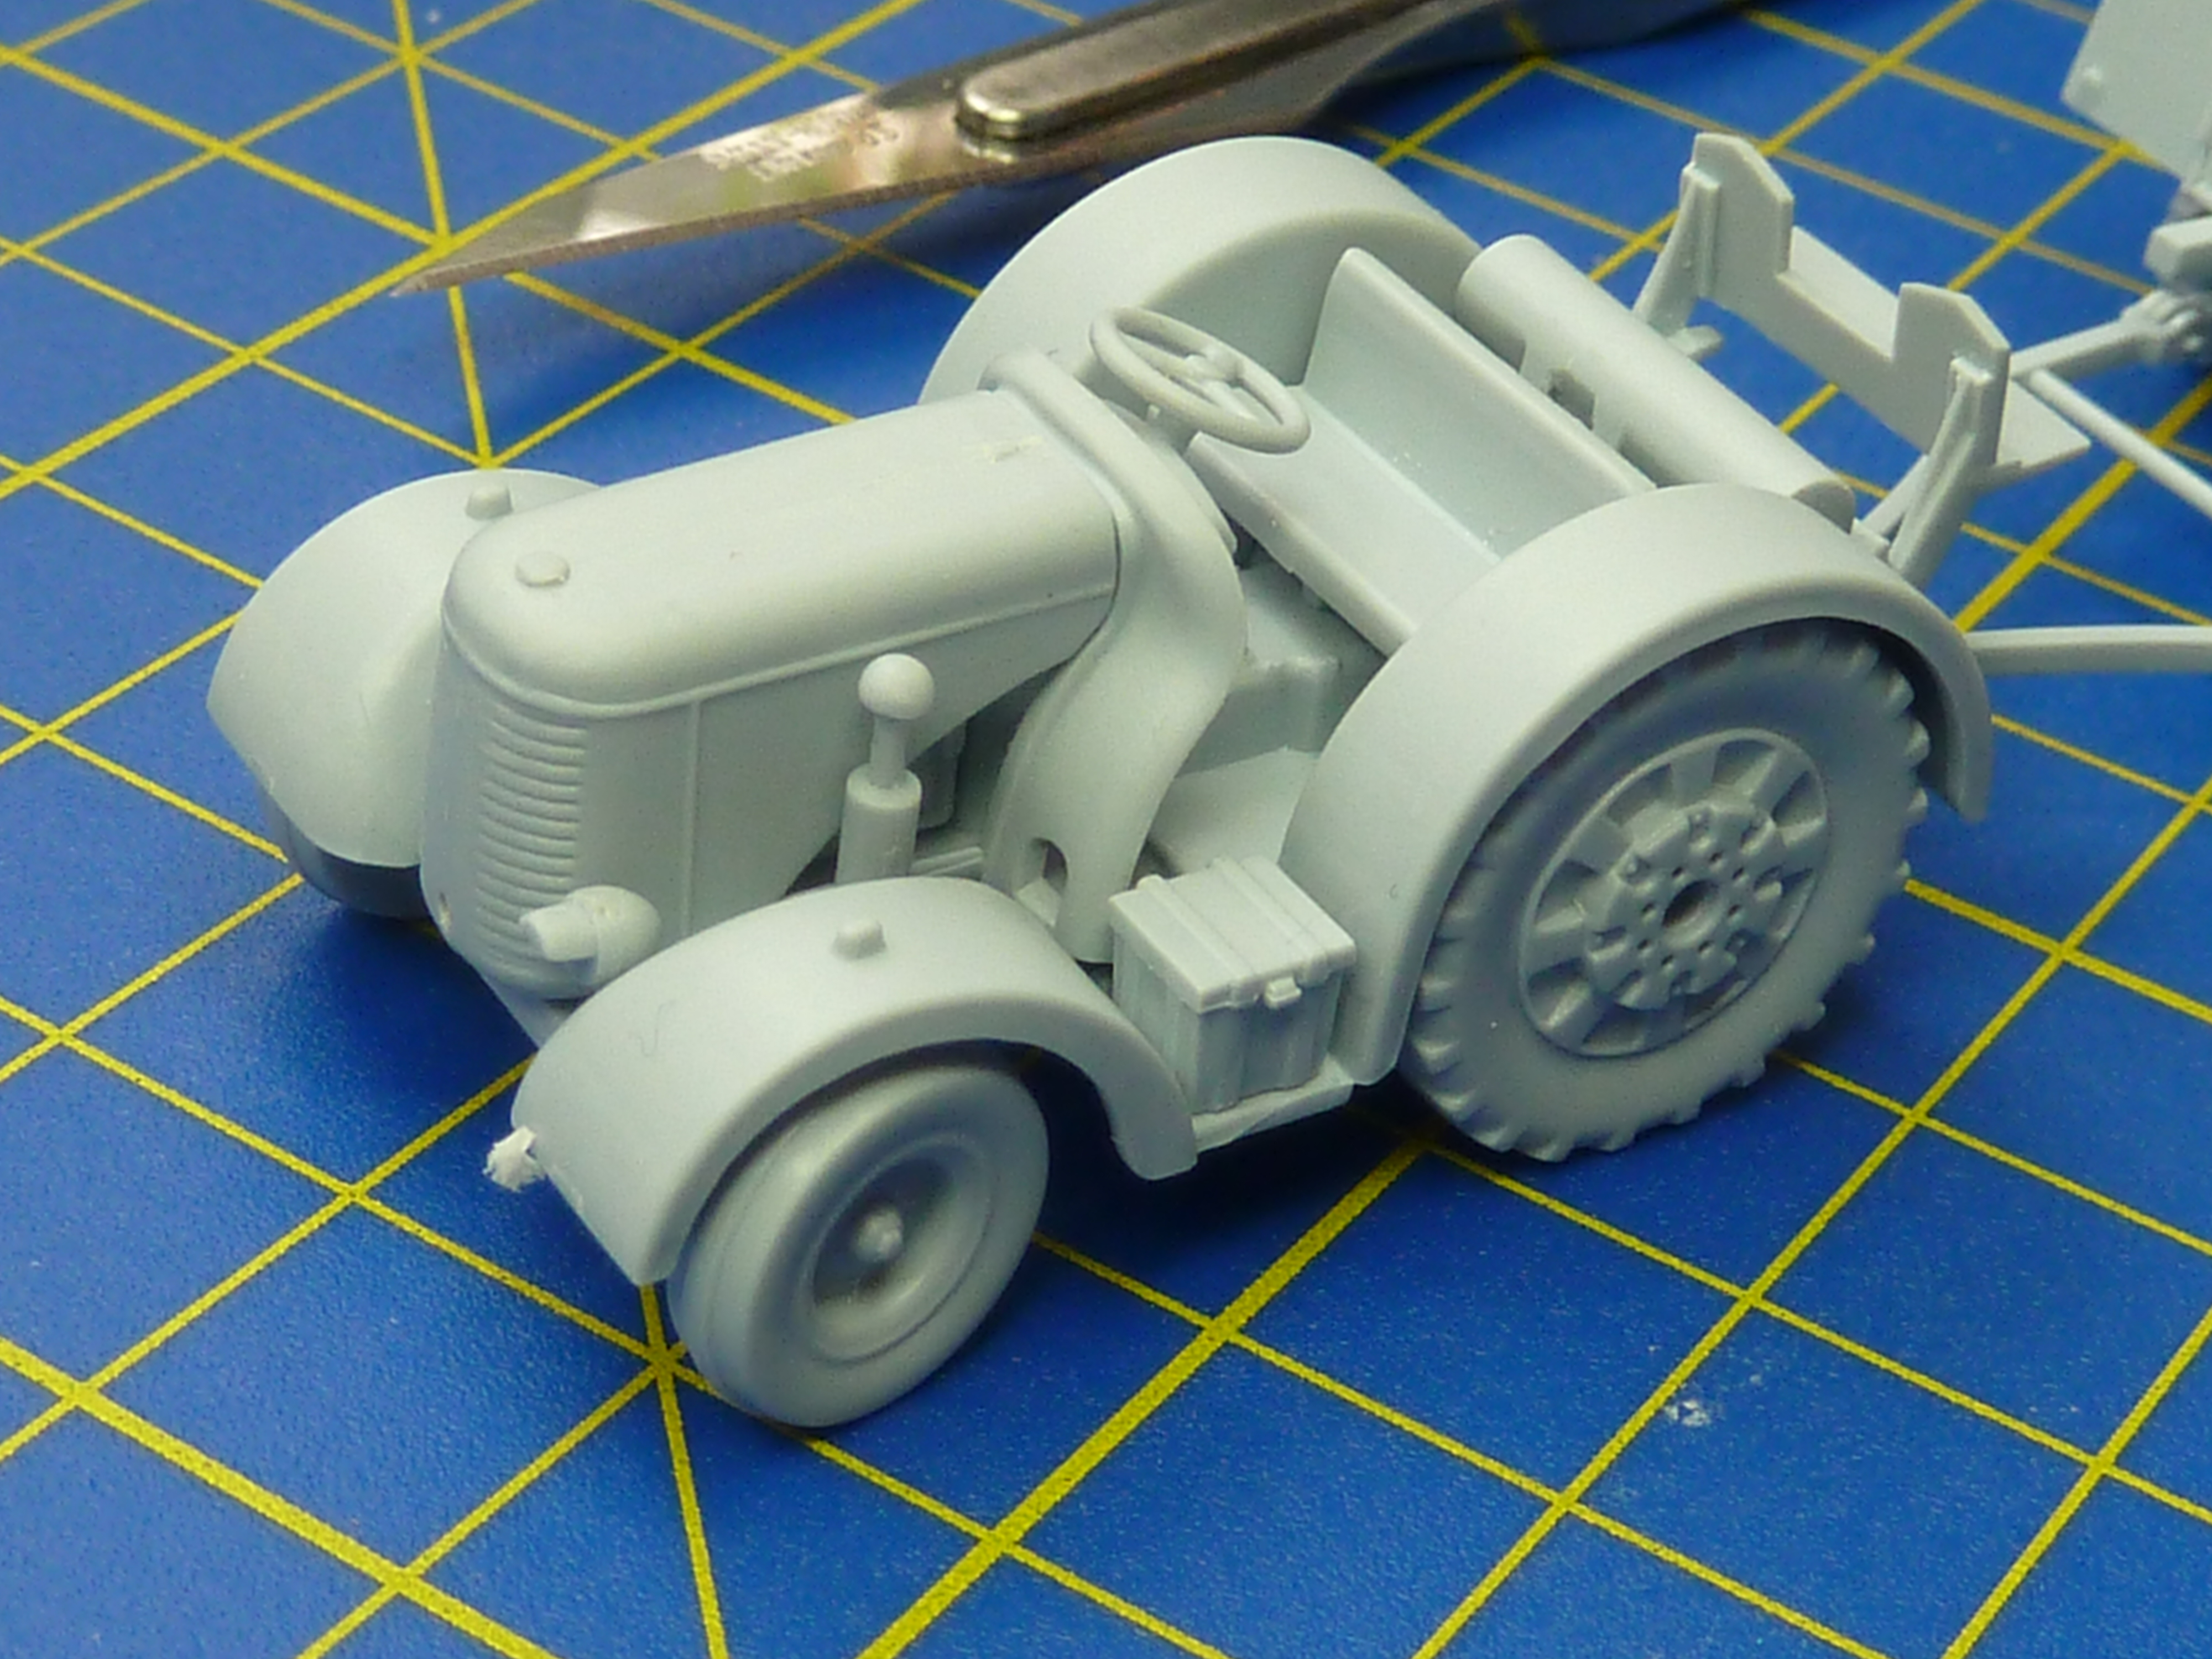
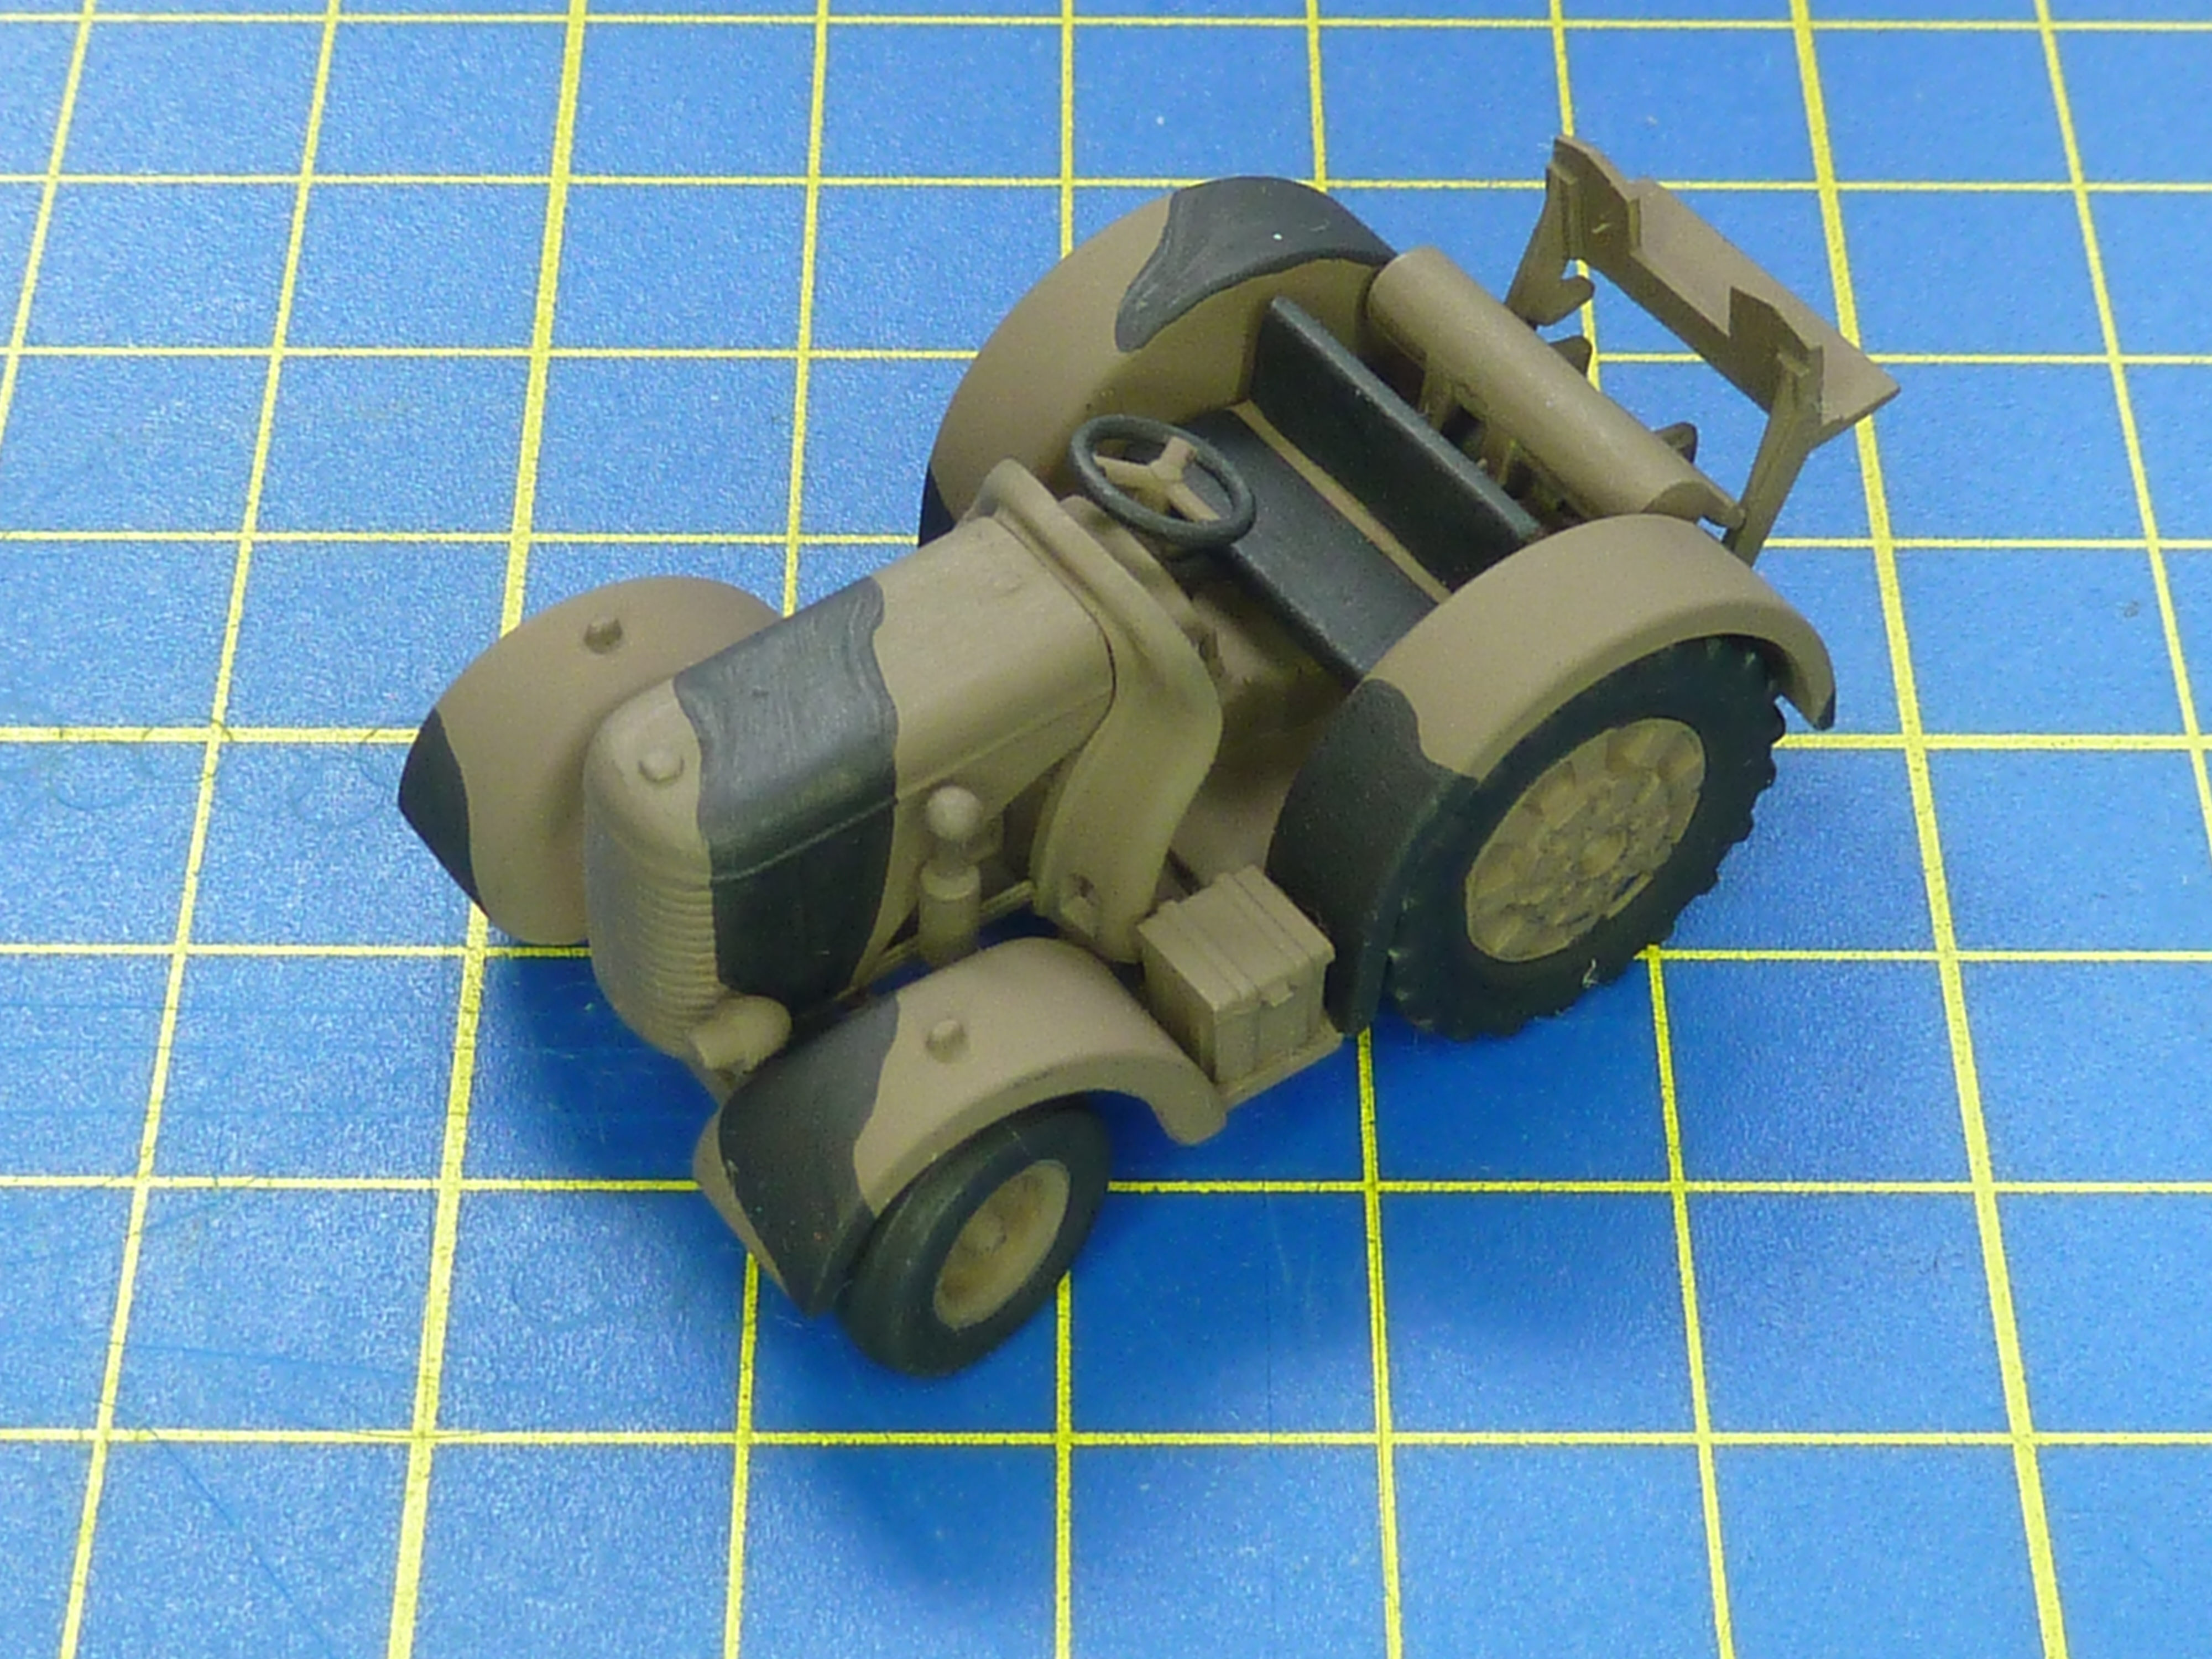
The David Brown tractor also went together easily.
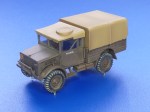
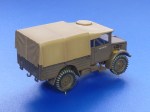
The final vehicle to be assembled was the 450 gallon oil bowser.
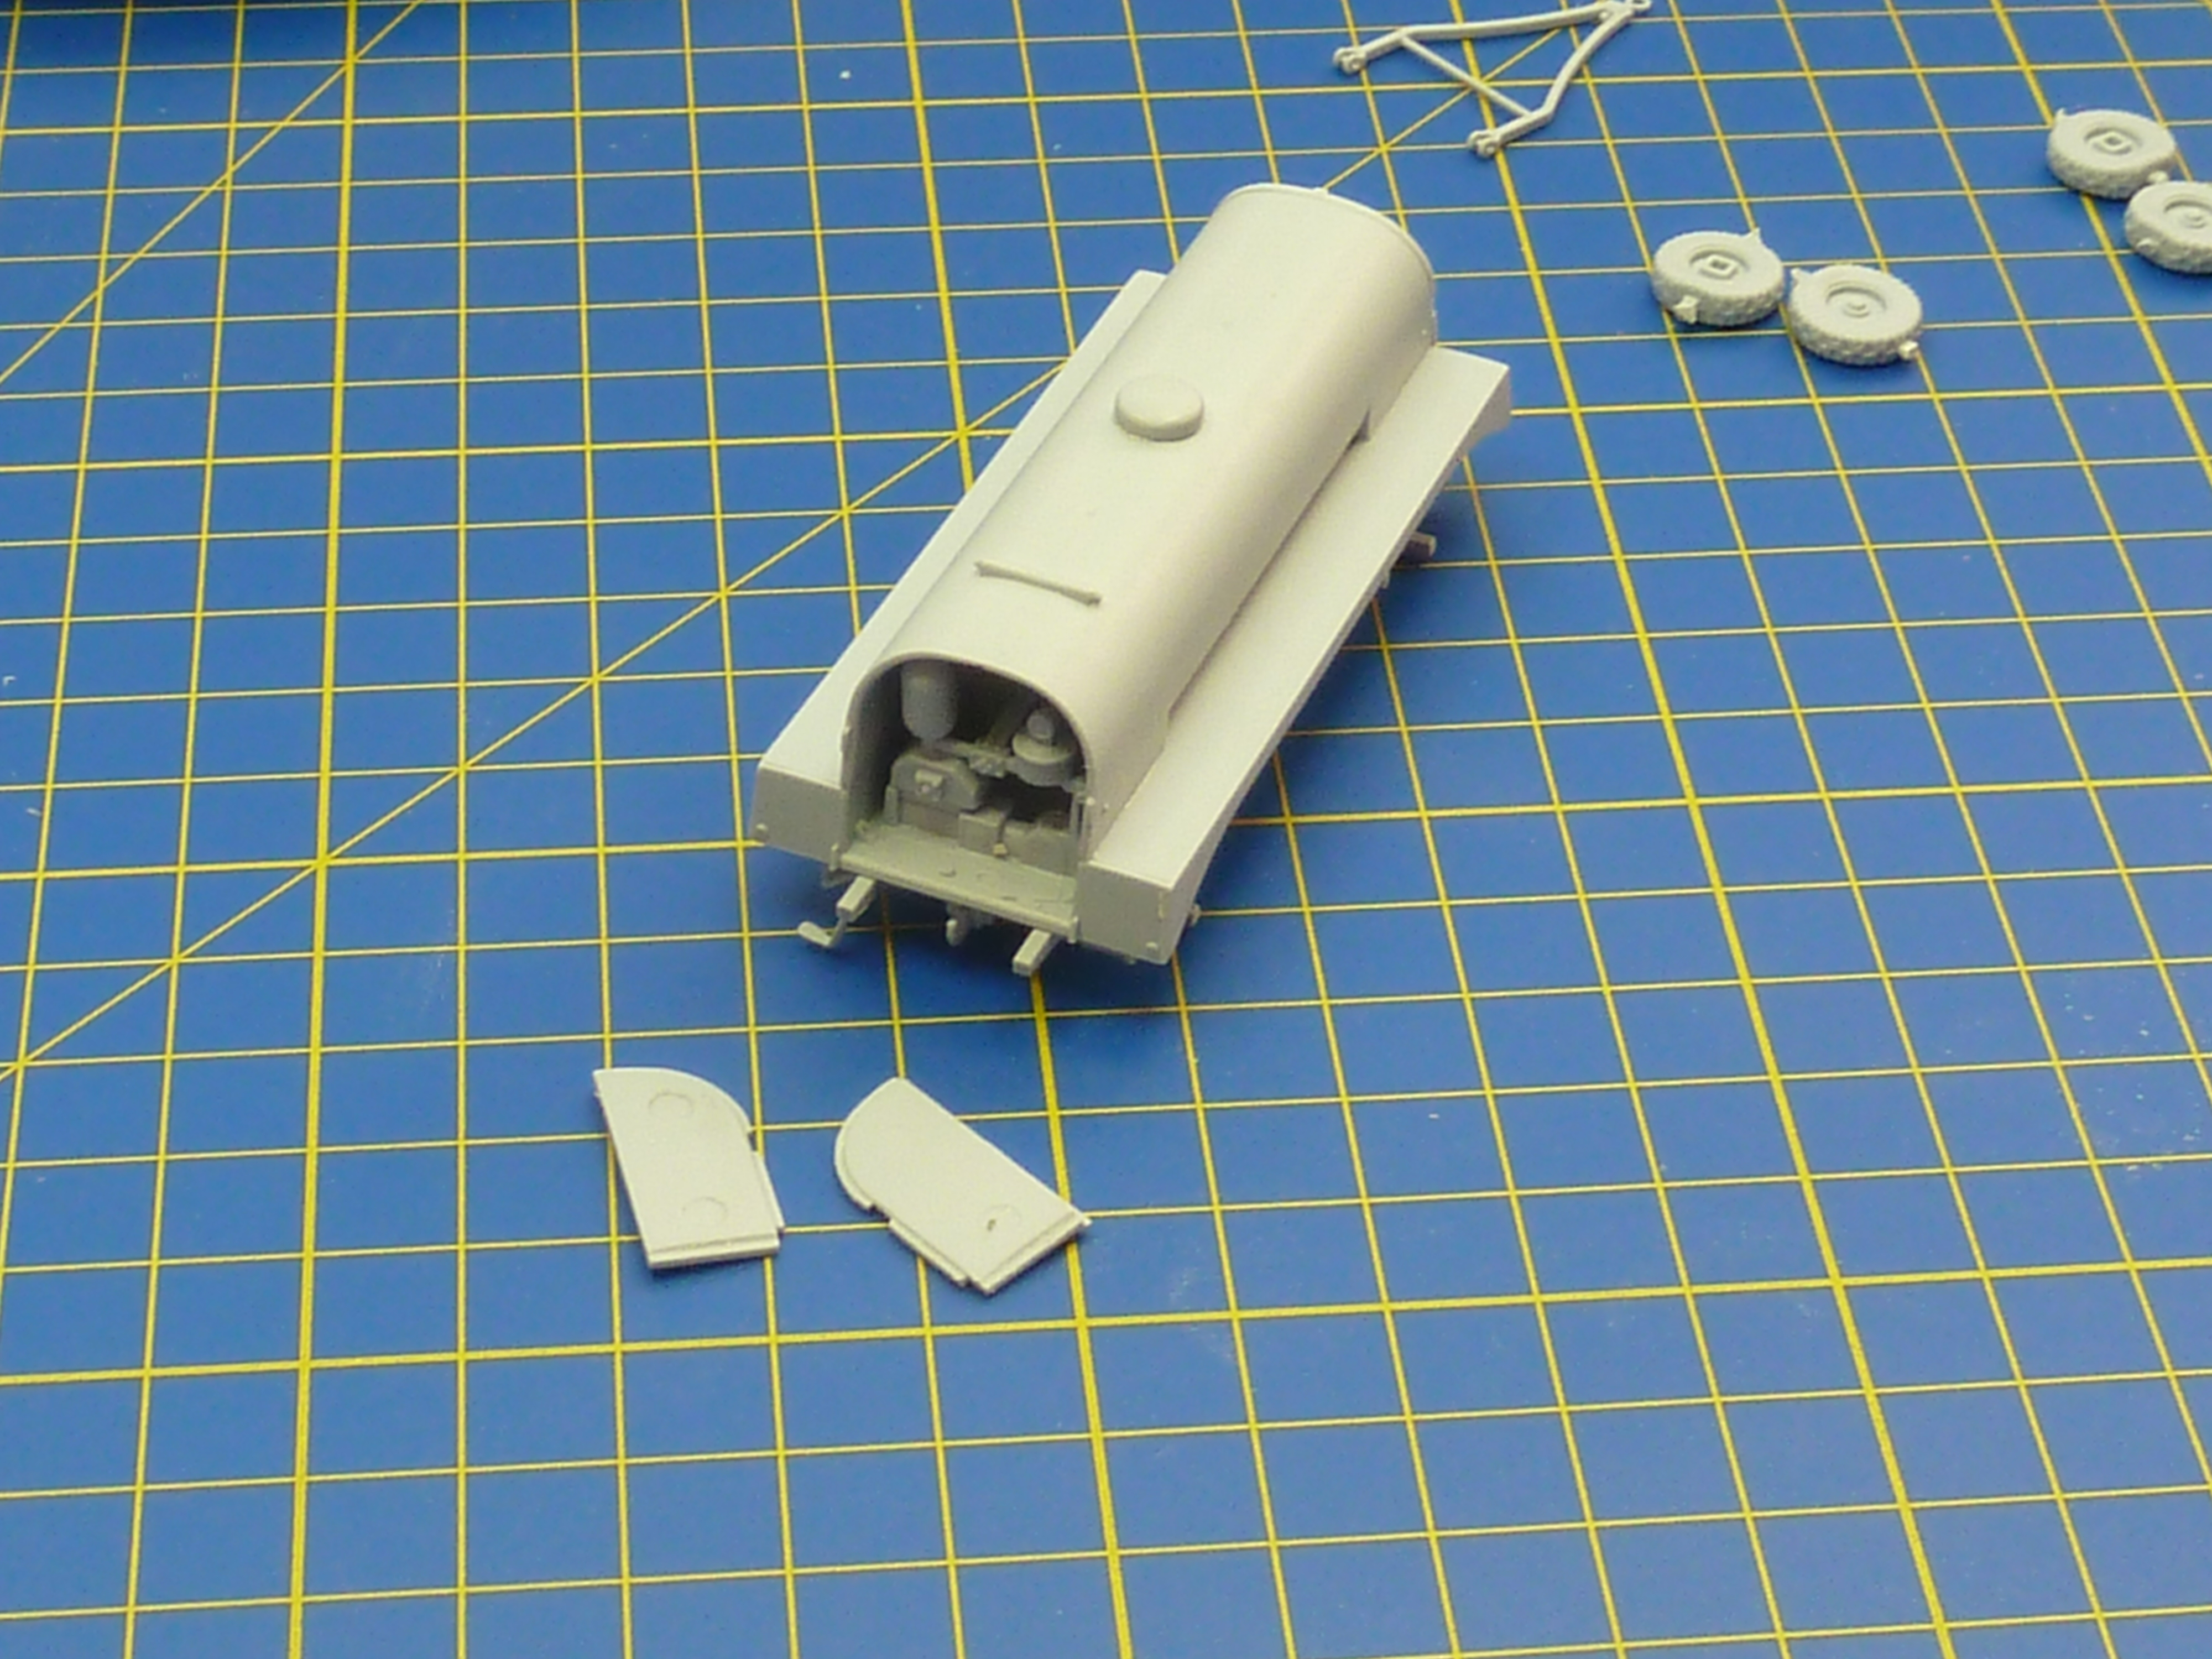
Again, this was very easy to assemble with components fitting well. The only minor irritation was some ejector pin marks in the inside of the rear doors, which were easy to fill and sand down.
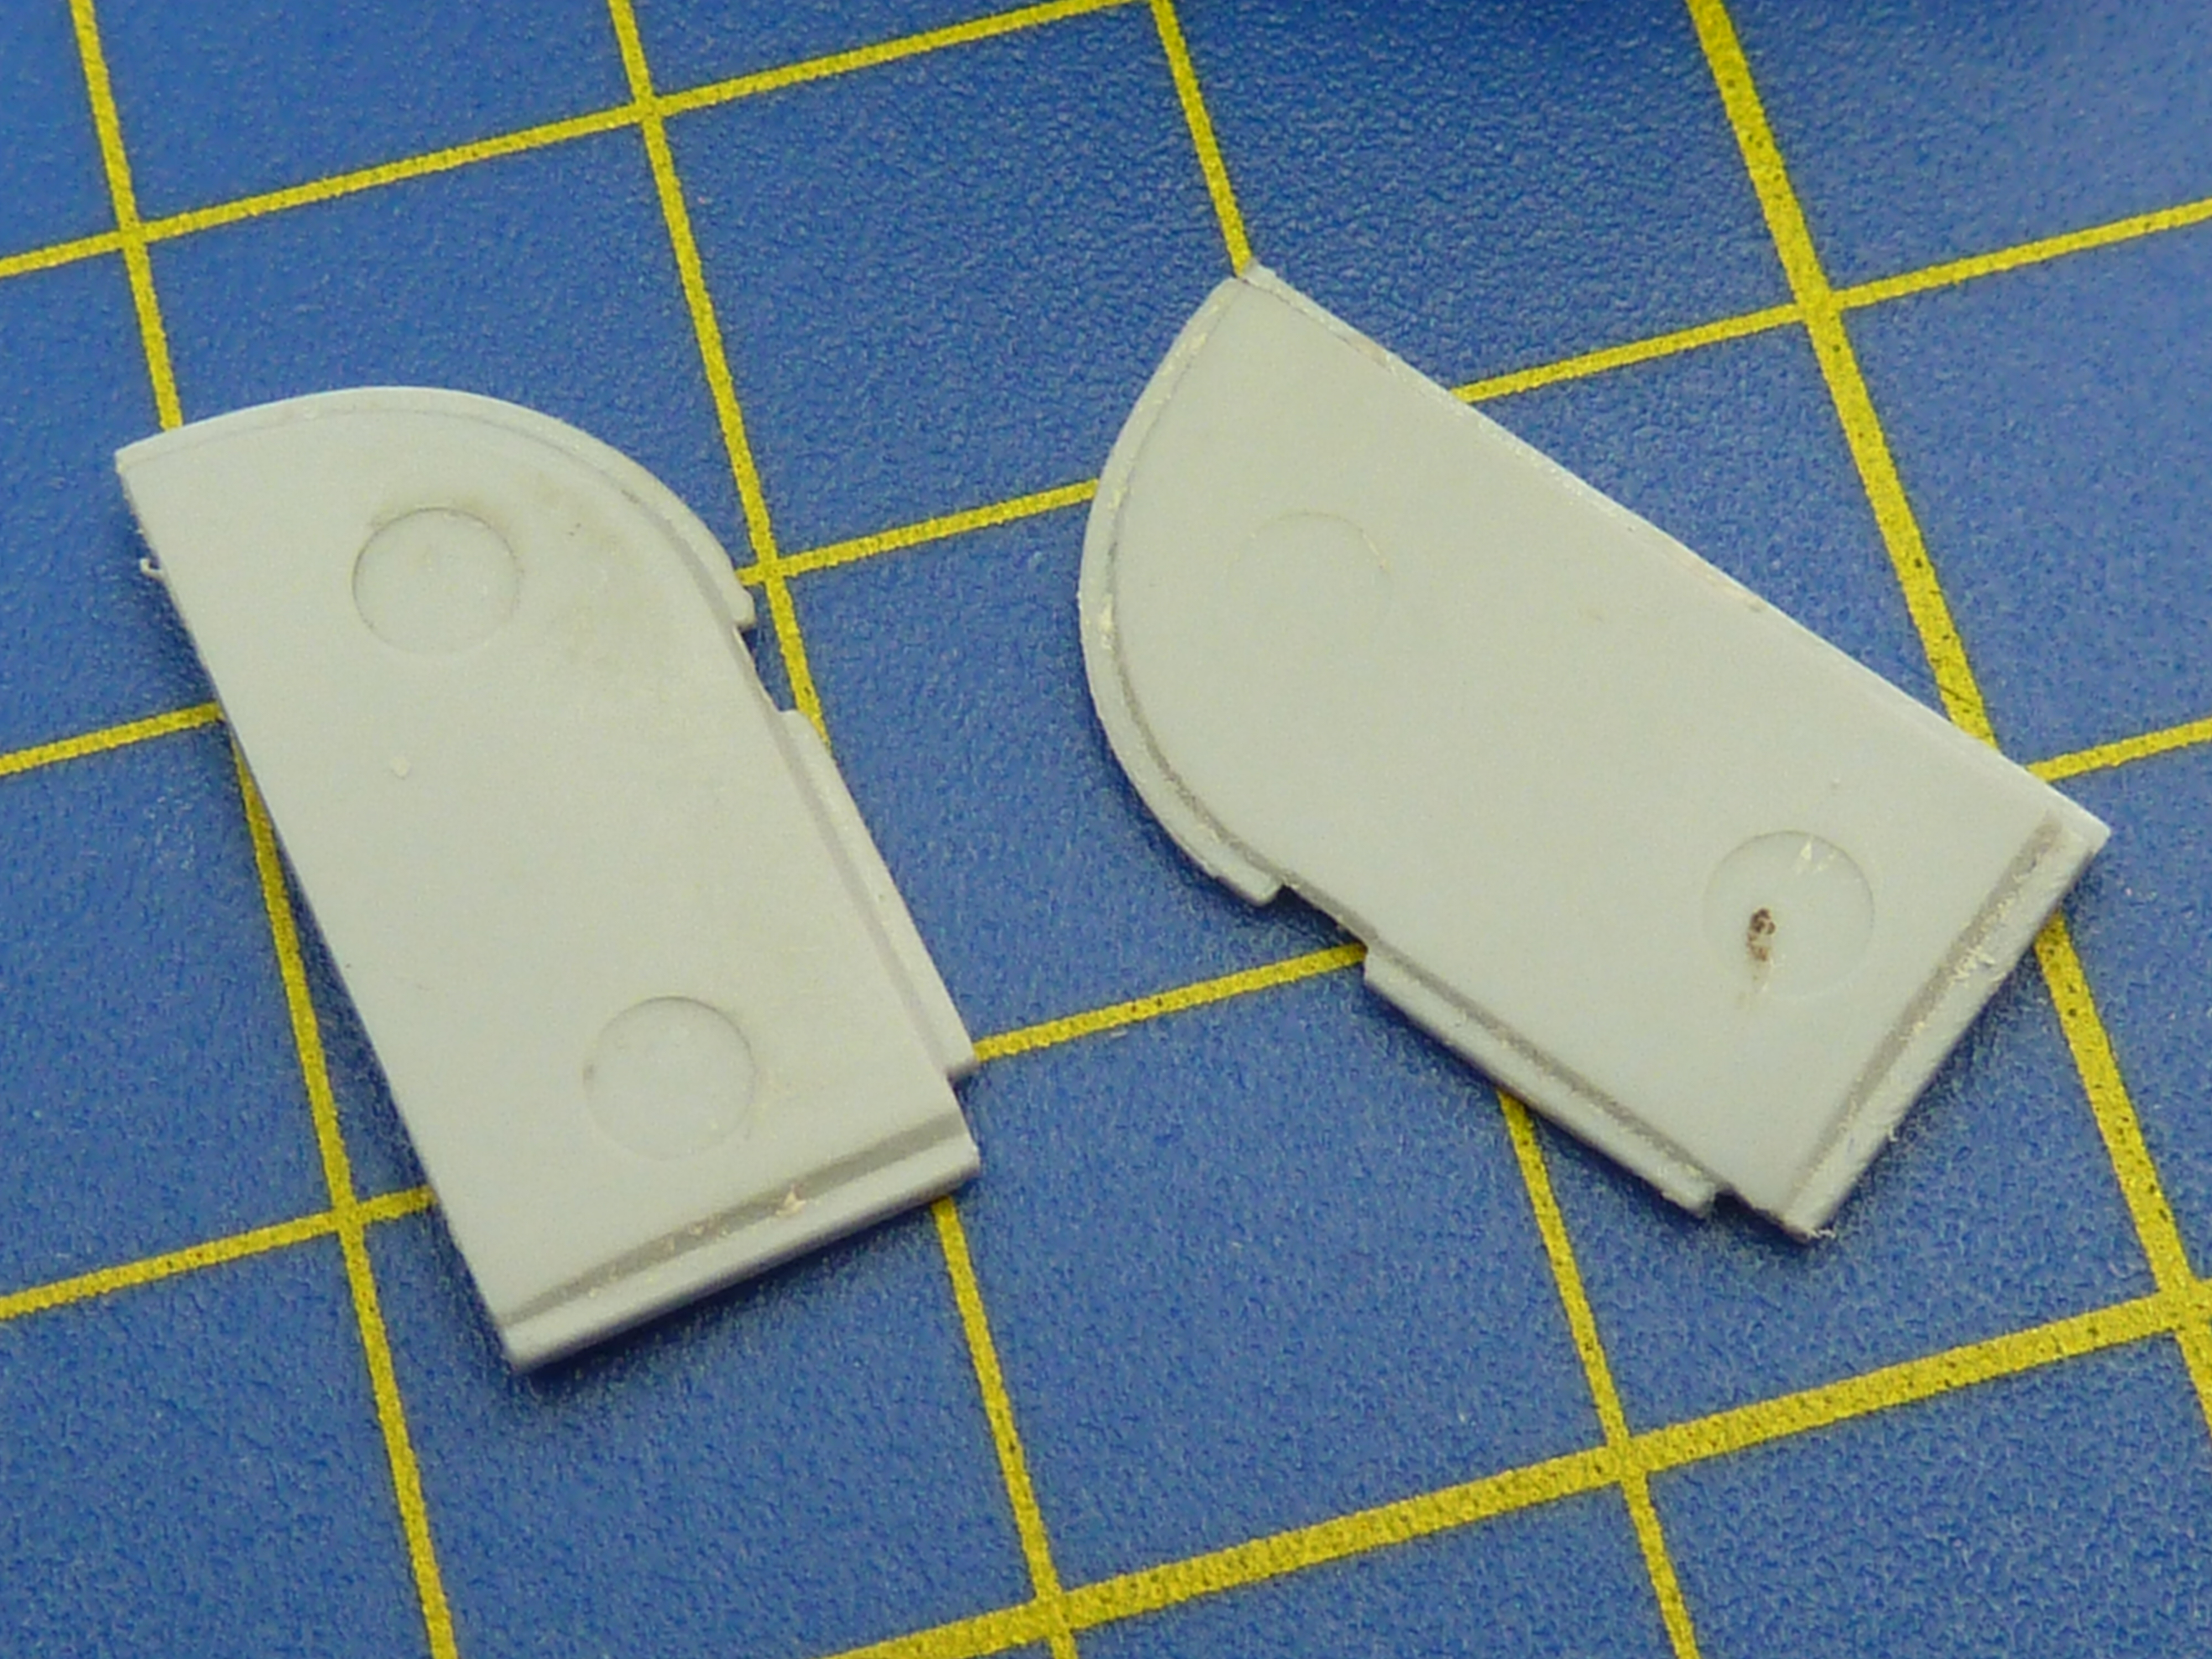
The bowser also includes some of the pumping equipment in the rear. I planned to paint the inside of the bay the same as the exterior, though I have seen it in white in some photographs.

The one thing the bowser is lacking is the delivery hoses which should be attached to the outlets on the top of it. I simply drilled out the fittings and added some wire suitably draped along the sides. You can see them in the picture below, taken after the main coat of brown had been sprayed on.

After the assembly, all the various clear parts were masked off and the overall brown airbrushed on. I used a 1:1 mix of Humbrol 29 Dark Earth and 98 Chocolate to get the right shade. Airfix’s recommendation of just Dark Earth isn’t quite right as numerous websites will advise you if you Google it.

The tilts were also airbrushed in their basic colours.


Then commenced the masking for the distinctive “Mickey Mouse” camouflage scheme. I used a pair of dividers (one side having a specially sharpened pin to aid the cutting) to cut out various sized overlapping circles to create the masks.

As this is my first go at this scheme I was quite pleased with the results.

I couldn’t resist adding a little dry-brushing to some of the vehicles prior to these pics.


The tractor was brush painted in a more normal scheme. I should’ve taken the time to mask and airbrush, as the finish is less than fabulous.
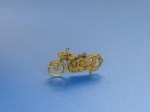
Oh yeah… and there was a motor bike too. Almost forgot that was there.

All the vehicles were then airbrushed all over with ‘Klear’ floor polish, though I think this is now marketed as ‘Pledge Multi-surface polish.’ The decals were applied using Micro Set and Micro Sol, and finally another thin coat of Klear airbrushed on top of them to protect them from the washes and other weathering techniques.
An overall wash of burnt umber was applied to pick out details followed by a light tan one on the lower areas to give the impression of dried dust. Various oil streaks were brushed on using artists oils around filler caps and anywhere else spillages might occur. Once things had dried a little I then dampened a brush in clean thinners and stroked it vertically downwards on the vertical surfaces of all the vehicles to give the impression of where rainwater would have drained off.

The pump bay of the oil bowser got a special fairly thick wash of burnt umber to give the impression of heavy oil staining.

Once all the weathering was complete a thin coat of acrylic matt varnish was sprayed all over each model.
All this was done before the masks on the glazing were removed. Once the masks were removed I used my trusty sharpened dividers to cut out discs from masking tape. I use the 3M’s Scotch Blue tape as I find it just as good as Tamiya’s masking tape and it’s an awful lot cheaper. It comes in 55m rolls.

The discs were sized to match the sweep of the wiper blades moulded in the vehicle windscreens so that I could create masks for the wiped area of the screens.
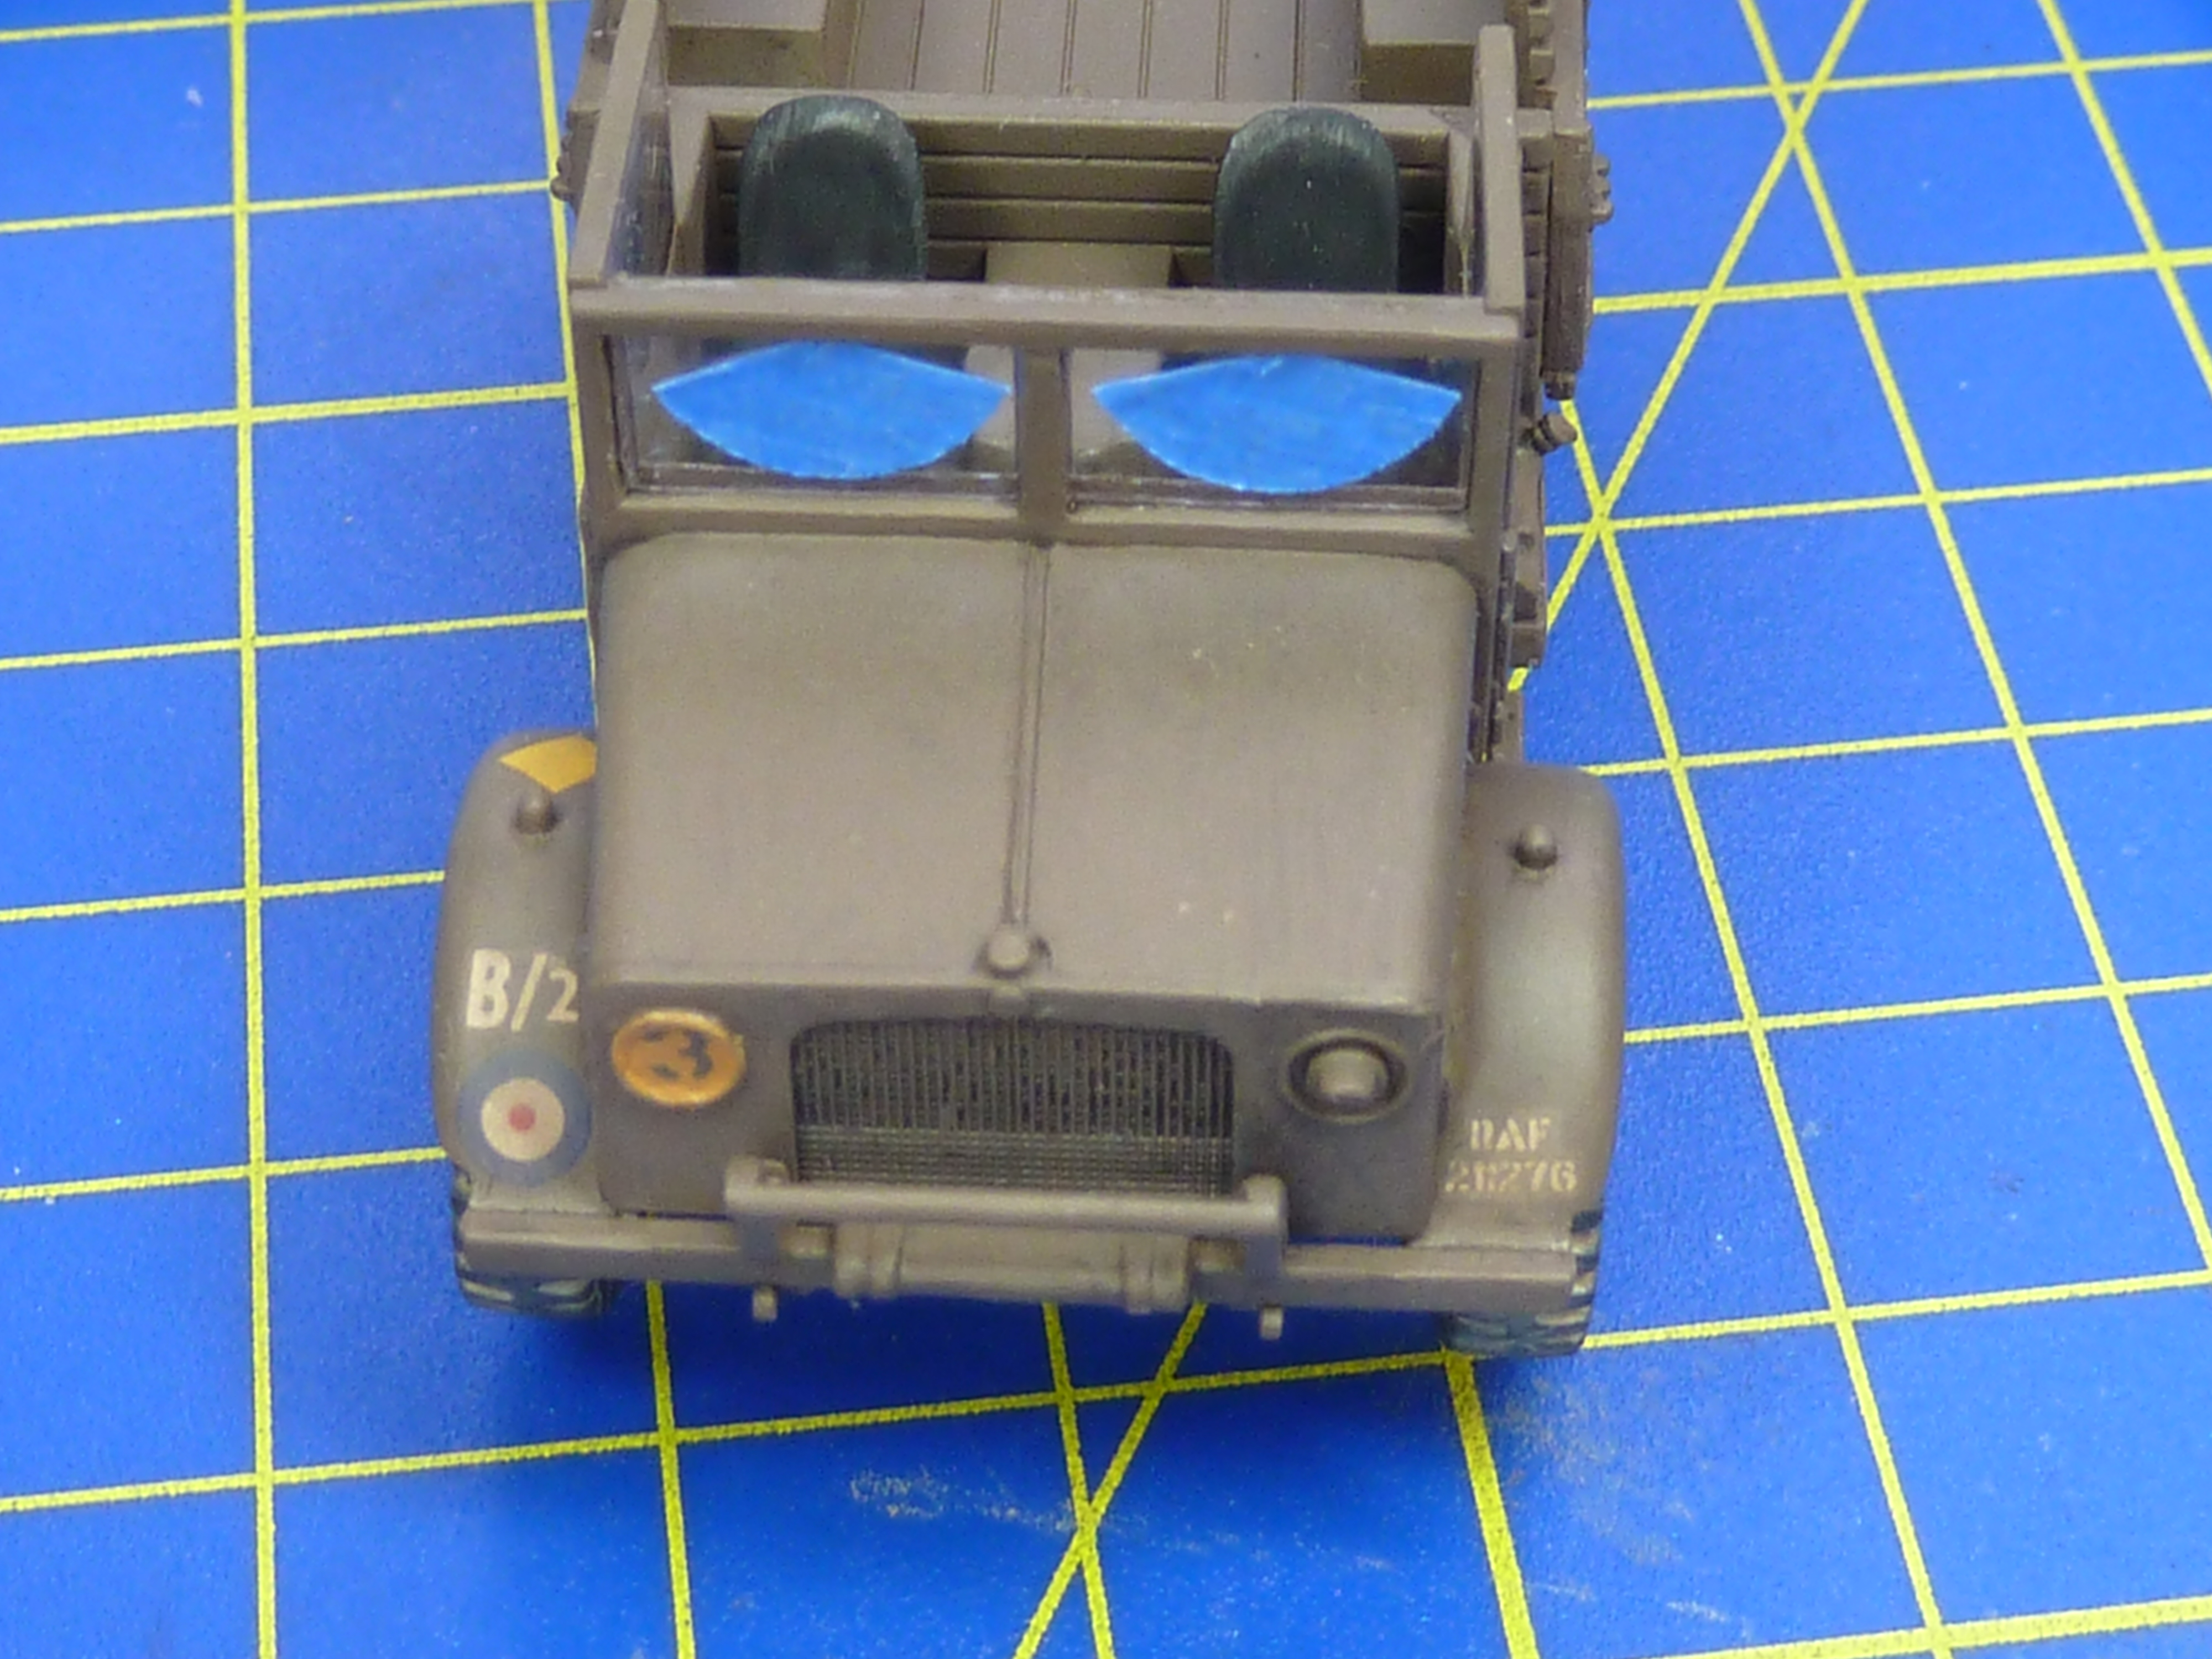
I then made a VERY dilute wash from alcohol and Tamiya’s Flat Earth acrylic and sprayed it on the windscreens. It’s very easy to overdo this effect though and end up with a screen that looks like it should be on a rally car. In fact I think the Standard Tilly is overdone.

The canvas tilt on the Beford MWD was weathered with artists oils. The Standard Tilly was treated with washes and dry brushing, as I find trying to shade black with artist’s oils hard, if I’m honest.
The final overall effect after the vehicles had been fully assembled was to airbrush them very, very lightly with Tamiya’s Deck Tan from vertically above to give the impression of a dust coating.
That was about it for the vehicles.


That just left the weaponry. As I was planning to do a diorama of a Lancaster I chose what would’ve been a fairly standard area bombing load for that aircraft.
1 off 4000lb ‘Cookie’ blast bomb
3 off 1000lb high explosive bombs
6 off SBC incendiary bomb canisters
I painted the bomb trollies in Humbrol 226 Interior Green. It’s the green used inside US aircraft of the period.. I did it simply to create a little difference in shade between the carriers on bombs themselves.

I gave up on the red band transfers around the noses of the bombs. They were just too difficult to apply, so I resorted to my paintbrush instead. I haven’t weathered the bombs at all, on the basis that these ones have only just been delivered to the base!
The Airfix decal sheet does come with some nice little ad-ons representing chalked markings made by the ground crews.

One mistake I did make was to glue 4 1000lb bombs on one trolly and only 2 on the other. In reality I’m sure they would’ve been 3 on each, but by the time I realised the mistake they were well glued on and not coming off without something getting damaged. So I’ll gloss over that anomaly on the diorama.
I also found the red banding decals for the incendiaries very hard to seat properly, so again, I abandoned them and resorted to masking and my airbrush.

So that’s it for this entry. The vehicles have now been consigned to the loft and await the full Lancaster build, whenever that happens.

A nice little set. It should make a nice diorama with a Lancaster. I like how you made the wiper marks, that’s impressive!
LikeLiked by 1 person