
A fair amount of work has gone on since the last post on this build, though there isn’t a huge amount to describe.
The vast majority of the effort has gone into varnishing, and sanding the hull. Then varnishing again etc. with a week or so in between each iteration waiting for the previous coat to harden properly. That has eaten a lot of time up.
I’ve also spent a fair bit of time trying to produce some replacement fittings for the boat, as I don’t think the ones with the kit are adequate.
Varnishing
After testing a few different makes of varnish I opted to use Ronseal’s Ultra Tough Hardglaze Varnish. I didn’t use my previous favourite, their yacht varnish, because it has too much colour in it to be used over white markings without turning them a conspicuous yellow.
I did try a crystal clear twin pack varnish, but the fumes from it were too noxious to use it in the house where I do most of my model making. So back to a polyurethane varnish it was.
The Ultra Tough varnish does still have some colour to it, but not much. However, you can see that the white markings aren’t entirely pure if you look closely. I’m not sure of the colour rendition of my camera has been good enough to pick it up though.
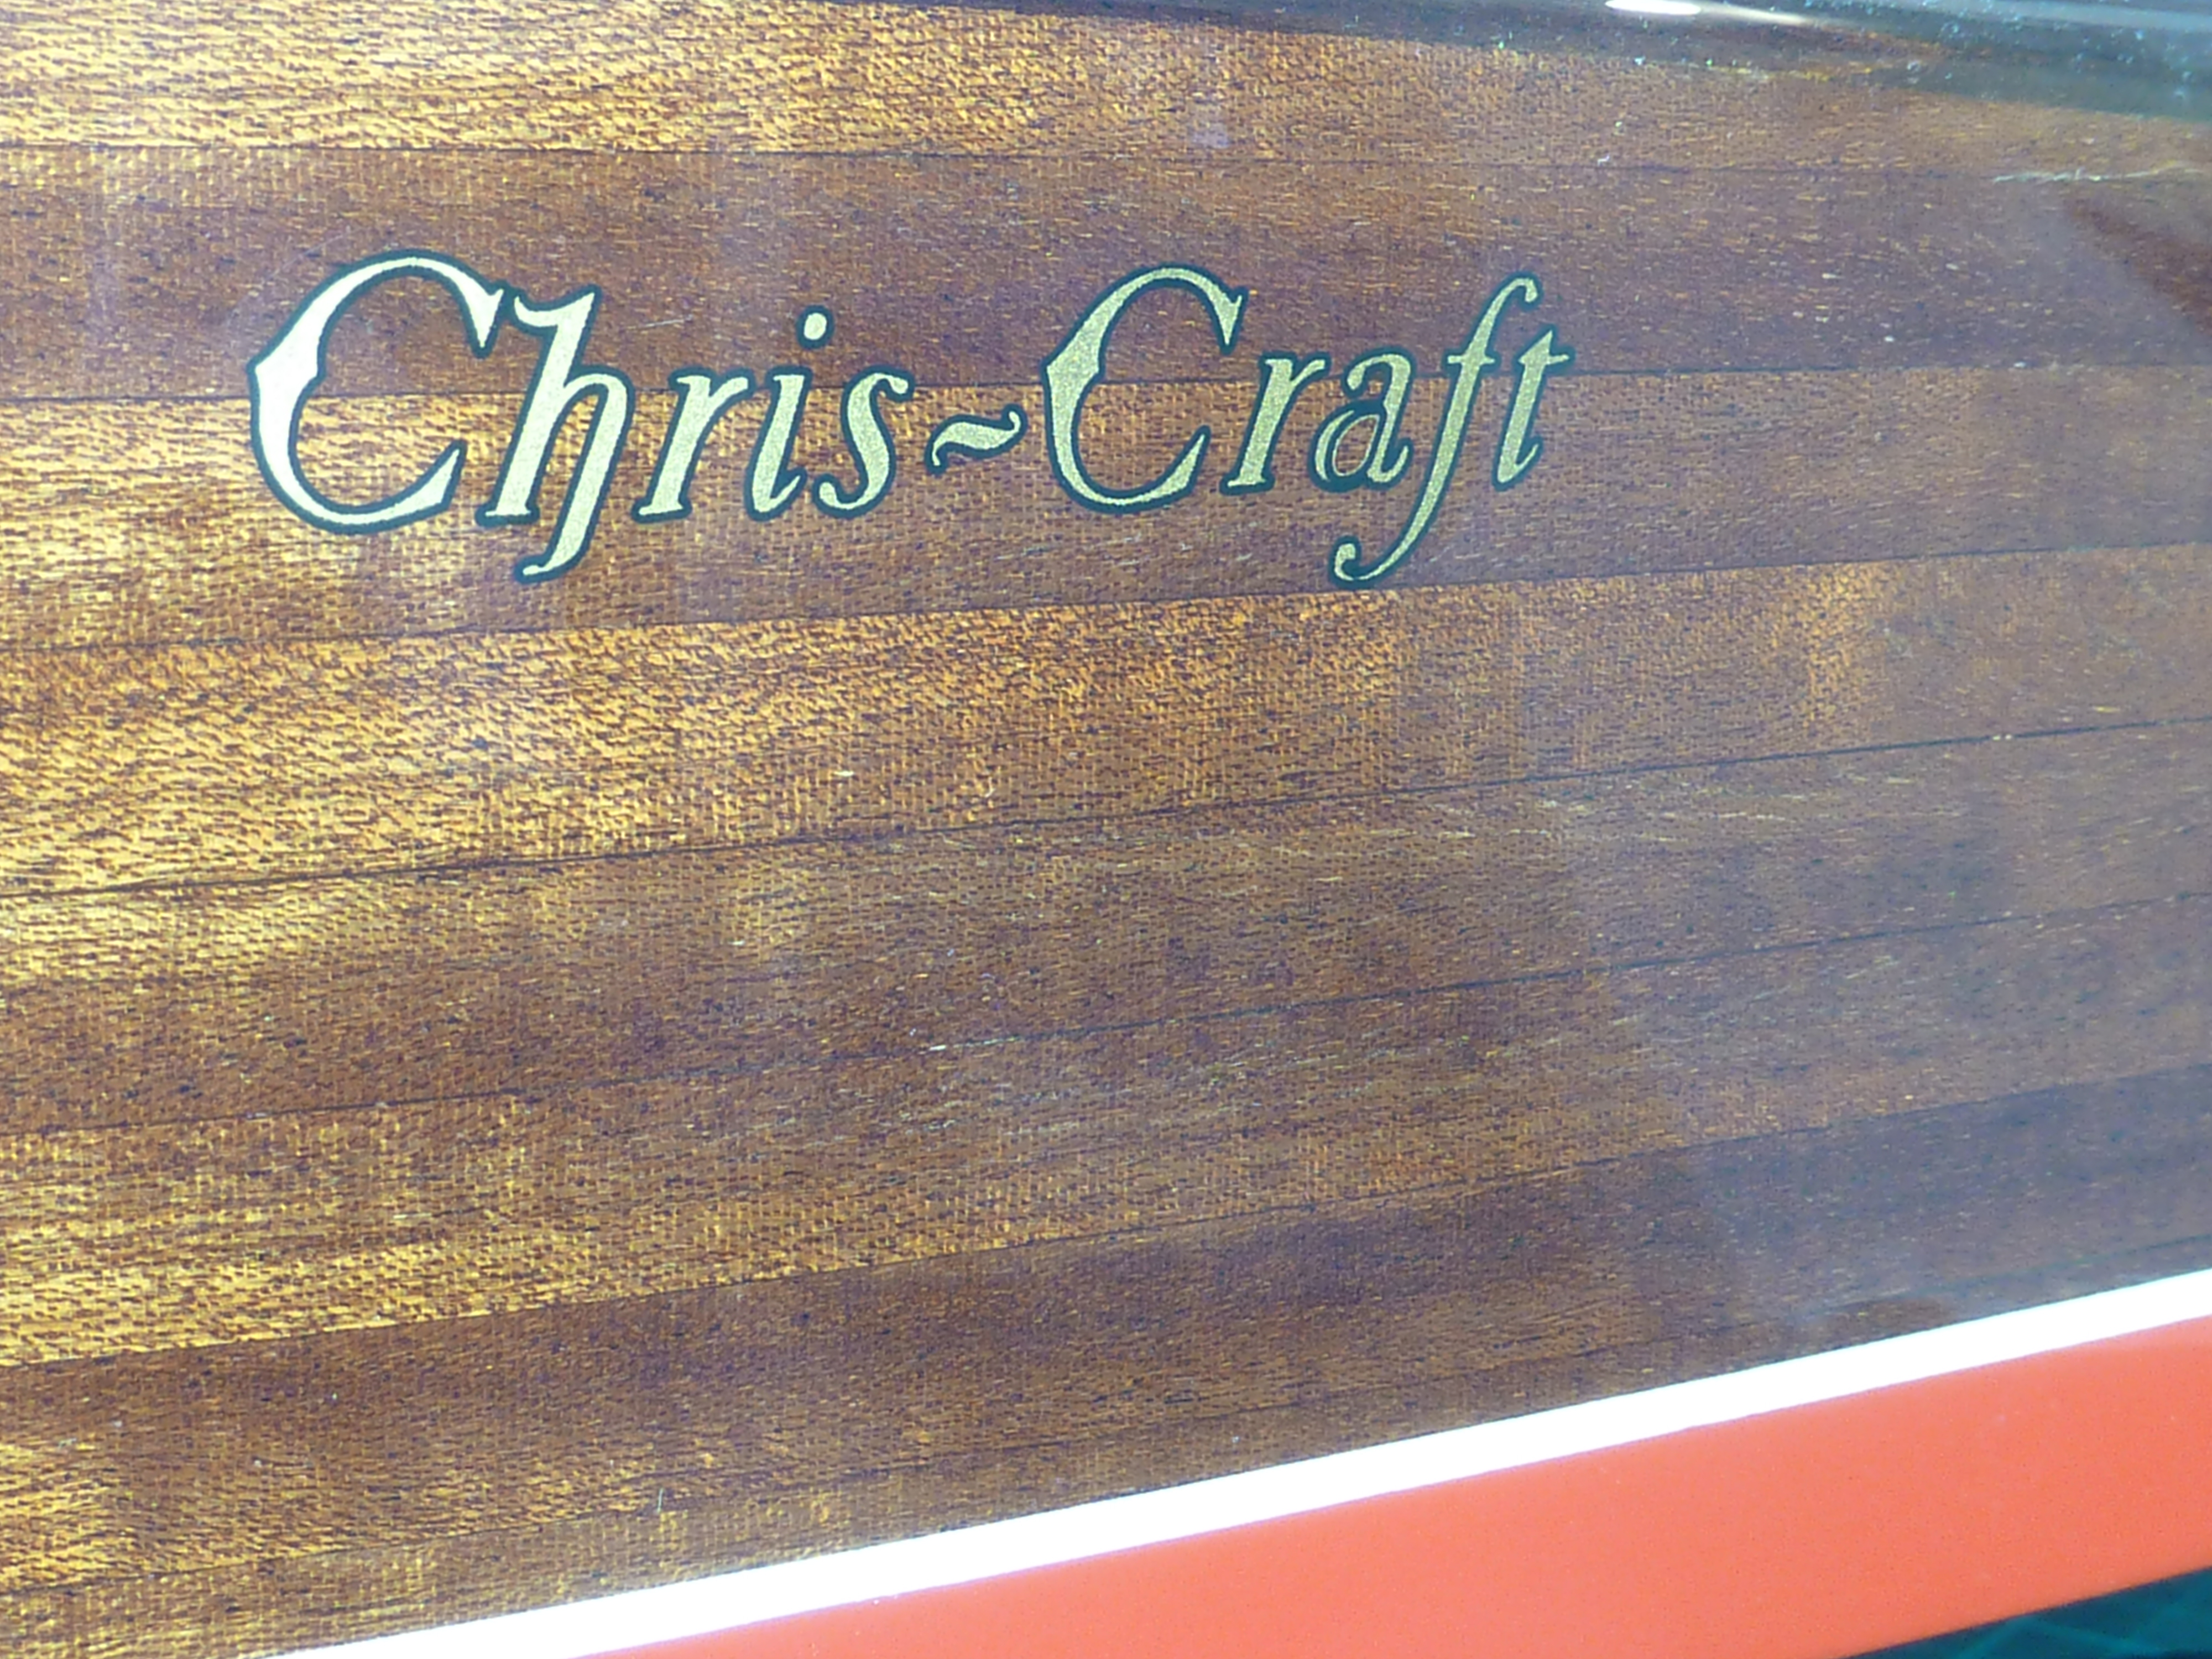
As you can see from the above picture, I also stuck with the kit supplied stickers (d’ya see what I did there?) rather than source thinner ones.
The carrier film in the kit ones is indeed pretty thick, and it took a lot of varnish and sanding flat to get them flush, with no sign of the carrier sheet outline.
I applied the decals after the second coat of varnish had been sanded flat. In order to ensure there was no silvering under them I locally polished the varnish to a very high gloss before they were applied. The application was very easy and went well with no air bubbles trapped under them at all.


After the application of the decals it was back to varnish, sand, varnish, ad nauseam. I don’t know how many coats were put on in the end as I didn’t keep count.
Each coat was wet flatted back with 800 grit wet and dry paper between coats.
After the final coat had been applied and allowed to harden for a week I wet sanded it back with increasingly finer wet and dry paper.
1000, 2000, 3000 grit. After that I moved on to Micro-Mesh cloths in 3600, 4000, 6000, 8000, and finally 12,000 grit.
The final finish was obtained by using a fine polishing cream followed by Autoglym Super Resin Polish.

The initial impression of the finish is good, but I still have a few reservations about it.
If you look closely at the window upright reflection in the photo below you can see that the surface seems to peak slightly around each white insert. I’m not sure why to be honest, as I have been sanding with a rigid block quite gently.

The basic appearance is pretty good though.

There is also an effect on the hull bottom where you can just about detect the weave of the glasscloth if you get the light glancing at just the right angle. The effect is barely noticable though and I certainly couldn’t catch it on my camera despite trying quite hard for this blog. I suspect the light is glancing off the surface of the gloss paint below the varnish, so there’s not much I can do to correct that. Note to self: make sure the paint surface is utterly flat before varnishing.
Having finished the varnishing I’ve been able to uncover the cockpits and remind myself what they looked like too.

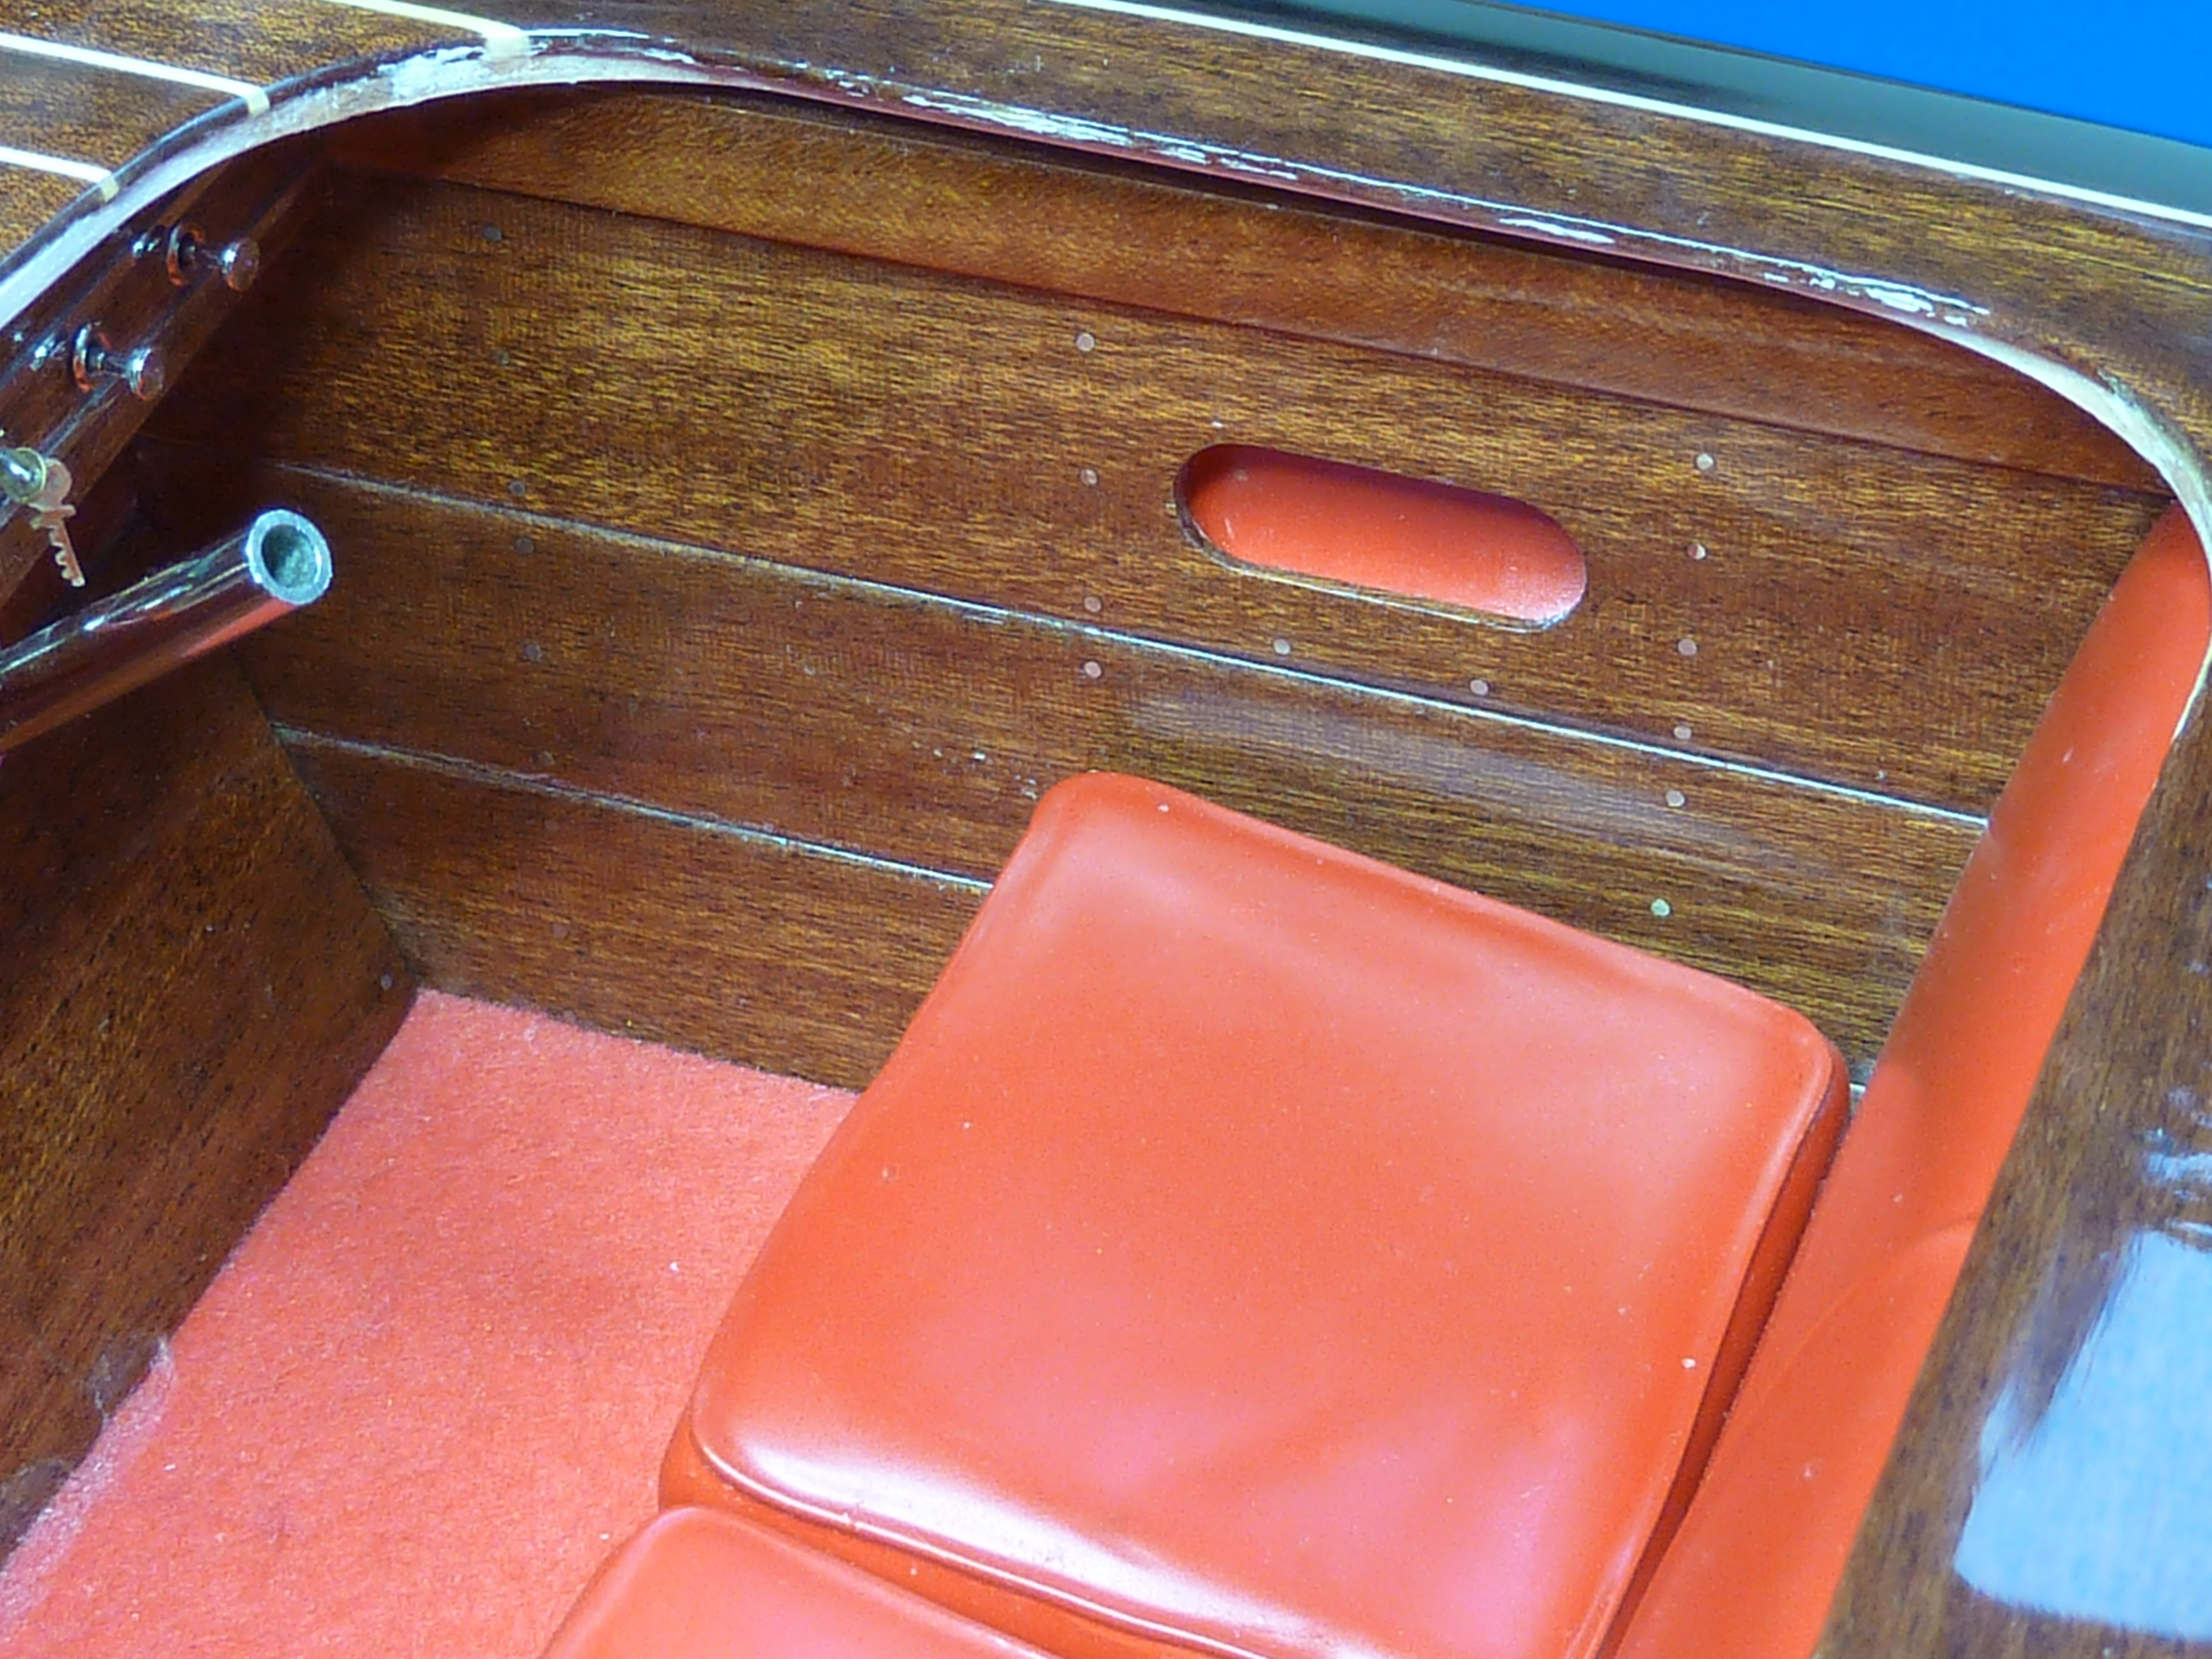
I’m still quite pleased with the visual impact of the seats, and it was a morale booster to uncover them again.
Fittings
So that is the boat pretty well complete apart from the fittings which continue to be a problem.
I have made and trial fitted the exhaust.
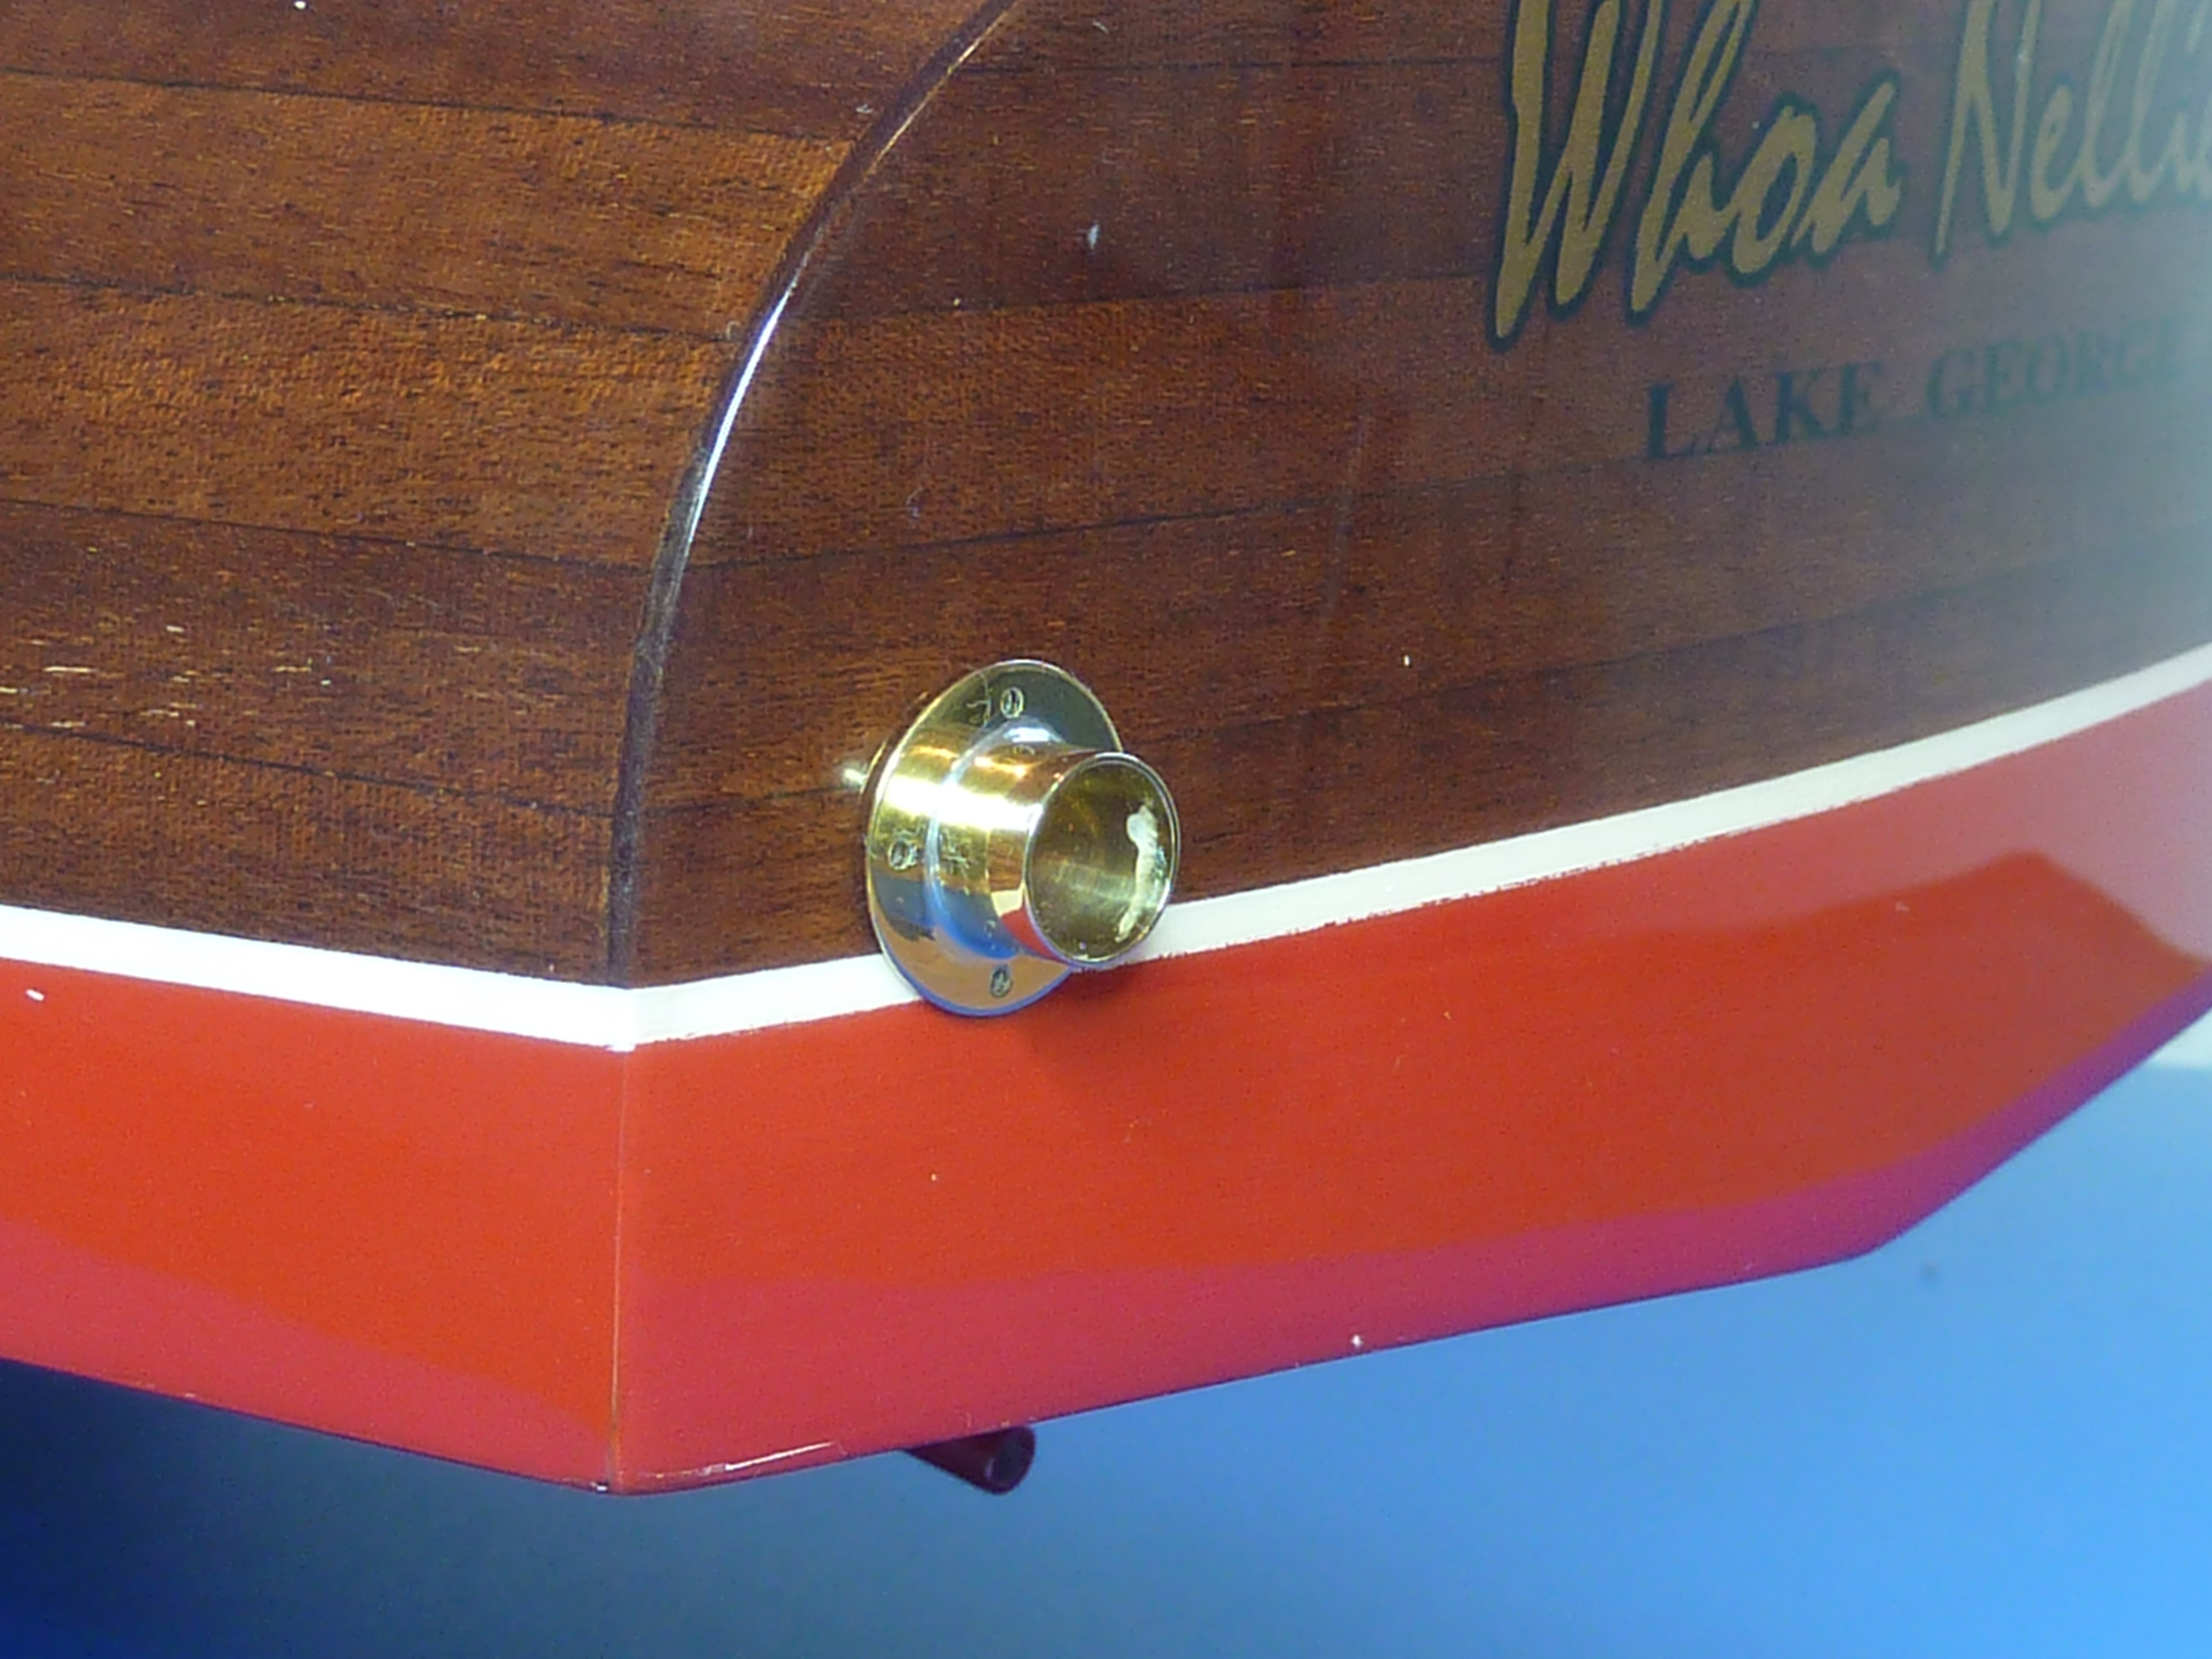
I’ve made the exhaust so that it exited perpendicular to the surface, and some real boats are like that judging from the pictures, but I think it looks a little odd.

So I think I will alter it so that the exhaust exits parallel to the keel. It won’t be much of a job to do and it’ll irritate forever if I don’t.
If you recall I had originally started to polish up some of the kit’s fittings for use on the model. The bow light and fairlead in particular. However, I recently invested in an XYZ Printing Da Vinci Mini ‘entry level’ (posh phrase for base model) 3D printer so I thought I’d have a go at designing and casting my own.
Each design was modelled in CAD initially.

Then printed out.

The finish is a little rough straight from the printer, but the PLA plastic is quite easy to clean up and polish. Here’s the bow light and lens after cleaning.

I then used the cleaned up casting masters to create a mould in RTV-101 rubber.


The parts have been cast in Leadfree Pewter. The alloy is around 92% tin with a little silver in it to improve the polished finish.
After polishing.
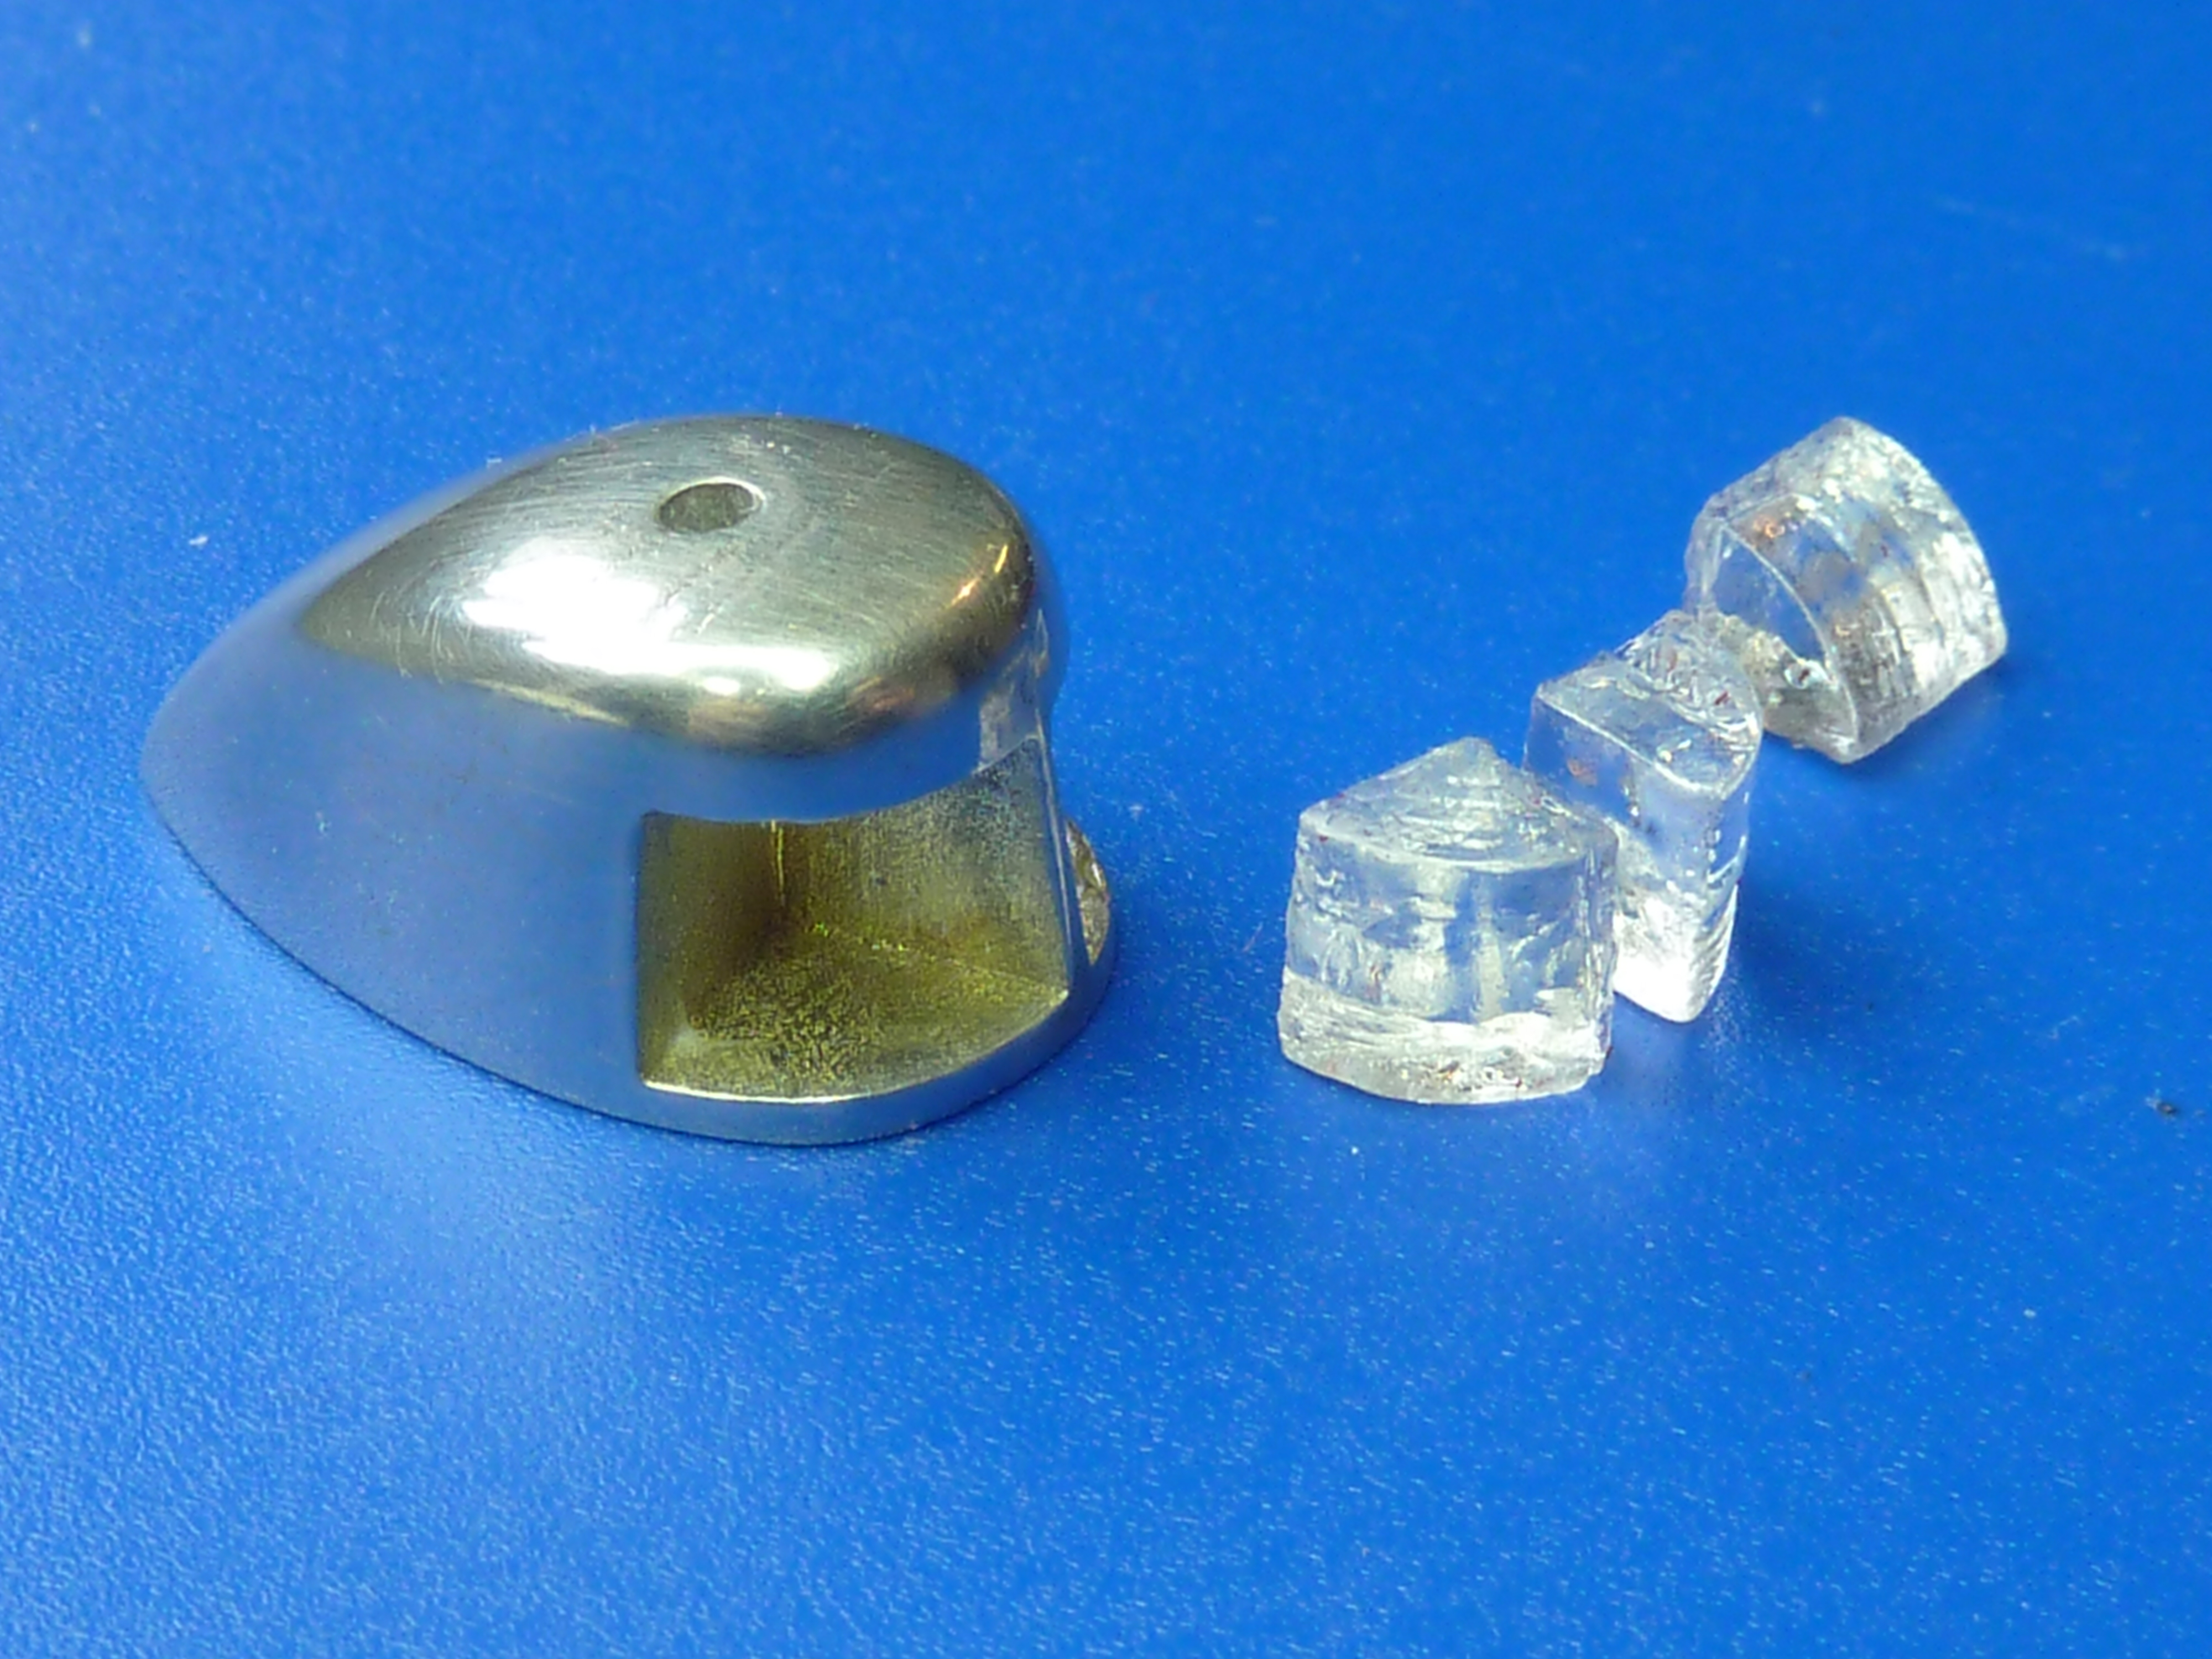
The lenses have been cast in clear resin. I’ll airbrush them with clear acrylics to colour them green and red.
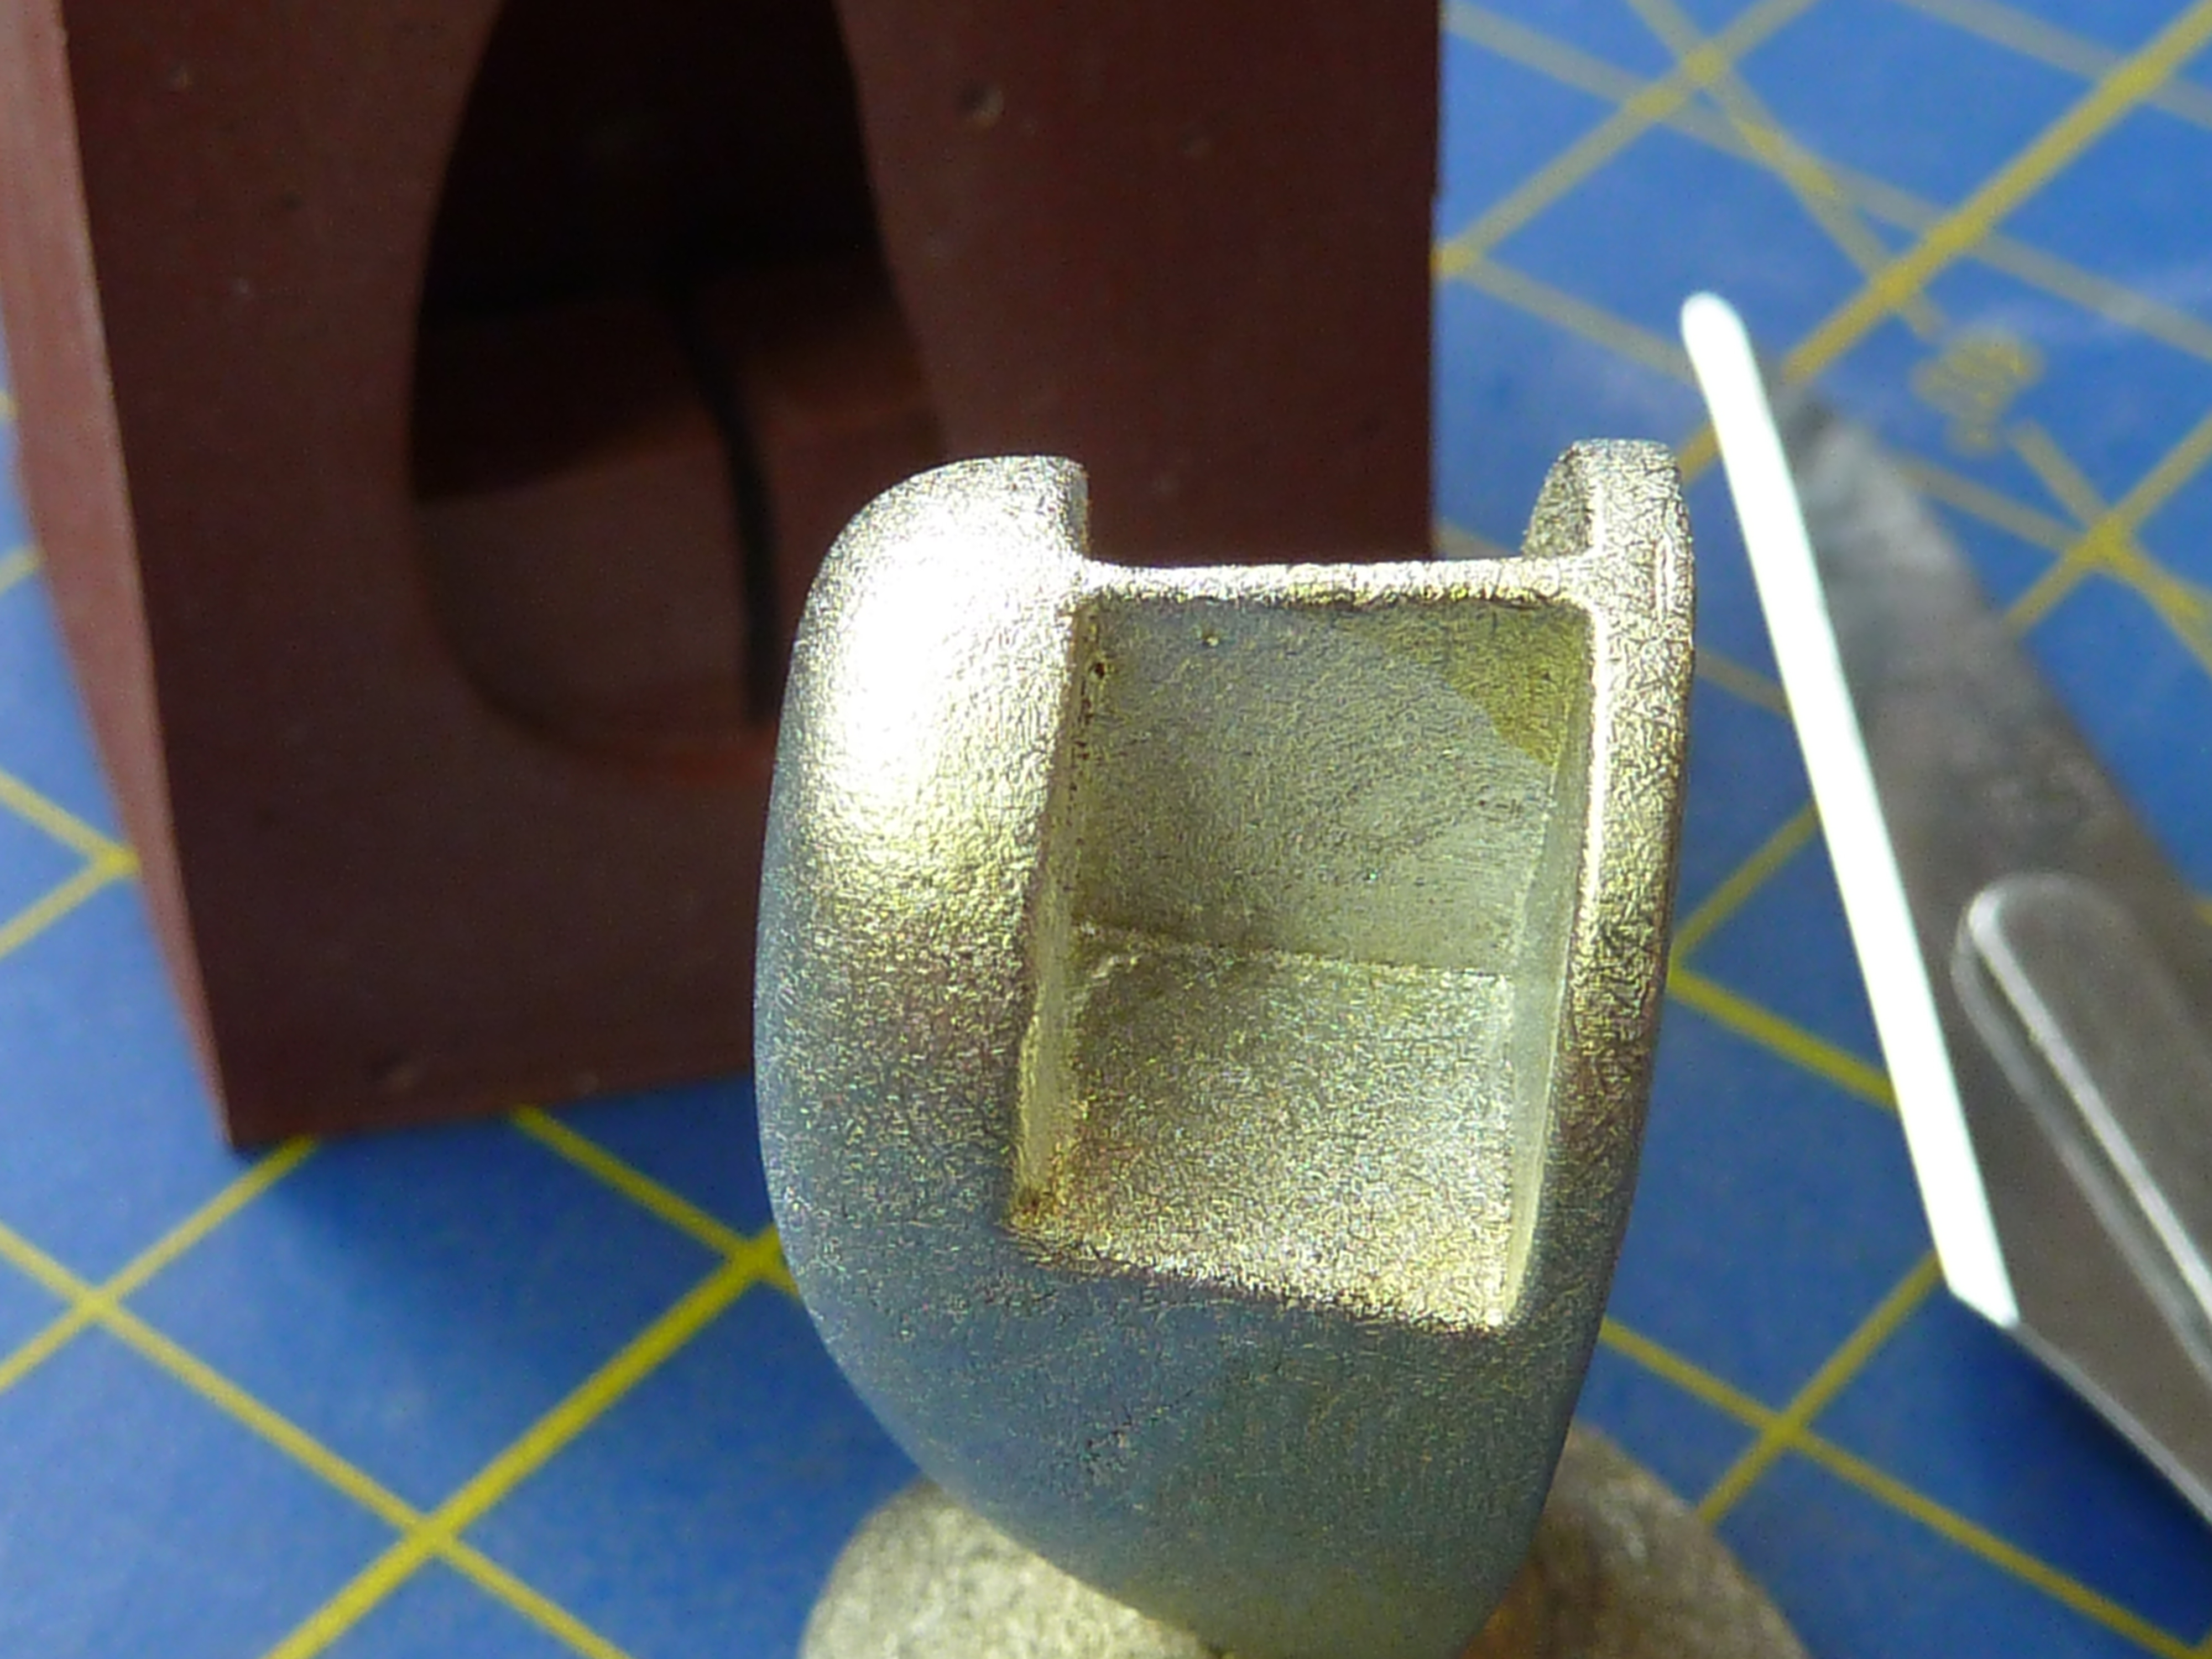
The same process was taken with the fairlead, though I haven’t finished the polishing yet.

I had started to make the rest of the fittings in brass and copper, with a view to nickle plating them or sending them off to be chromed.


However, the effort and noise of all the cutting and filing started to make me feel quite ill, so I’ve knocked that on the head until I’m a bit more robust. Also, not being able to use power tools is a major disadvantage and leads to very sore fingers.
So, for the time being I will pause the build of this model until such time as I either locate some suitable quality fittings or I become well enough to finish making my own.
This is how the model stands at the moment.


It looks amazing. Not surprised.
LikeLiked by 1 person
Thank you.
LikeLike
That is simply stunning. You deserve a real pat on the back! Could the ‘bulging’ effect from the varnish simply be an optical illusion?
LikeLiked by 1 person
Thank you.
I really don’t know. The surface feels completely flat, but the reflection belies it. I think I just need to be much more careful at all stages of sanding, even the initial roughing out.
They manage to lacquer entire grand pianos without these problems, so I’m determined to crack it.
LikeLiked by 1 person
Good luck with it. If the present condition is anything to go by, I’m sure you’ll crack it!
LikeLike
Looks amazing! (As always) You wouldn’t make a good heart surgeon though, that quest for perfection would make the op last a year at least. 😉
LikeLike
That, and getting it right third or fouth time might hit the mortality ratings too. 🤔
I was a better aerospace engineer though, honest. No smoking holes in the ground.
LikeLike
I’m taking the plunge teaching myself CAD and 3D printing. A question for you given your wonderful skills and experience in these arenas. Which CAD software do you typically work with and recommend? I’m thinking Tinkercad and Freecad are probably good starting places but was interested in your opinion. Thanks for any thoughts you can offer. Your blog is a favorite of mine!
LikeLiked by 1 person
I use an old version of Autocad mainly because I have years of experience with it. If I were starting again I’d use the free version of Fusion 360. One day I might bite the bullet and migrate to it, because both packages are produced by Autodesk and have a lot of similarities.
There are lots of other free packages out there but I don’t have much knowledge of them tbh. Migrating from one CAD package to another can be very frustrating, so I haven’t!
You can get free 1 yr licences for Fusion 360 for personal use, though it does restrict you on how many projects you can save and demands you save them in their cloud. Full fat licences are quite expensive.
https://www.autodesk.co.uk/products/fusion-360/personal
Two things I would say though whatever package you choose:
1. Get a teach yourself book or follow an on line course. If you just leap in and try to teach yourself you will enter a world of intense frustration.
I still have to resort to on line learning for rarely used features and I’ve been using Autocad for around 15 years.
2. Draw all of your models full size in the design space.
LikeLike
Thank you! Sorry for the late thank you back. Just saw your very helpful reply. I’ll chart the course you recommend. Just purchased and now am practicing with a new 3D printer. Amazing technology! Looking forward to lots of new learning over the winter. I hope you enjoy the holiday season.
LikeLike