
Well hopes of the next post in this series coming along sooner than the last weren’t realised. It’s been quite a long time since the last post on the Miss Severn build. However, progress has been going on in the background albeit slowly, despite illness and such.
In order to make some progress while I wasn’t at my best I polished up some of the fittings that come with the kit. The improvement in them is quite marked. Hard work without being able to use power tools though.


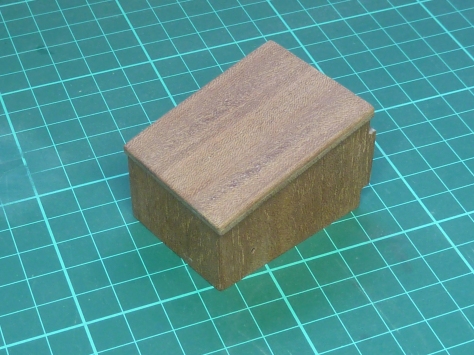
Having completed the basic hull, the next step was to plank it with the mahogany strip provided in the kit. The operation is pretty standard stuff. the planks were fixed with medium grade (as opposed to thin or thick) super glue. It’s a messy job as the glue seeps through the pores in the mahogany so it is almost impossible to stop it getting on your fingers at some point.
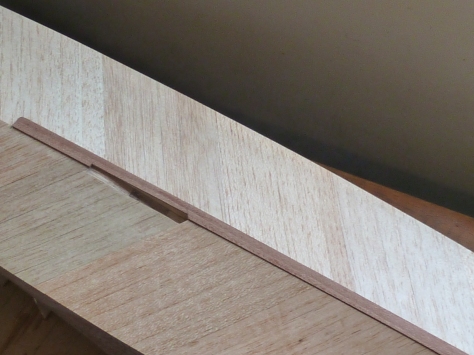

Having completed the bottom of the hull the chine line was redrawn and the planks cut back to it.
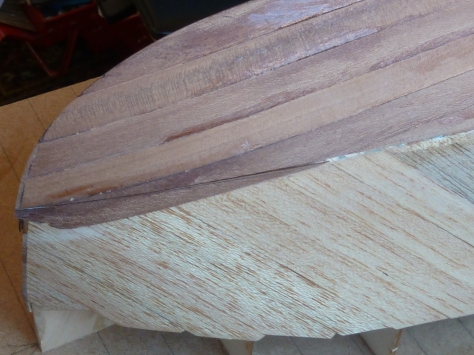
With the chine line re-established planking of the sides commenced.
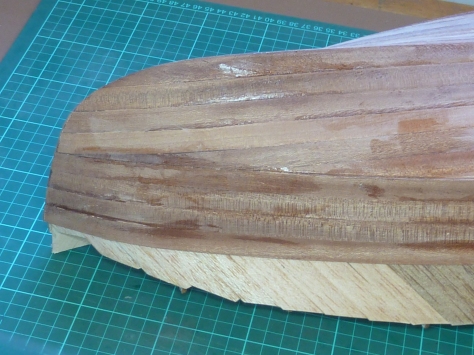
When the first few layers had been completed the boat was finally freed from the baseboard. It was at this point that I realised I’d messed up a little.
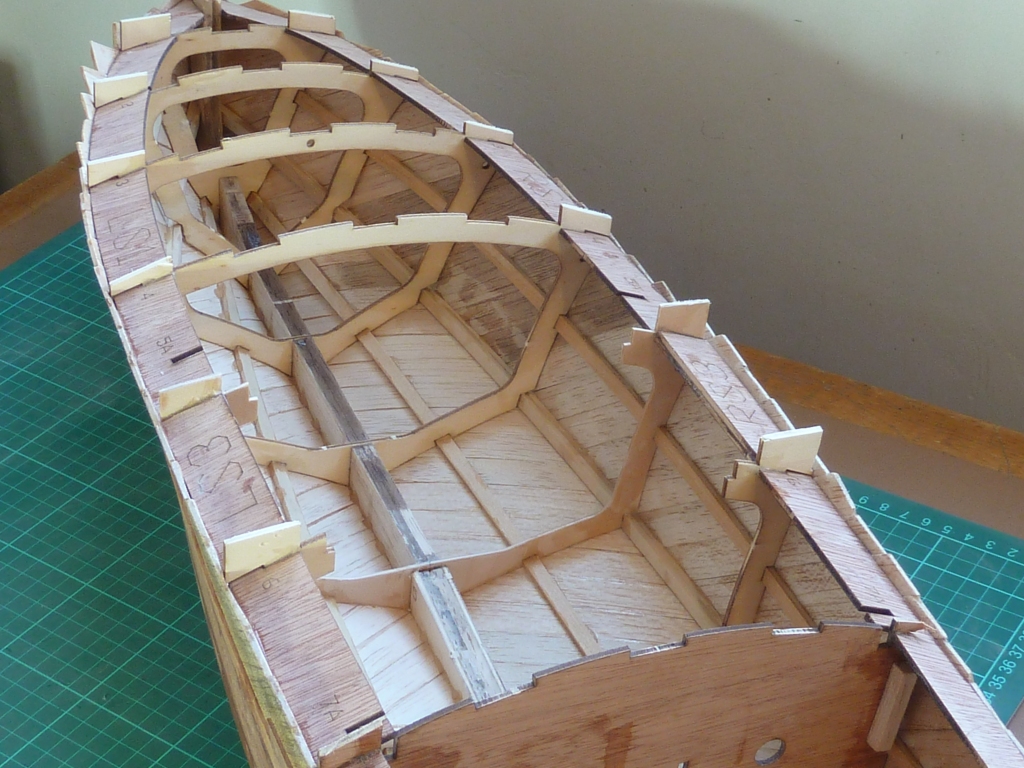
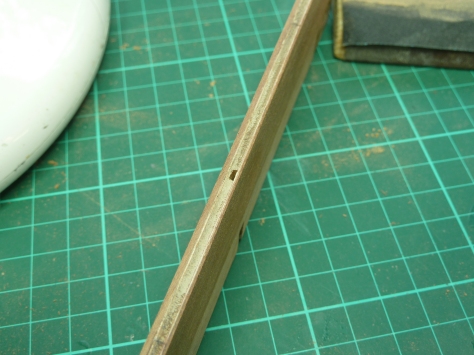
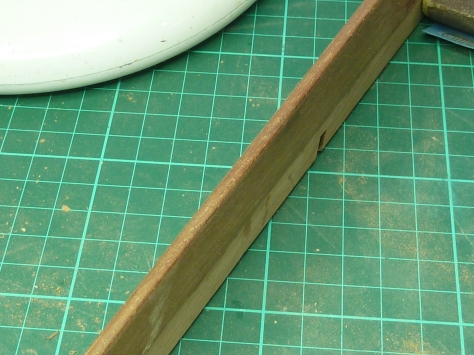
I’d stuck the doublers LS3 and RS3 on the wrong side of deck. Obviously they should be on the underside of it to allow it to be planked on top. It’s not specified in the instructions, probably because it should be obvious, but not having built many boats before it wasn’t to me. Ho-hum. They weren’t that hard to remove anyway with a chisel.
Having cleaned the deck up it was possible to get on with the assembly of it and the associated hatches. This was all done as per the instructions.

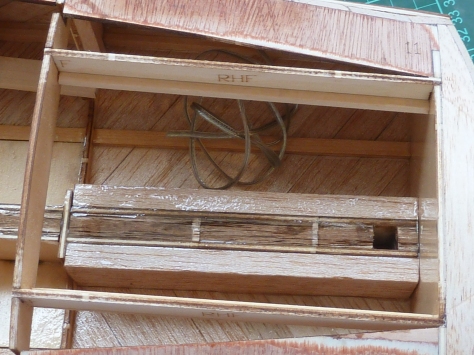
I took the opportunity to coat the inside of the hull with some expoy resin prior to completimg the decking. It was finished in a coat of mid grey paint.


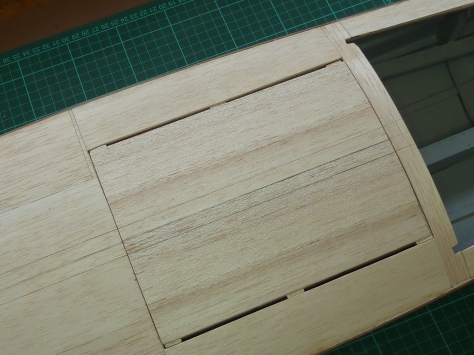
The decking was completed which in turn allowed the remainder of the side planking to be finished and sanded flush with it.

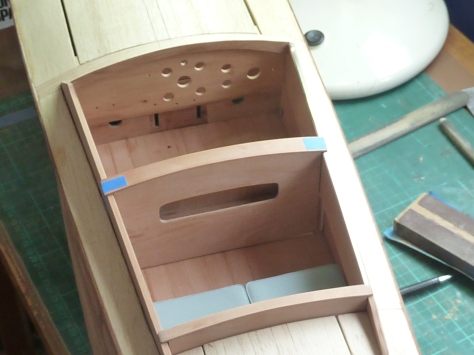
At this stage I decided to get on with making some of the cockpit internals for a bit of light relief from all of the sanding, which I struggle with.
First up was the gearbox cover.
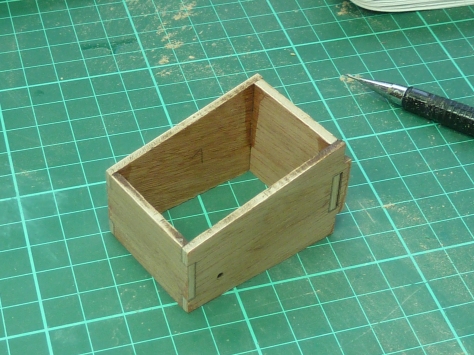
The wood in the kit wasn’t especially attractive to be honest, and the fixing tabs were very visible, so I decided to cover the entire assembly, and the rest of the cockpit items, with some mahogany veneer I had to hand. The improvement in the appearance between the veneer and kit parts is shown below.
The model I’m building has the optional lighting kit included. In order to hide the switch I decided to adapt the gear lever by installing it on a small rotary switch. The switch I opted for was a 24V, 0.5A Lorlin MTL-21-10 part, which I actually got from Farnell (Order code 2797234). The switch is an 8 position rotary one so each throw is 45°.
The whole assembly was then stained and varnished.


Next up were the seats which went through the same process.


And the cockpit ceilings and sideboards.


It was onto the seat squabs and backs next. The squabs were quite straight forward. A little bit of sculpting to make them look like they had been sat on in real life and some piping added around the edges, made from 0.5mm solder wire secured with super glue, and they were ready for sealing and painting. The seat backs were a different story.
The kit parts come fully marked up and just require some careful cutting, carving and sculpting to achieve the desired shape. However, sculpting and carving are not my strong suits, and the final results of my efforts did not make the grade. At all.
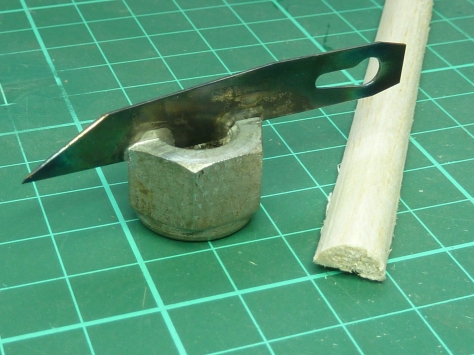
So I decided to make them again in a different way. I made some half round balsa strips of the right diameter and glued these to a thin piece of plywood backing as shown below. That at least gave me a nice even shape to seat backs which were then coated with resin, which was allowed to pool a little in the valleys so that they became rounded at the bottom.

The final result was much more even than I could carve.

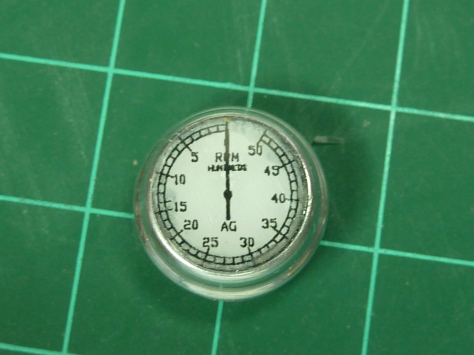
The instrument panel was my next project. I started with the instruments themselves. You have to cut the ‘glass’ yourself from clear acetate. I cut out some circles as a guide in masking tape using my sharpened compass. Then stuck them to the acetate, chopped off the corners and then sanded it circular.
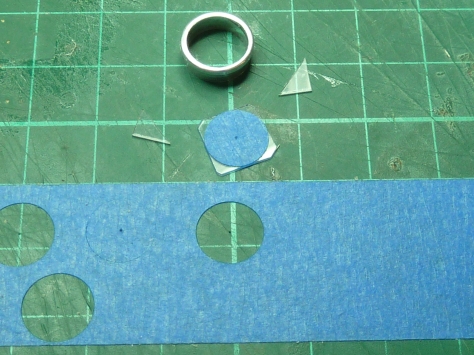
The kit tells you to fix the pictures of the instrument faces supplied directly to the acetate with super glue. This was not an unqualified success for me as my glue disolved the print.

Luckily I’d already scanned in the pictures in case I needed extra copies. Bitter experience has taught me to always do this. So I was able to remake them. The second time around I mounted the pictures on some white plasticard and glued that into the bezel, behind the clear acetate glass.
The whole project then took a bit of a lurch to the left…
I was mocking up the dashboard to get a feel for how it would look. In particular I was trying to come up with a more in scale switch assembly than the one supplied in the kit. I ended up with a stainless steel pin in a small eyelet which looked OK. You can see it below next to one of the machined switches supplied in the kit.
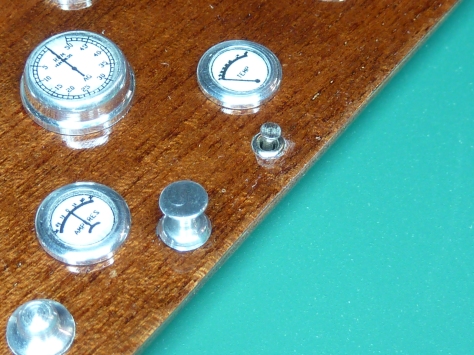
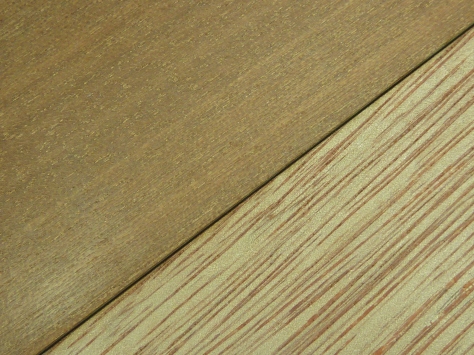
The one thing that does leap out at you is that the grain on the instrument panel is very out of scale itself.

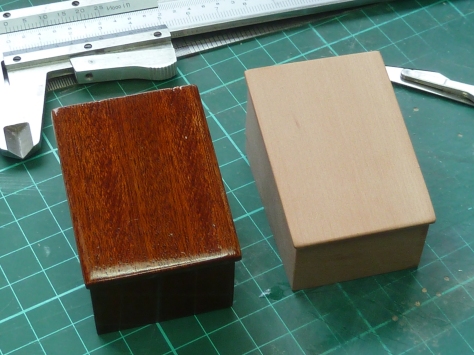
I decided to try a few other woods to see which looked best.

Oh, and I ought to warn you at this point that the kit dash has a hole in it which isn’t used and shouldn’t be there. It’s at about 2 O’clock from the steering column hole.

Having made the samples the decision was made to go with the pear option. Then commenced the job of actually buying enough pear to remake all the parts I’d just finished in mahogany!
While quite a few people advertise that they sell pear veneer and structural veneer, I discovered that most seem to only buy it in when someone orders it, and they can get it. It took me quite some time to actually locate some satisfactory supplies. A couple of months in the end.
The gearbox housing remade in pear is shown below next to the original mahogany one below. The improvement in the scale of the grain is obvious.
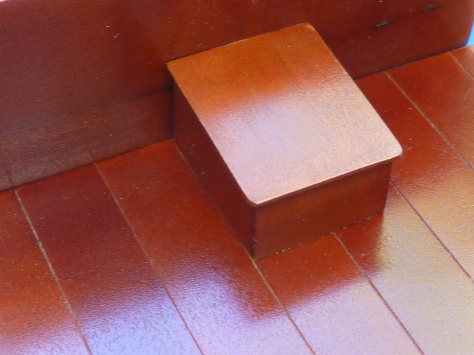
A lot of work went into the picture below. Honest!
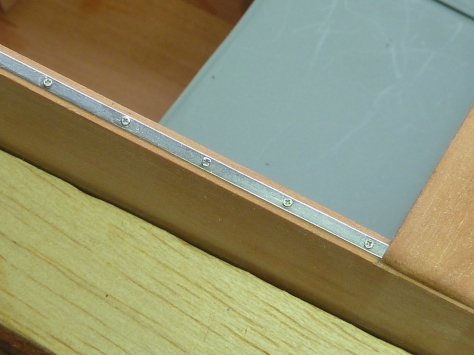
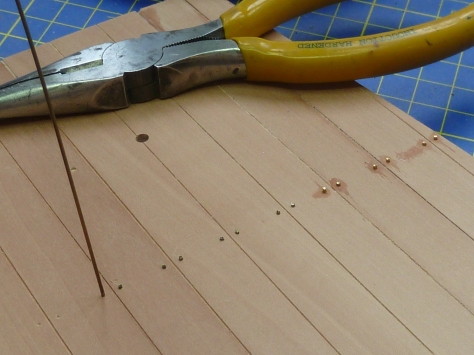
The cockpit floor was also covered with pear veneer. Simulated brass screws were made using 0.8mm brass rod sanded flush, then scored with a knife blade to simulate a slotted head.
The floor was airbrushed with mahogany stain.
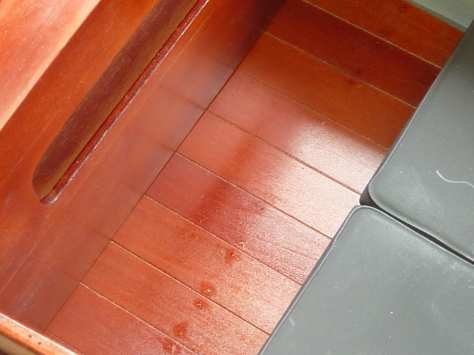
After it had dried the stain was removed from the screw heads with acetone on a fine brush. Be careful if you try this. A slight excess of acetone on the brush and it will pool and strip the stain from the wood around the brass too. Go careful.

And here it is again after the stain has been removed.

The next question was what finish to do the cockpit in? I had assumed that it would be gloss, but the satin looked so good. The problem was how to manage the transition from a satin cockpit to the high gloss hull outer. The latter has to be gloss as it is such a key characteristic of these boats.
In order to help make the decision I’ve decided to make a mock up in both satin and gloss just to see how they compare.
I’ll let you know how it goes…
‘Miss Severn’ 1922 Gold Cup Racer – Mack Models 1:8 (Part 3)
