
Since my last update I have been busy at yet more CAD, and have drawn a period correct gearbox for the engine model. It is based on “The Capitol” Hispano-Suiza marine conversion gearebox manufactured by the Auto Engine Works of St.Paul Minnesota.

The marine conversion also included a subframe to carry the engine and gearbox as a unit.
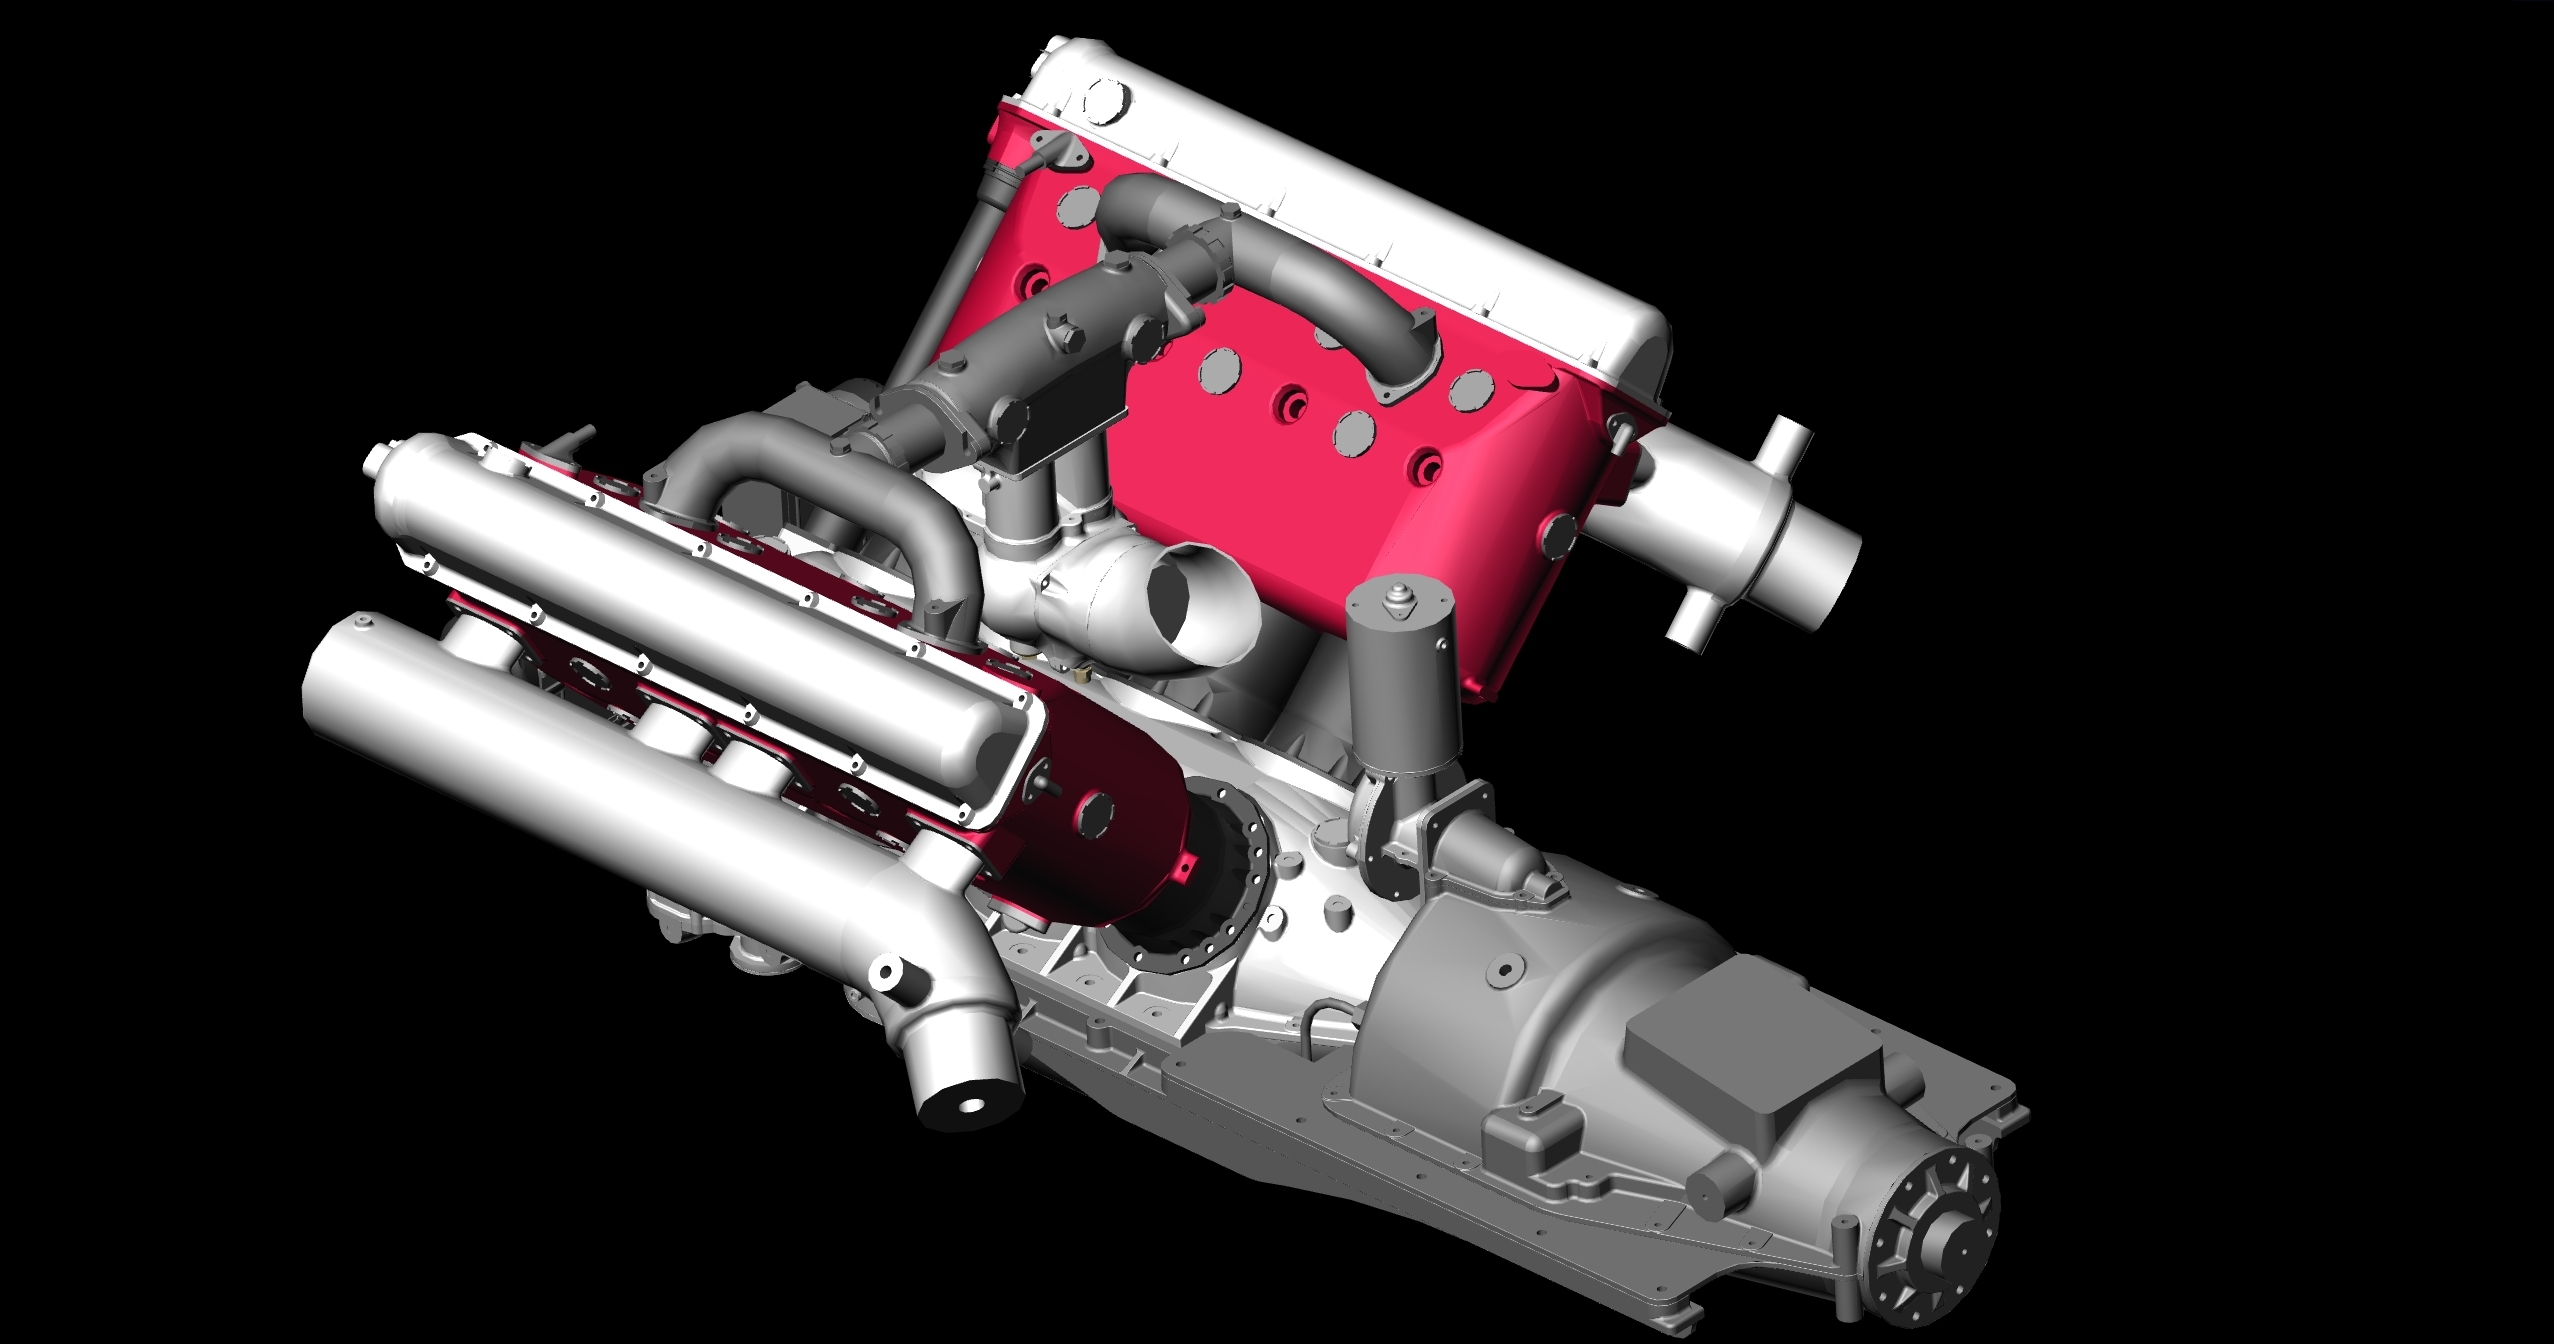
The conspicuous blank square on the top of the gearbox will eventually have an etched name plate installed on it. I’ve already drawn up the etch mask for that.

A similar mask has been created for the engine name plate too (remember this is a licence built version of Hispano’s 8F engine, and is actually a Wright-Martin H3).

Following on from my previous post I’ve also completed printing out the parts of the engine on my little 3D printer (XYZ Da Vinci Mini with wifi if you are interested) and used them to build a rough prototype of the model to check the basic arrangements.
A quick word on the Da Vinci printer: It’s an entry level machine (AKA budget base model) and is good as far as it goes. The software with it has however driven me to distraction and intemperate language at times. I’ve suffered features randomly just not working and requiring it to be reinstalled to resurrect them etc. I have yet to get the wifi feature functioning correctly. It gives every indication of working seamlessly, but seems to corrupt my files somewhere during the ether transfer ‘twixt PC and printer. The prints suffer from sudden dislocations and the printer makes some very untoward noises during printing, so I have abandoned that entirely.
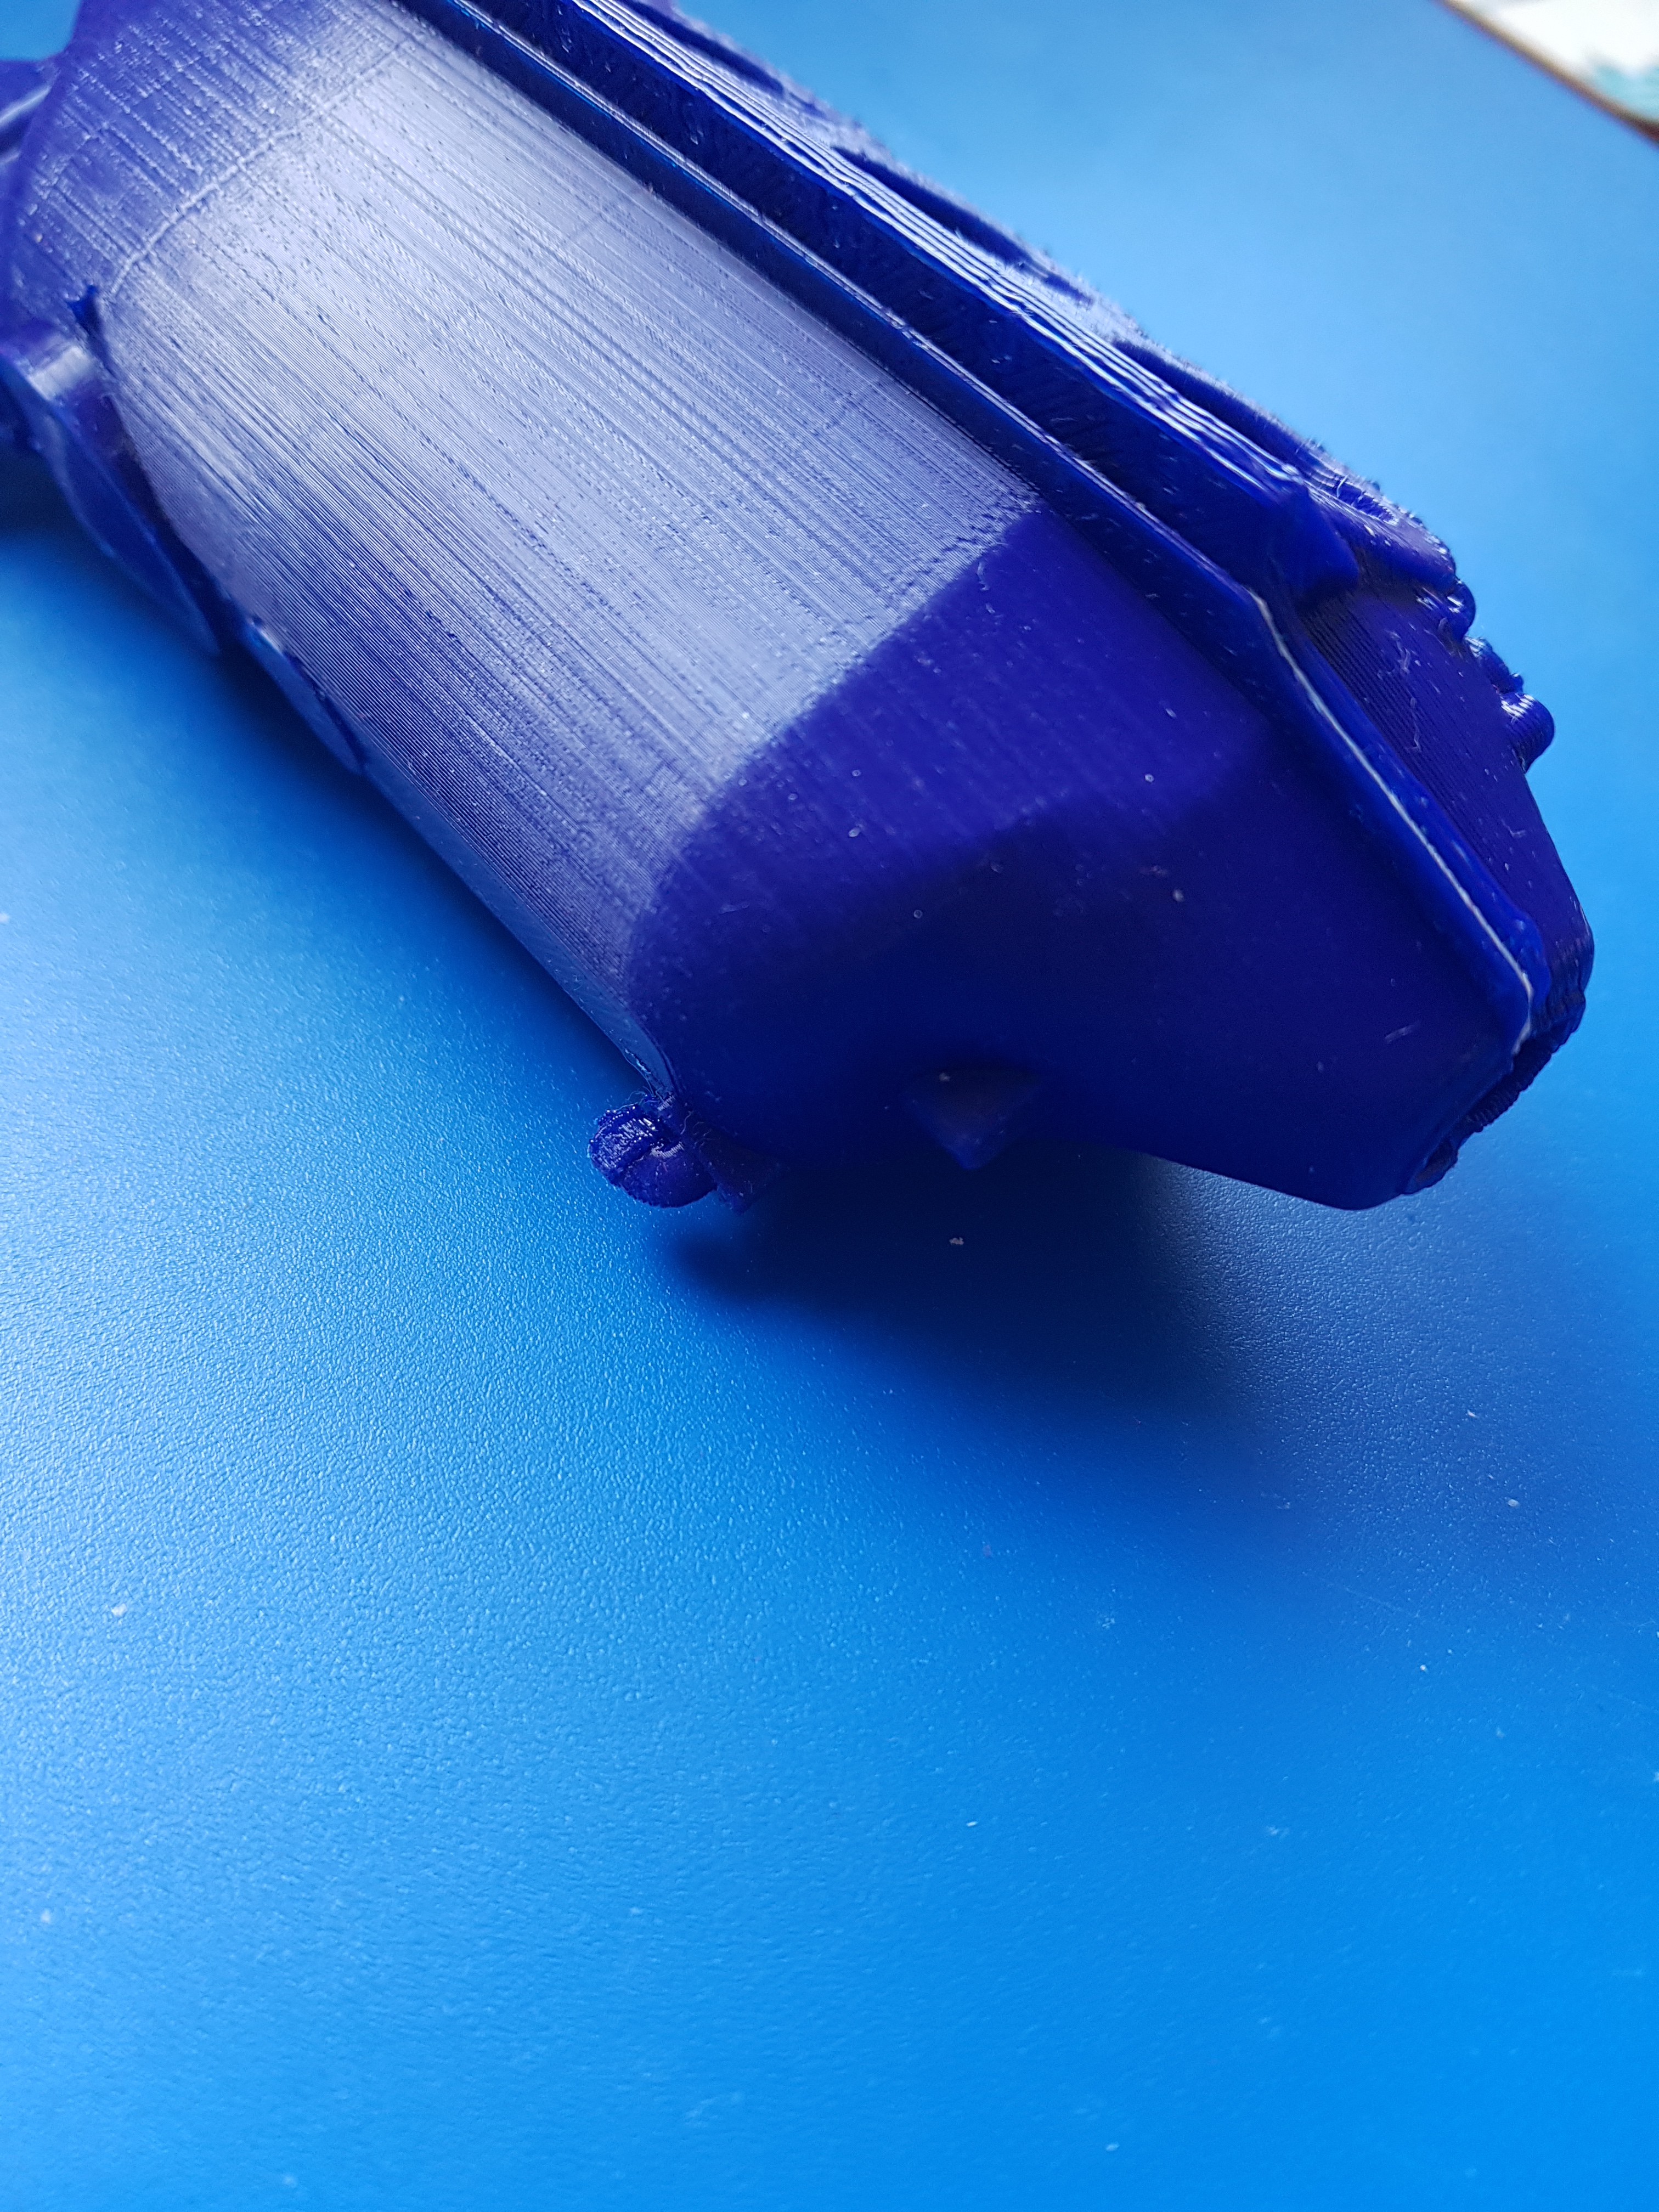
Provided I use the USB link to download the print file, calibrate immediately before each print, cover the print areas with Pritt Stick glue to hold them to the bed, and then don’t even look harshly at it until it has finished, it works fine. The quality of the prints you can gauge for yourself from the pictures.
As a result of seeing the parts in real life I changed the profile of the front of the sump a little. It is better now but still requires some attention. However I can achieve that in 5 minutes with some wet and dry paper, or probably half a day plus in CAD. Hence, I’ve left it for now.
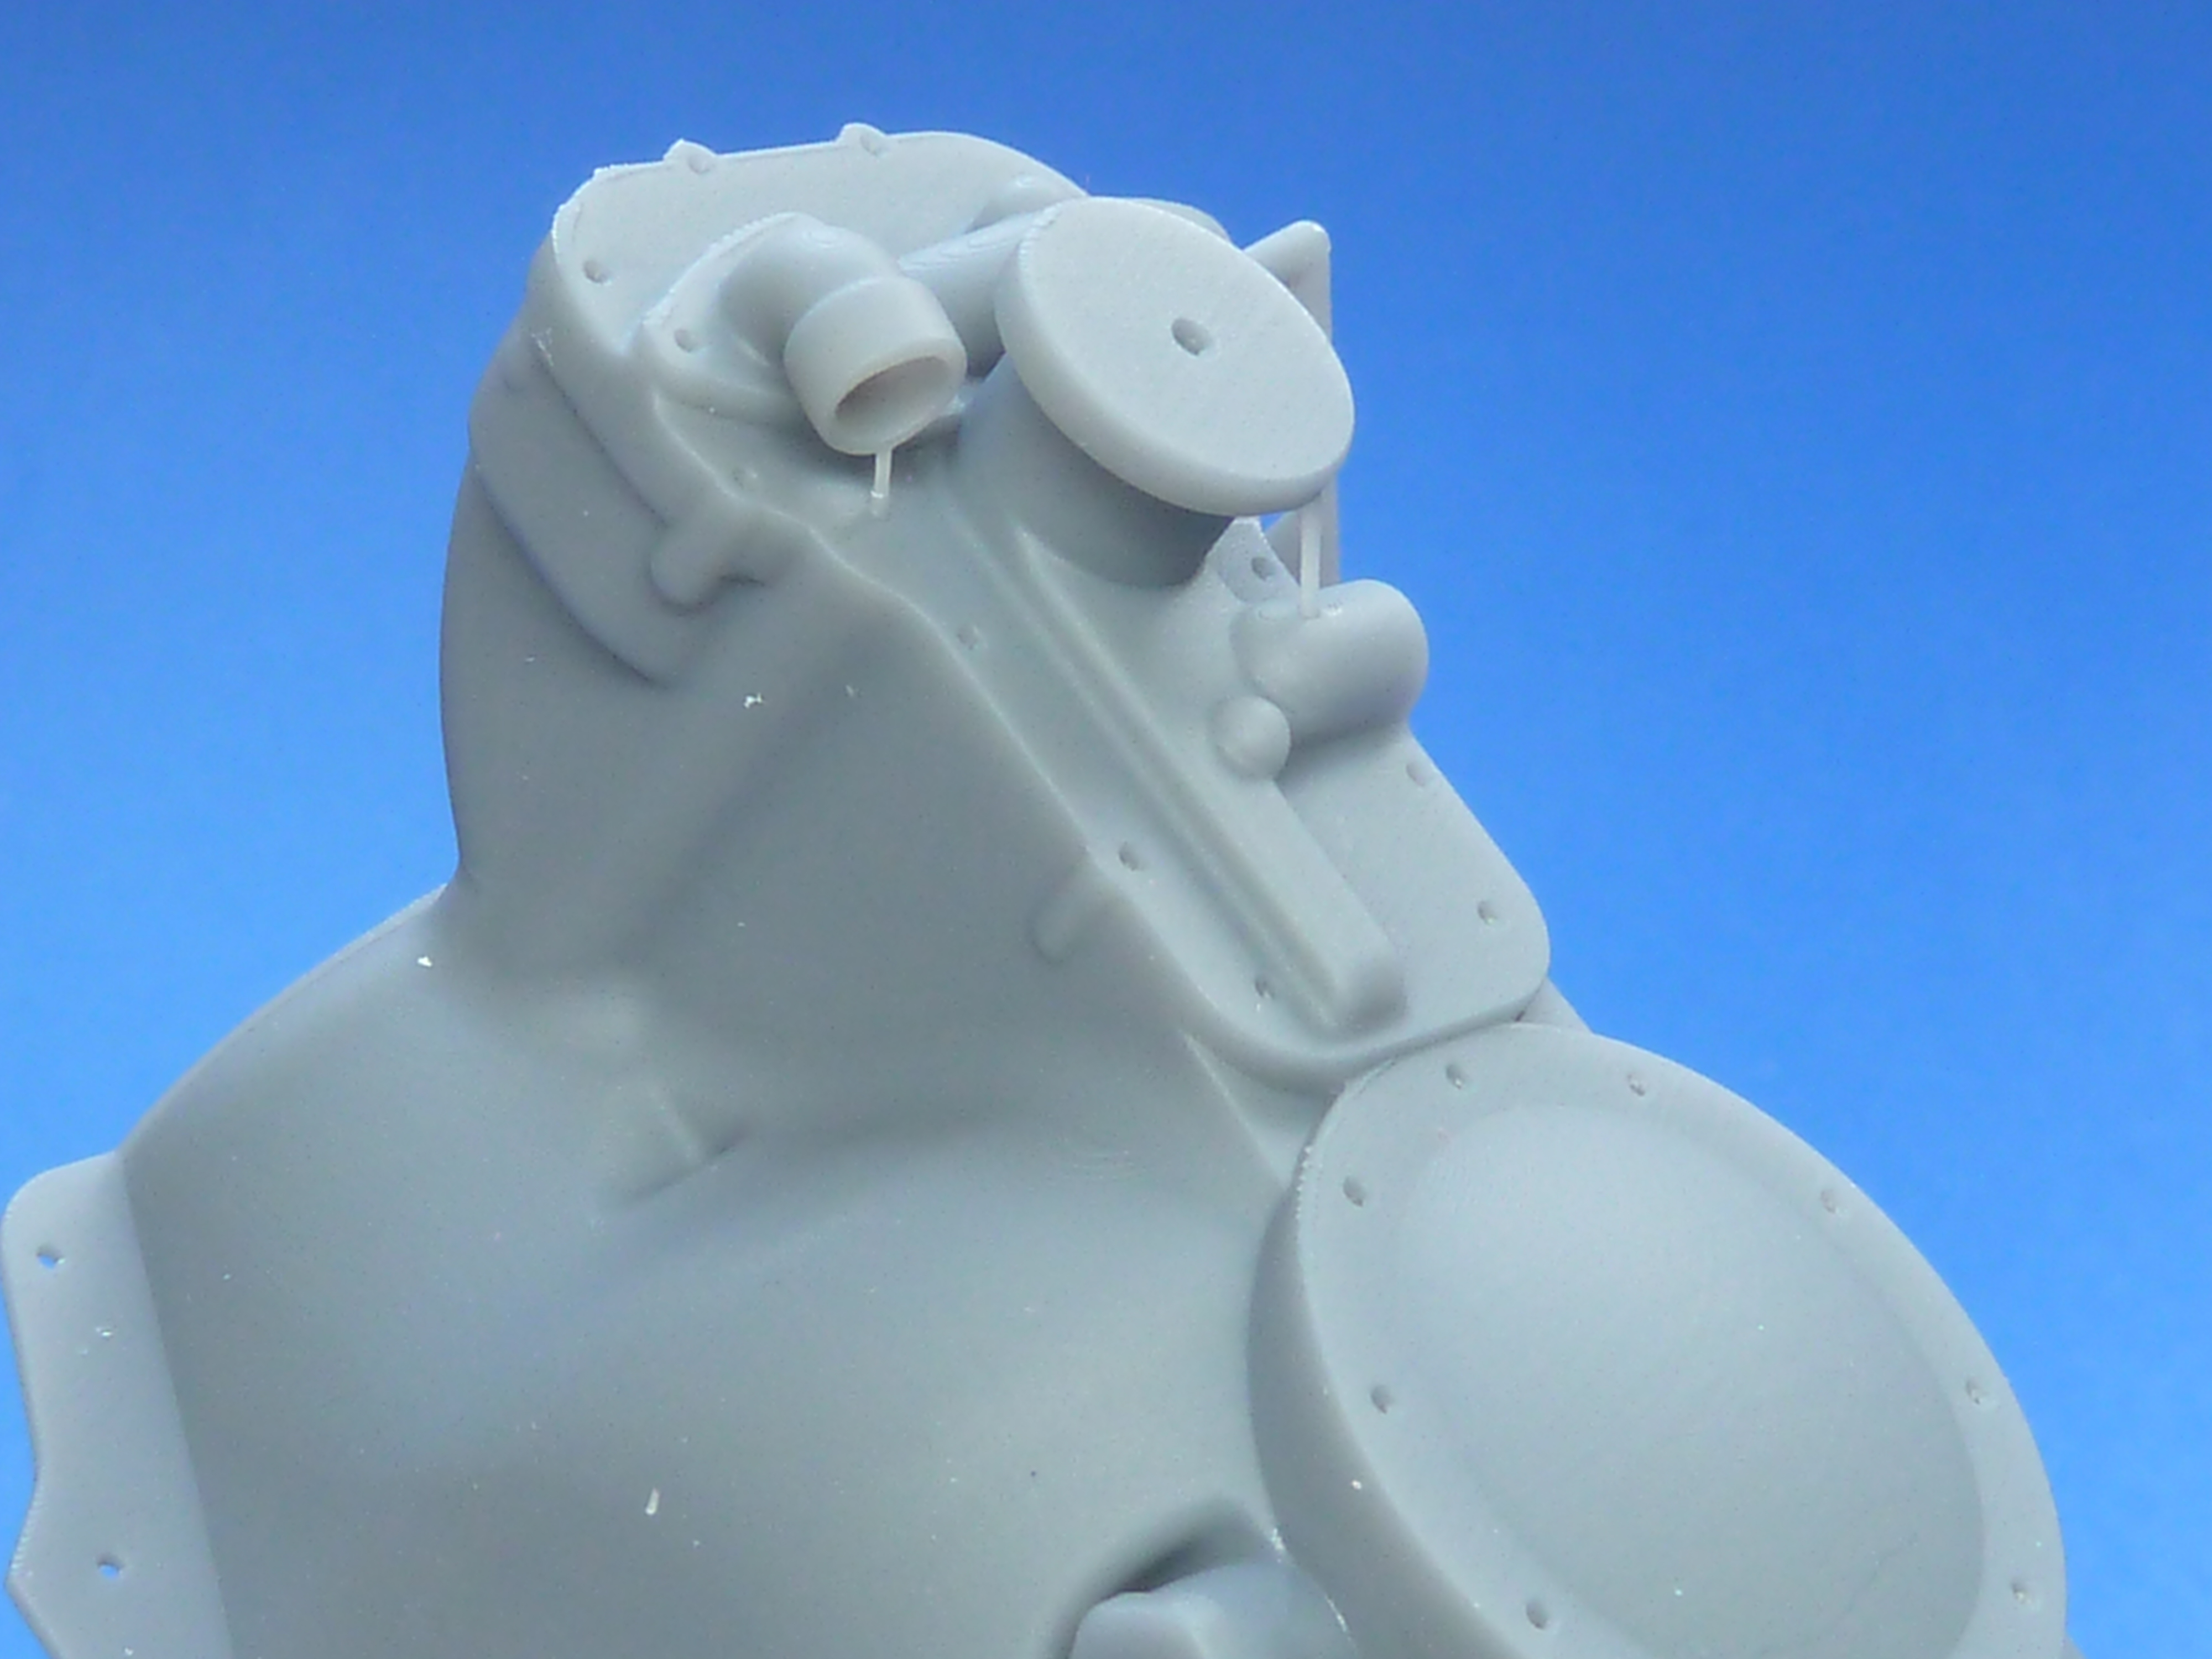
As I changed print material colour during the printing process the prototype was a mishmash of black and dark blue. In order to see the features better and give it a uniform colour I gave the model a quick coating of grey primer from a rattle can.
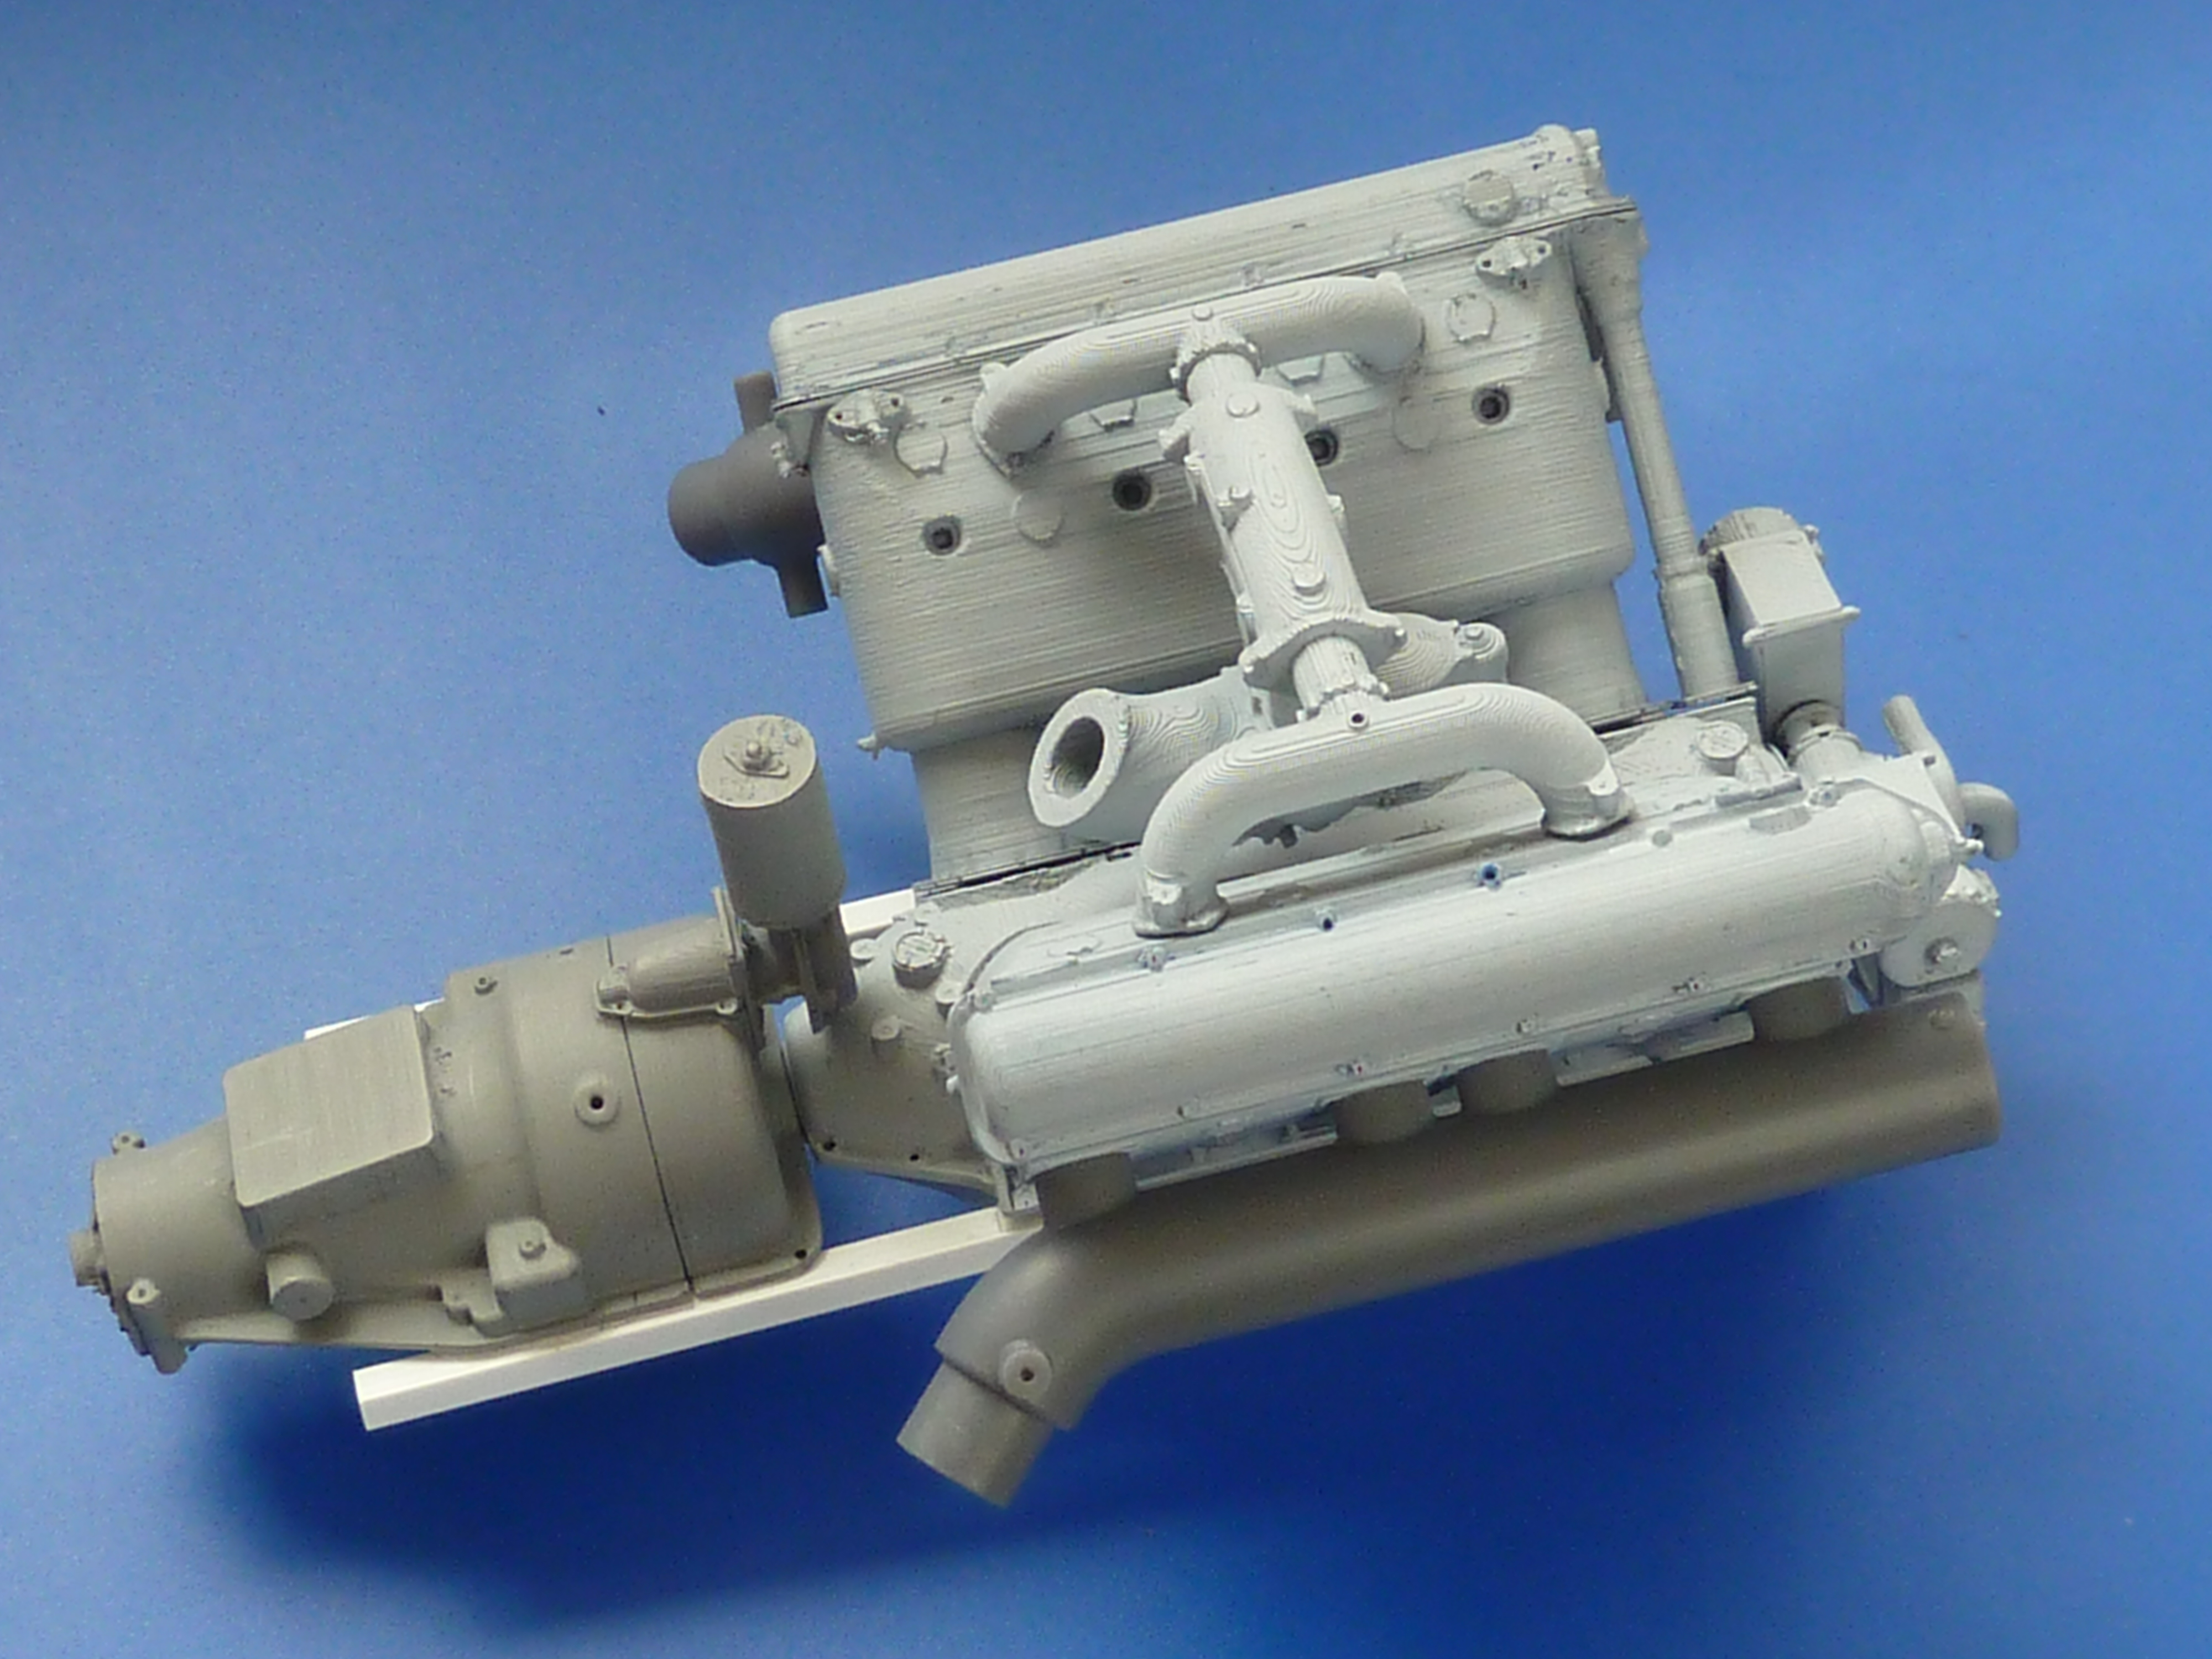

The white bar is just some square section plastic to hold the units in line while I work on the mounting frame.
At least the engine is going to fill the engine bay properly in the model. I was concerned at one point that it might look a bit lonely.

I’ll cover the actual installation in the model in update on the Miss Severn build when there is enough progress to warrant one.
Having checked the basics of the model in real life, and made sure it actually fitted in the boat, I finally committed to getting the parts 3D printed by the professionals. Not a cheap activity at £300 for a complete set of engine parts. I wouldn’t have to build many of these models to have spent enough money to buy an upmarket 3D printer of my own. If I’m going to continue down this route that is something I’ll have to consider.
That said, the nice people at GoPrint3D provided me with some useful feedback on where the CAD models might need tweaking to optimise the prints, and the parts arrived at my door 5 working days after I pressed go.
The actual quality of the prints was slightly better than I was expecting, but don’t have the sharp detail of a good injection moulding. I also asked the print people to leave the support structures on as I think the amount of care with which I’ll remove them would be uneconomic for them, and I have more time than money. I am also a tightwad.
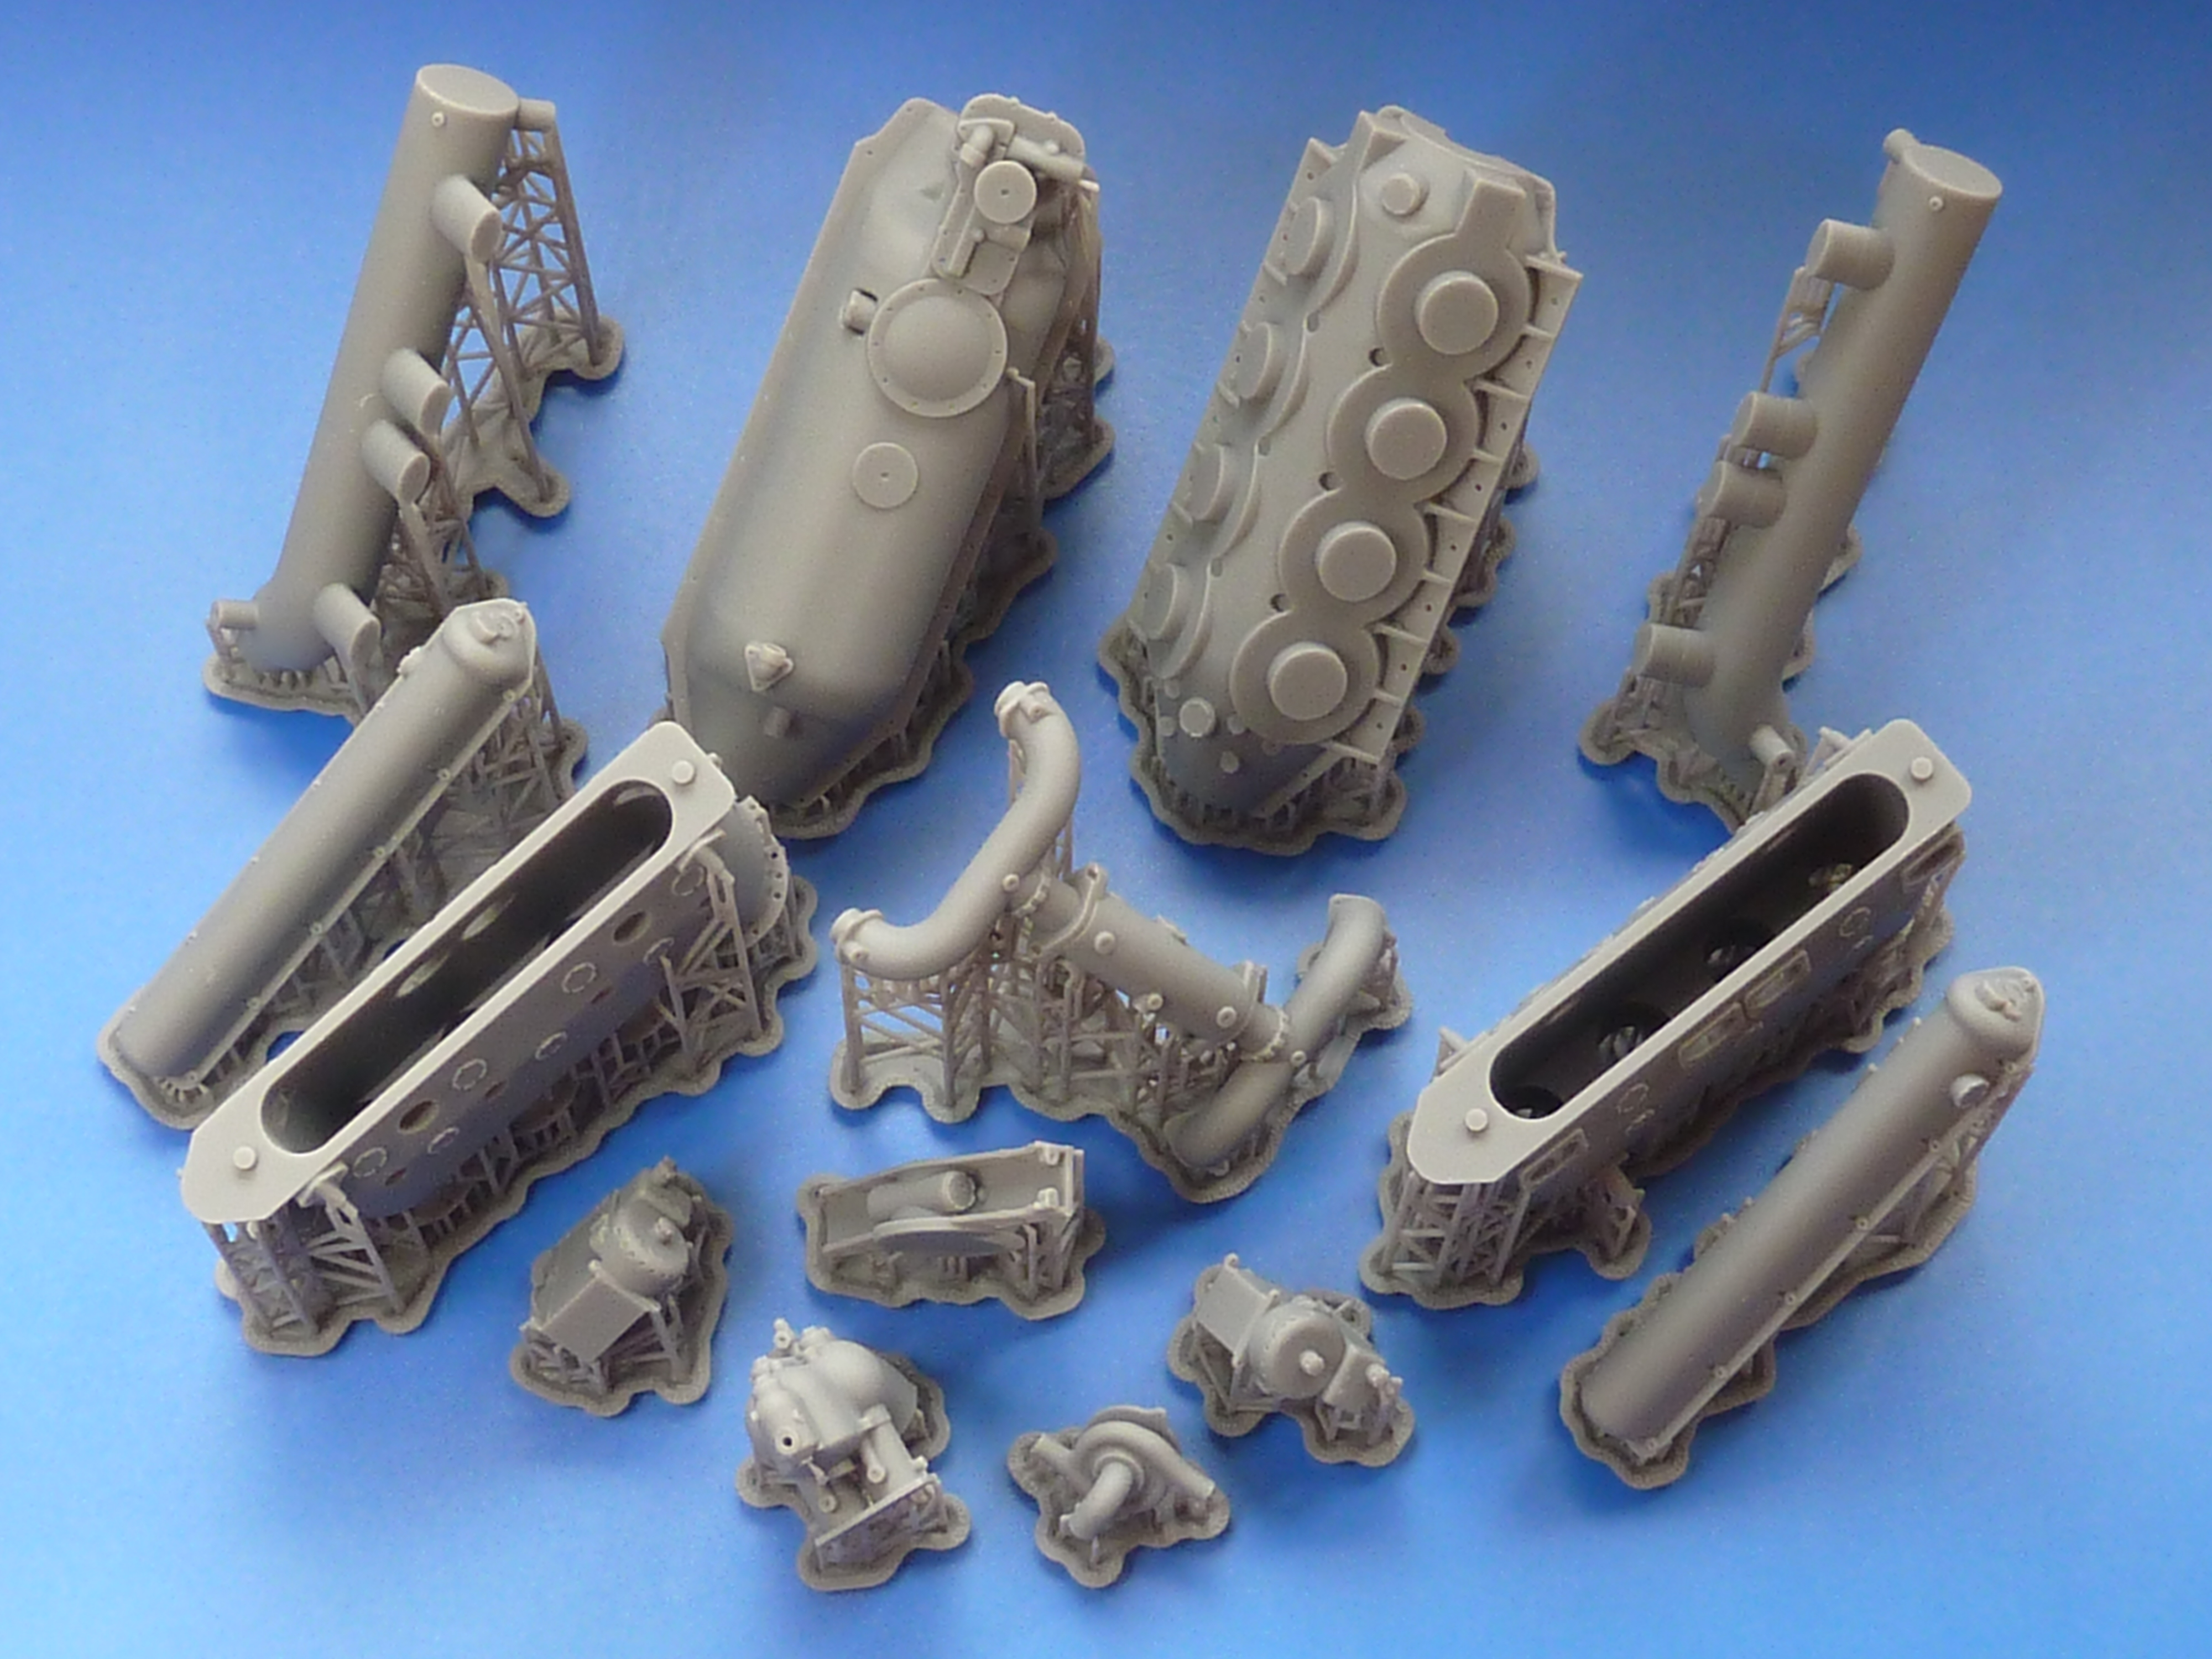


I’ve put markers in for drilling where any bolts need to go, but will use aftermarket bolts as they look so much more convincing.
The parts have all been cleaned up now and I am starting the process of making casts of them. My intention is to build 3 sets of everything, and two final models. One for the boat, and one standalone. The other parts will be spares in case of cock-ups.
Up to now I’ve only done white metal casting, but some of these parts will be in polyurethane resin. The actual resin I’m using is Xencast P2 which I obtained from Easy Composites. I’m making the moulds from a RTV silicone rubber from EA Silicones using their softest rubber so that I can achieve moulds with significant undercuts. The softness and elasticity of the rubber allows you to extract parts from it that you couldn’t in stiffer rubber.
This is all new to me though, so there might be a significant learning curve to go up. I spent half a day researching casting methods and techniques before actually committing to mixing any chemicals. Well, I actually spent the morning in bed drinking coffee and watching YouTube videos on casting, but that is research, isn’t it?
I’ve got some specialist kit on order to help the process in the future. Specifically a pressure pot to compress any bubbles in the castings to nothing while the resin cures, and a vacuum chamber to allow me to de-gas the silicone mould material before pouring and so limit the number of bubbles trapped in it. I’ve needed one for sometime anyway as entrapped bubbles in my RTV 101 moulds have been a problem in my white metal casting to be honest.
As a test piece for the polyurethane resin, and to get used to the materials, I chose the water pump for my first mould and casting. As usual a bund was made with Lego bricks. This works well with RTV101 but is marginal with the silicone. It seeped through the joints between the bricks far more and I’ll have to find another method for the future.

I’ve managed 2 successful castings of the water pump, but the first 3 were scrap due to trapped air bubbles. A 40% yield isn’t good enough and the pressure pot is definitely required if I’m going to be doing this frequently.
As far as the rest of the casting goes, the intention is to attempt to do the block, sump, carburettor, and induction manifold in white metal. The rest of the engine will be in resin and painted. I say “intention” because some of the parts are quite complex with various thin sections, and I’m not 100% convinced that I can cast them successfully in metal using home equipment.
I have done a partial cast of the block to see how things might look, and also as a morale boster. It seems like I’ve done an awful lot of work these last few months and spent quite a bit of money without actually producing anything tangible. I cast the block as a solid lump because I ran out of material to make the mould for the hollow core. It’s also only a partial cast because I didn’t want to melt enough metal to cast the entire piece solid (it’d take a lot by my standards).

If I can achieve that sort of quality with a full hollow cast I’ll be happy.
While I wait for various bits of kit and materials to be delivered, I’m pressing on with getting parts ready to have moulds made.

Simple casting blocks have been added to the various parts due to be made in resin, and the more complex white metal parts readied to have the first halves of their moulds poured.

That’s all for this post. Next time I’ll either have some nice cast parts to show you, or a tale of woe to reveal.

I am constantly impressed by all that you do! 3D printing has, I’m afraid to say, boiled my brain. I find it hard to get my head round it but am mightily impressed by what it is capable of doing. It’s a steep learning curve like anything new and we learn by our mistakes and successes.
LikeLiked by 1 person