
With the wings assembled I turned to the finishing of them. This took two different routes for the port and starboard pairs. The starboard ones were stained and varnished, while the port ones were covered and painted.
I wanted the bare starboard wings to have a honeyed warm look like varnished pine. To achieve that I used a combination of stain and varnish. First I lightly sprayed the structure with Liberon’s Golden Pine Palette Wood Dye which is water based and works beautifully with an airbrush. This was then varnished with a yacht varnish which is itself slightly tinted. The result was the warm look I was after and that you see on stripped aircraft.


The process also had the advantage of hiding any areas where the very thin CA wood glue had bled into the structure surrounding the joints and also meant that the model will be easier to dust off in the future (I hope).
The brass metal parts were simply primed, then painted gloss black by hand. I’ve yet to find a primer that works as effectively as I’d like with brass and is compatible with my airbrush. As it is the finish isn’t very robust at all and scratches easily.
The port wings were treated quite differently. To cover the wings I used Solarfilm’s Solartex in their ‘Antique’ finish which is linen coloured, but slightly transparent. I used the Antique finish because on the half covered fuselage you would be able to see the inner side of the covering and I wanted the appearance of doped fabric rather than solid colour.
I found the Solartex lovely to use and very easy to get a satisfactory finish with. It’s pretty tough too, but cuts easily and accurately with a scalpel. The weave of the fabric was a bit overscale for the model, but I hoped to lessen that during the painting stage.


Prior to painting the wing I wanted to add some detailing to simulate the rib tapes used to cover the stitching which holds the wing fabric to the ribs on the real aircraft. This appears to vary in prominence on period aircraft, but I decided to go for a look where they were fairly subdued.
I tried adding strips of Solartex on top of the existing covering but they looked way more prominent than I wanted. Similarly thin tissue doped on was also not a success. In the end I opted for masking them off and painting then on with a thick coat of enamel paint. That would show up nicely through an airbrushed topcoat, as I have found to my cost in the past!


The top of the wing was painted with Humbrol’s Olive Drab and the lower side with a pale cream. Both were chosen because the paint was particularly thick in the tin mainly, and they were approximately the right colour.
The final result was roughly what I wanted, but I wish I’d put an extra coat of paint on to make the tapes slightly more prominent. On the underside particularly.
Then came the final painting. Solarfilm’s website is pretty specific on what paints you can and can’t use on the Solartex, but I found that normal Humbrol enamels stuck very well and, when over-sprayed with a fairly thick coat of satin varnish, gave the finish I was after.
In order to simulate the PC10 green/brown applied to RFC Camel’s I mixed up some Humbrol enamels. I used their matt 116, US Dark Green and 118, US Tan in a 2:1 ratio. The final colour is a bit of a guess based on photographs of existing, but restored aircraft. It’s probably a bit on the light side if I’m honest, but I’m happy with it at this scale. PC10 actually changed colour a number of times during the war and so can vary between a dark green and a dark green/brown colour. Do your own research if you want to be exact.
The underside was painted in Humbrol’s matt 74, Linen, heavily lightened with matt white 34 with a little matt 118 added. The Linen colour is much too yellow for my liking.
Having painted the undersides I then masked off the rib tapes again and gave then a very light misting of pure white to make them stand out more, as they do on the real aircraft. The effect sort of worked. It looks a bit too much like a bedsheet or tea towel to me and I confess I’m not entirely happy with it, but I’m not sure how to improve it.

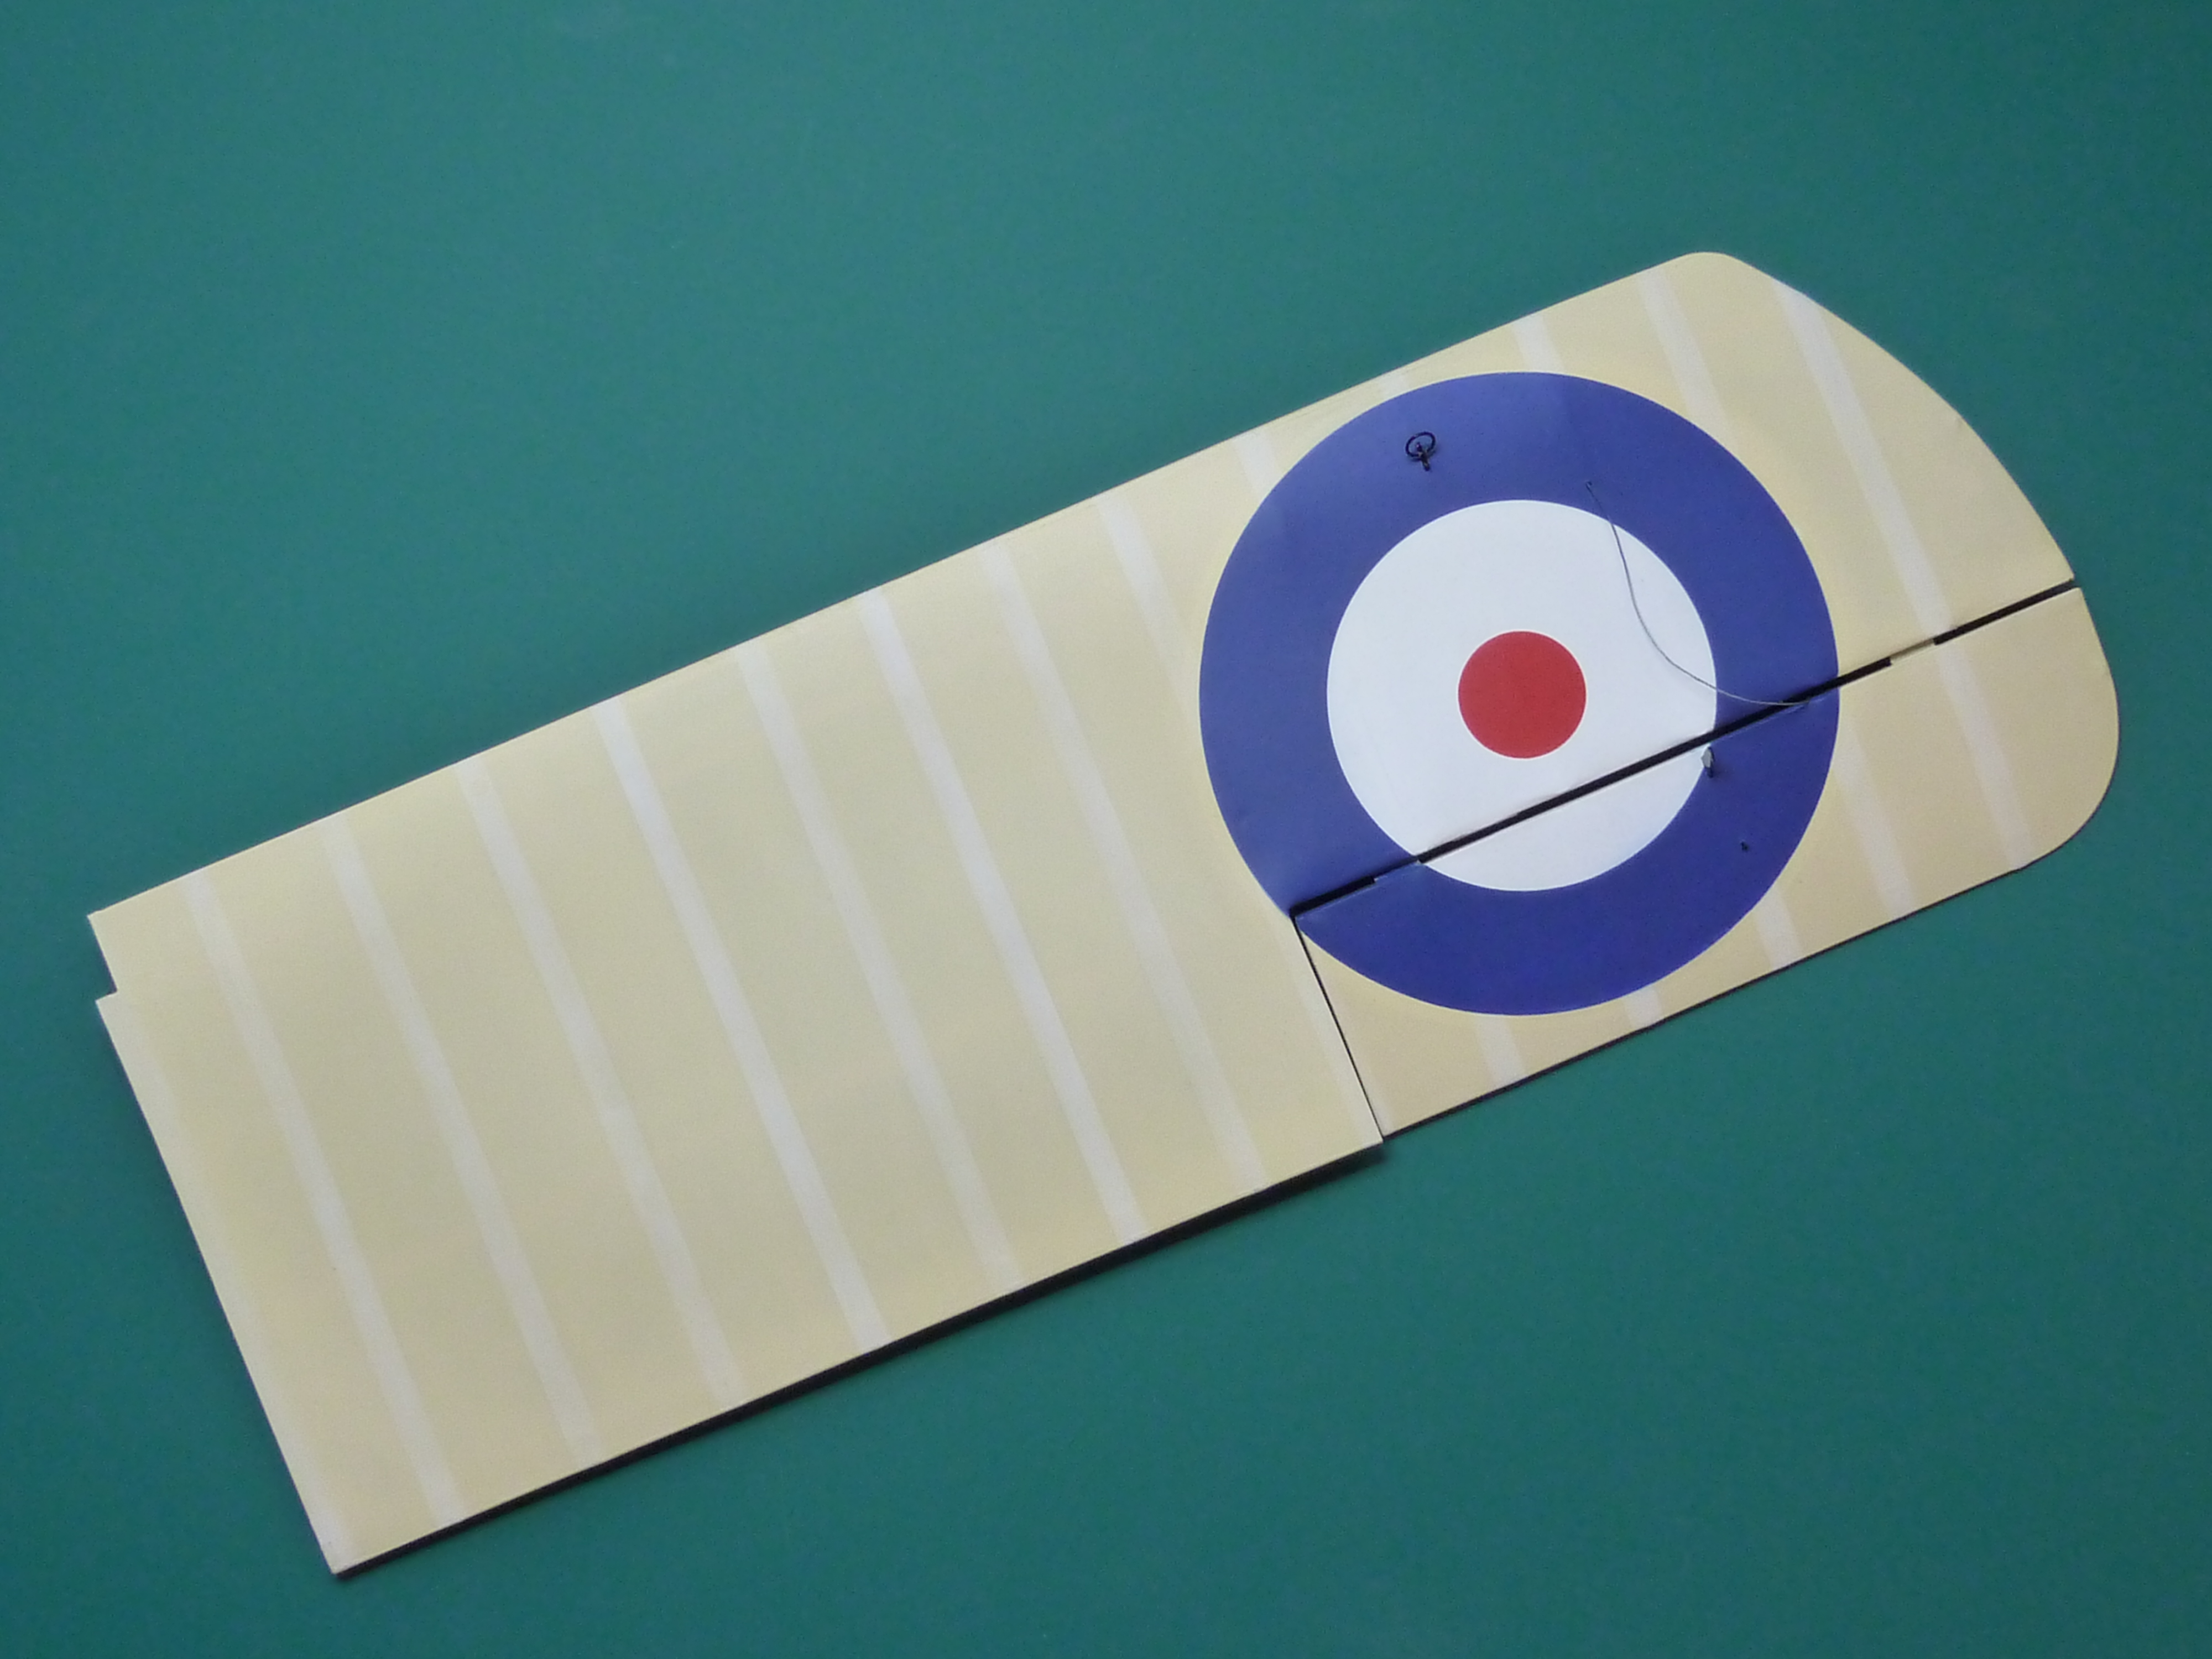
Once the basic colour was on, the roundels were sprayed on using masks cut from Frisket film. I originally painted the lower roundels with the outer white ring, but I don’t think the Sopwith manufactured Camels had it on the underside (though I have seen it on it on some restored aircraft) so I airbrushed it out in the end. You can still see traces of it if you look closely which I’m not delighted by.
Once everything had dried properly, and a few imperfections in the roundels touched up, I coated the whole affair in several coats of clear satin varnish.
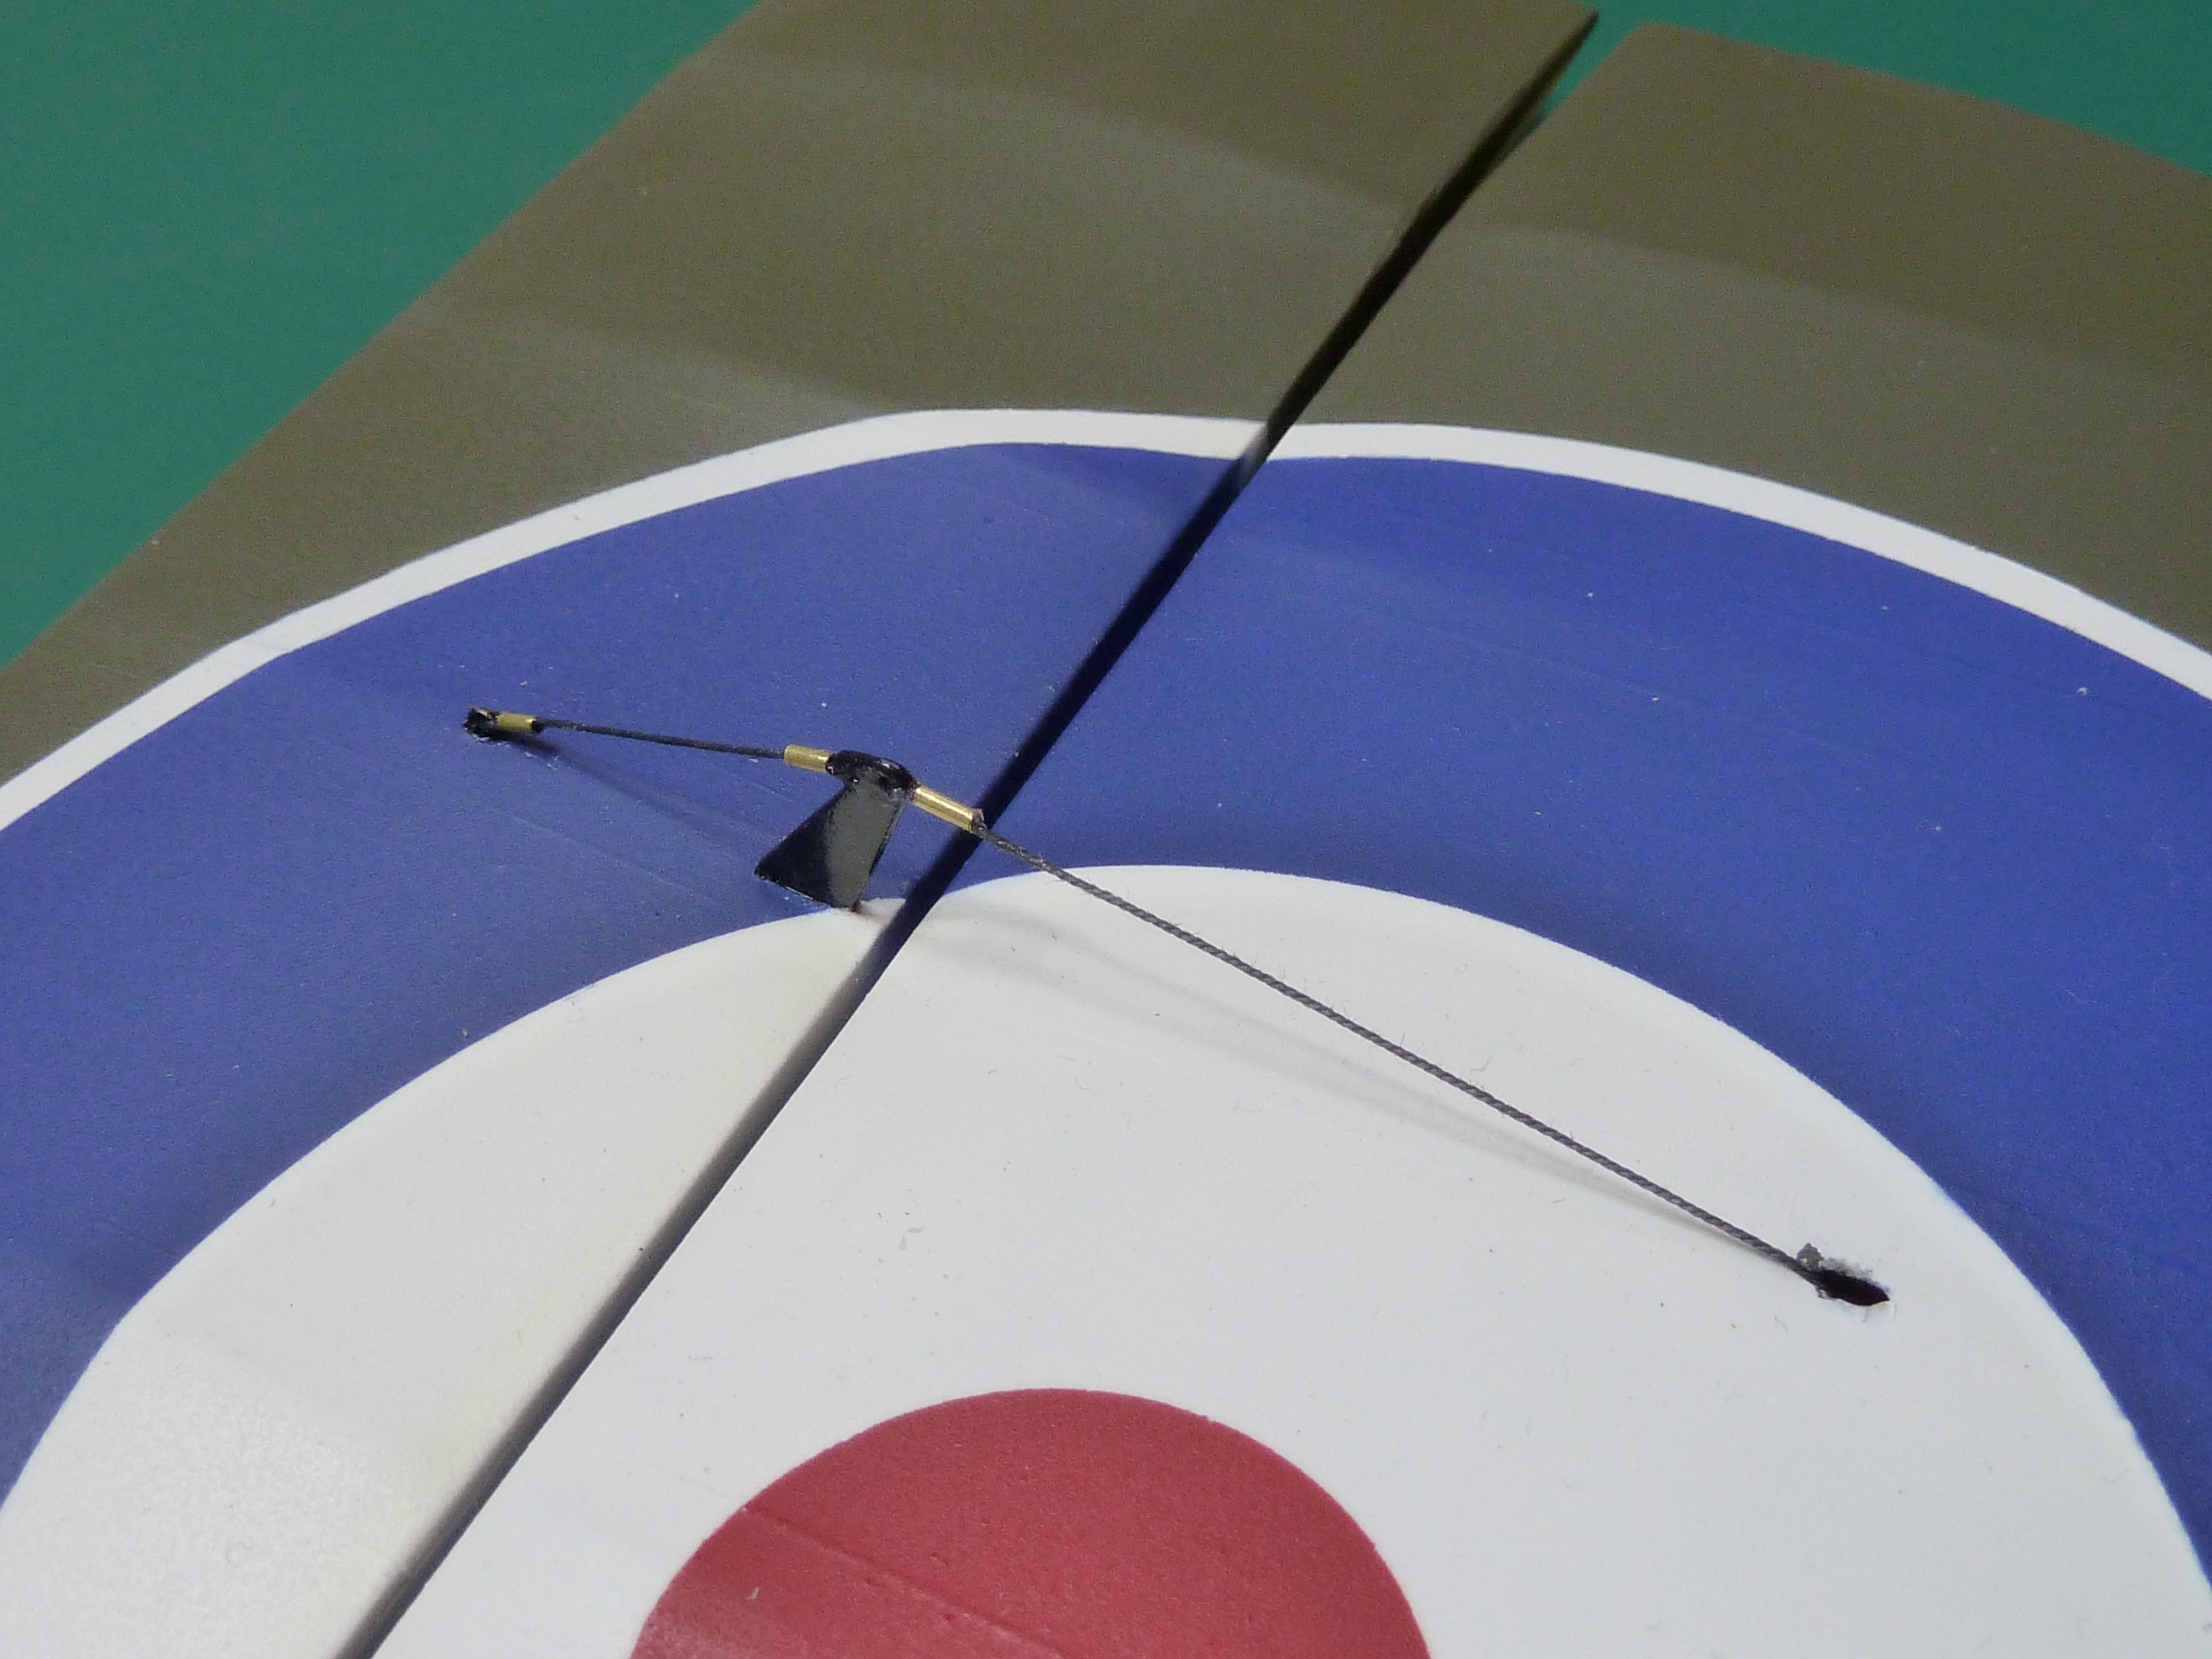
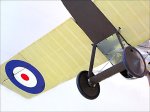
One small detail I did add to both lower mainplanes after painting was the tethering rings for tying the aircraft down in high winds. They are quite prominent, but missing from the kit. It was a relatively quick and simple job to manufacture a pair from brass wire and sheet, and worth the effort to my mind.

Overall I pretty happy with the final results.

I’ve left the pully inspection window off at the moment. I’ll fit it once the rigging of the controls is complete.
Now for the fin and tailplane where I might as well have abandoned the kit parts entirely
