
The next part of the build was the planking of the hull which was another new operation to me.
The strips of mahogany in the kit were reasonably well finished and only needed a quick sanding on the edges to remove any small blemishes before fitting. As per the instructions, I started at the chine and worked upwards on the sides of the hull. The bottom of the hull isn’t planked on this model, the thicker expanded PVC being deemed enough. More on that in a later post…

Each strip was glued in roughly 5″ sections so that I could hold it firmly in place while the CA glue set. I used a thick CA glue to avoid it running all over the place, and also to stop it seeping through the mahogany strips onto my fingers. Even so I found myself glued to the strips I was holding down quite frequently, and my finger tips got coated with glue. Again.
- As an aside, this makes any finger print scanners on the new smart phones utterly unusable. Clearly this technology was not dreamt up with model makers in mind…
We got there in the end though. The pic below was taken after the side strips had been cut and sanded flush with the sheerwater at the top.

Things looked quite rough at this stage, but with a little sanding with 80 grit paper the appearance improved considerably.
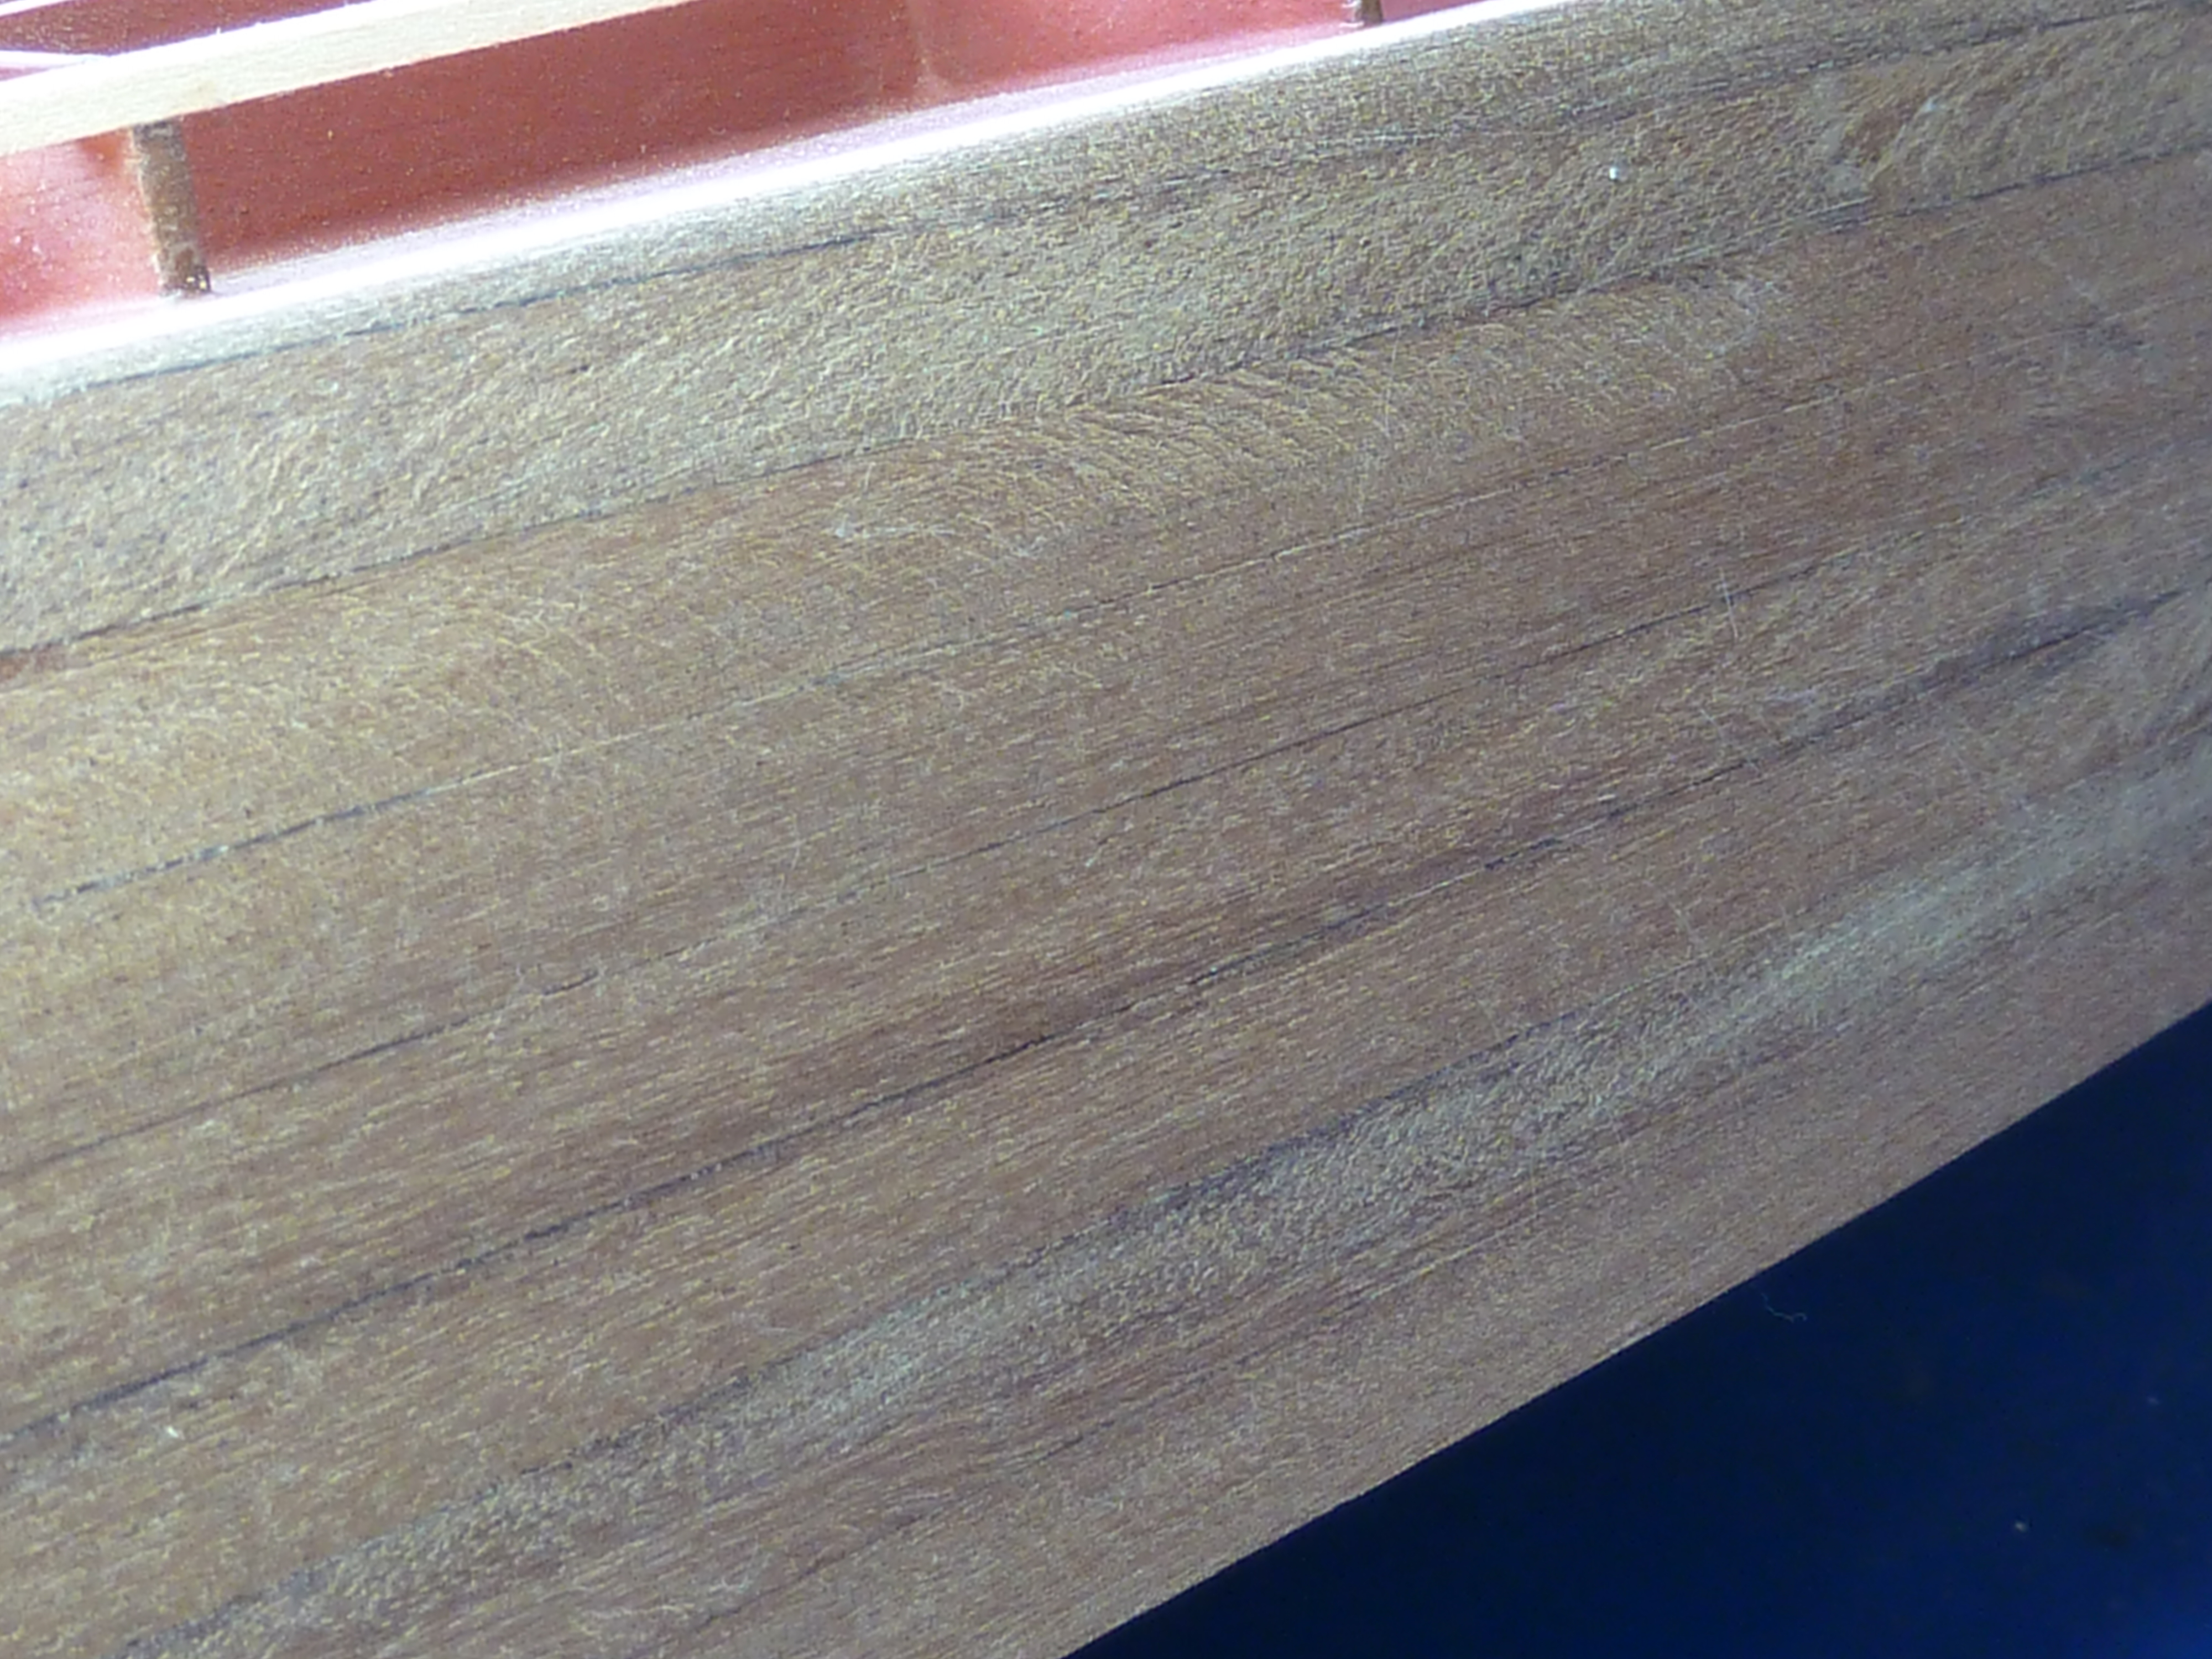
There’re still some surface marks left in the above pic which required further sanding to remove. I thought I’d leave the final finishing until the entire hull and upper deck was planked though.
The first step in planking the deck is to add more expanded PVC sheeting as the base covering. This is pre-cut for you so you can be sure of getting the required lines accurate. As before the fit was excellent.

The one BIG disadvantage though is that the cockpits have to be assembled before the PVC is glued in place, which is far from ideal as it means they have to be protected from all the subsequent planking and sanding operations on the deck and any slips or mistakes can have serious implications.
Again I deviated a little from the suggested build sequence next. The sheerwaters, which are quite heavily rounded on this boat, are built up from laminations of 3/4″ x 1/16″ strips. I elected to fit the very first of these strips to define the edge of the planked deck and then got on with that.

The reasons for doing this were because:
a) I wanted to get the height of the sheerwater strips defined accurately so that I could pre-cut them to width before fitting, thus minimising the amount of planing and sanding required afterwards.
b) I couldn’t wait to get on with planking the deck…
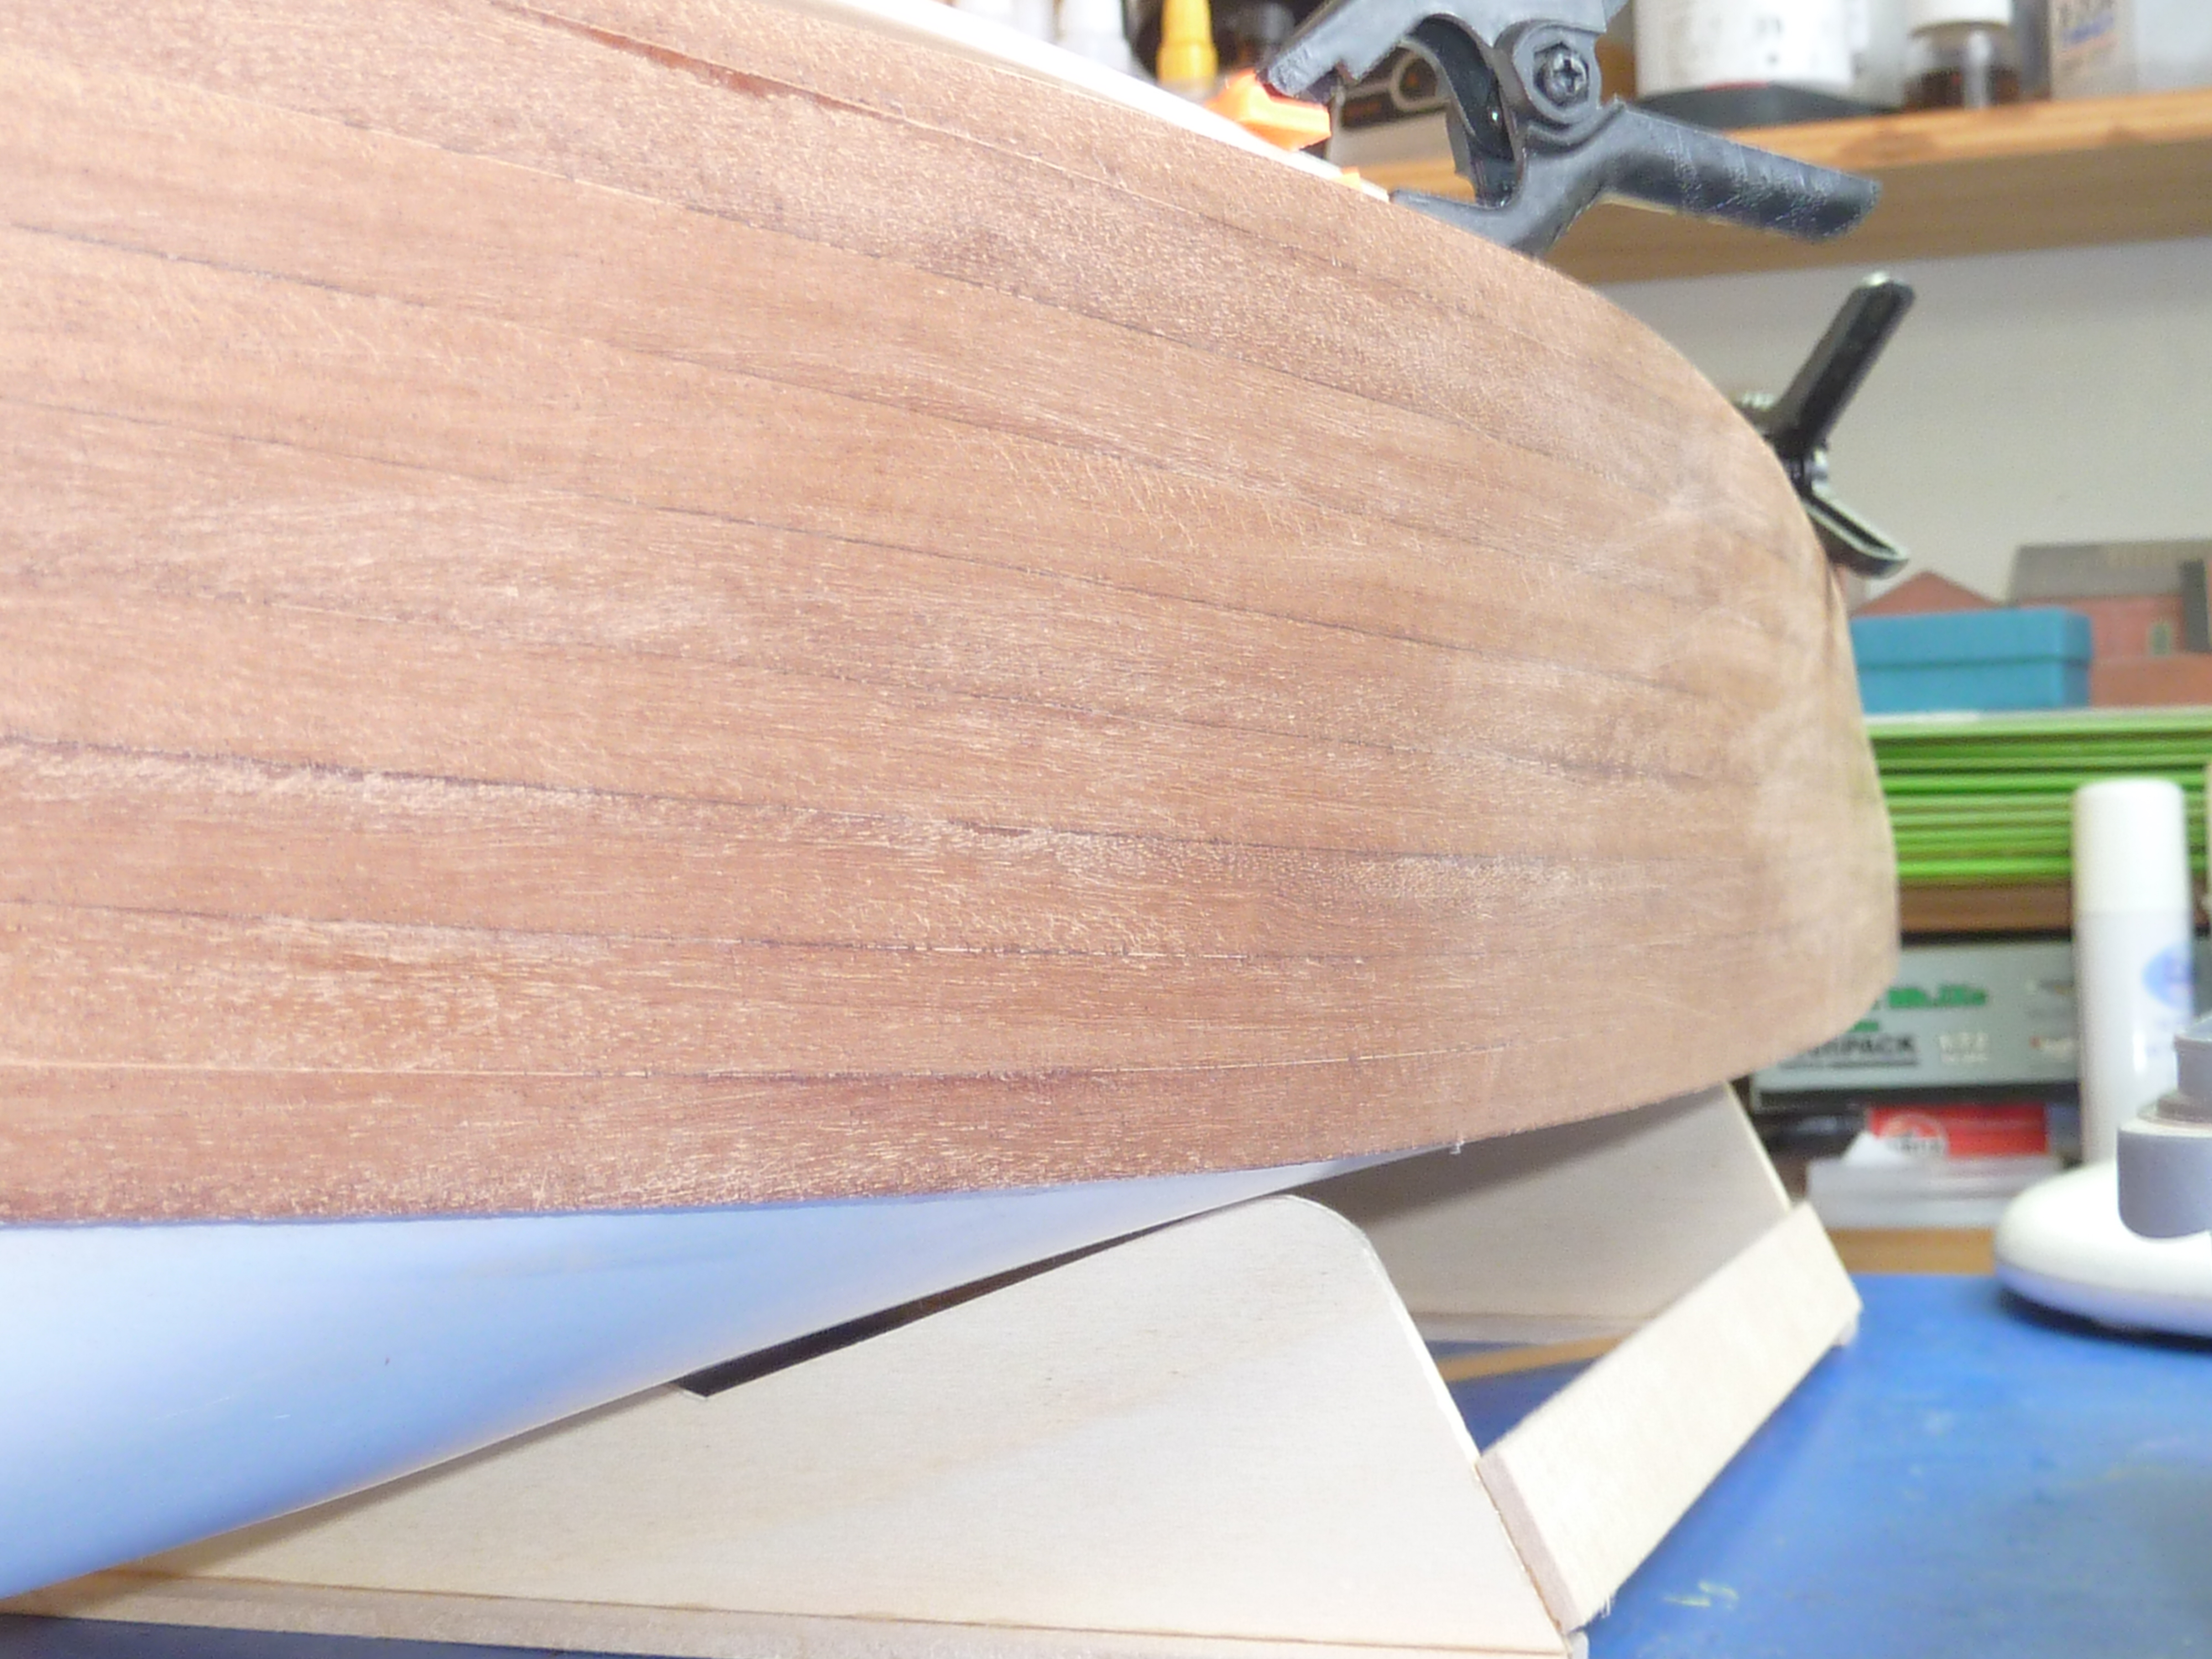
You can see the laminated section being built up in the pic below. I fitted, planed and sanded to shape each lamination as I went along.

To limit the amount of planing required I initially clamped the strip in place, then ran a pencil along the previous one to mark the rough required height. Then I removed the strip and trimmed the spare off with a scalpel, leaving a few millimetres to allow for final planing and sanding to shape in situ.
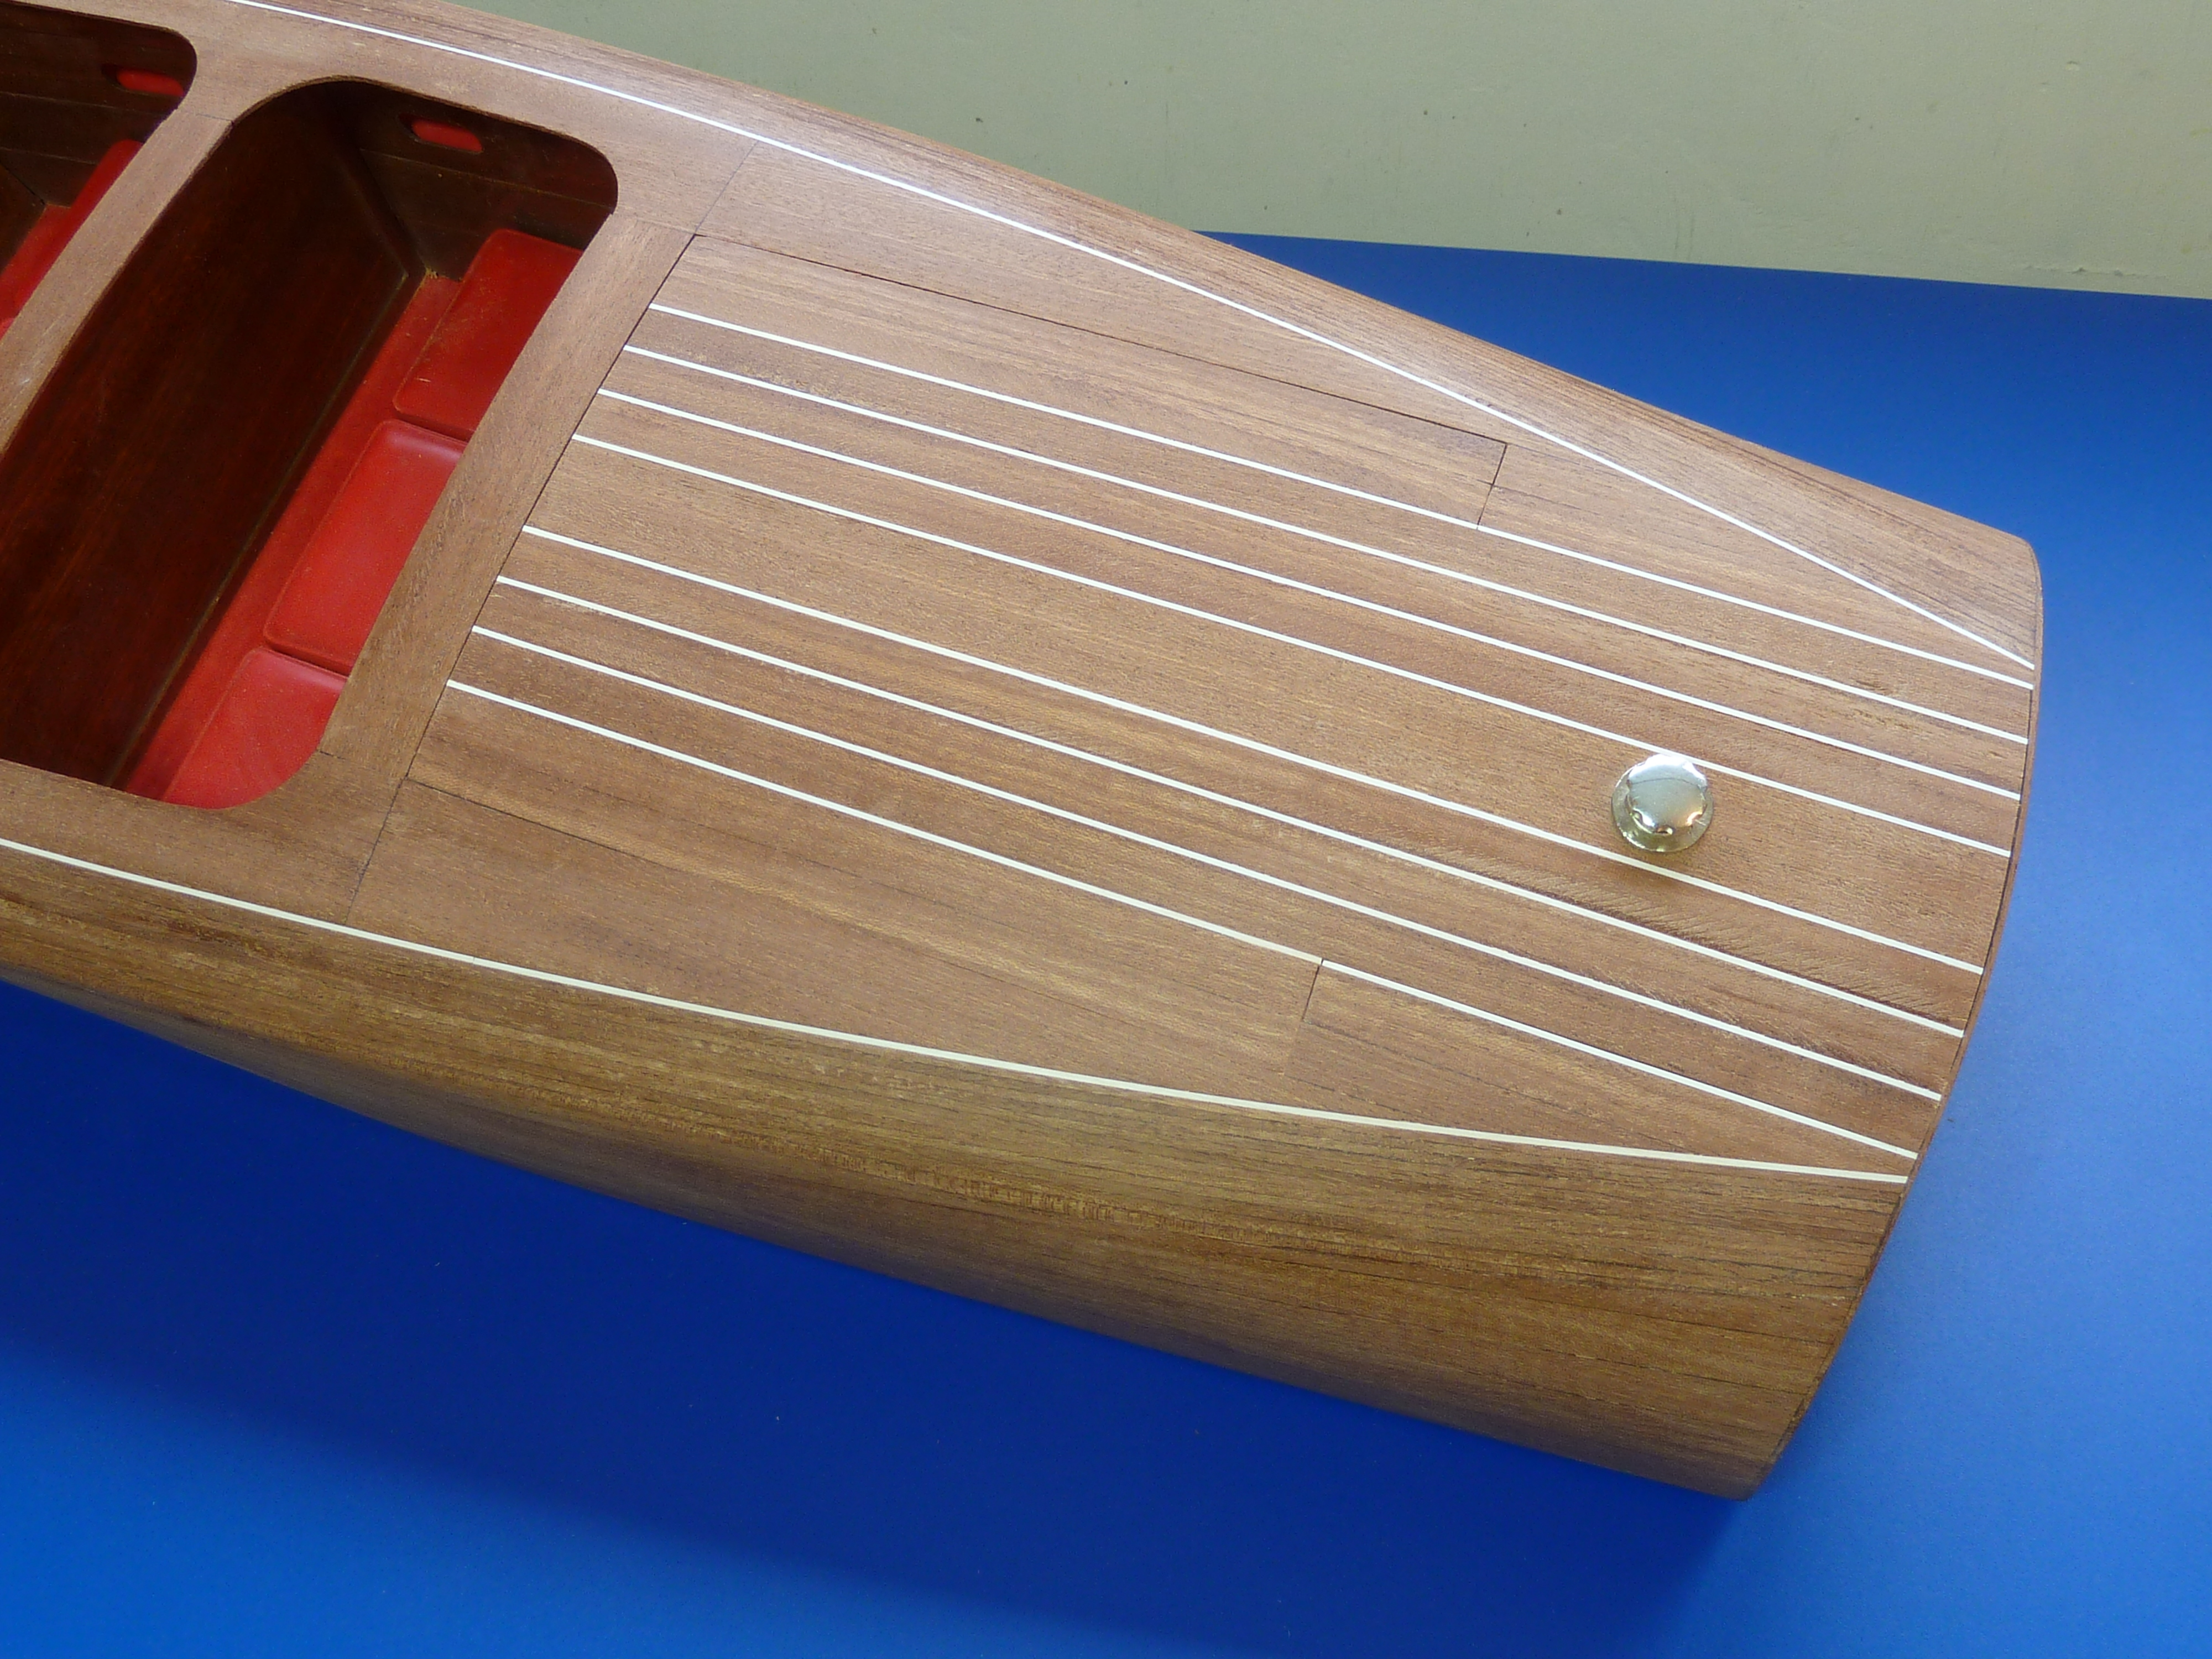
The finished front deck.

Once the planking and laminating was complete I returned to the fitting of the engine cover. I wanted this in place so that I could sand the entire rear deck as an entity to get a good fit of the cover.
After faffing about with the warped cover and coming to the conclusion that it was a lost cause I decided to make a new one. Fortunately the kit included enough spare mahogany and polystyrene strip to allow this. In fact one of the big plus points with the kit is that they haven’t been parsimonious with the basic materials.
In lieu of the expanded PVC I substituted some birch ply I had in stock.

The rebuild was straight forward and the result much better. It was still difficult to get a really sound fit around the entire edge though. Plus nothing was actively holding the panel in place. In the end I opted to locate the leading edge of the panel with some 1.5mm stainless spigots which fitted into some aluminium tubes in the panel frame.

To hold the rear edge in place and locate the panel securely I modified a M6 bolt by replacing the head with the kit’s filler cap. A captive nut was then sunk into a block of balsa glued to the butterfly keel.
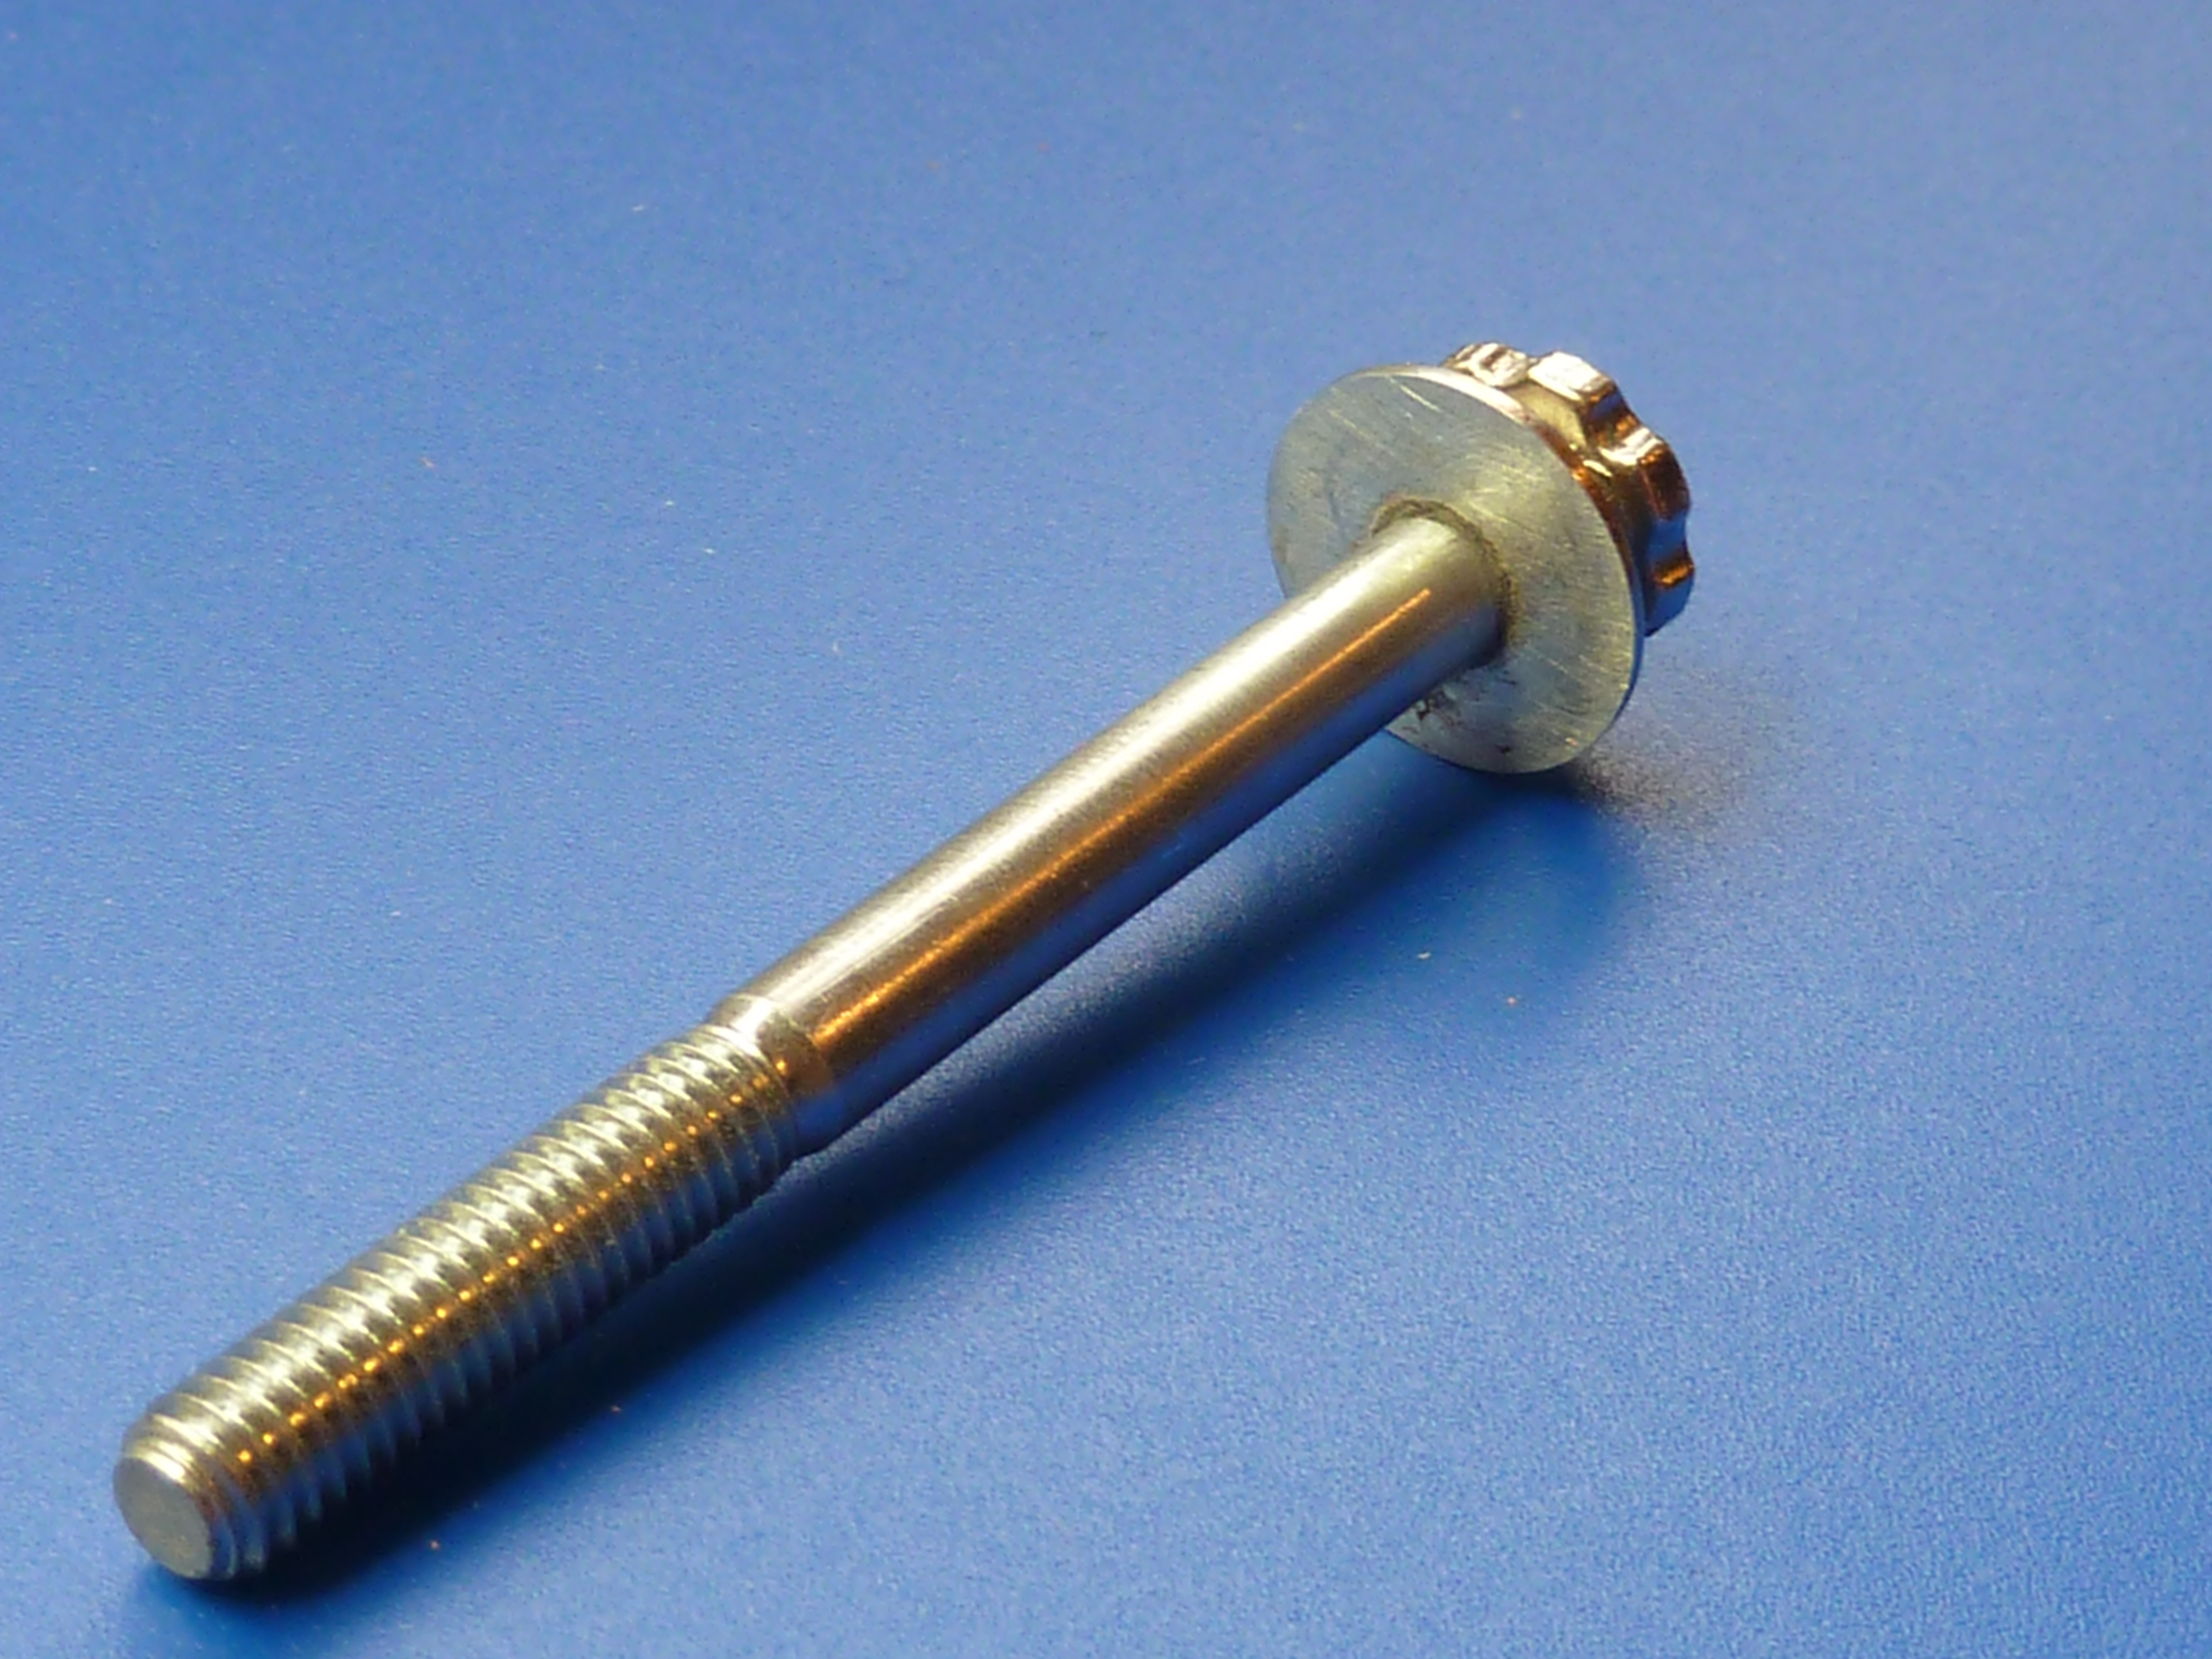

The arrangement works well, and holds the panel very firmly. The M6 bolt is completely overkill mind, but due to a past ordering error a number of years ago whilst building a kit car (Dax Rush 4×4 with Cosworth engine, since you ask), I have rather a lot of stock to use up.
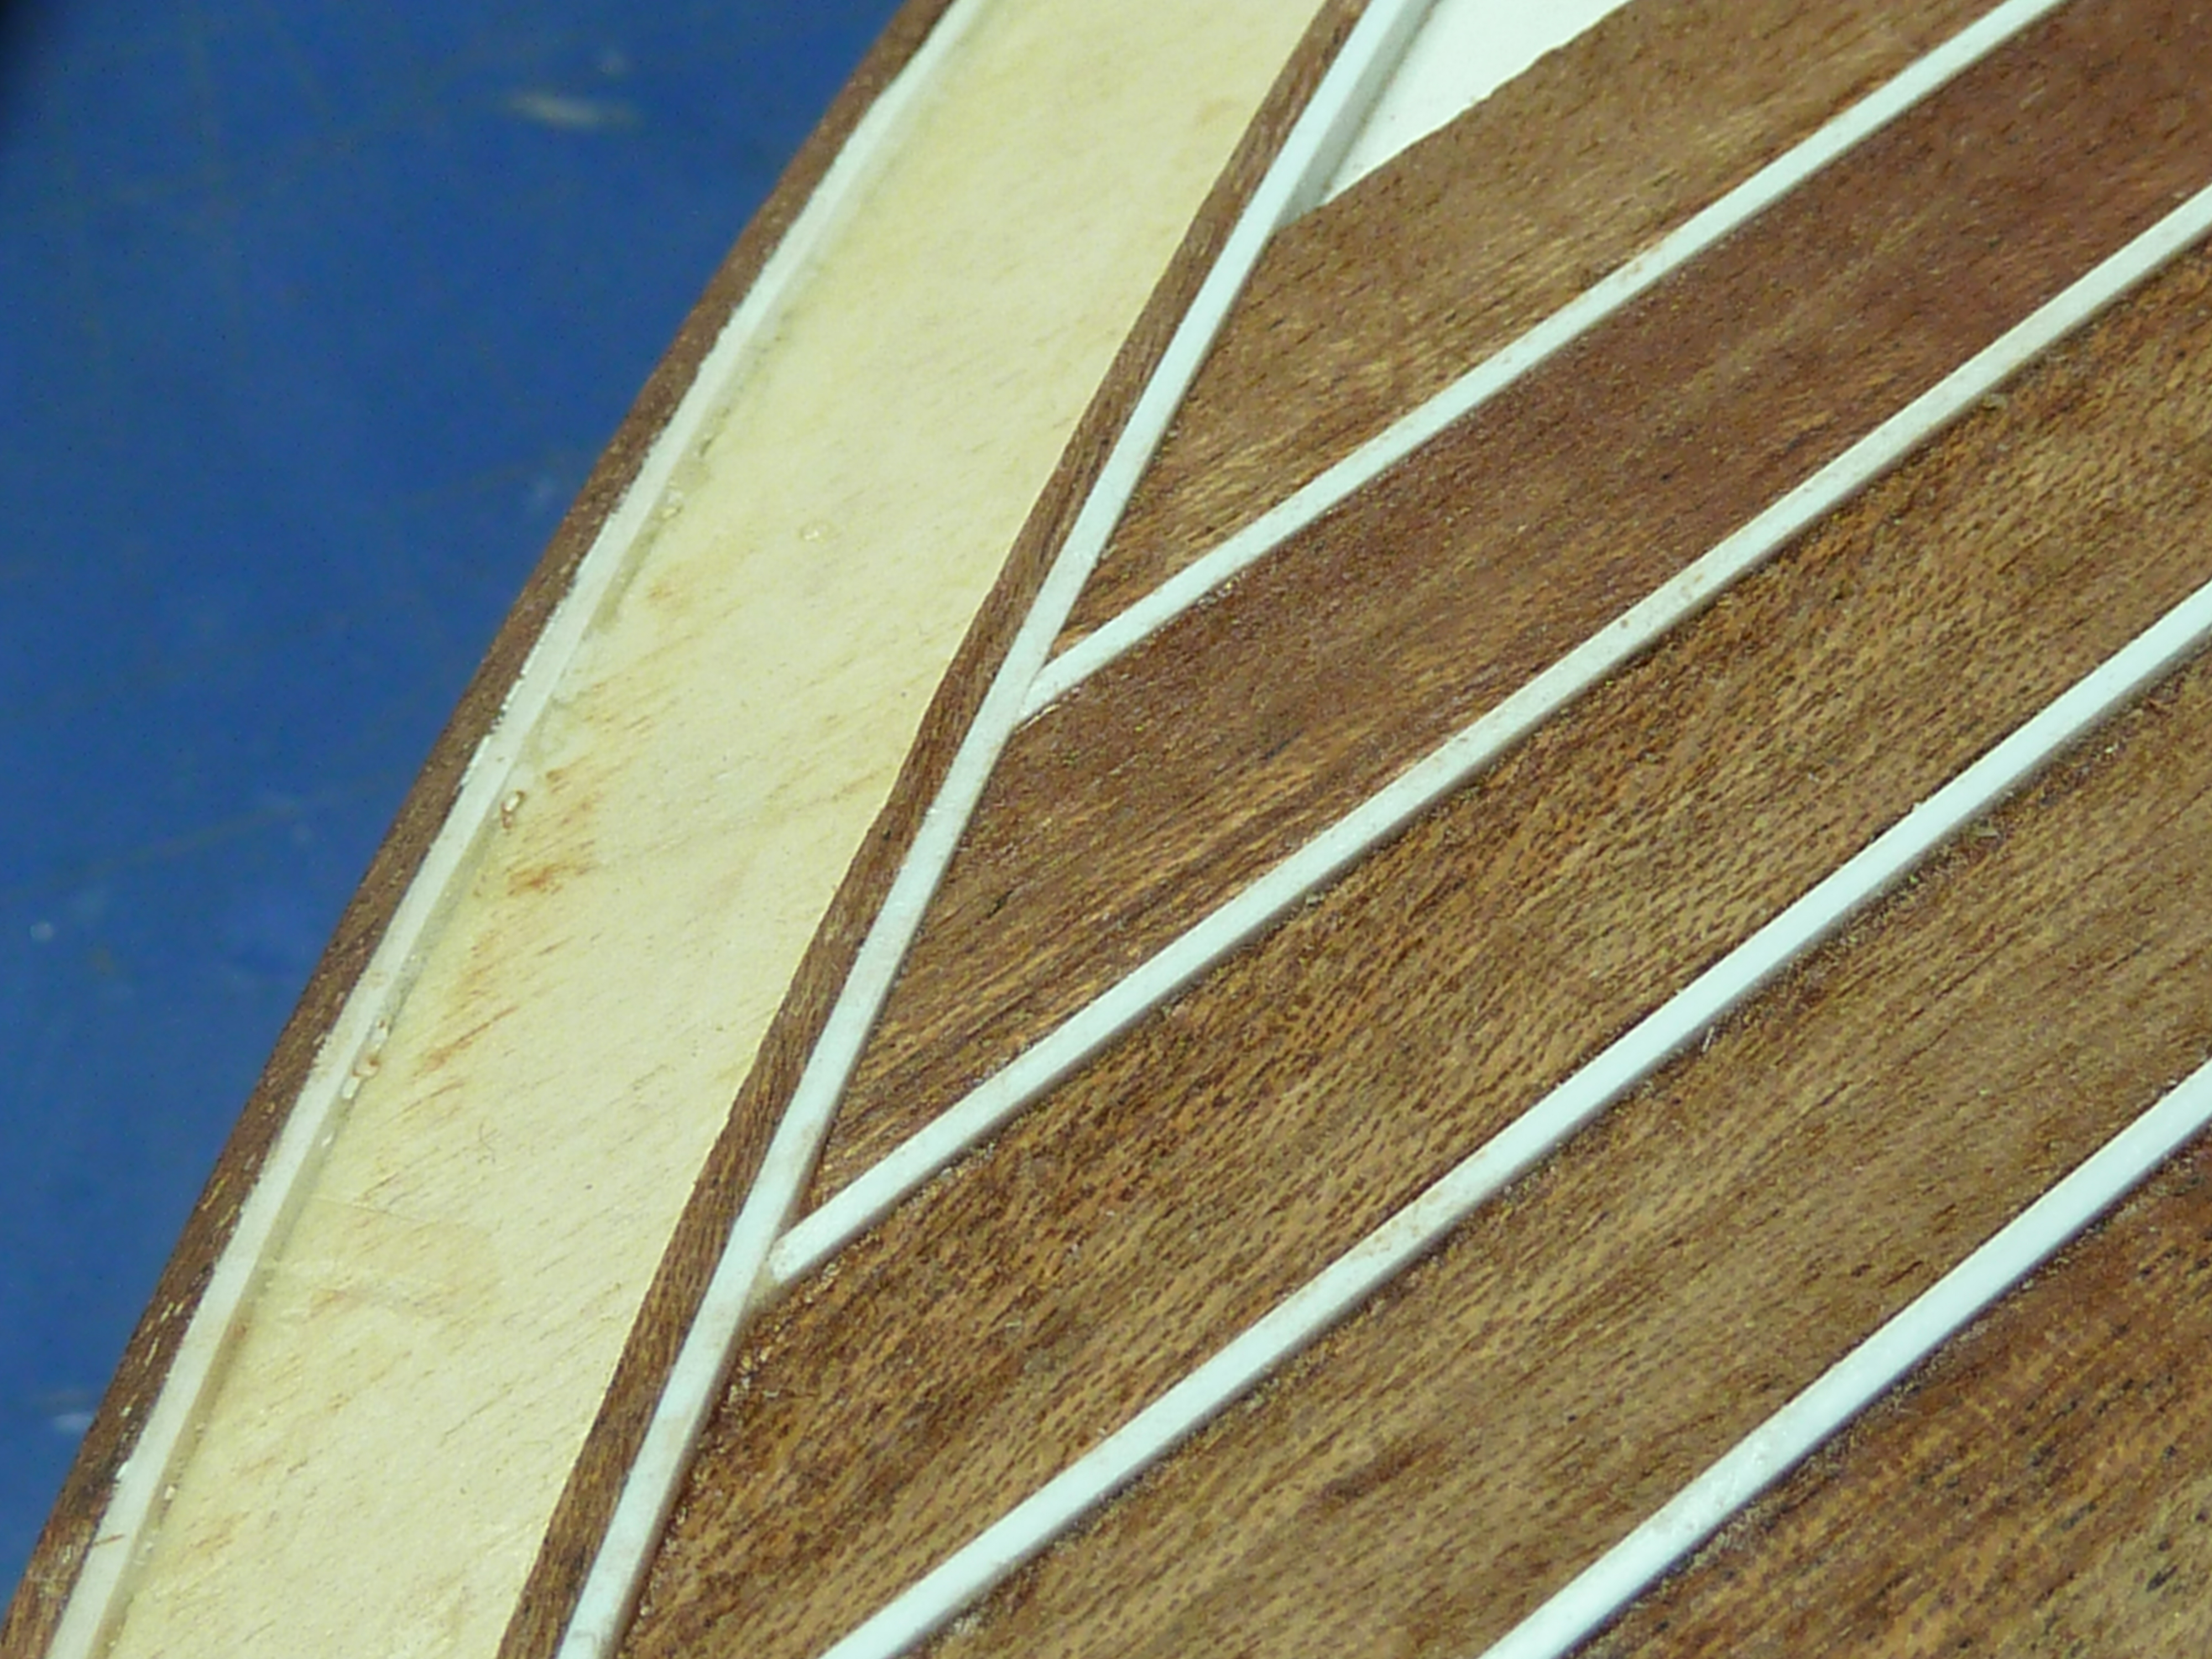
The final result after initial sanding.

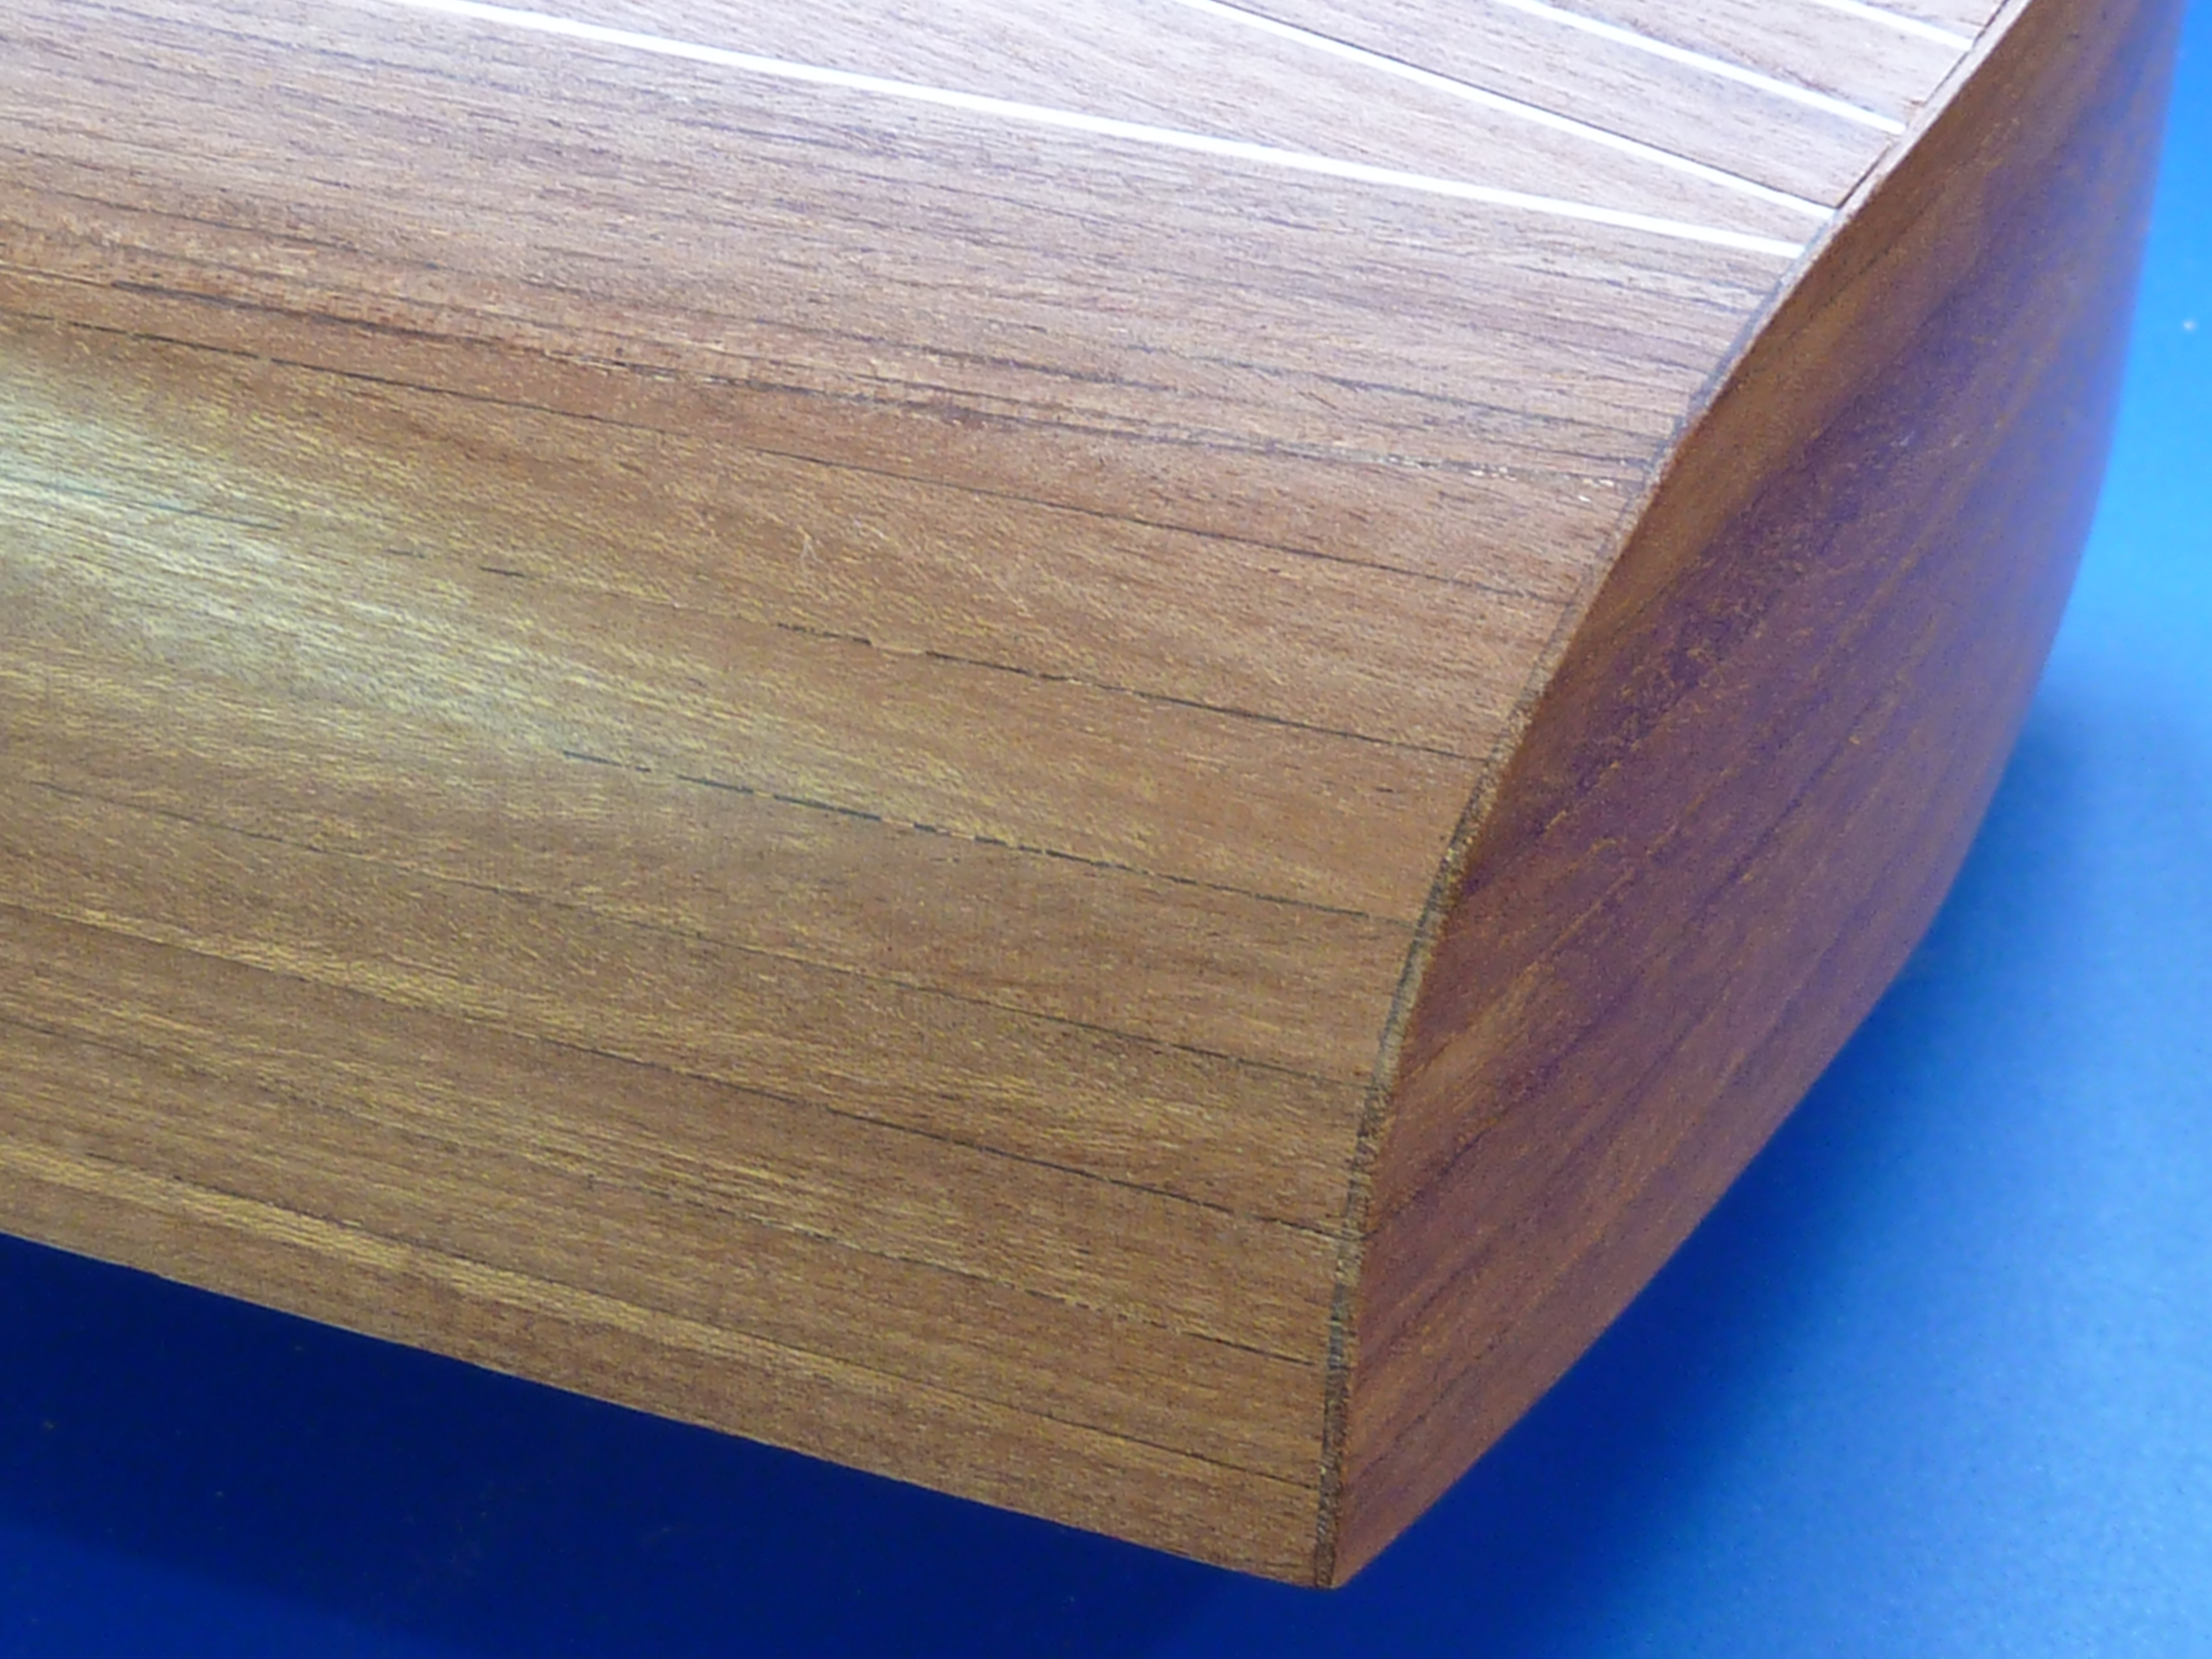
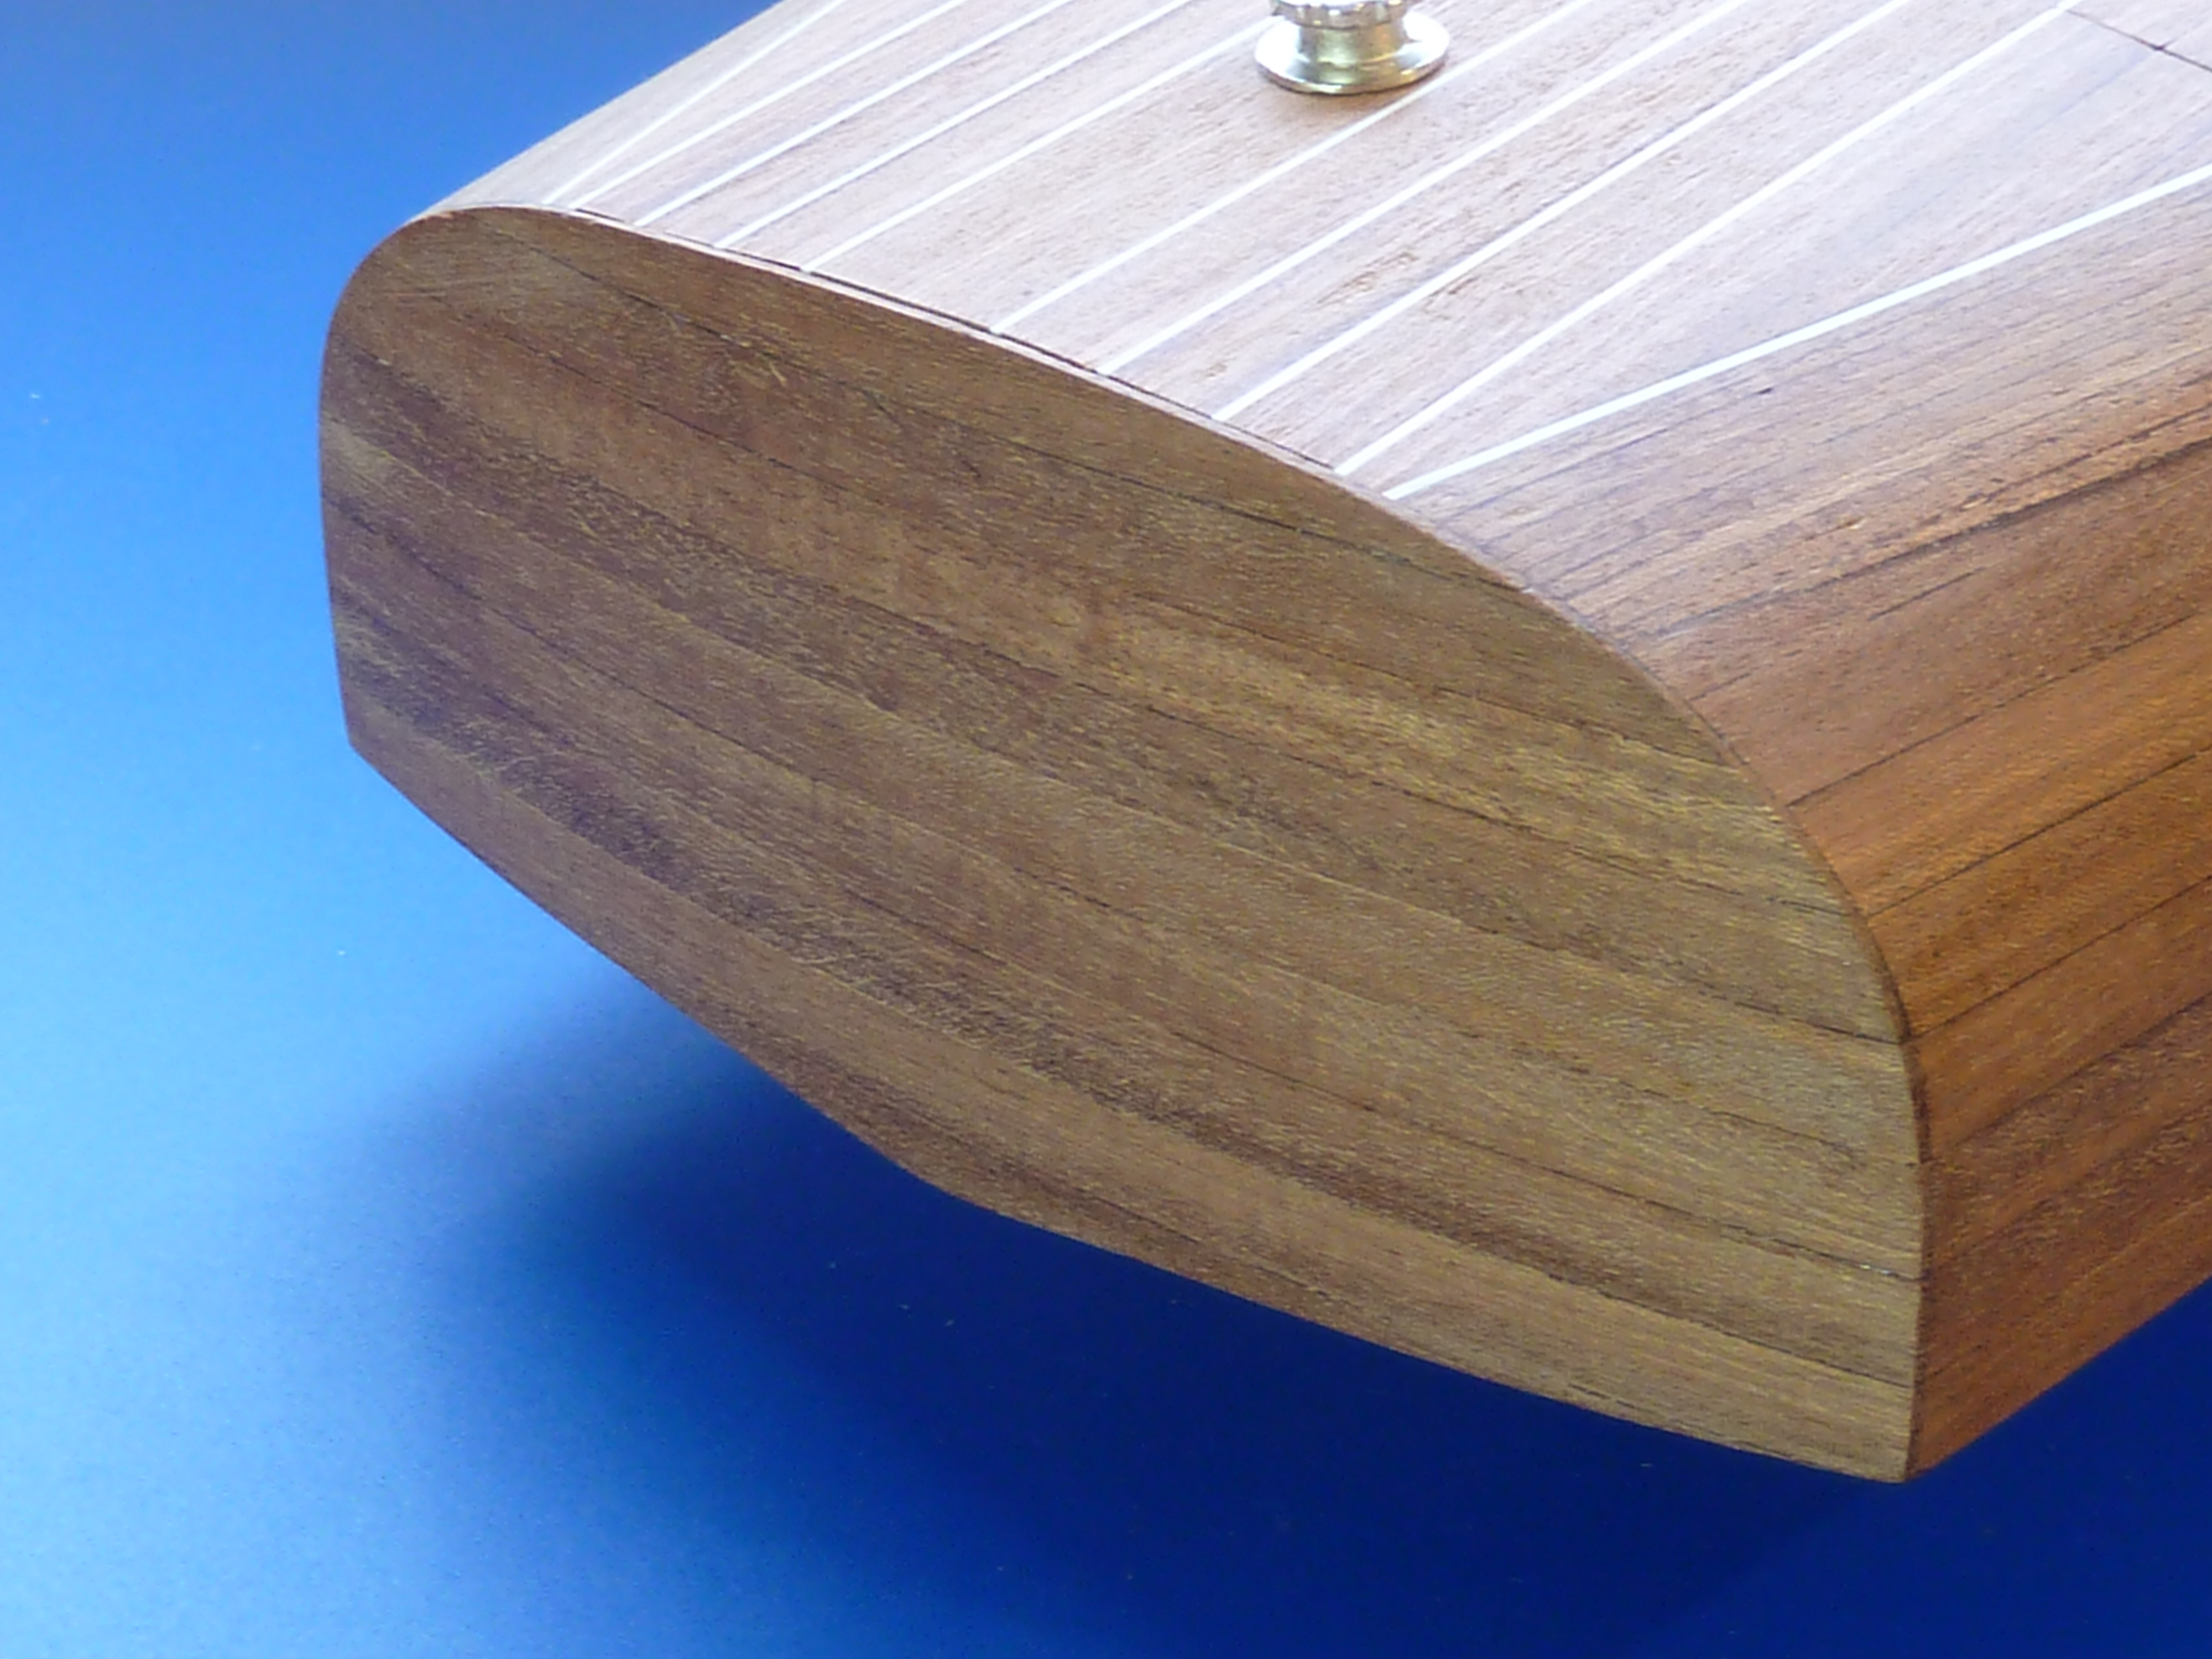
There then commenced rather more planing, sanding and dust than I would have preferred. Making boats makes a lot more mess than aircraft!
The final result was fairly pleasing, though I forgot to angle the sides of the strips around the curved barrel back which meant that slight glue filled gaps are visible. Something to remember for next time.

As a first attempt it just about passes muster, but I’d hope to improve quite a bit on the next one.
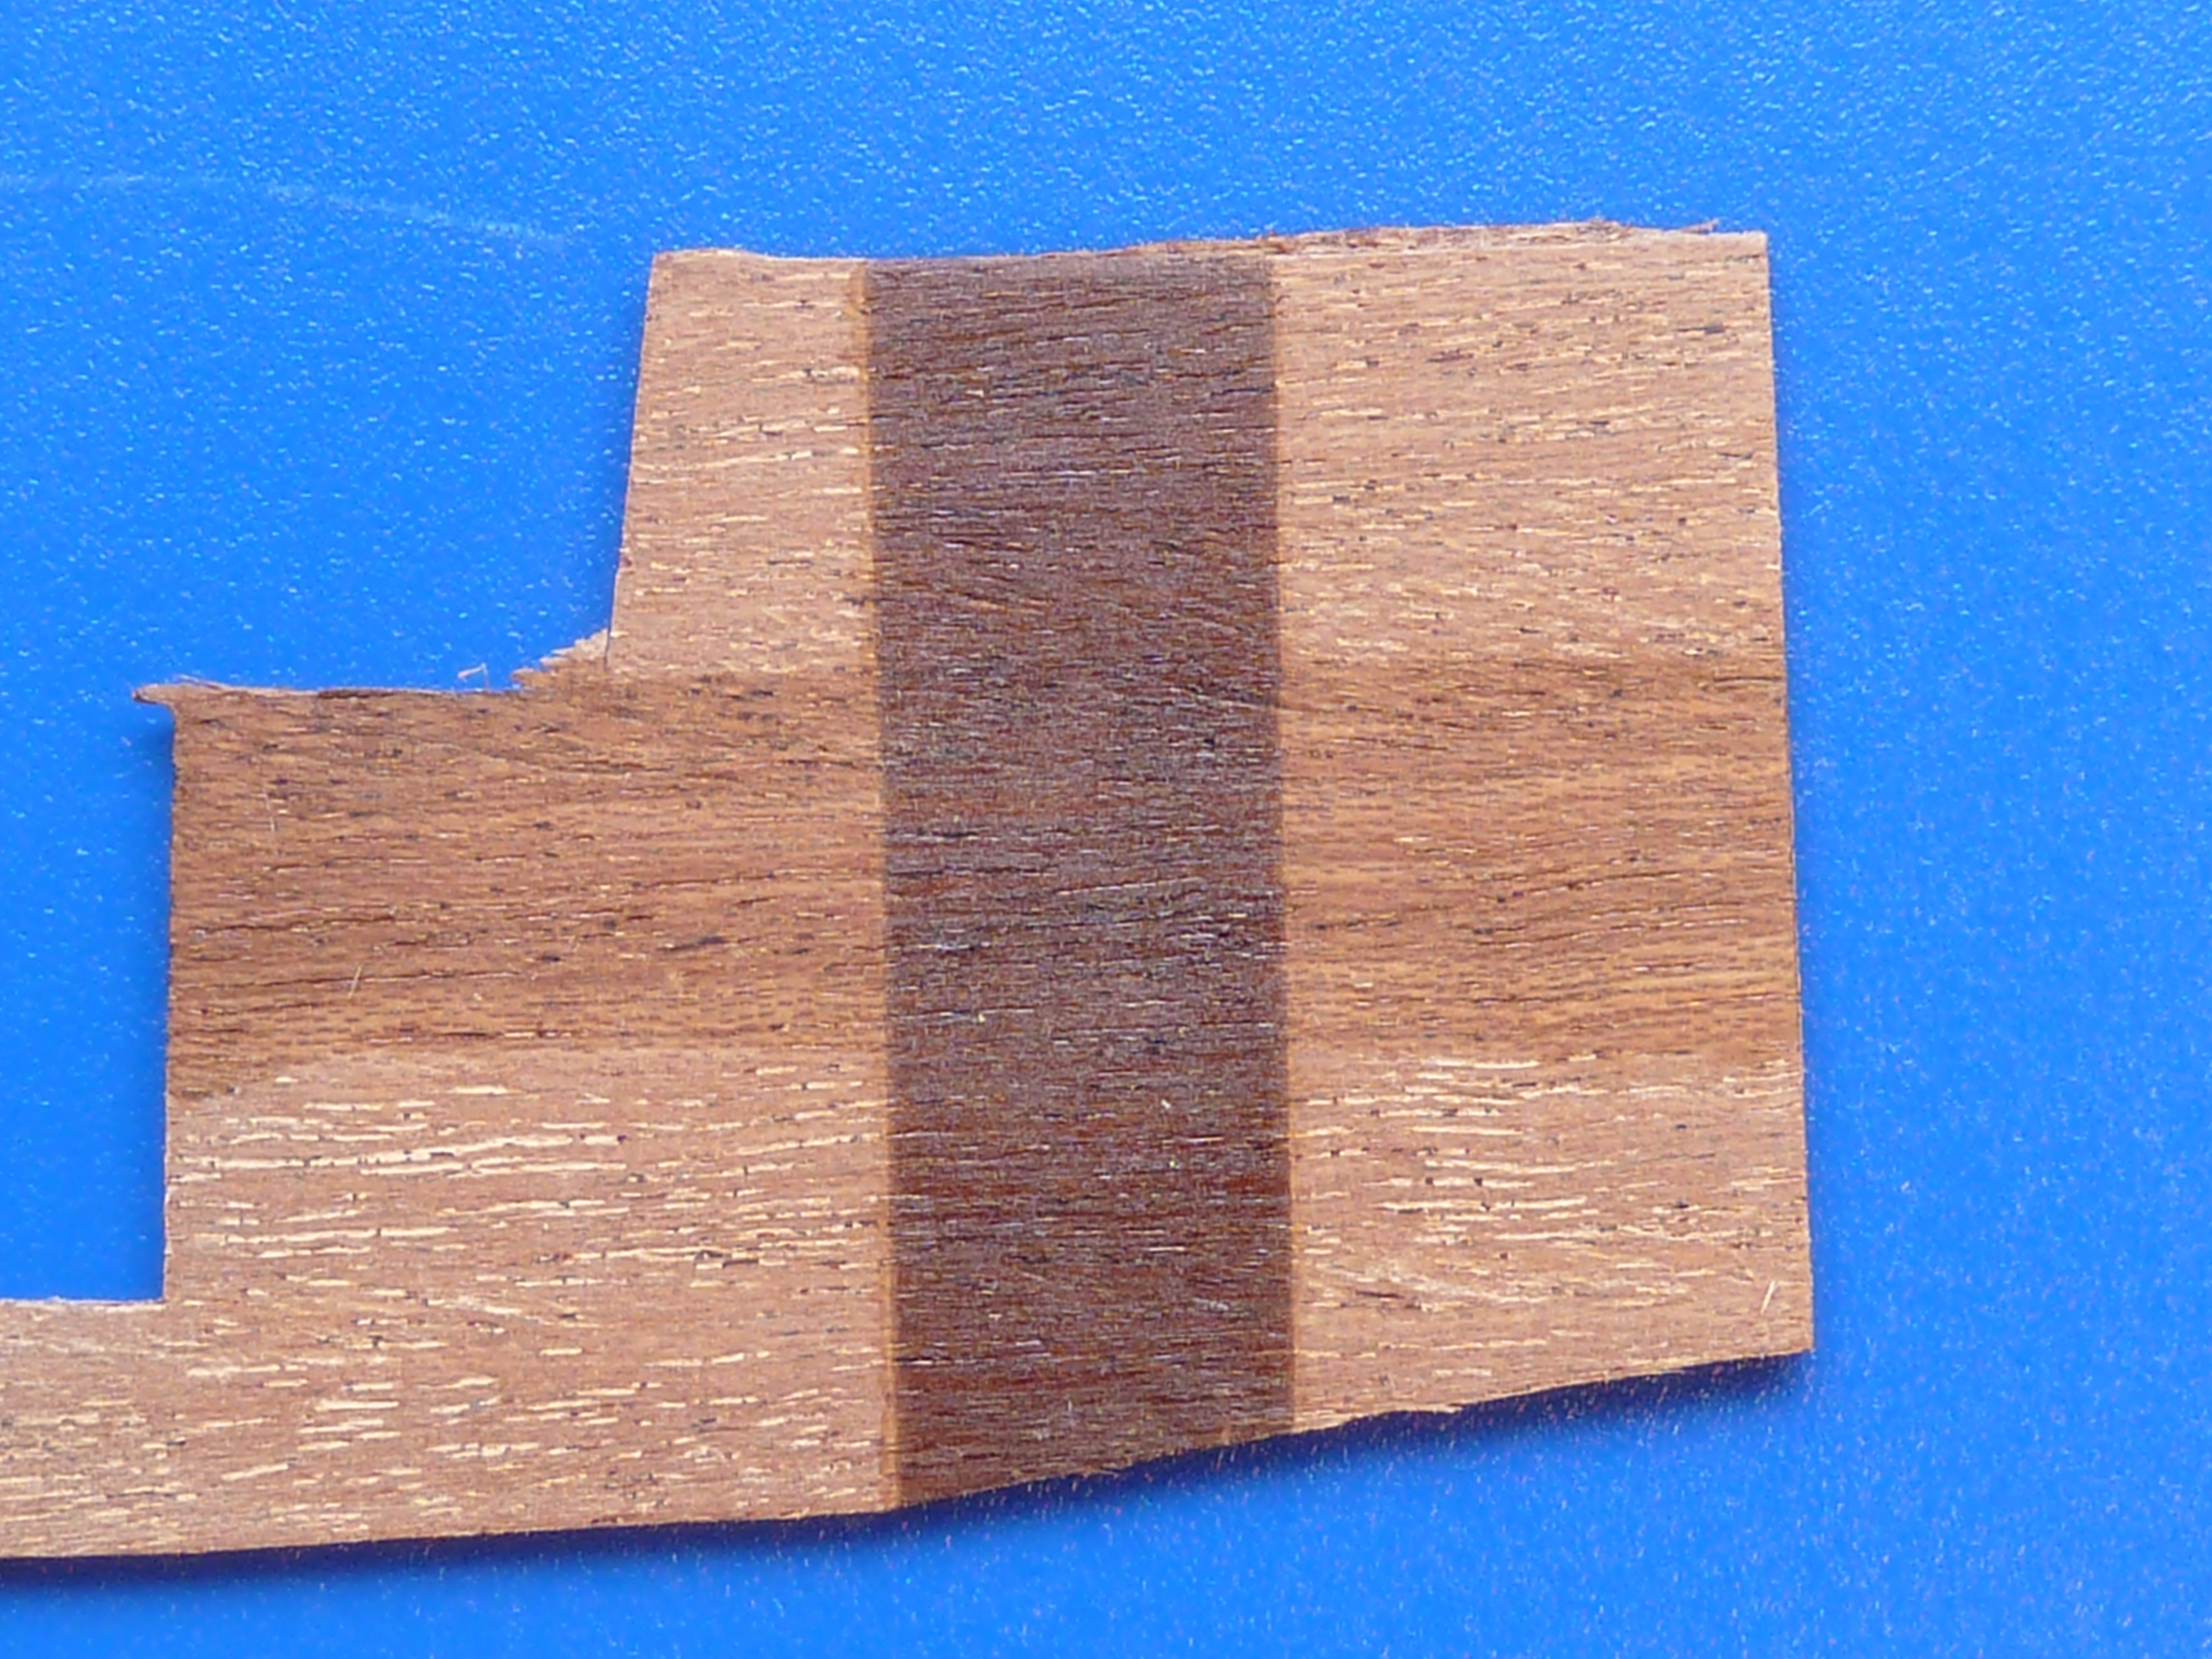
Having sanded the model to a uniform finish I went about staining the sheerwaters and king plank. I’m not sure that’s the right name actually but I read it somewhere and it sounds impressive. It might have been in “How To Bluff Your Way In Boats”.
I tried some staining on a test piece. Cloth applied vs airbrush. The faint horizontal band was the cloth option… So airbrush it was.
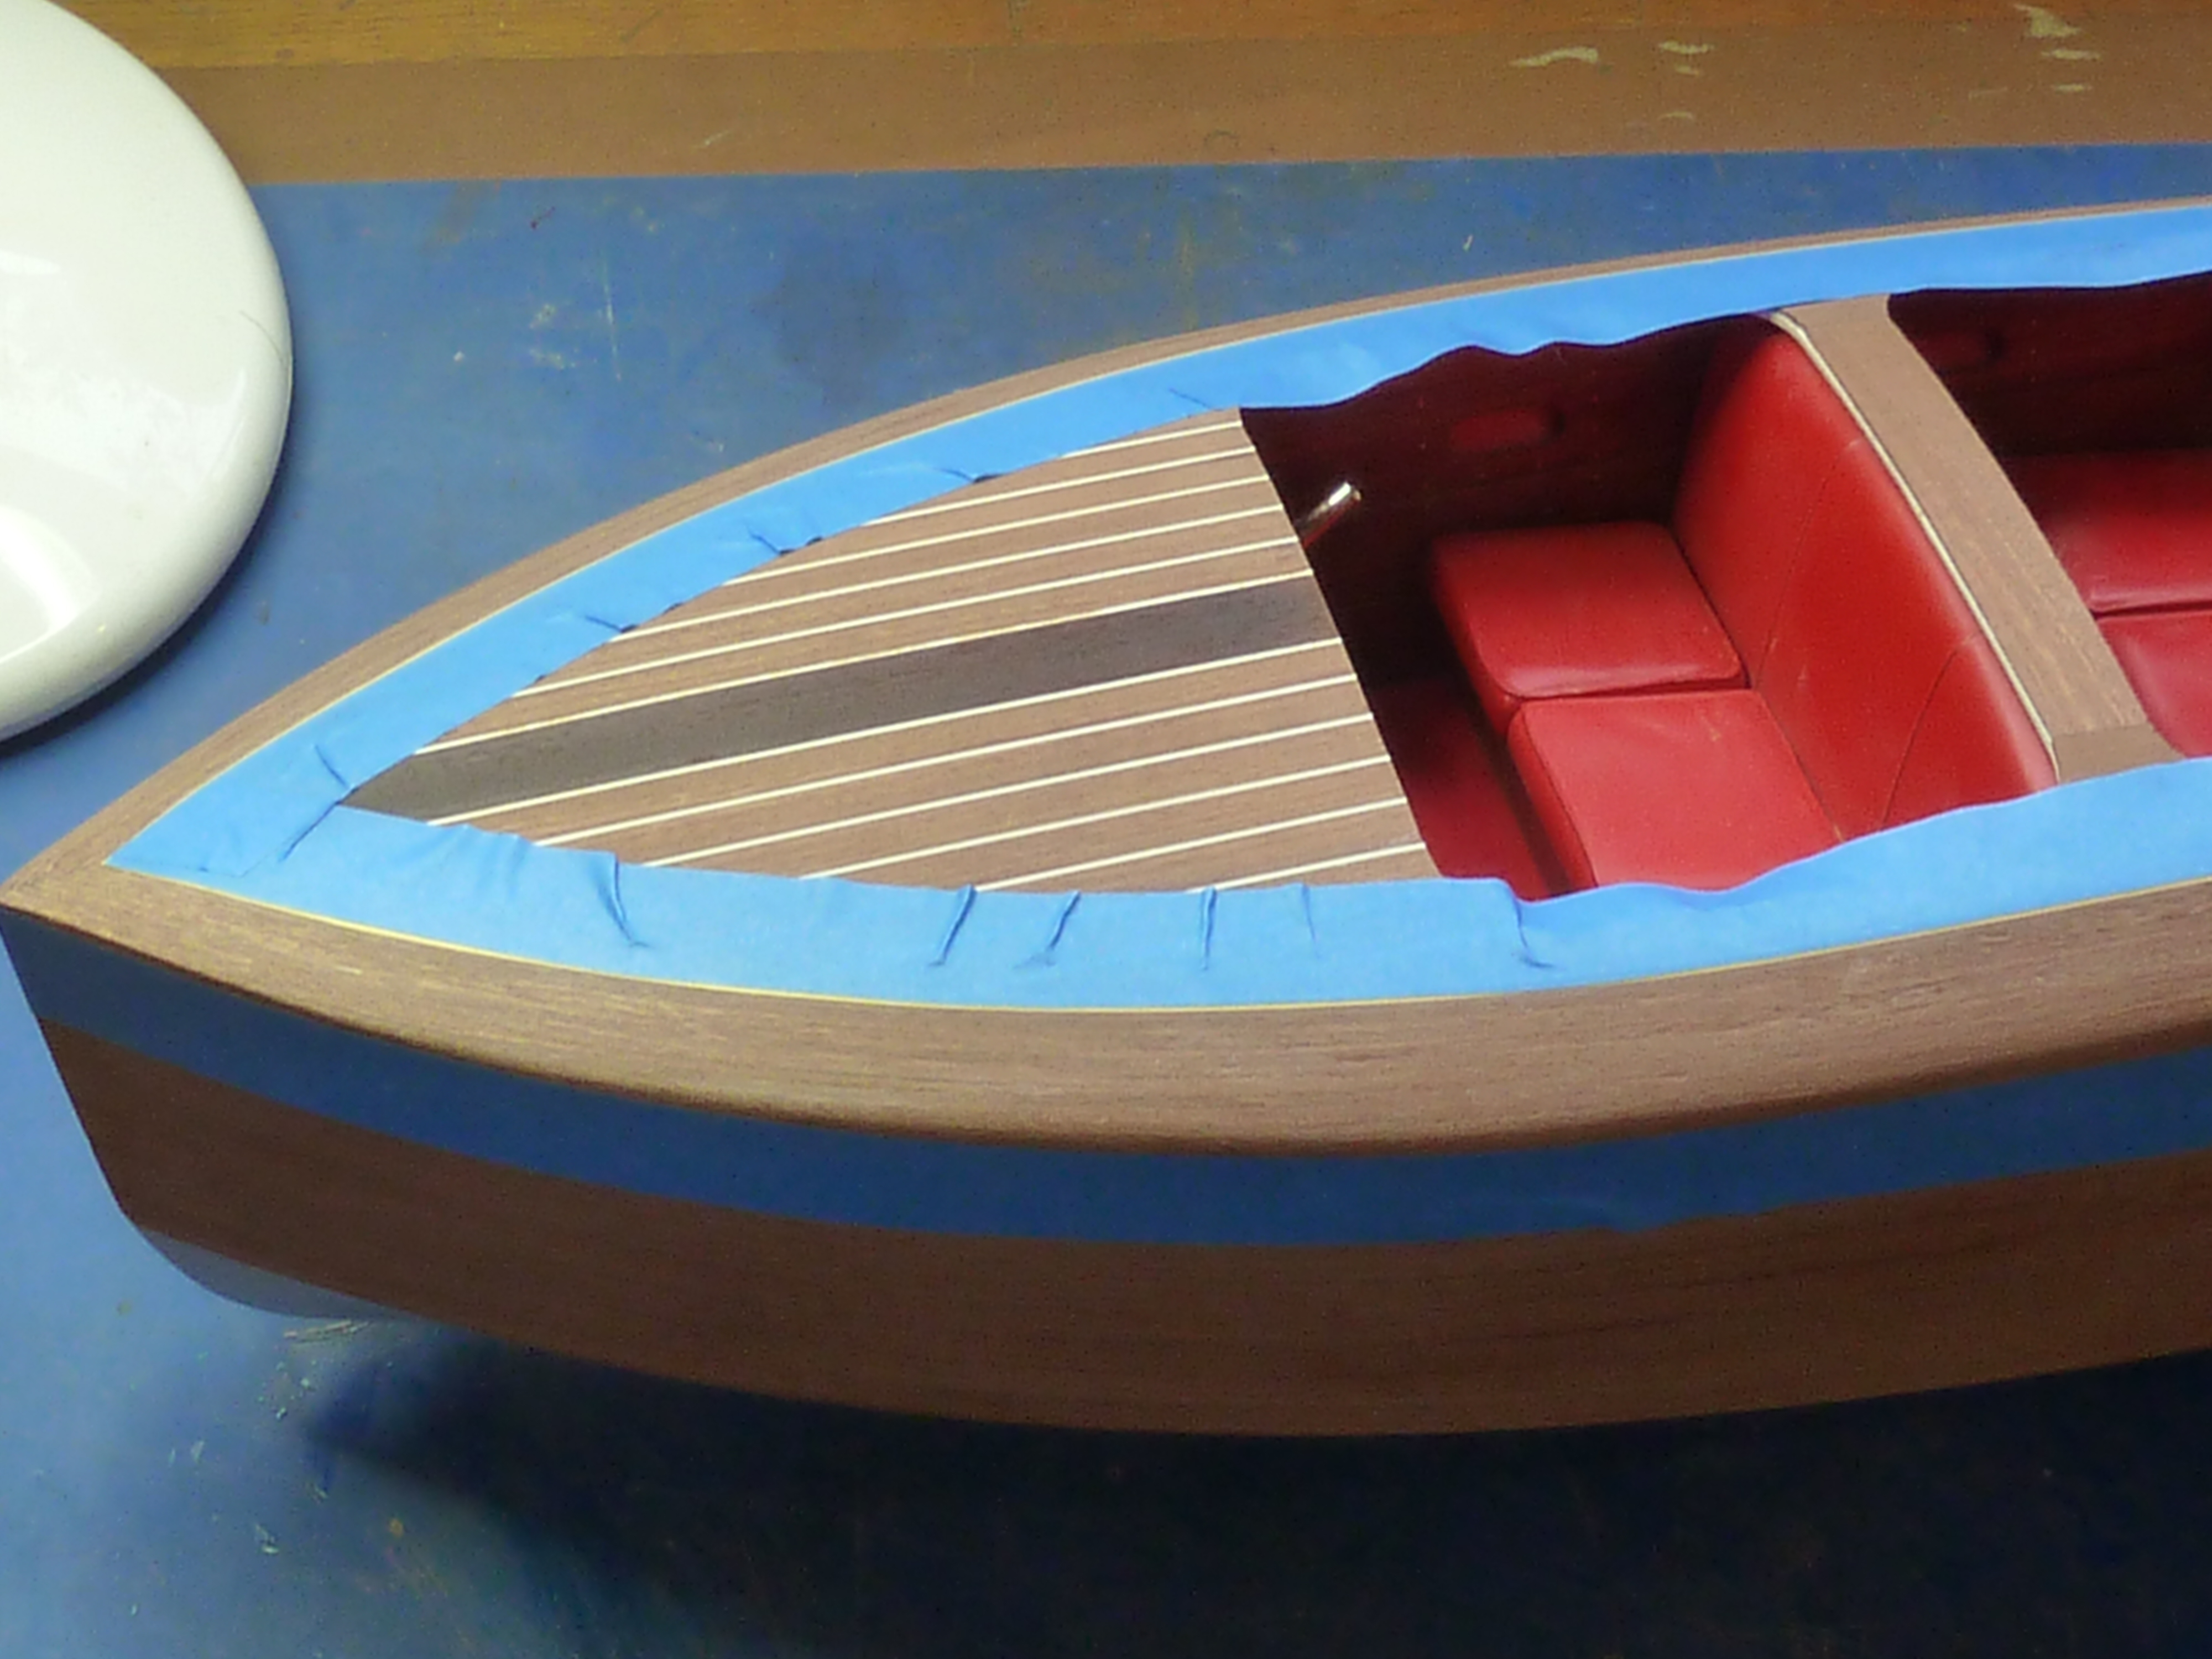
A quick bit of masking, et voila!

That’s it for this post. The next will cover the finishing on the woodwork, which has not been plain sailing. More comedy of errors actually.

it’s an impressive finish!
LikeLiked by 1 person
The varnishing is not going well at all at the mo. I’ve tried a few new things and they have not gone well.
I’ll do a post about it when I’ve pulled things back a bit. The current state is embarrassing.
LikeLiked by 1 person
These things happen sadly. I’m sure you’ll pull it back and make an excellent job of it. I made a sailing ship many years ago, similar in design, and it was not easy so I empathise with you. From my point of view though, it does look good so far!
LikeLike
Beautiful work! I’m following your build with much interest – and envy!
Best wisjes,
JP
LikeLiked by 1 person
Oops! meant “wishes” 😉
LikeLiked by 1 person
I’ve been building my Barrel Back for quite some time now and I am pleased with the progress, albeit slowly. I must say your work on this build is stunning and answers many questions that I have concerning my build. Keep up the posts! Awesome work! Inventive ideas!
LikeLiked by 1 person