
As I’ve alluded to before, the assembly of the tailplane and elevators could not be described as textbook, and the problems were largely of my own making.
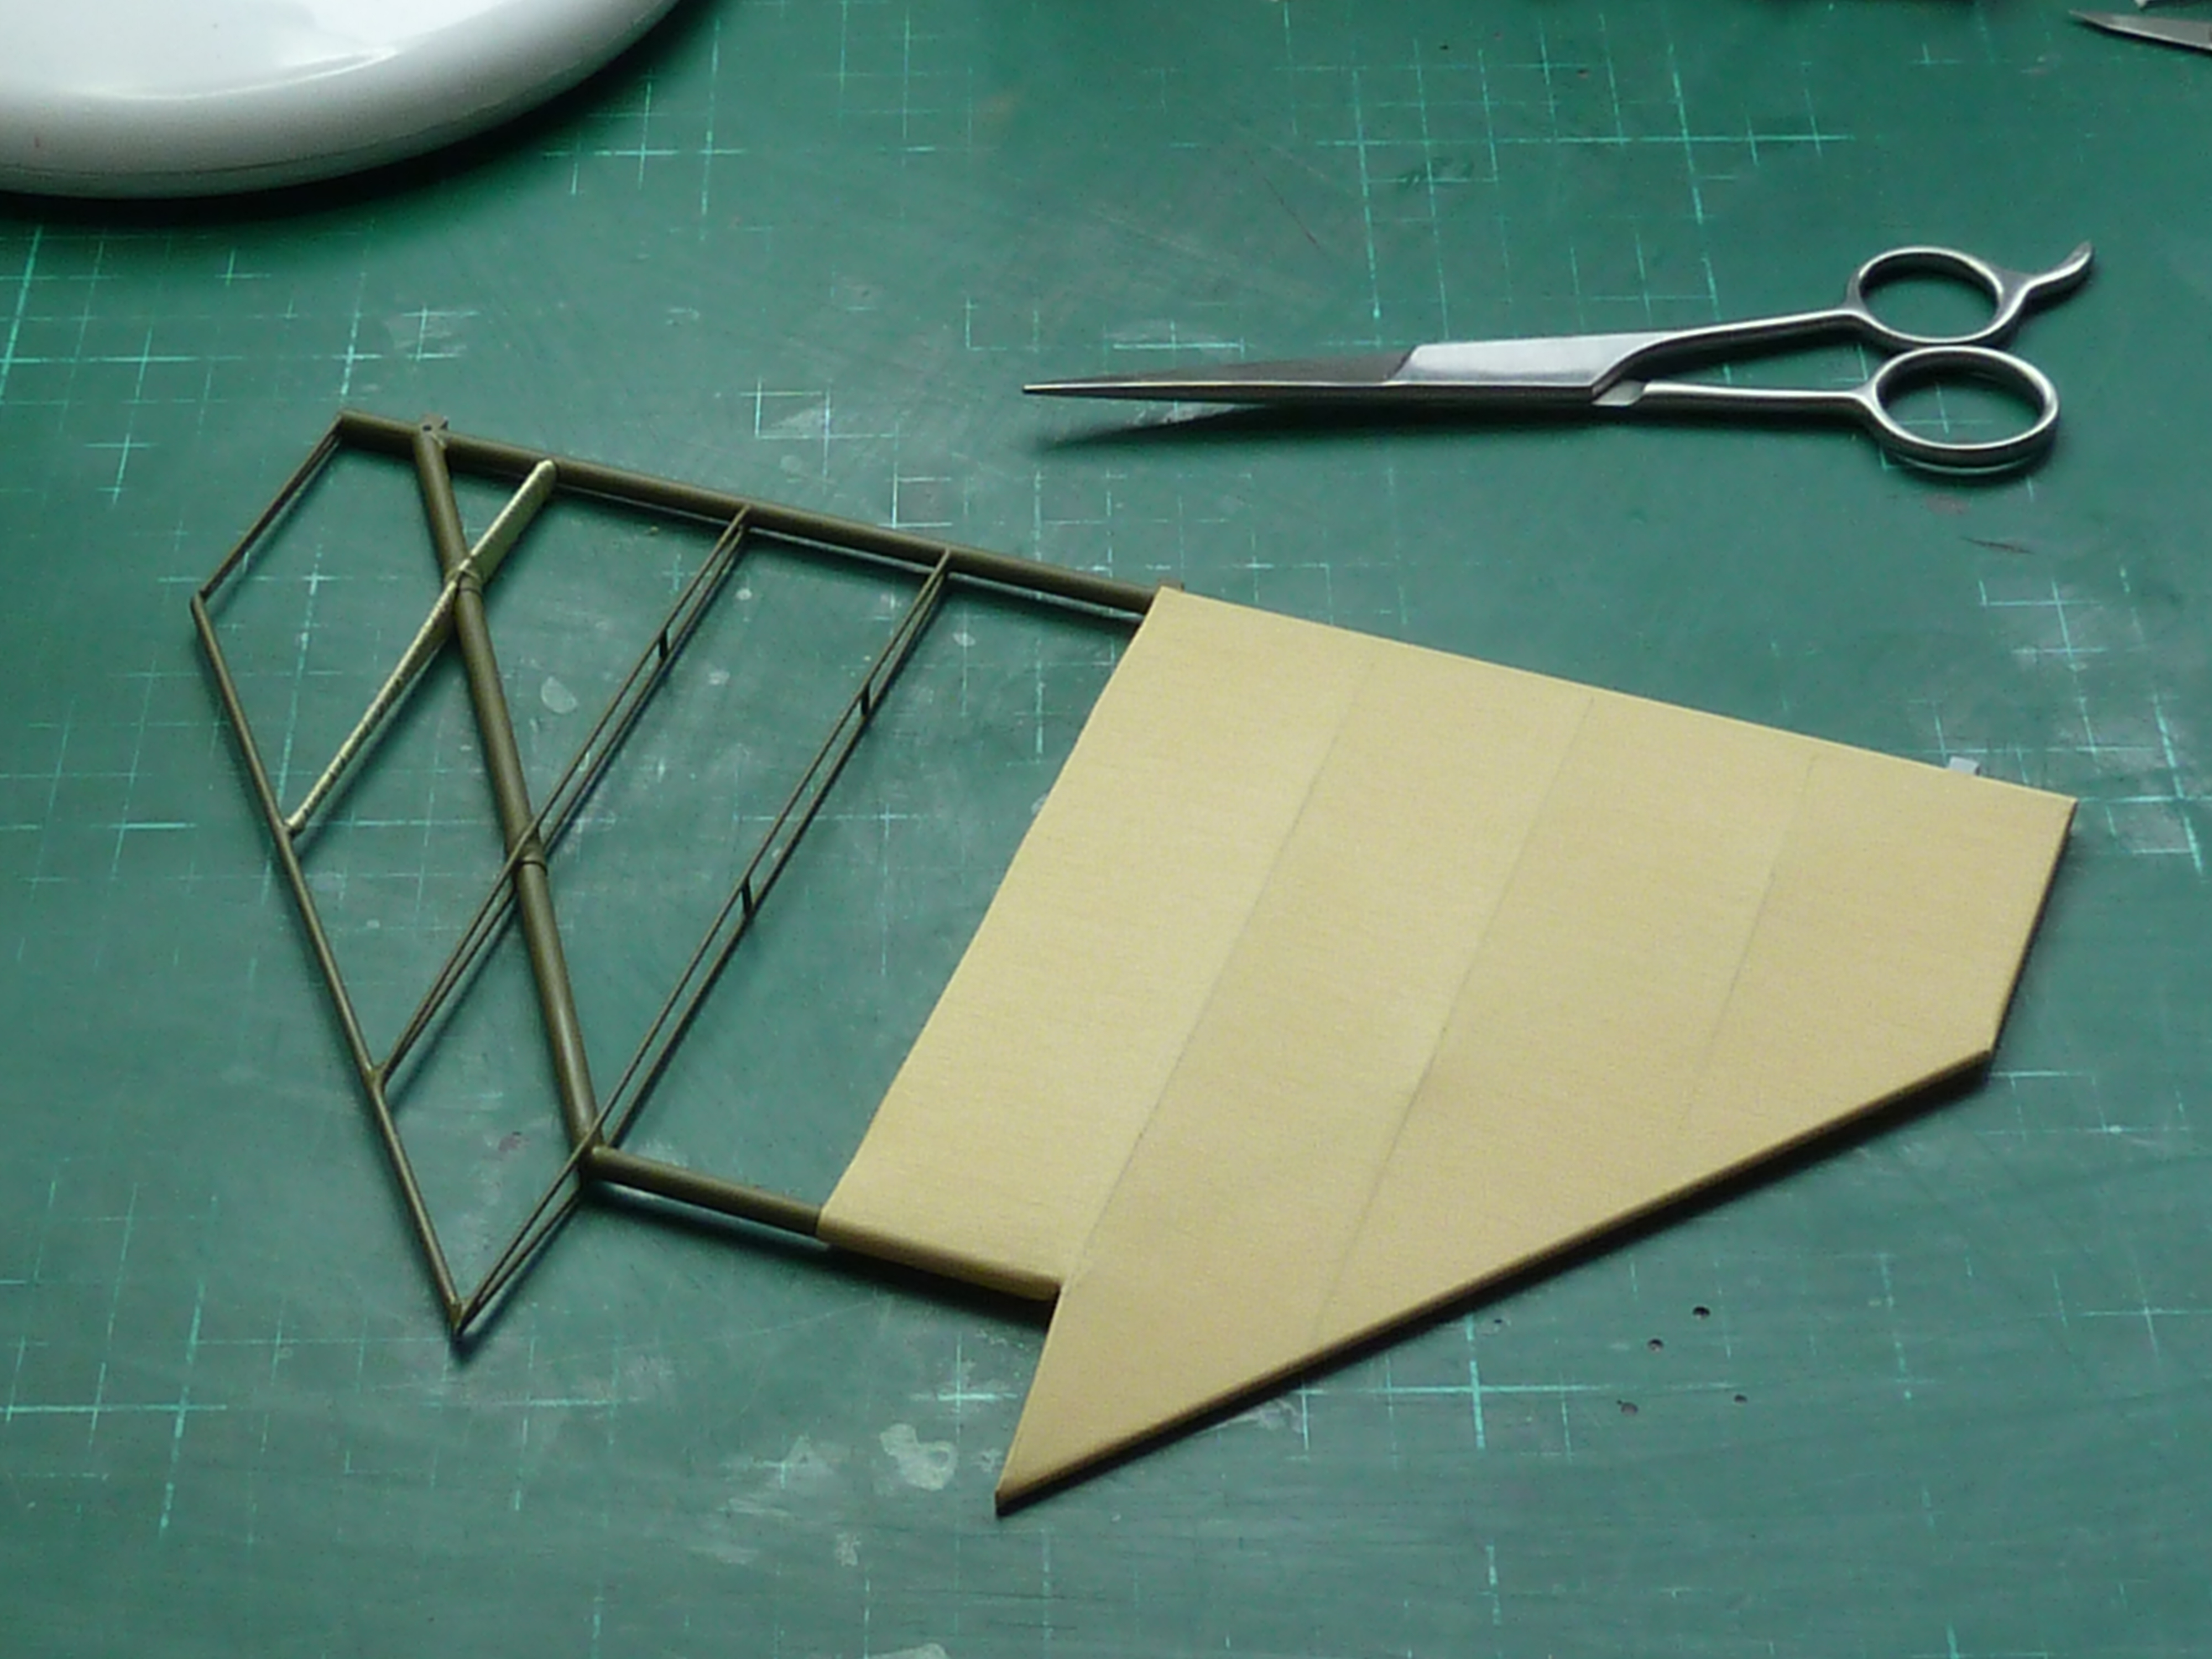
Like the fuselage, the tailplane is made from ABS plastic and assembles quite nicely, though a fair amount of work is required to make some of the joints seamless. The accuracy of it is pretty good 
too, the only real departure being that the rear spar is square in section, as you can see in the picture above. It should be round with fairings on the rear edge to fill the gap to the elevators according to Paul Leaman’s book, but I have seen a contemporary picture where it does look suspiciously square to be honest. The white plastic in the picture is plasticard, as I thought the guide for the hinge was somewhat oversized and I decided to reduce it slightly.
Here it is before the mod.

The hinges are also very slack, and I had to pack them with a little piece of brass tube to reduce the play to an acceptable level.

Overall the result is pretty good though.


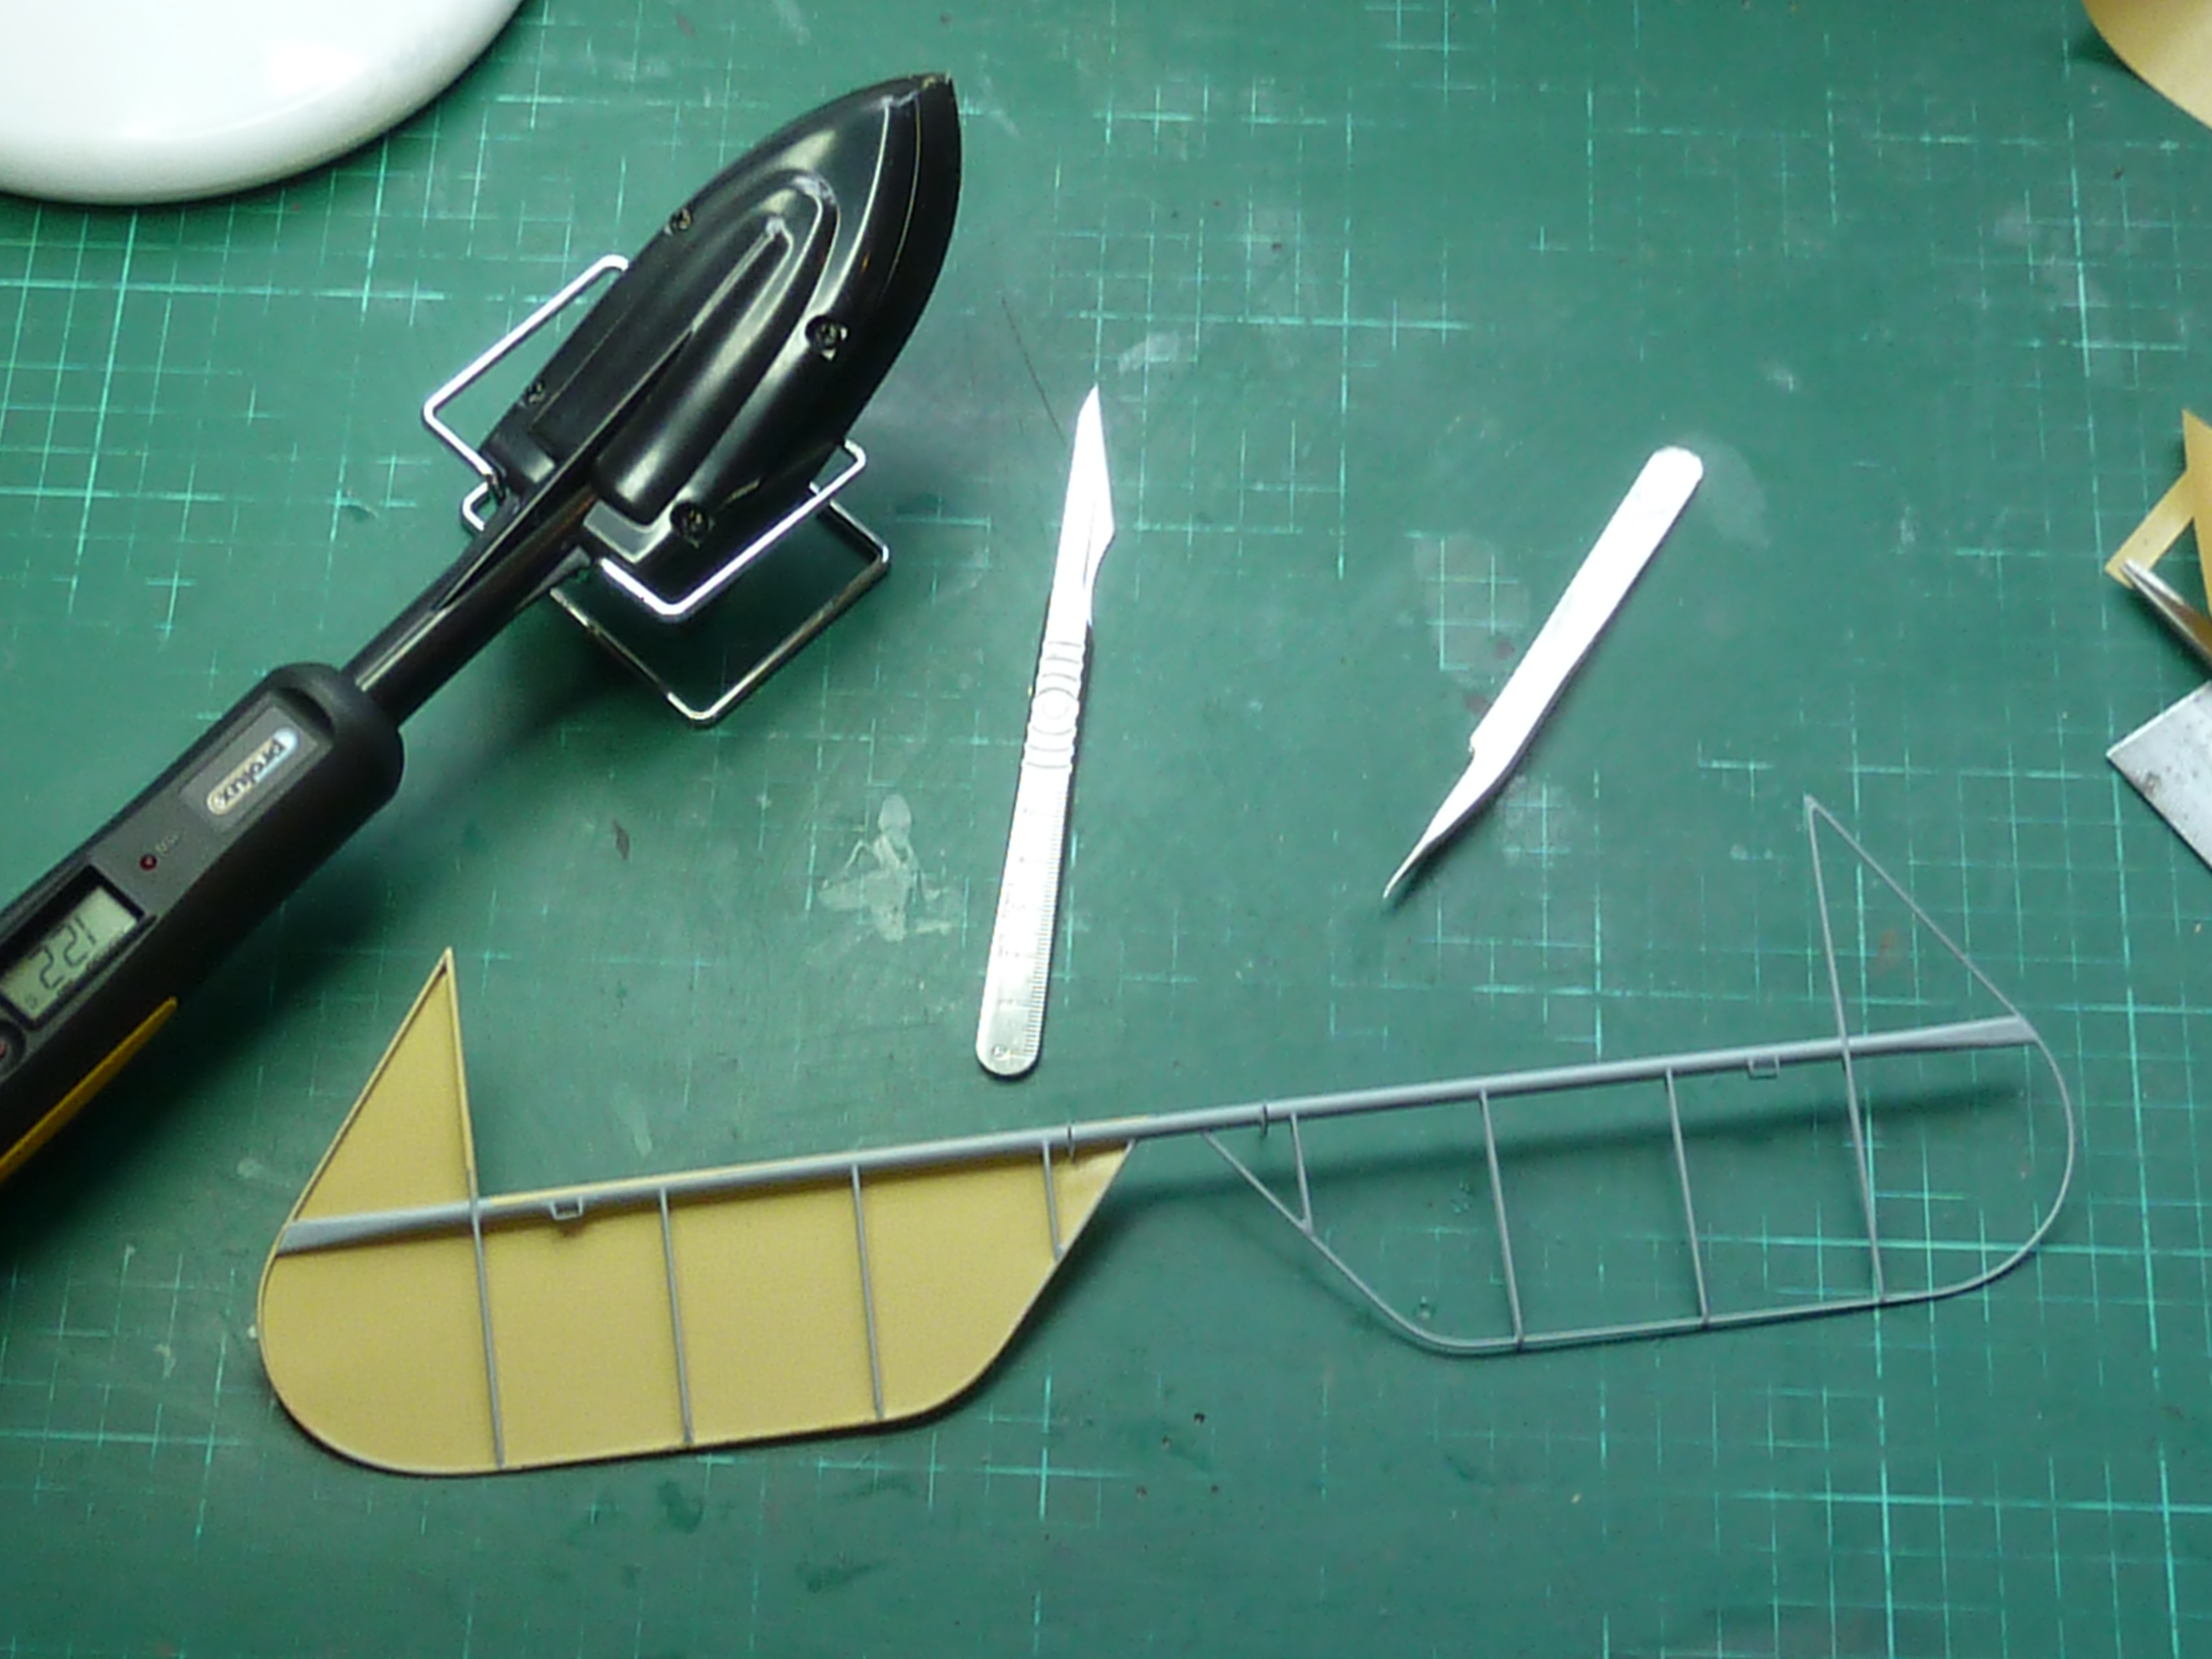
I then gave the whole thing a coat of etch primer and sprayed the side to be left uncovered green. Then it came to the fateful job of covering…
I knew this might be a problem as the heat shoe needs to be set at around 120°C to melt the Solartex glue and a little more than that to properly shrink the material. Not a problem on the Camel’s wooden and metal parts, but dancing close to the edge on the ABS plastic which deforms at around these temperatures. However, I thought that if I didn’t linger with the heat shoe I might get away with it.
I didn’t.
The covering went well at first, but then I found that a section that had previously been taut was now slack, and there was no way to recover the situation. When I stripped off the Solartex I found that one of the ribs had clearly melted and deformed as feared.
No photos were taken at this stage because I was a tad miffed to put it mildly. If I couldn’t cover the tailplane with Solartex, then I was going to struggle with the aileron and fuselage too. An examination of the deformed tailplane indicated that it would be very difficult to save the structure without the fault showing on the finished model, so it was relegated to a test piece and the not inconsiderable job of making a replacement from scratch commenced.
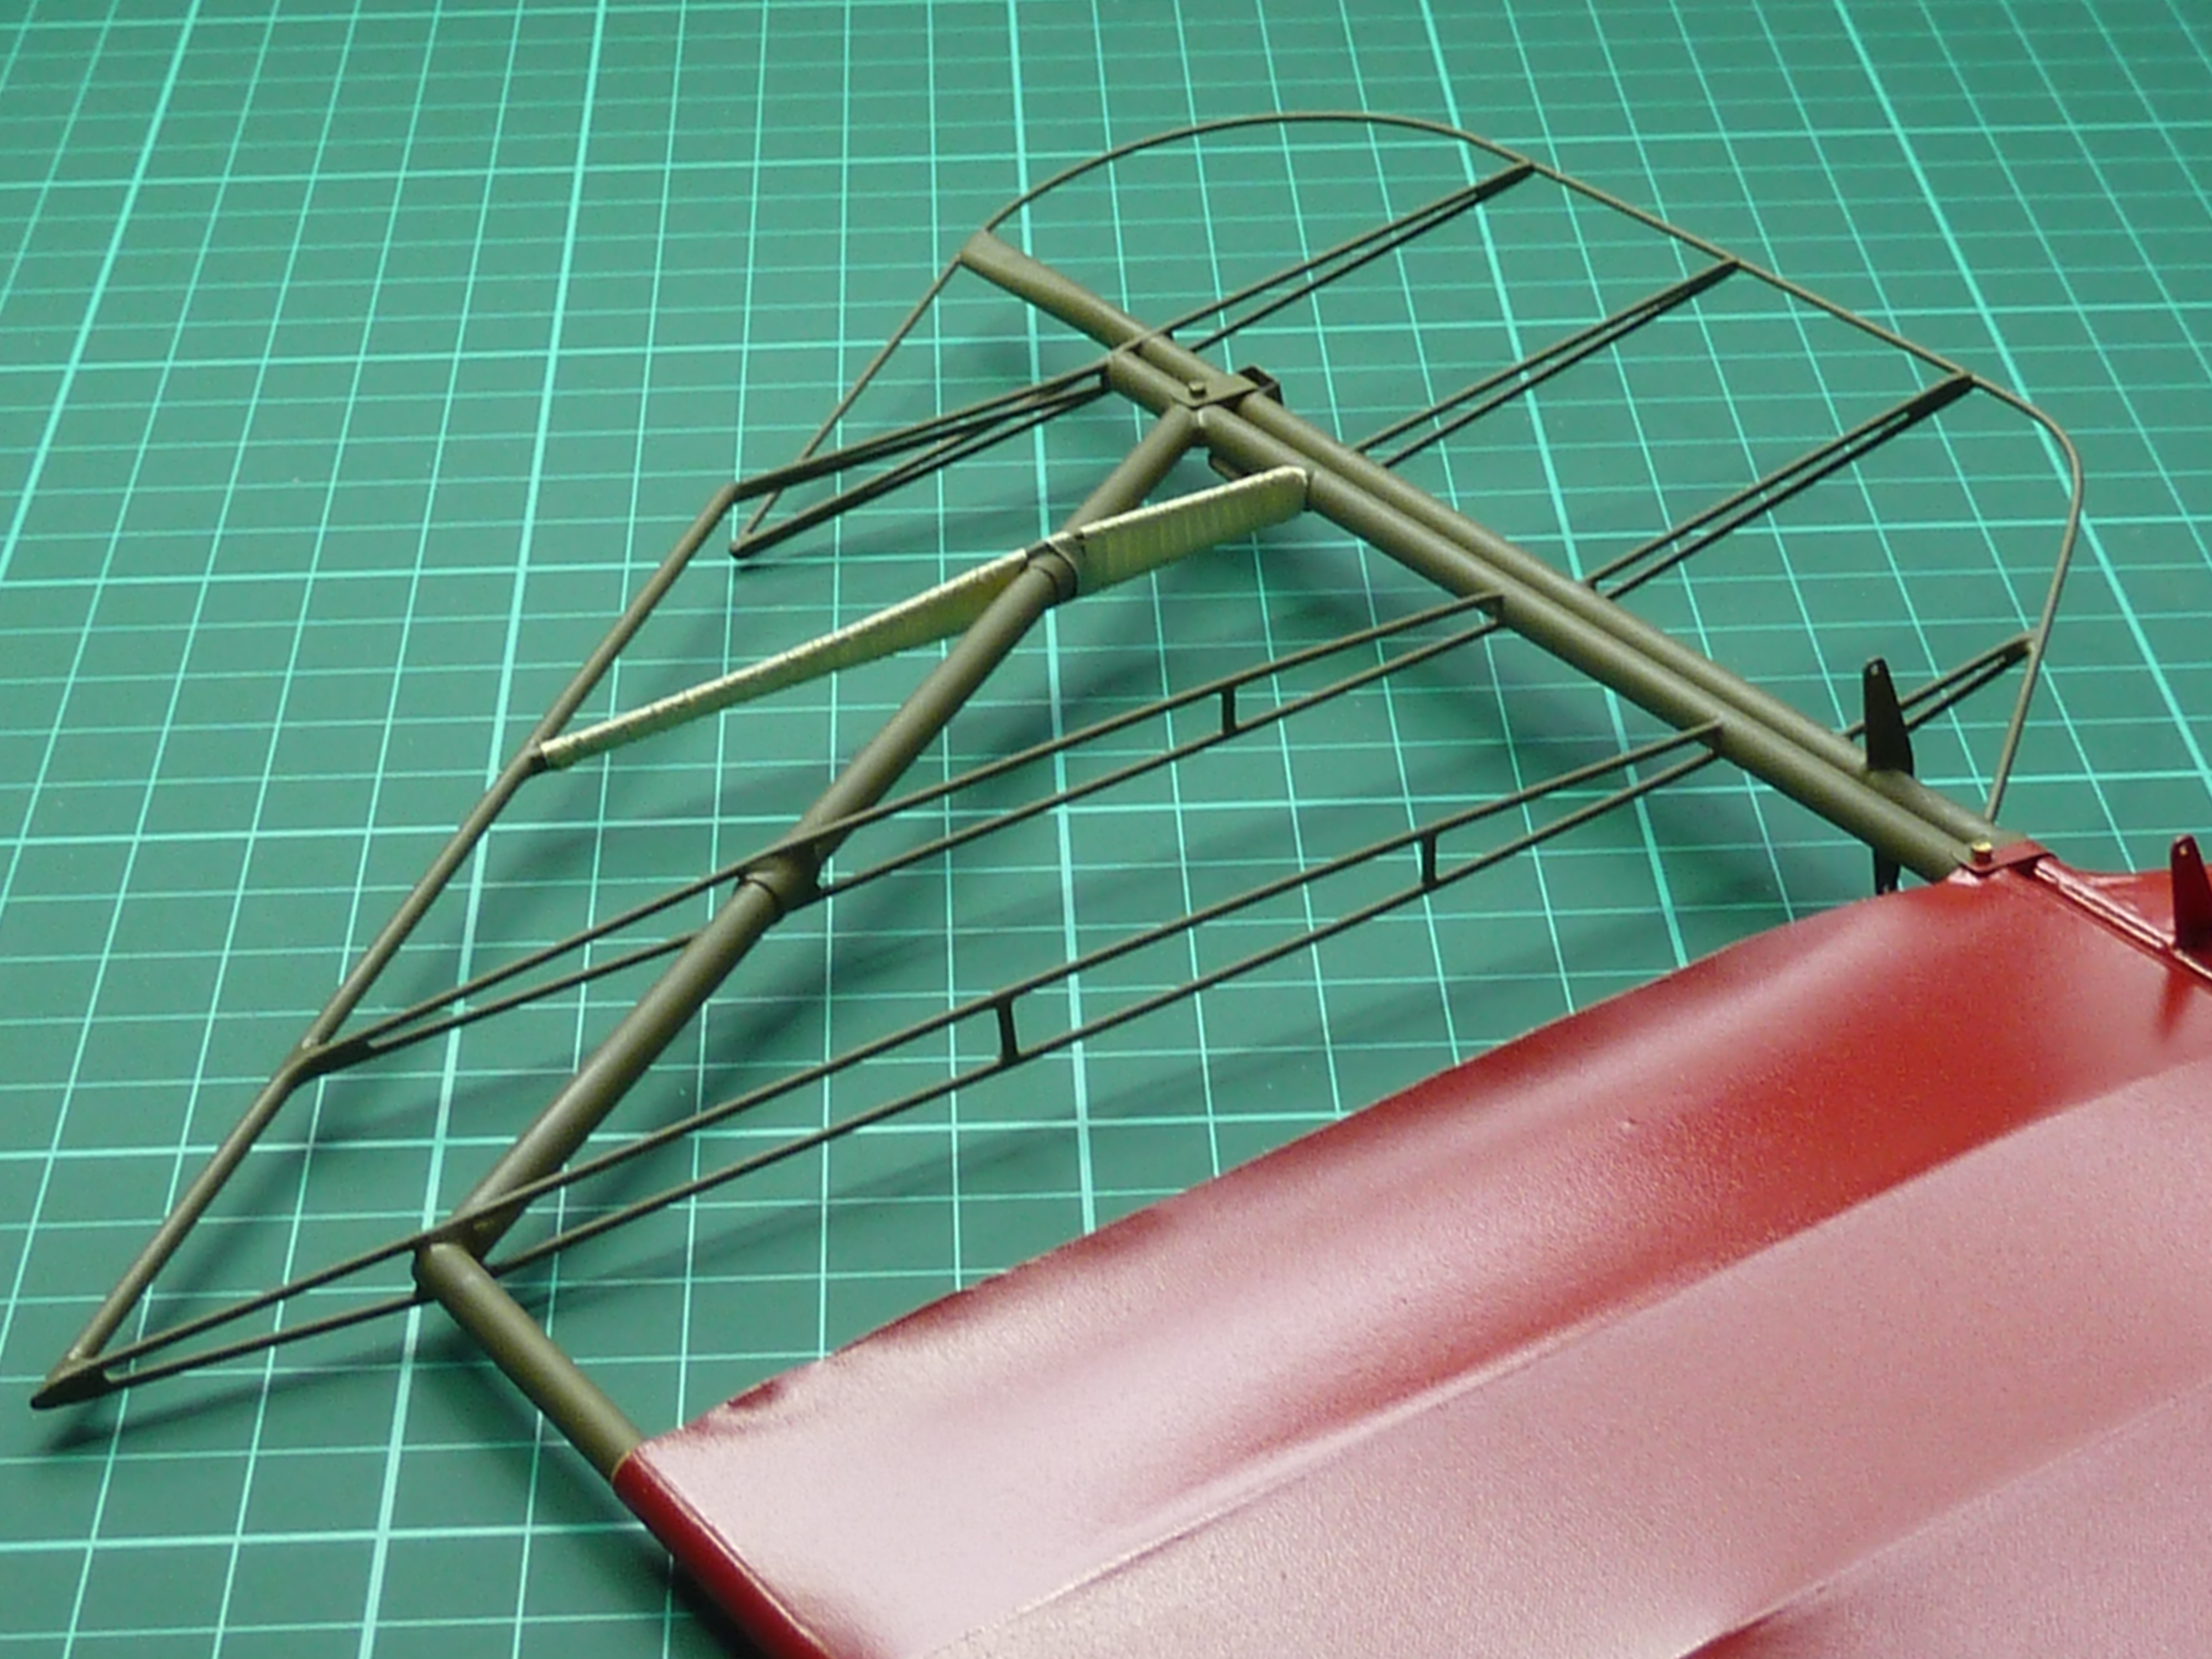
The first step was to sketch the cardinal points on paper and then build up the main frame using that as a pattern. The main spars were made from various sizes of brass tube and the rest from stainless steel rod.

The process was new to me as I’d never soldered stainless steel before, but using the right flux and a high tin solder made the job relatively easy. The resulting structure is much stronger than the all brass affairs I made on the Camel model and is a considerable improvement. The Camel’s are too delicate and deform if you look at them harshly.
The final result, excluding elevators, was this,

which I was quite pleased with. As before, the structure got a coat of etch primer, the uncovered side was sprayed green and given a thin coat of acrylic varnish. The other side was covered in Solartex which went without a hitch this time.
The elevators followed the same path.

One thing I did think over for a while was whether to cover the ribs on the exposed side with webbing. The originals were wrapped with it so that the outer covering of linen could be stitched to them.
In the end I decided to wrap just on of the ribs as an example. I used some of my 2 mm silk ribbon to do it.

Then it was just a case of masking and painting the covered side in red and then assembling the elevators, using some 1 x 10 mm brass bolts cut to the required length.

The end result isn’t bad, although the elevators aren’t properly faired in and the hinges aren’t 100% accurate. I’m not too happy where the unsupported Solartex has curled up after trimming either. It really needs something to support it to keep it flat which I might look into. Perhaps a second layer reversed on the inside, or even some thin brass sheet painted the right colour….
