
Very much on the home run now. All that was left in the build was to add the propeller and wheels to the model and a few minor finishing tweaks.
Of those jobs the propeller was bar far the largest and I’d left it until now because I thought it might cause me problems. I’d also had some difficulty getting the right materials for the job.
Many of the German aircraft had Axial laminated propellers which were made in contrasting layers of light and dark wood, which are quite distinctive. Below is an example fitted to a modern replica, though the contrast between the shades on this one are quite gentle.

The Hasegawa Fokker kit comes with a plastic propeller, unlike the Camel which has a lovely wooden one. This leaves the modeller two options. Firstly to attempt to paint it with faux wood laminations, or secondly to make a laminated item from scratch.
I didn’t fancy my chances on the painting front. It’d never look as good as one made from natural wood. So I ordered some ‘structural veneer’, which to a layman like me is just thick veneer. 2.5 mm thick in this instance. I ordered American Walnut and Maple to give me the contrasting colours. Next I scoured the net for pictures and drawings of a DR.1 Axial propeller. They are available, though the free ones aren’t fantastic. However they were good enough for my needs after a little tinkering in Photoshop to improve them, and also scale them accurately.
I tried two different methods to make the prop. The first was to glue the laminations up into a single rectangular block from which I would then carve the prop, and secondly cutting out the individual laminations in accordance with their plan sections on the drawing. The first method is easy to glue but requires a lot of material to removed.

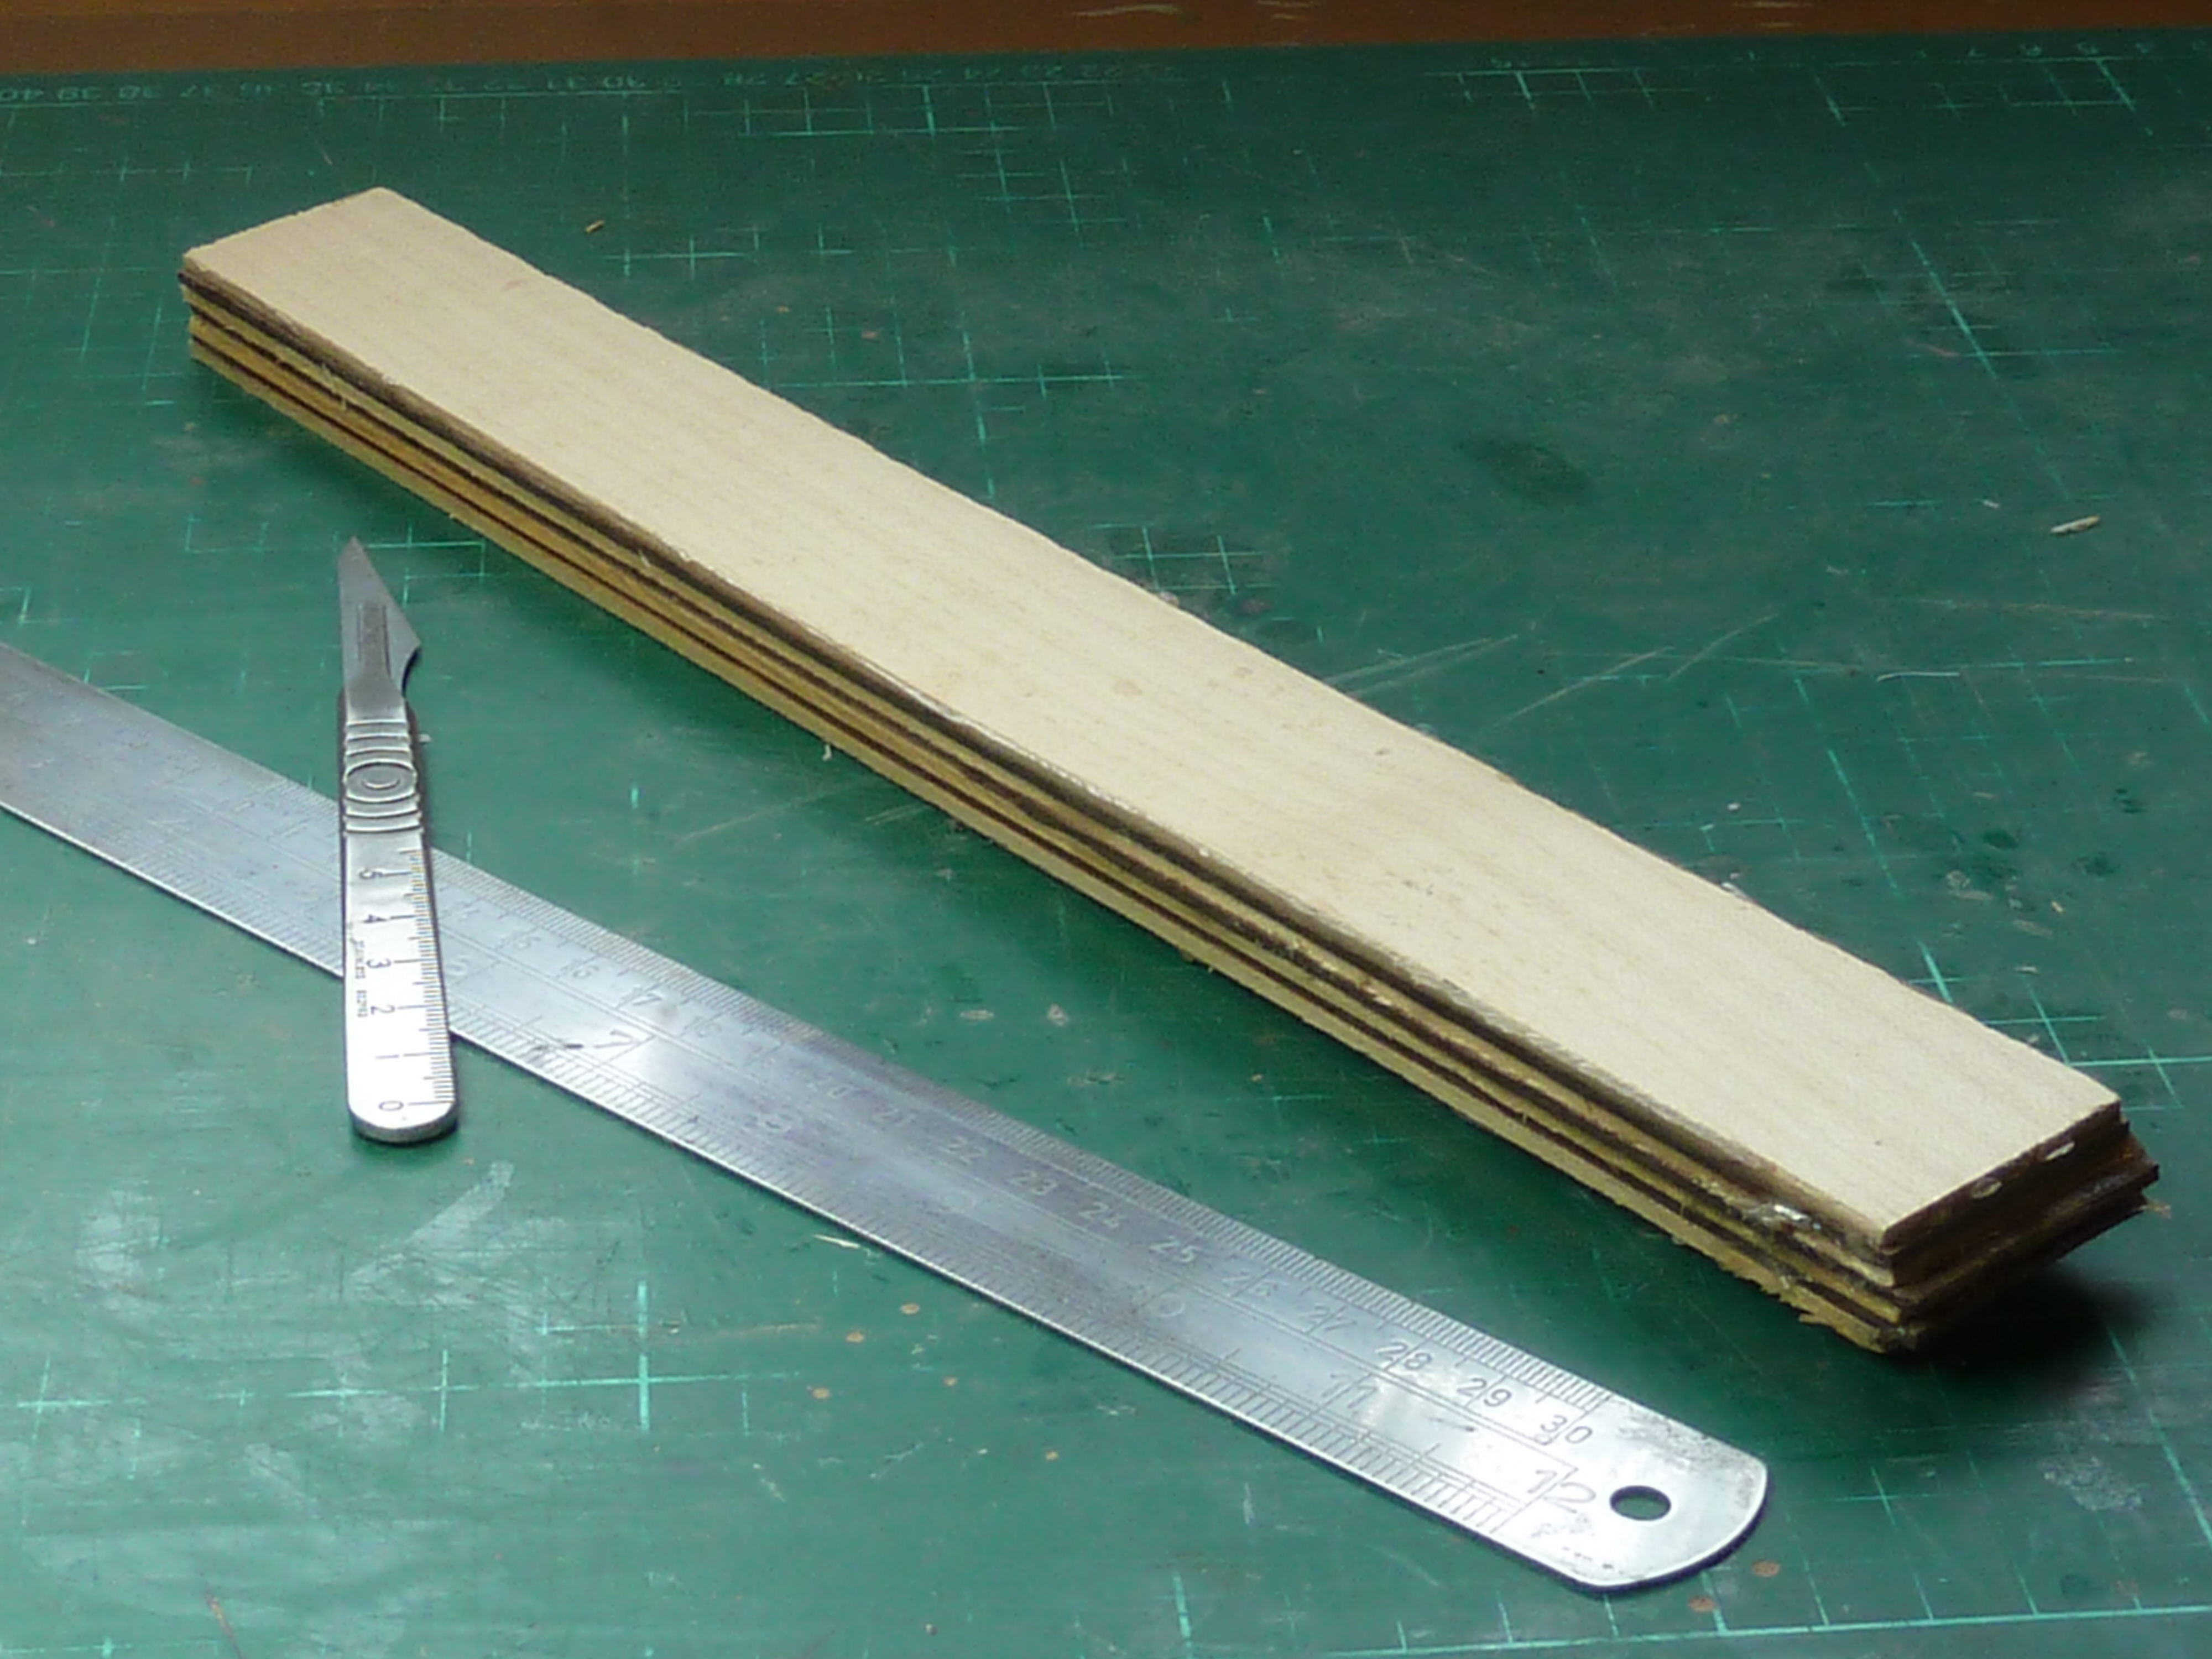
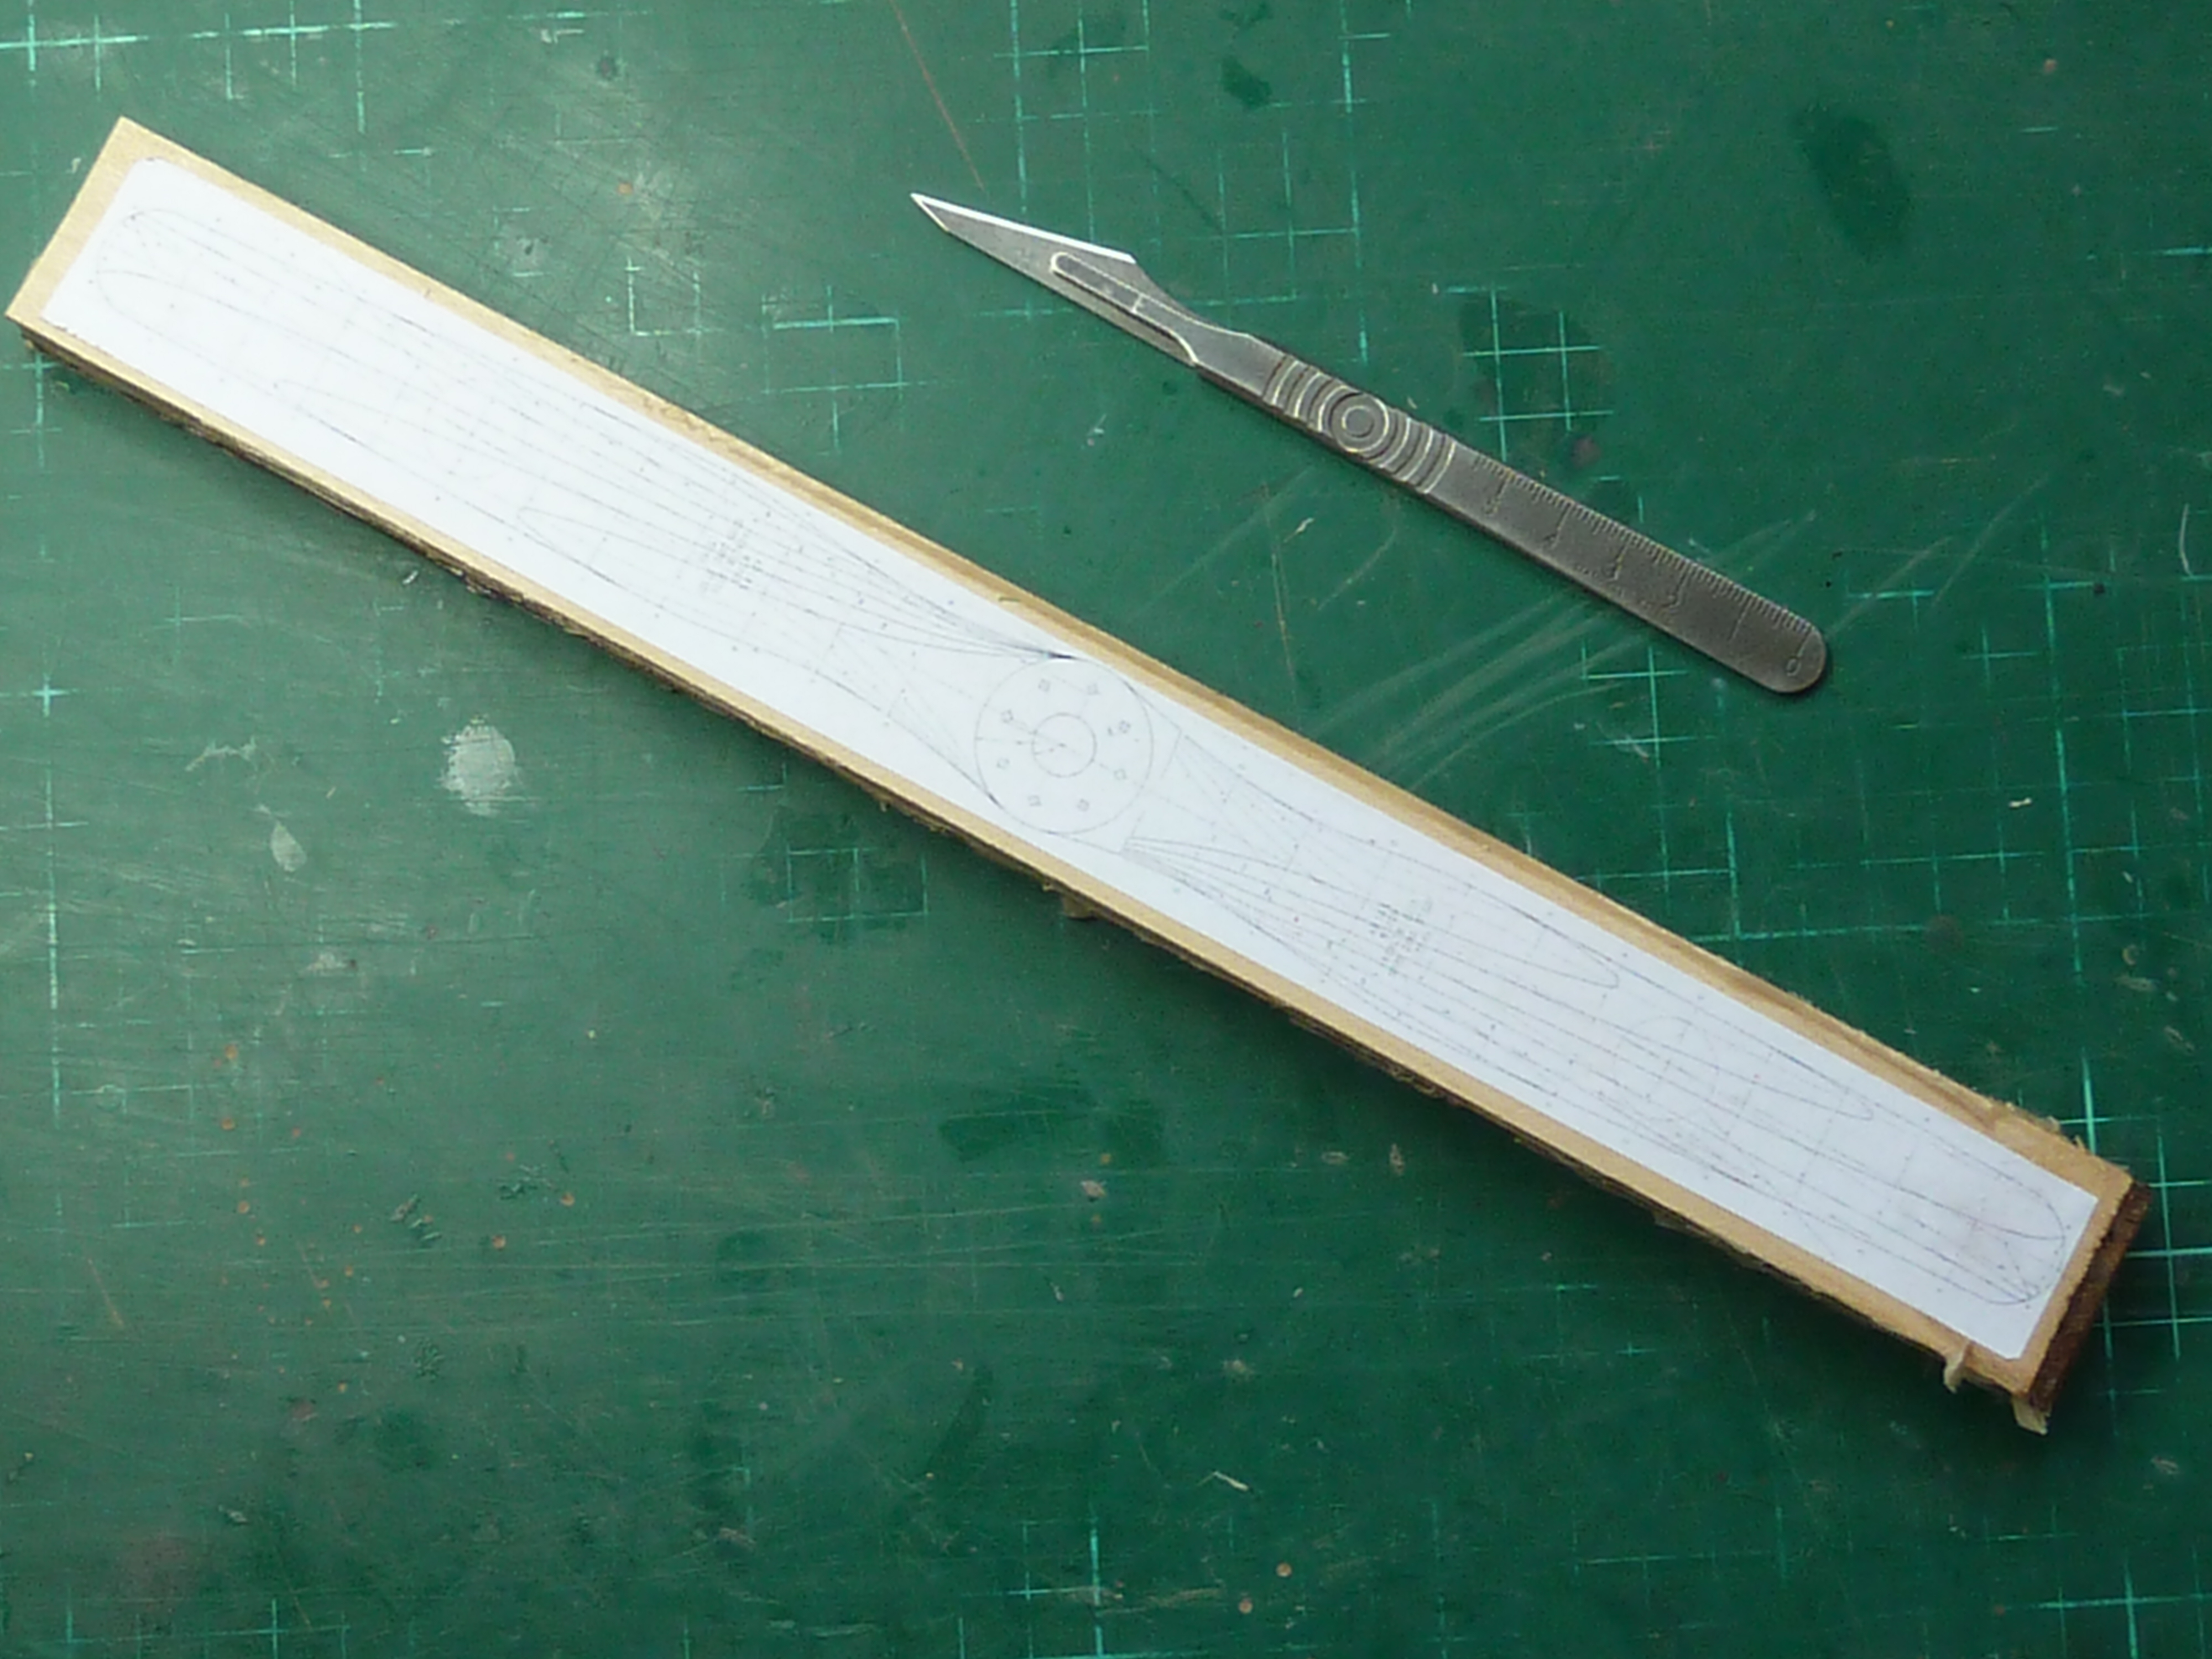
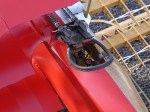
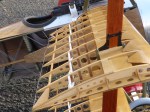
The second is much harder to glue up, but requires much less work getting to the final shape, and less skill in the shaping. All you have to do is sand the edges off the pieces until you reach the stage where further sanding will start to affect their planform shape. Not that easy to explain, so I hope the following pictures make it clearer.

The first method was ditched at an early stage of the shaping. I have problems with noise especially, so can’t use power tools like Dremels, and shaping the prop by hand was going to be an epic task.
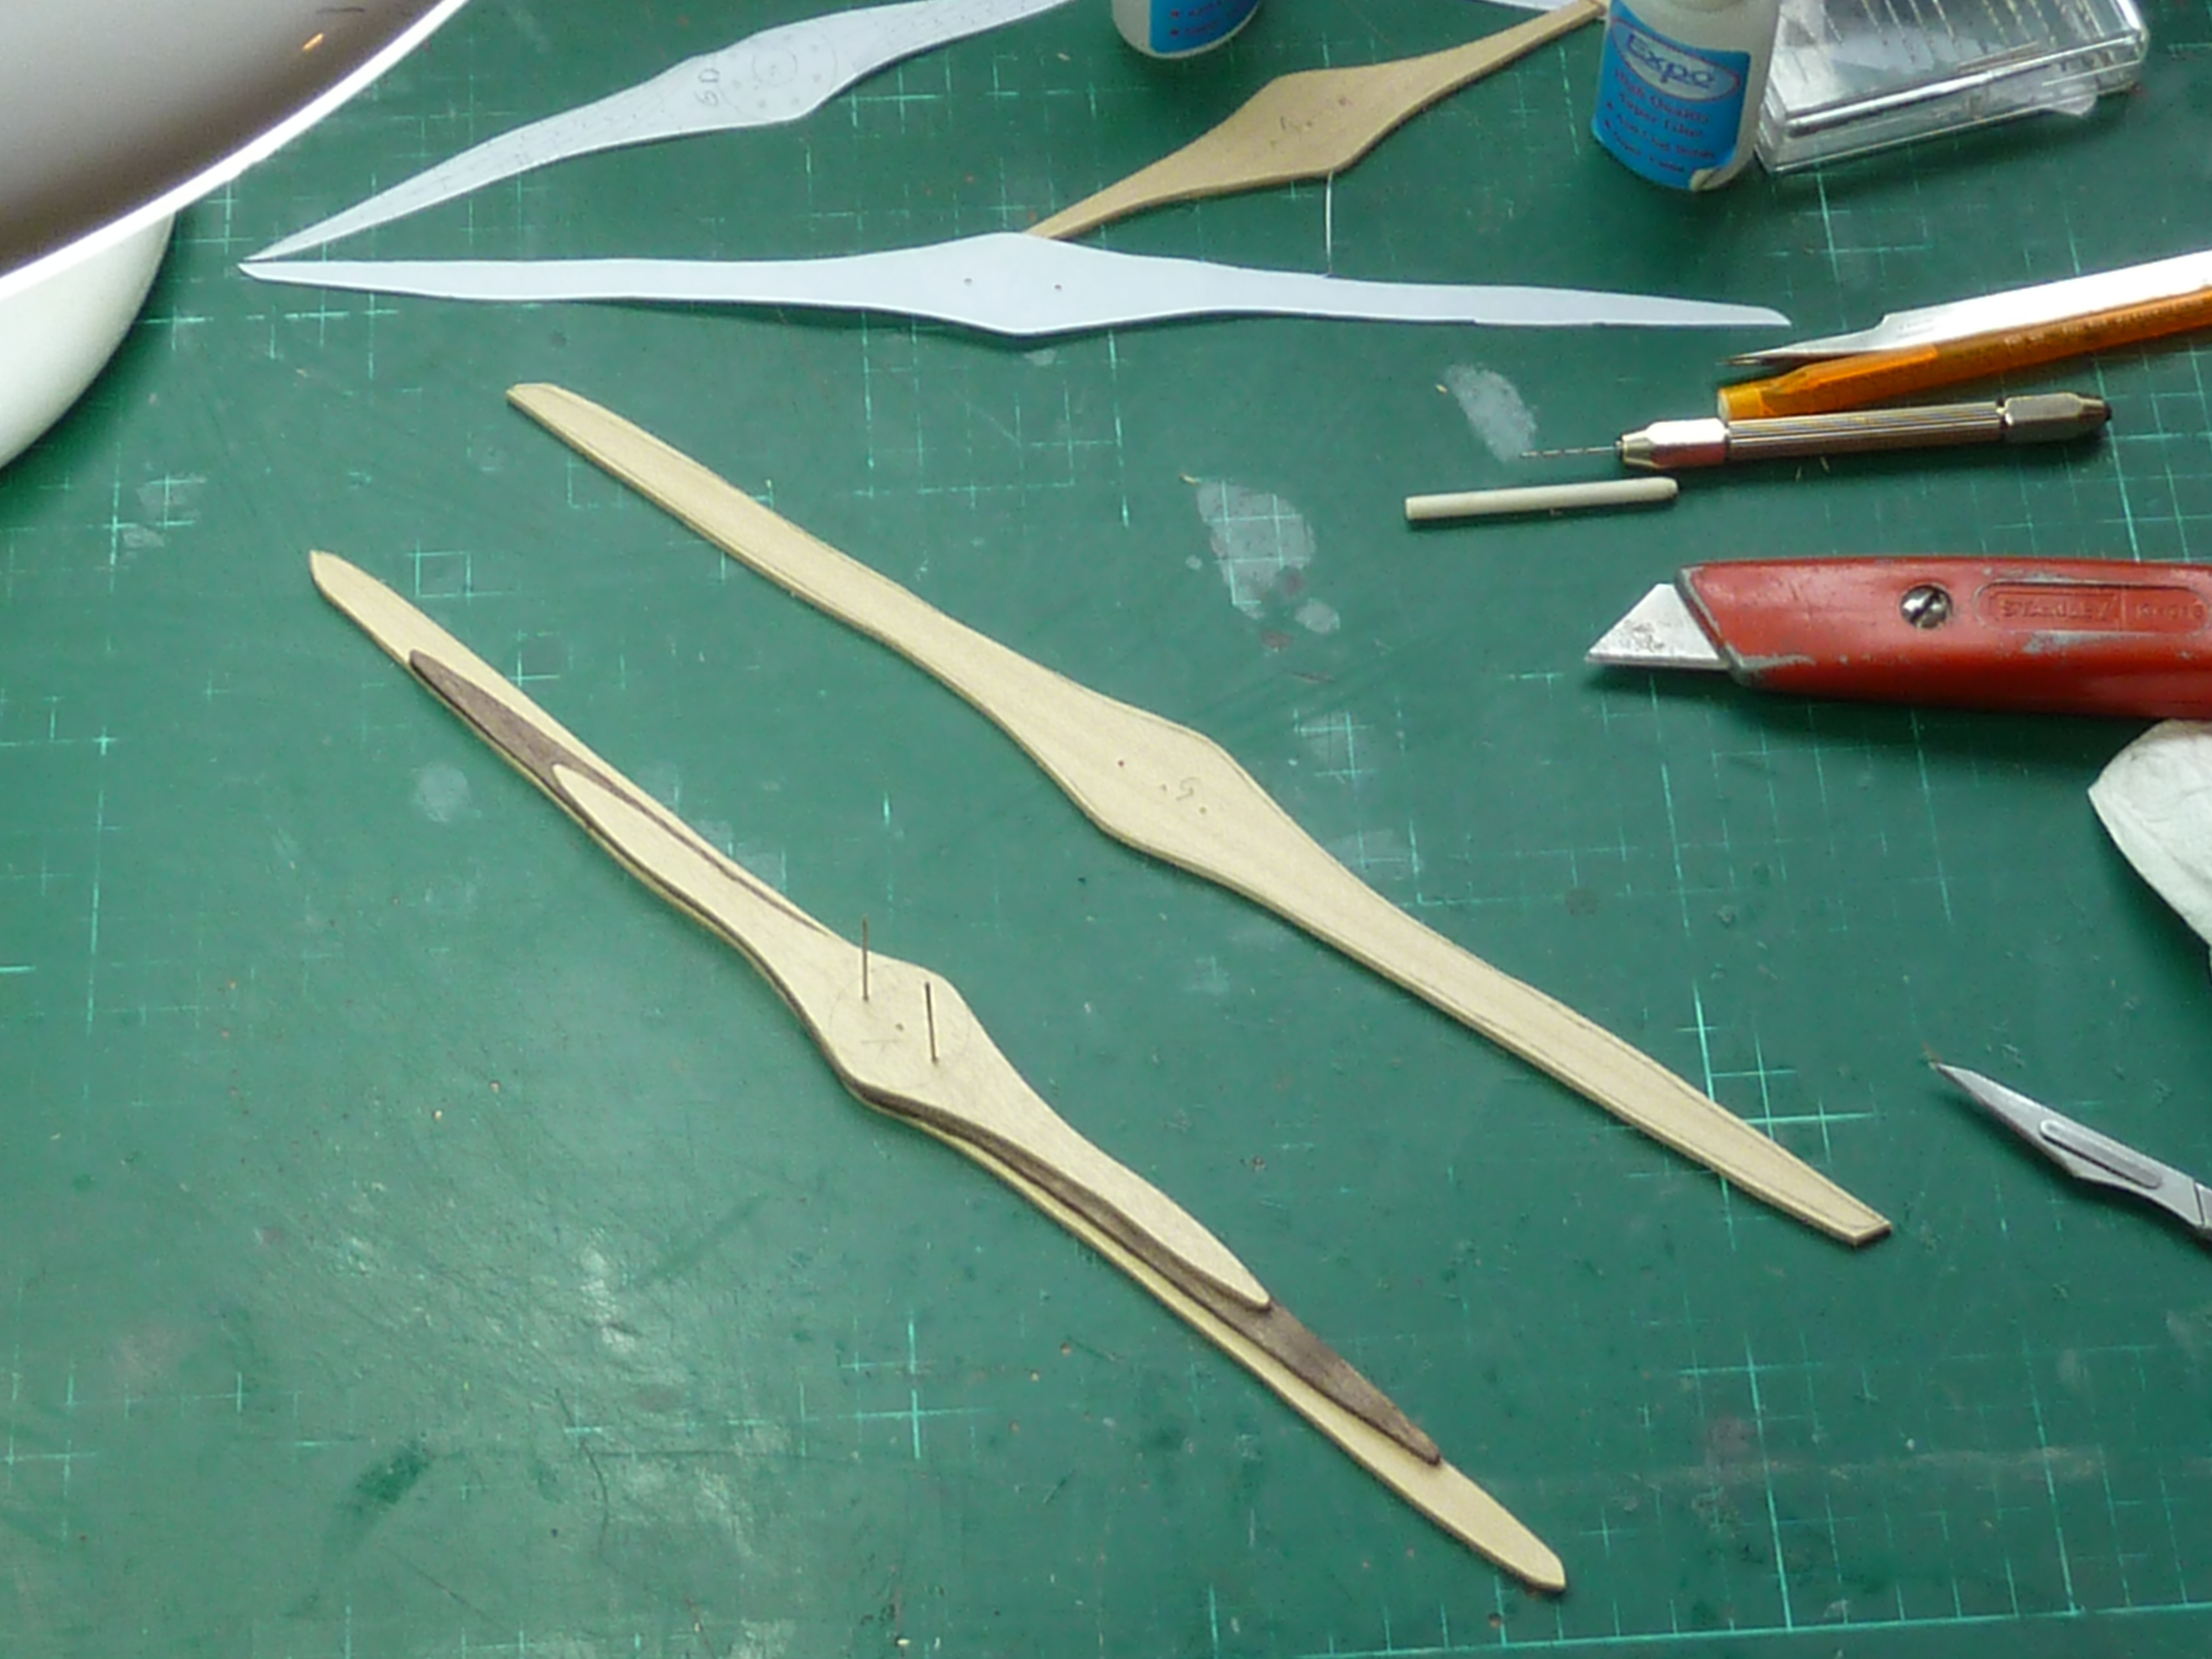
The second option was therefore progressed with a degree of success. The steel rods in the photographs above were used to ensure the various laminations stayed in register while being glued. However, it was still a problem maintaining the accuracy required whilst getting enough pressure on to ensure that there were no gaps between layers.
Having glued it the parts I attempted to shape the first side. Work wise it went well, but even doing it by hand caused quite a bit of noise (and dust) which ended up making my quite ill. Enough to mean that I dropped the idea of completing the second half!
So it was back to painting the prop. Not ideal, but the only option left. The first stage was to clean up the plastic prop and sand it smooth. Then a base coat of Humbrol Matt 98 was airbrushed on. Once the prop had baked on the radiator for a day or so a coat of Burnt Umber artist oils were applied and a ‘grain’ drawn in them using a coarse brush.
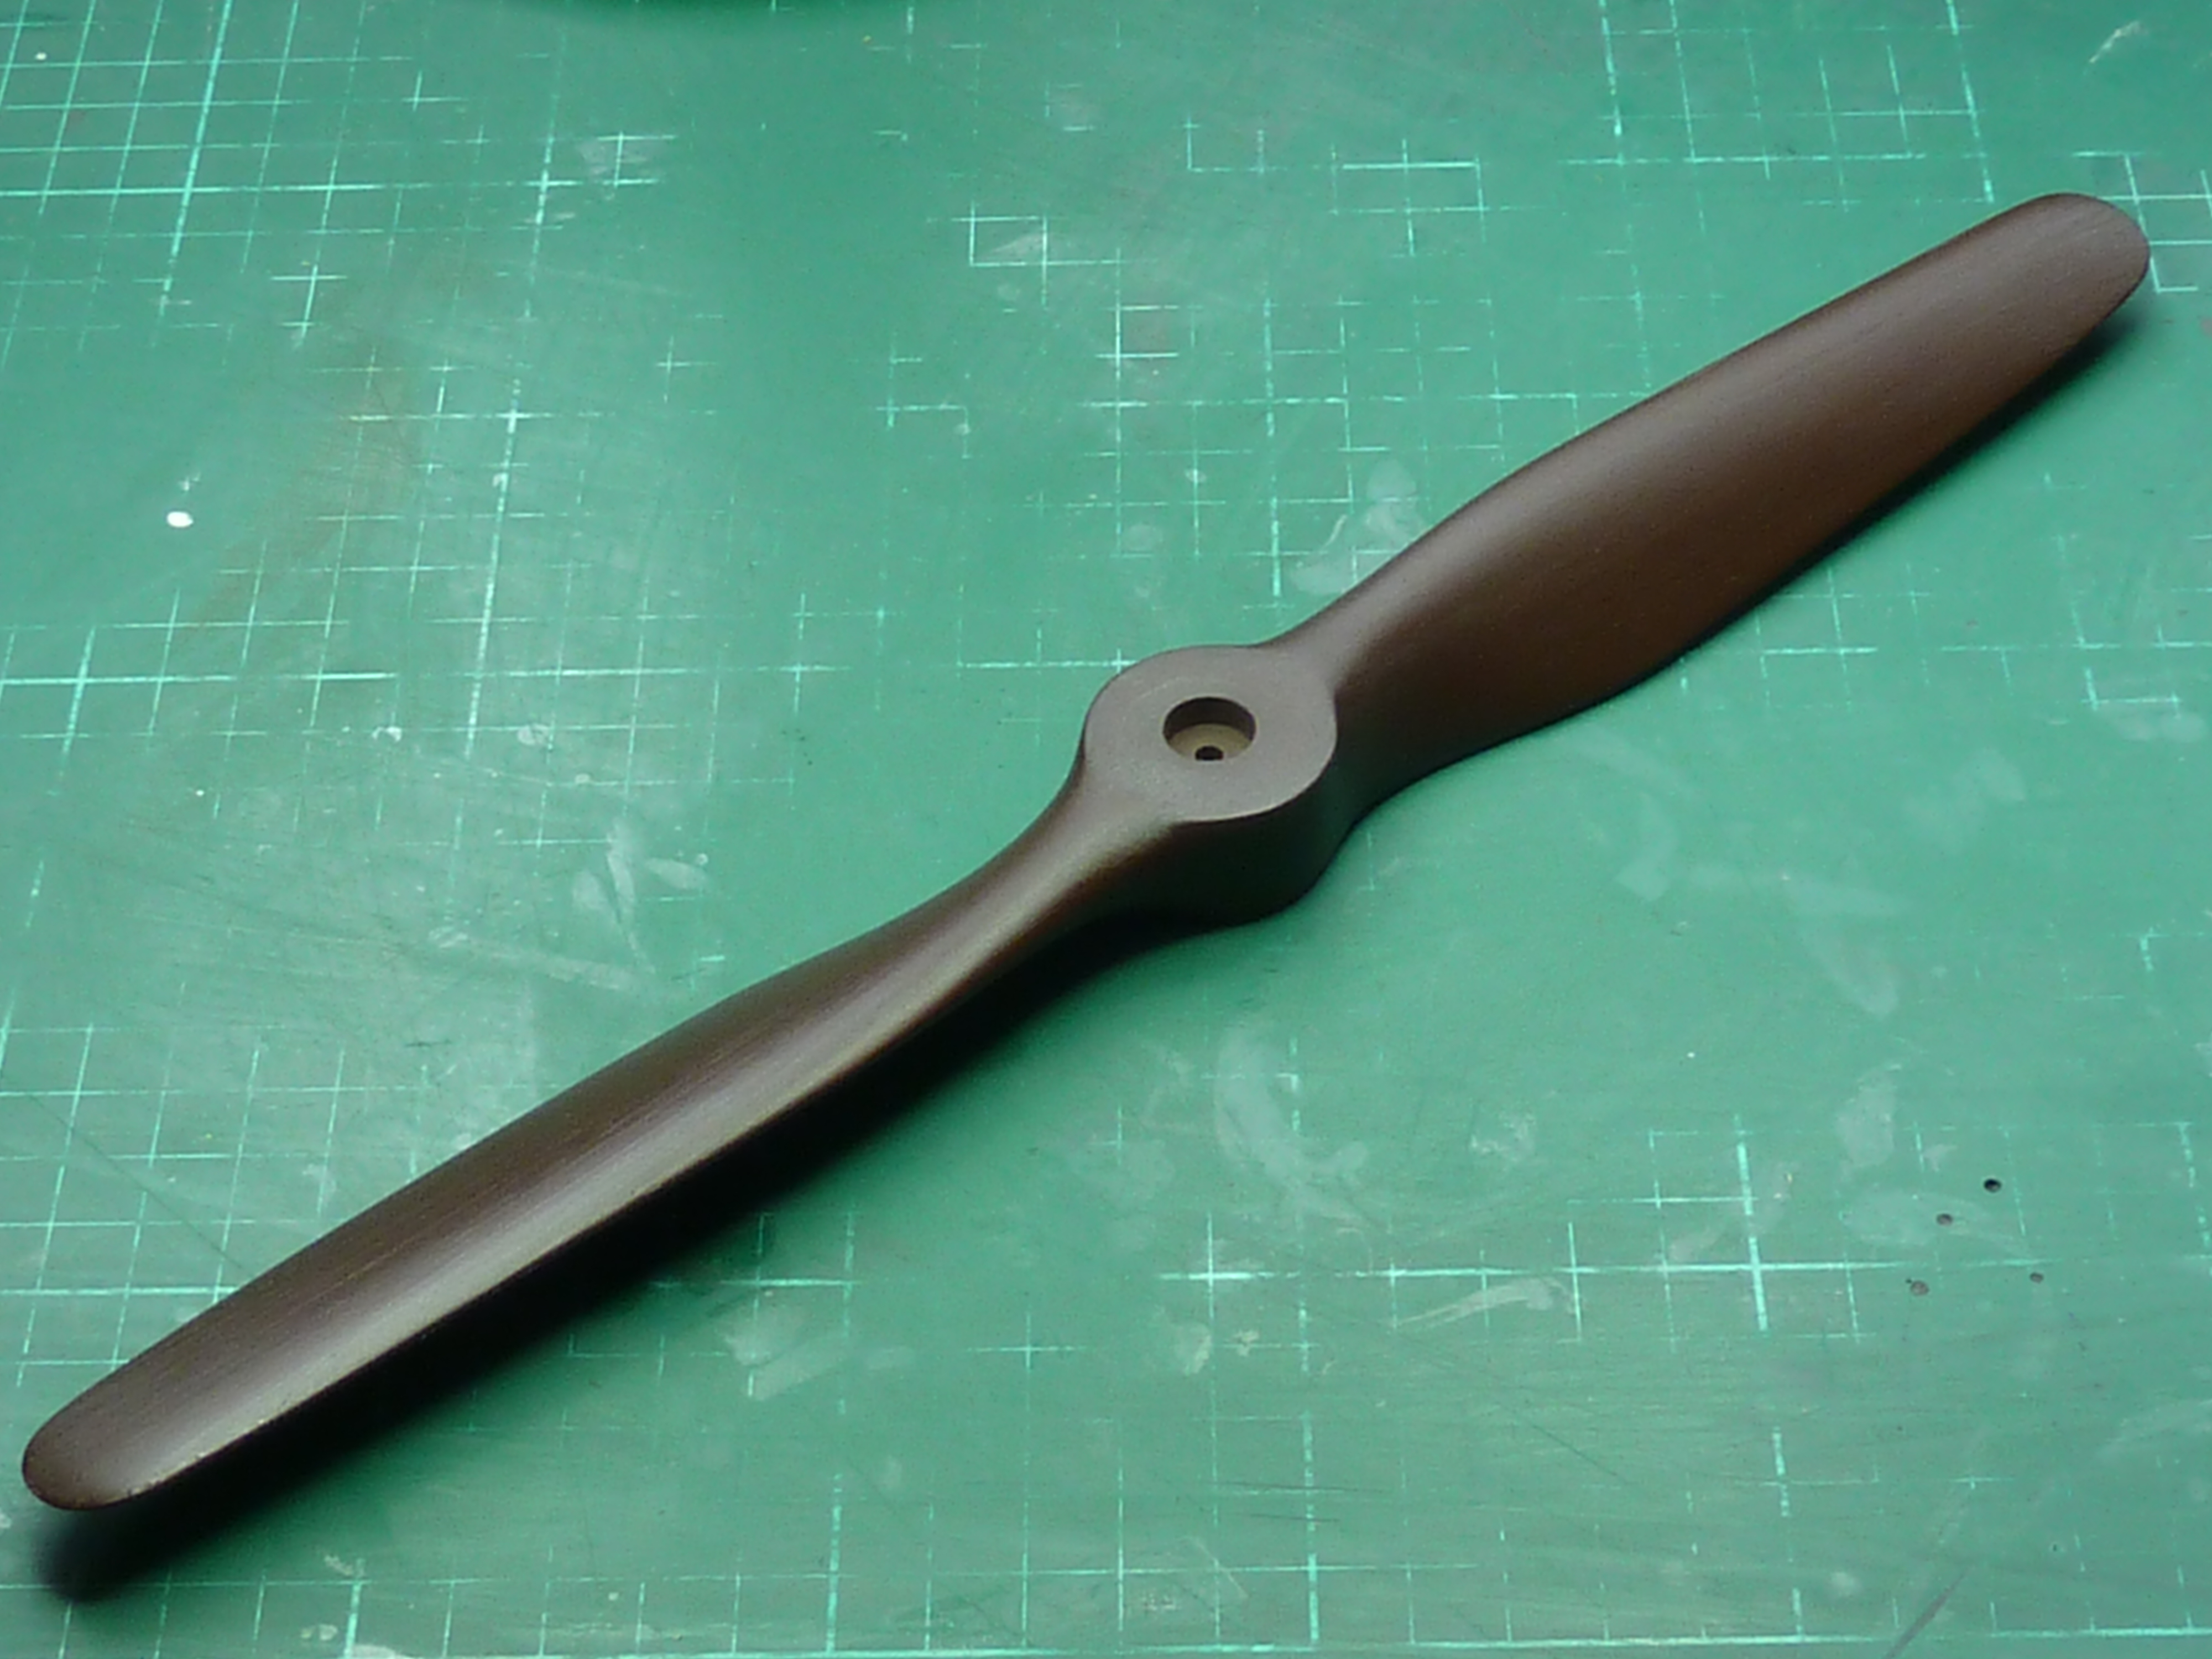

The prop then went back on the radiator to dry the oils, and after that a coat of acrylic varnish was applied to protect the finish during the next stages.
The complex task of masking off the prop for the contrasting layers was then undertaken. The whole prop was covered in Tamiya masking tape then profiles of the masking lines created by placing dots at regular stages along the line until I’d got something that looked OK to my eye. Then it was a case of join the dots in pencil then, using a brand new scalpel blade, cut along them. The final result can be seen below alongside the part finished real wood prop that I had to abandon. The real wood prop was actually quite useful in determining the required masking lines.

A matt light brown base coat was then airbrushed on and the poor prop baked on the radiator yet again. I could have tried to add the grain effect prior to removing the masking, but thought the artist oils would pool at the edge of the masking tape. So I removed the tape and carefully applied a coat of oils mixed from Yellow Ochre and Burnt Umber to the newly painted areas.
The grain effect was then created as before, with the coarse brush being dragged across the whole surface with a total disregard to how it might smudge the oils onto the previously painted areas. Which it did. However, the acrylic varnish applied previously meant that it was easy, if a little tedious, to clean the smudging up with a brush and enamel thinner. Unfortunately I forgot to take any pics at this point, but the photo below shows the final result after varnishing. The varnishing has almost hidden the texturing of the dark wood though.

The kit comes with Axial stickers ready to apply to the prop, but they are coloured red, yellow and black which I have never seen on any existing props or aircraft from that period. They have all been black and white.
So the web was once again scoured for an Axial logo and monochrome decals made from scratch. To obtain the white background small circles were simply airbrushed on and the decal (black on a clear base) placed over them.
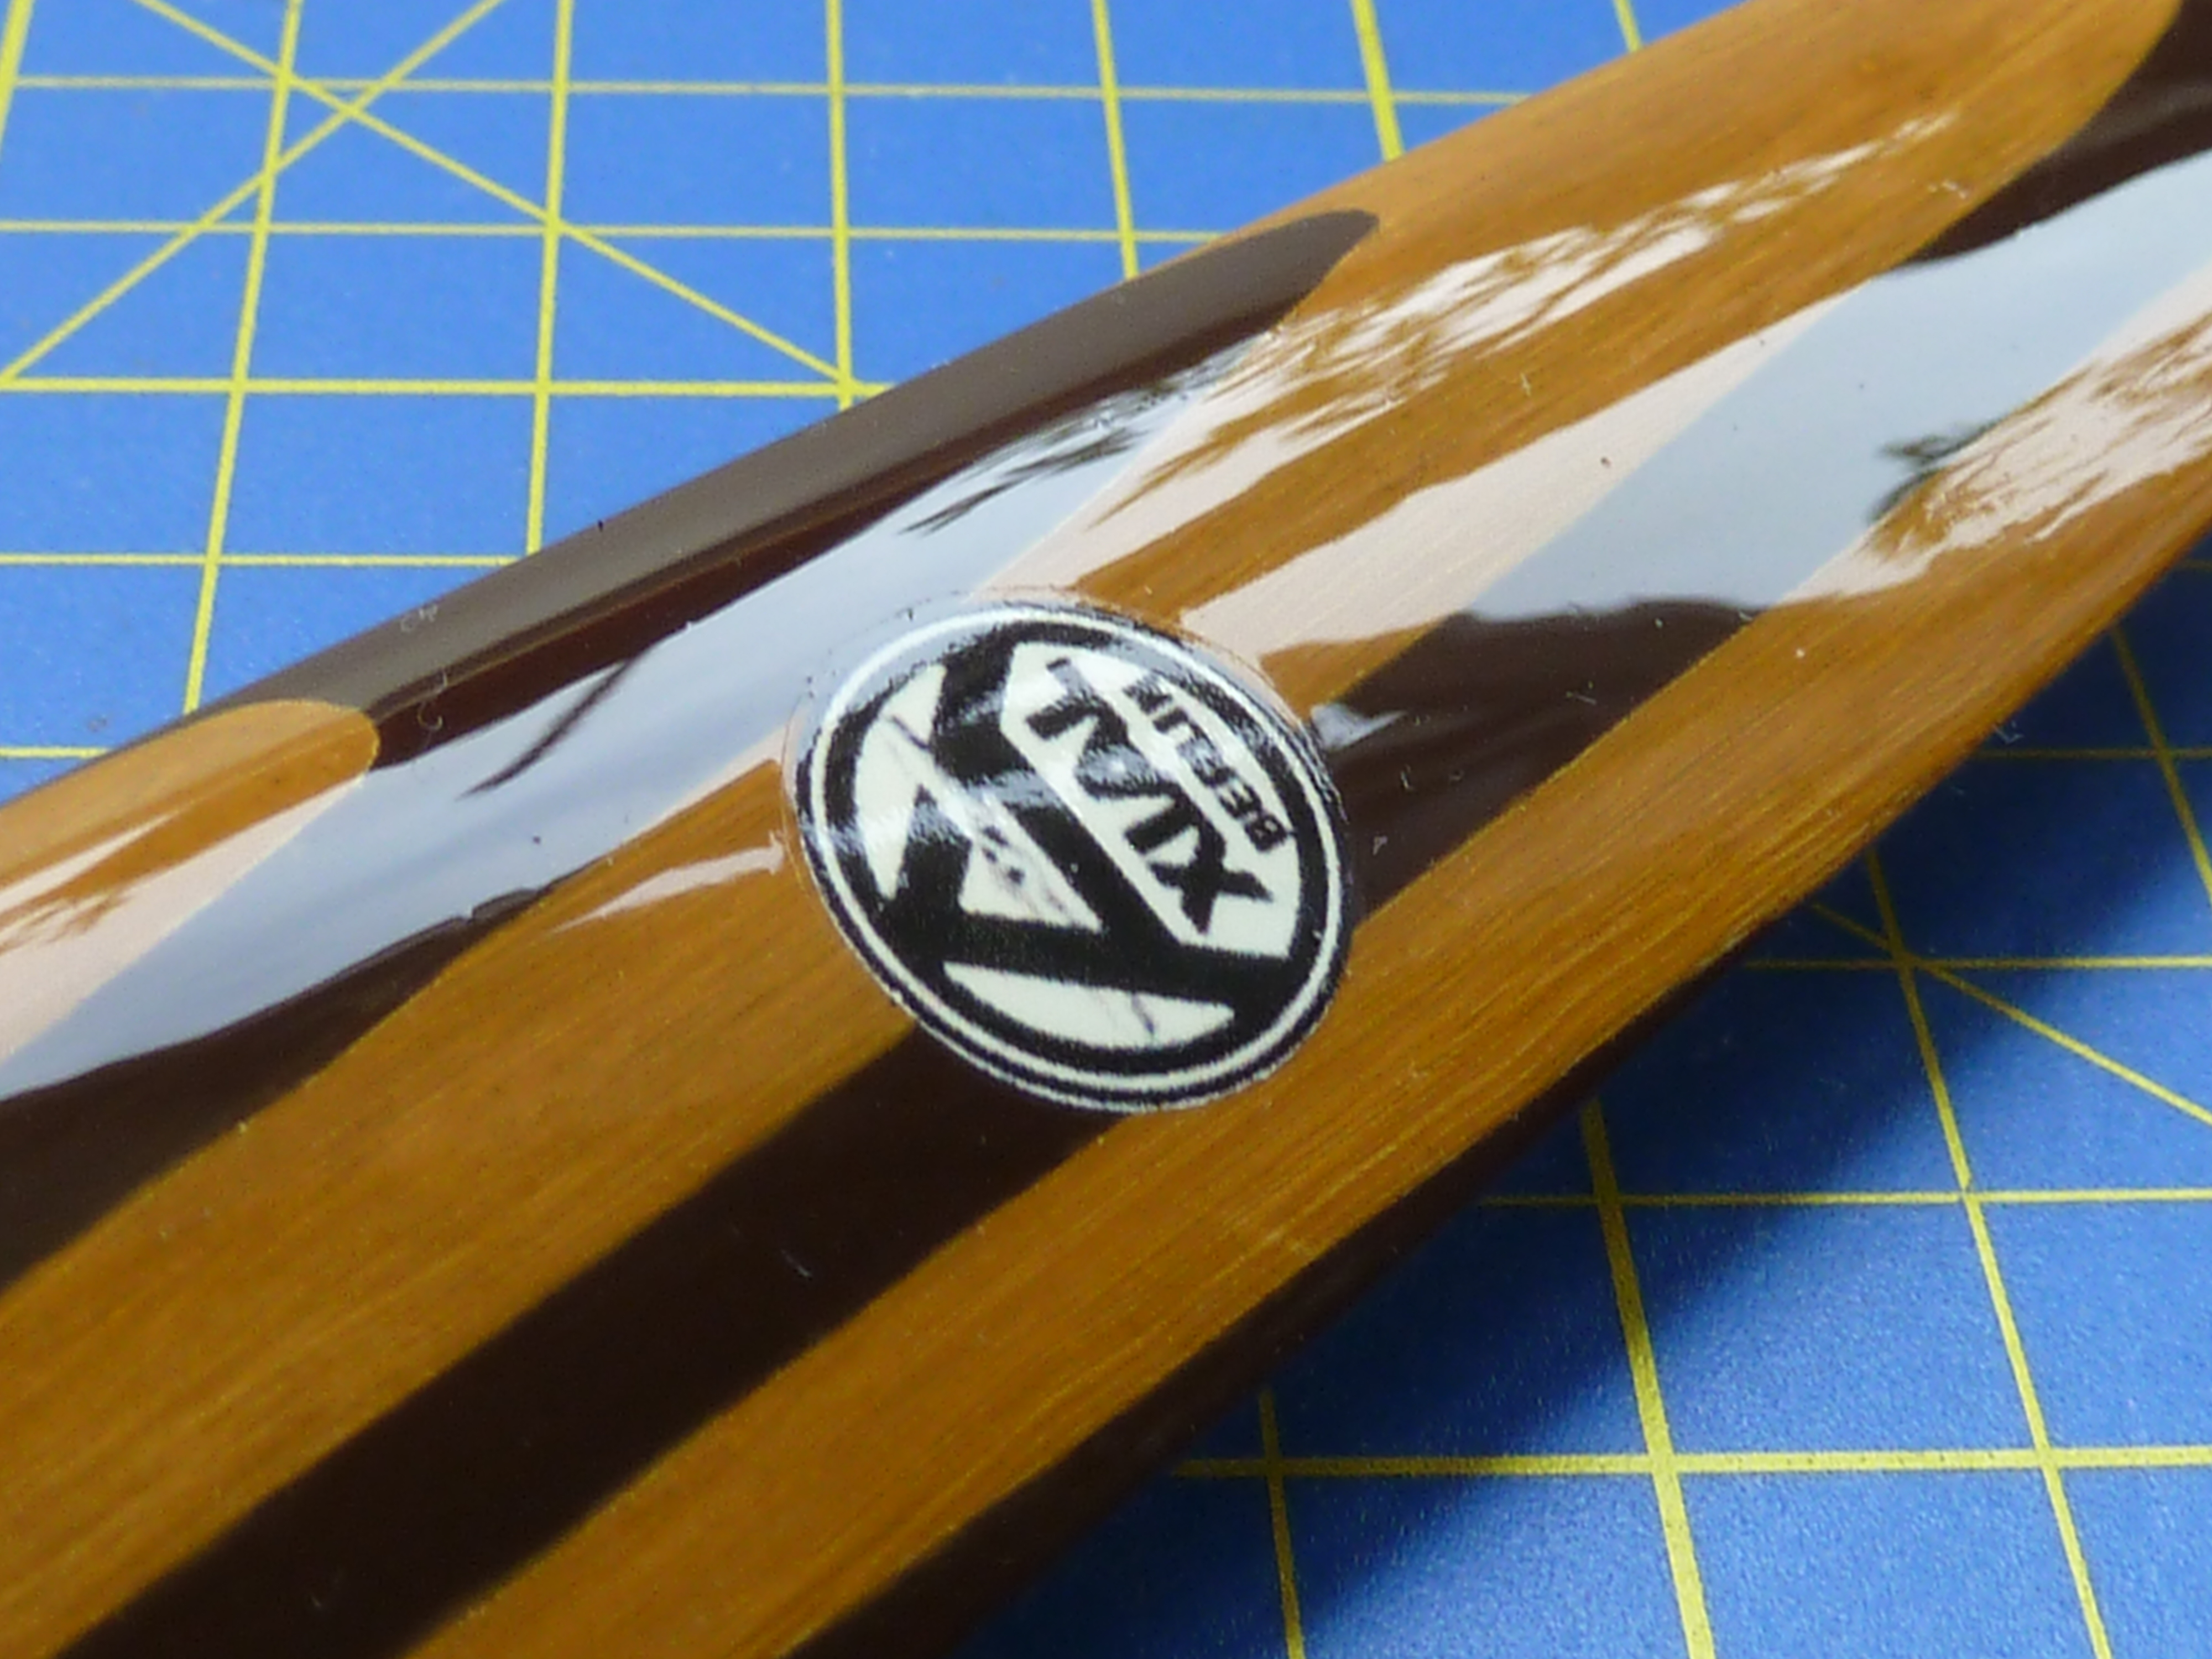
After the decals had dried several coats of yacht varnish were applied with a little sanding between each coat.
The final result in situ.

I’m not totally happy with the painted prop, and may yet go back to complete the real wood item when I can, but that won’t be for a while yet. So the painted one is staying for now.
The only other significant job was to fit the wheels which was relatively drama free.

Though I did have to modify the hub very slightly to fit it to my scratch-built wheel.
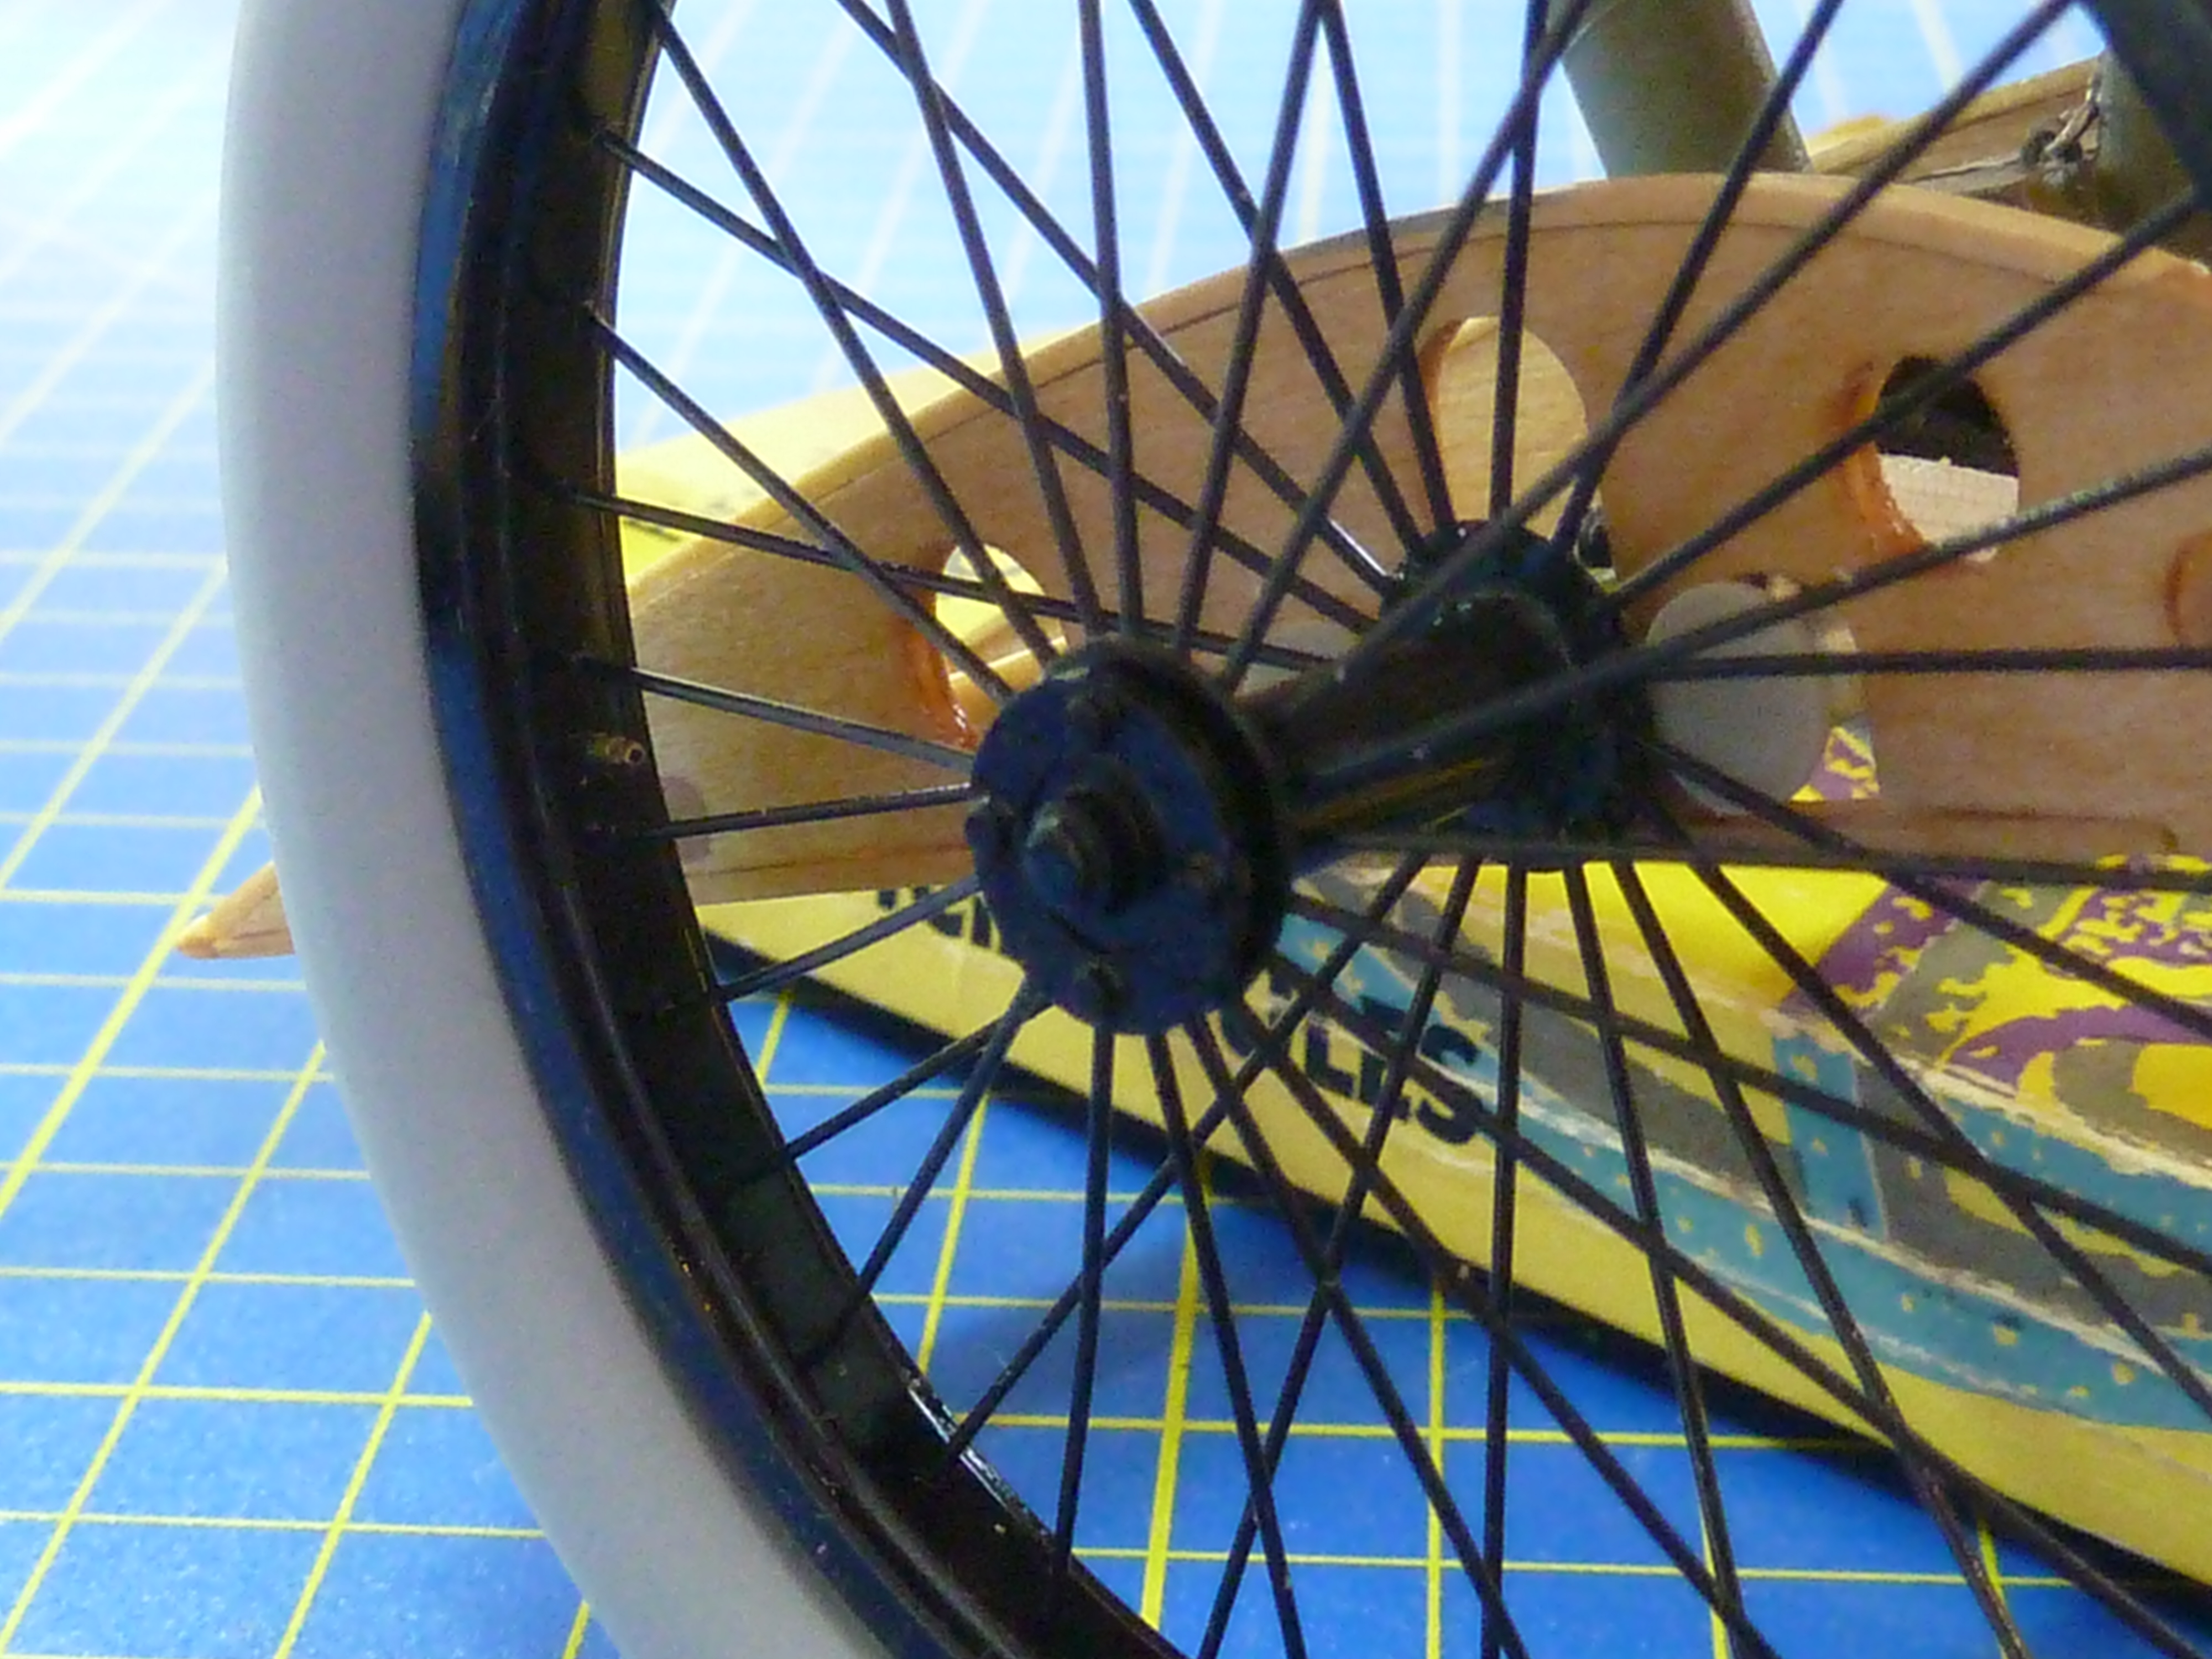
One interesting point is that the filler I used to fill the valve access hole on the original wheel now sits slightly proud of the plastic. Perhaps it has absorbed solvent from the paint, or the paint itself. Whatever, it has swelled slightly since it was sanded flush.
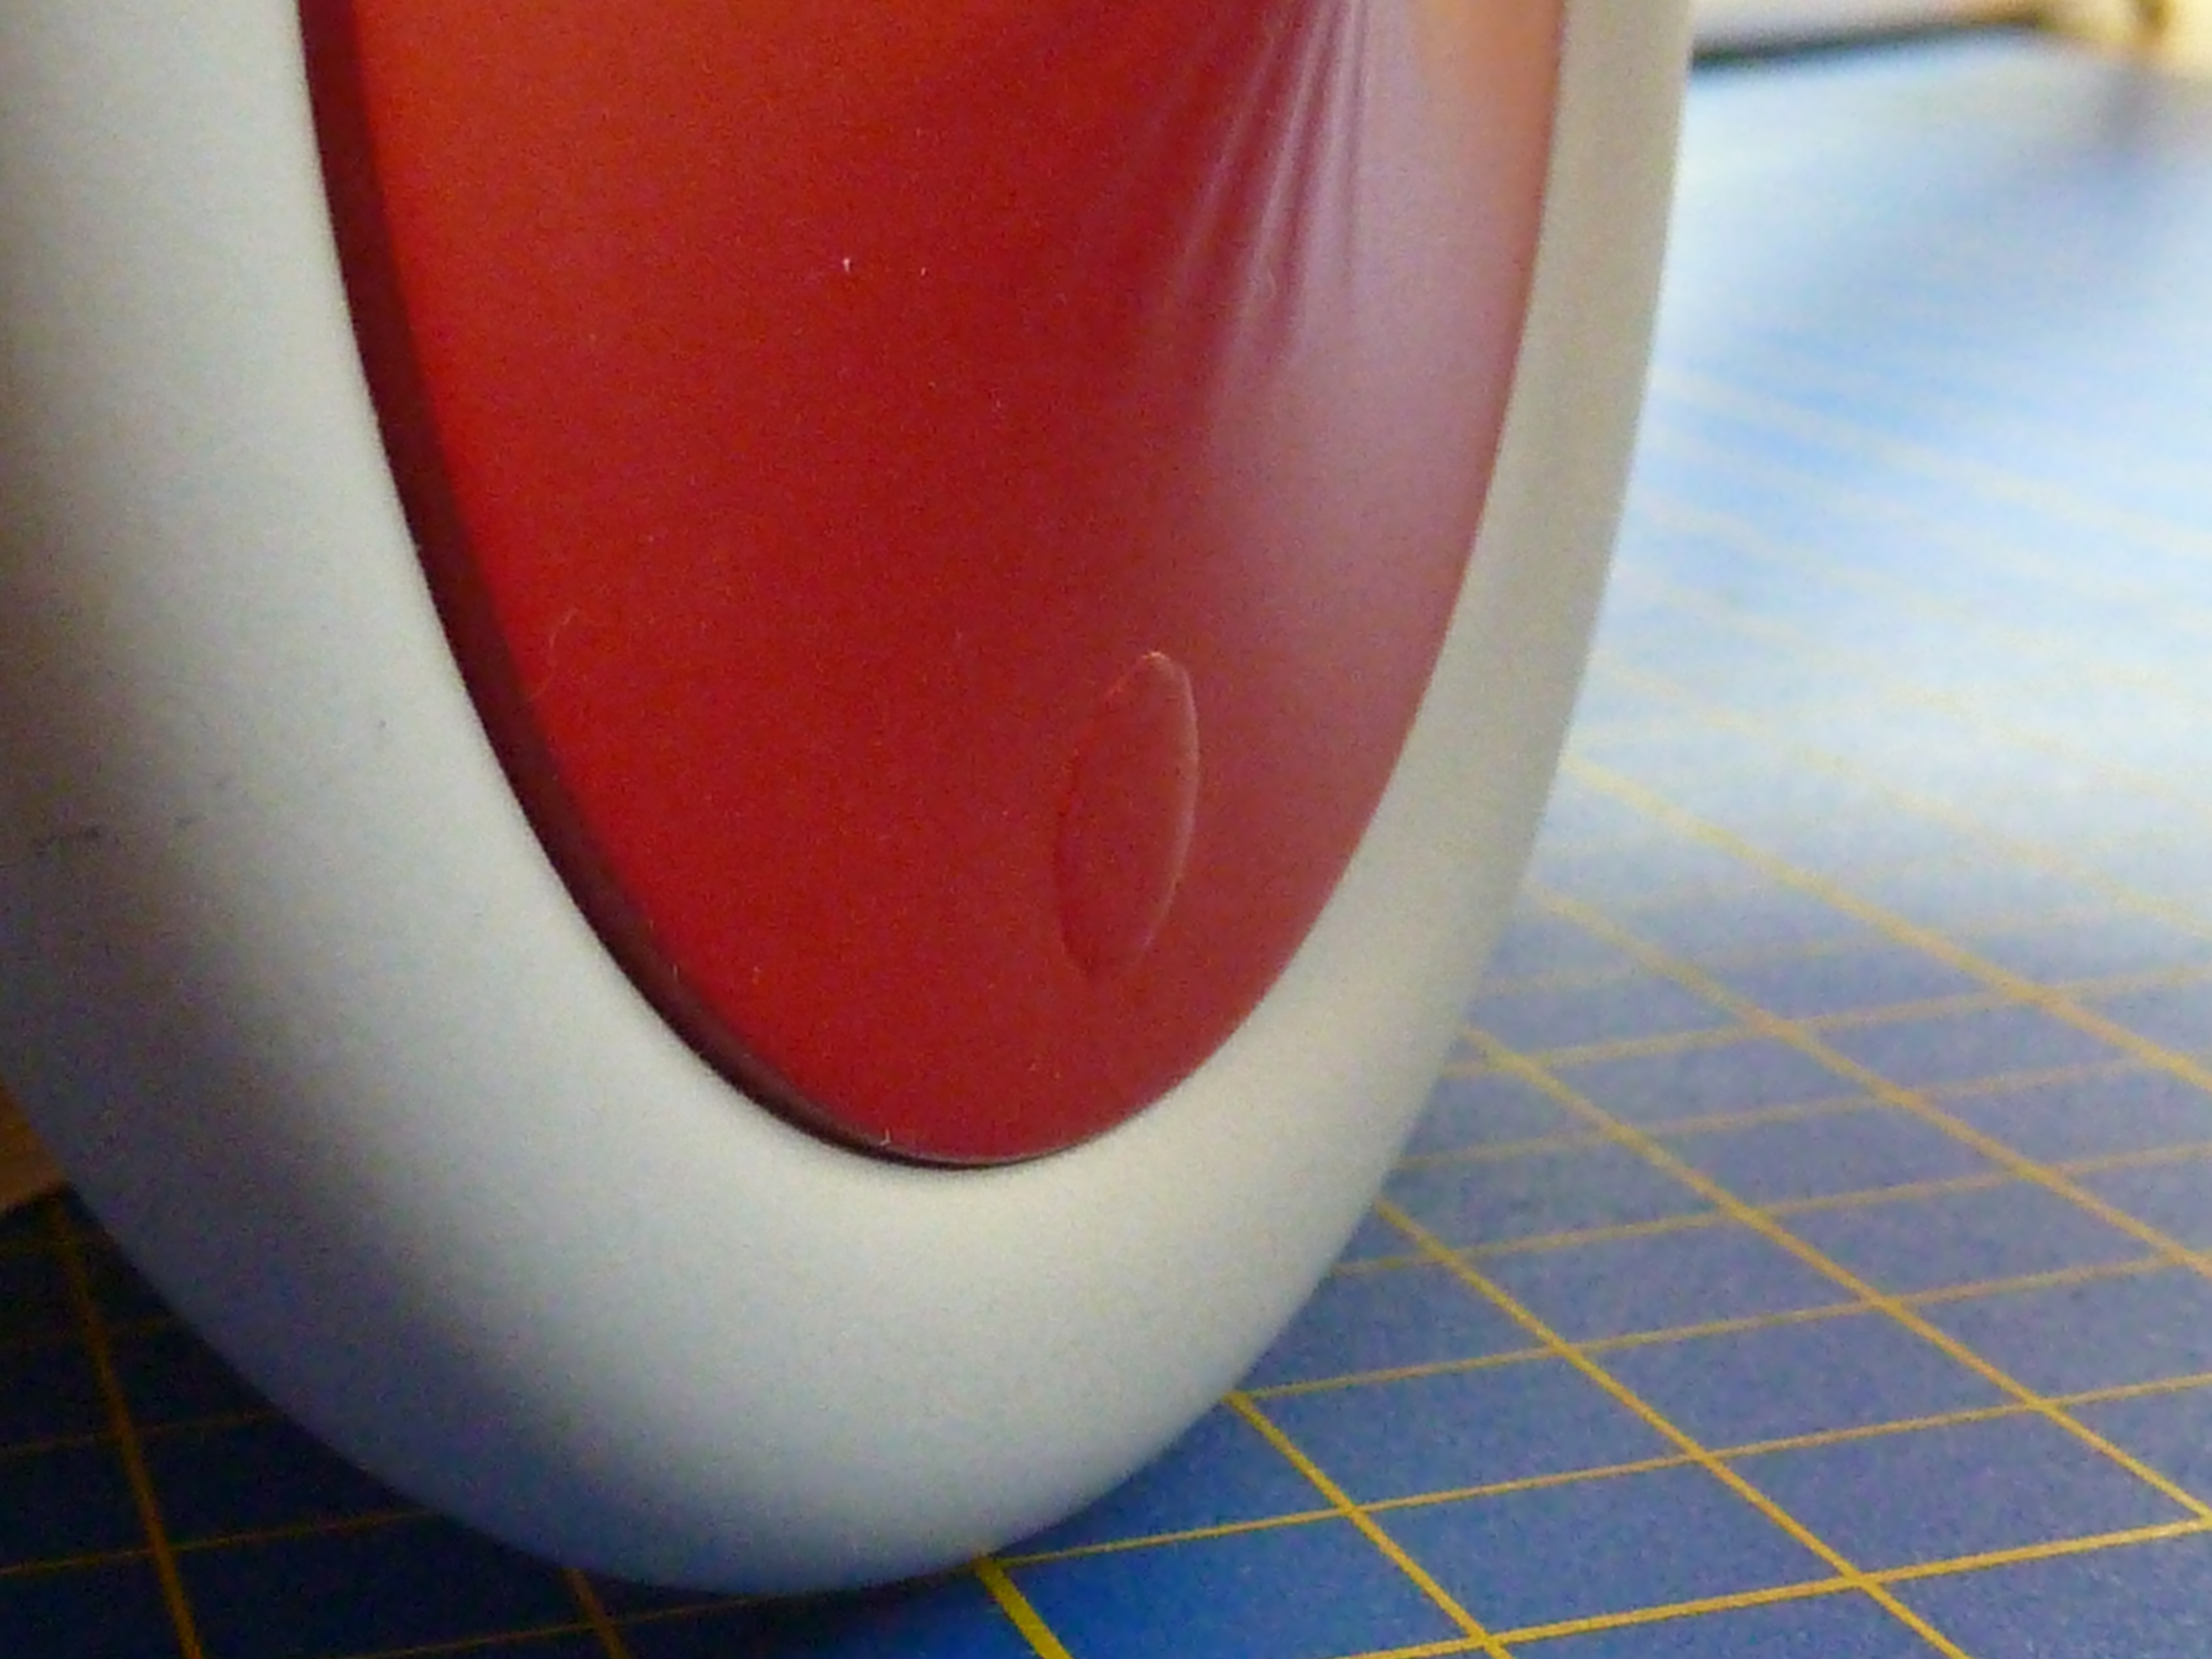
I’m not too upset actually. I’ve subsequently discovered the access hole was covered with a small patch which was held in place by being laced to the main covering, so despite not being evident on most photos, would have been visible in real life.
The final tweak to the model was to add a clear window in the top surface of the wing. This covered the Fokker build number of the aircraft which was stencilled on the spar along with the manufacturing date, it is thought.

So that was it. Build complete. Another Museum Series model complete.
Overall, I’ve enjoyed the build, but became quite frustrated at times with the number and scale of corrections necessary to correct the main faults in the model. The compromises made by Hasegawa are more extensive than those made in the Camel kit and affect the model’s appearance considerably*. The final result is impressive, but not quite as much as the Camel, though that might due to my affinity for the latter and relative indifference to the Fokker as an aircraft. It was a derivative of the Sopwith Triplane’s concept, went into service with significant design flaws, which saw it withdrawn, and by the time they were rectified the type was already becoming out of date. This is reflected in the that fact that only 320 were manufactured, a fraction of the 5,490 (est.) Camels. In fact I think it only the famous pilots who flew the aircraft that have ensured the place in the history books which it enjoys. It did however have some design features that were novel at the time, such as the cantilevered and unbraced wings, which are now standard.
*A number of other kits incorporate identical compromises, so either they have all been working from the same source or a degree of plagiarism has been going on.
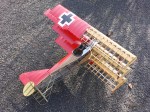
I did take a whole load of pictures of the completed model, but only discovered when looking at them on a large screen that my latest digital camera doesn’t perform so well in low light conditions. In fact my old one is much better, so I’ll have to repeat the whole exercise again before I put them on here permanently.
However, just to keep you going here are a few that I took outside this afternoon, but bear with me on the quality.


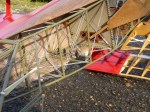


I am happy to sell this model. If you are interested please contact me.


Very nice!
LikeLiked by 1 person
Congratulations- a stunning model and wonderful job documenting your work for us all, both the problems that came up and your solutions to them. I have this model waiting in the wings and plan to use your blog as a guidebook! I hope you continue to build and document your challenging builds in the future.
Many thanks,
Tony
LikeLike
Thanks.
It wasn’t the original intention, but that seems to be a developing function of this blog.
LikeLike