
One of the perennial problems of building model boats appears to be obtaining miniature hinges.
The ones provided in the Mack kit are 9mm wide when open and are brass plated steel. They are fine as far as they go and, after hours of searching on the net confirmed, are the smallest you can get. They are however overscale for the model, and should be chrome plated really.
After ducking the issue for a while I was prompted, following and email conversation with another modeller, to try making my own. I mean, how hard can it be?
After a quick bit of research on the net about metal folding and how to calculate the right length required for a given curve and thickness of sheet I came up with a basic drawing for some hinges.
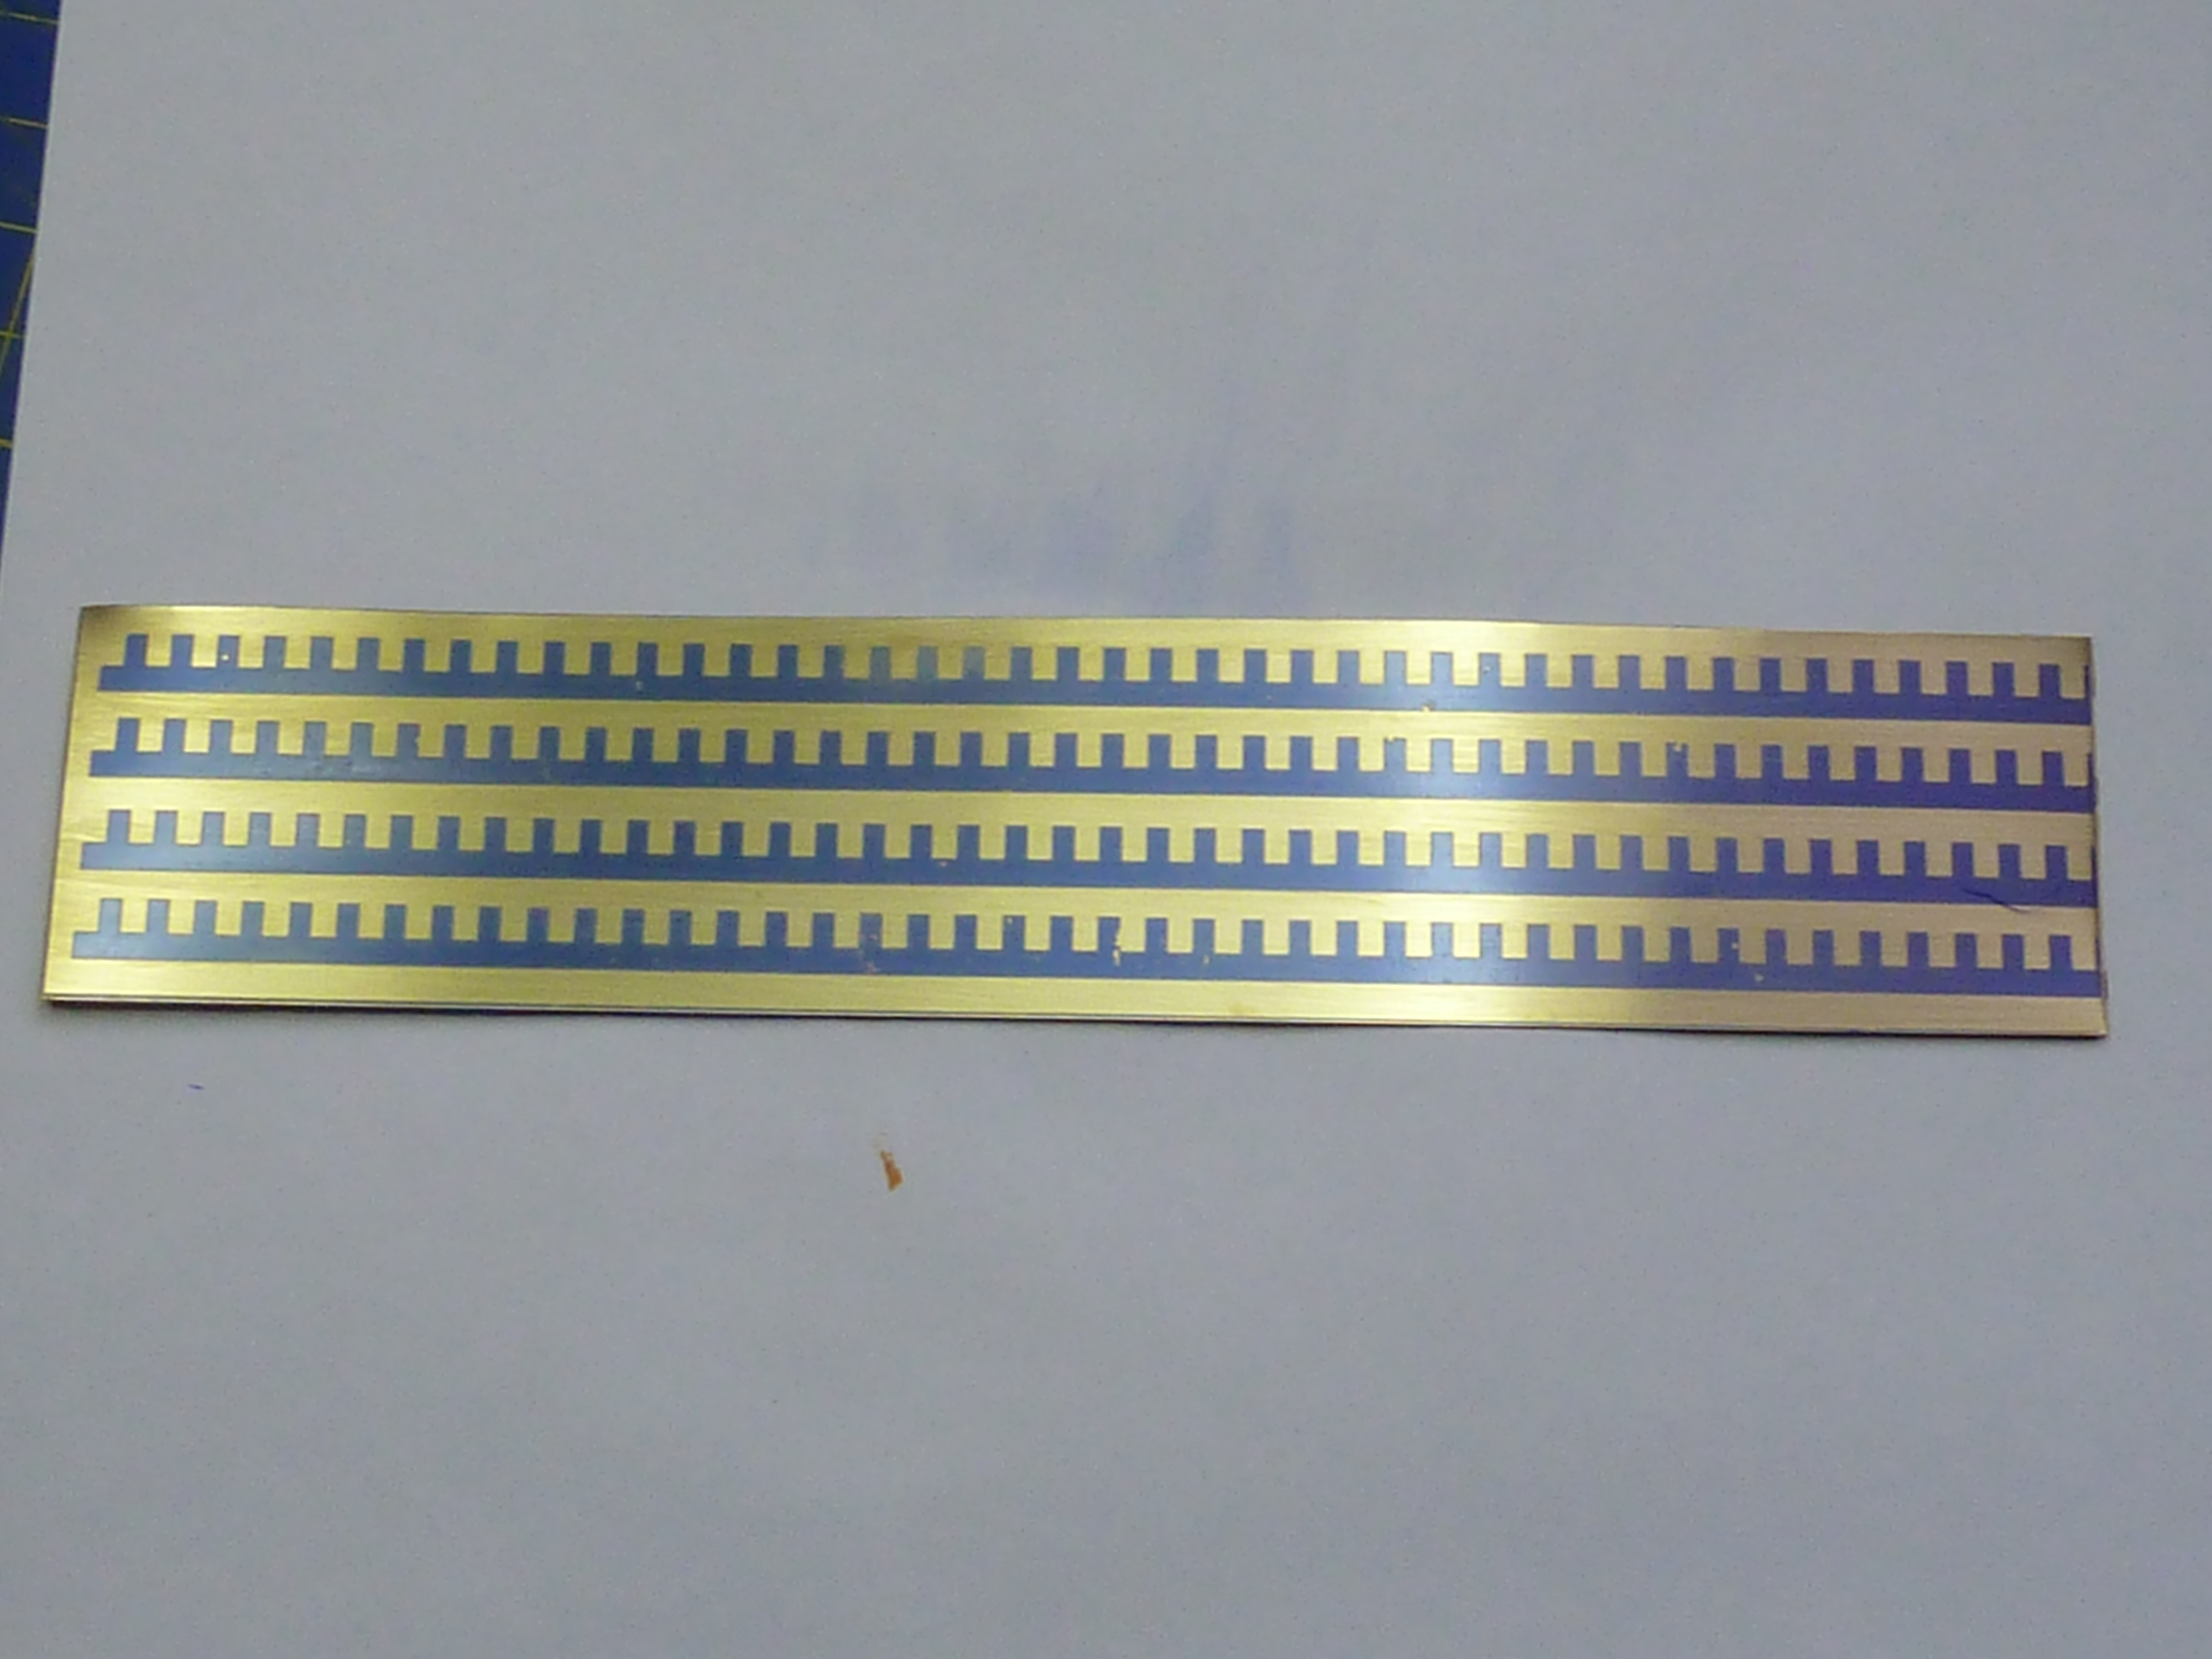
As I was planning to photoetch the basic shapes I drew them up in CAD and then created the final artworks in Photoshop as usual. The etch masks were then laminated on the the 0.25mm brass sheet using the method described in my Etchings post previously. The biggest difference was that this time I would be etching both sides of the sheet, so masks had to be created in perfect register on both sides of the blank. That was achieved by simply printing out two sets of artwork (one reversed left to right) with alignment crosses to allow them to be aligned back to back. The edges were then taped up to create a kind of pouch which the primed brass blank could be inserted before each side was exposed to UV light.

Provided the brass didn’t move between the two exposures the etch masks on either side would be in register. The method was surprisingly easy and effective.
The developed plates were then etched.
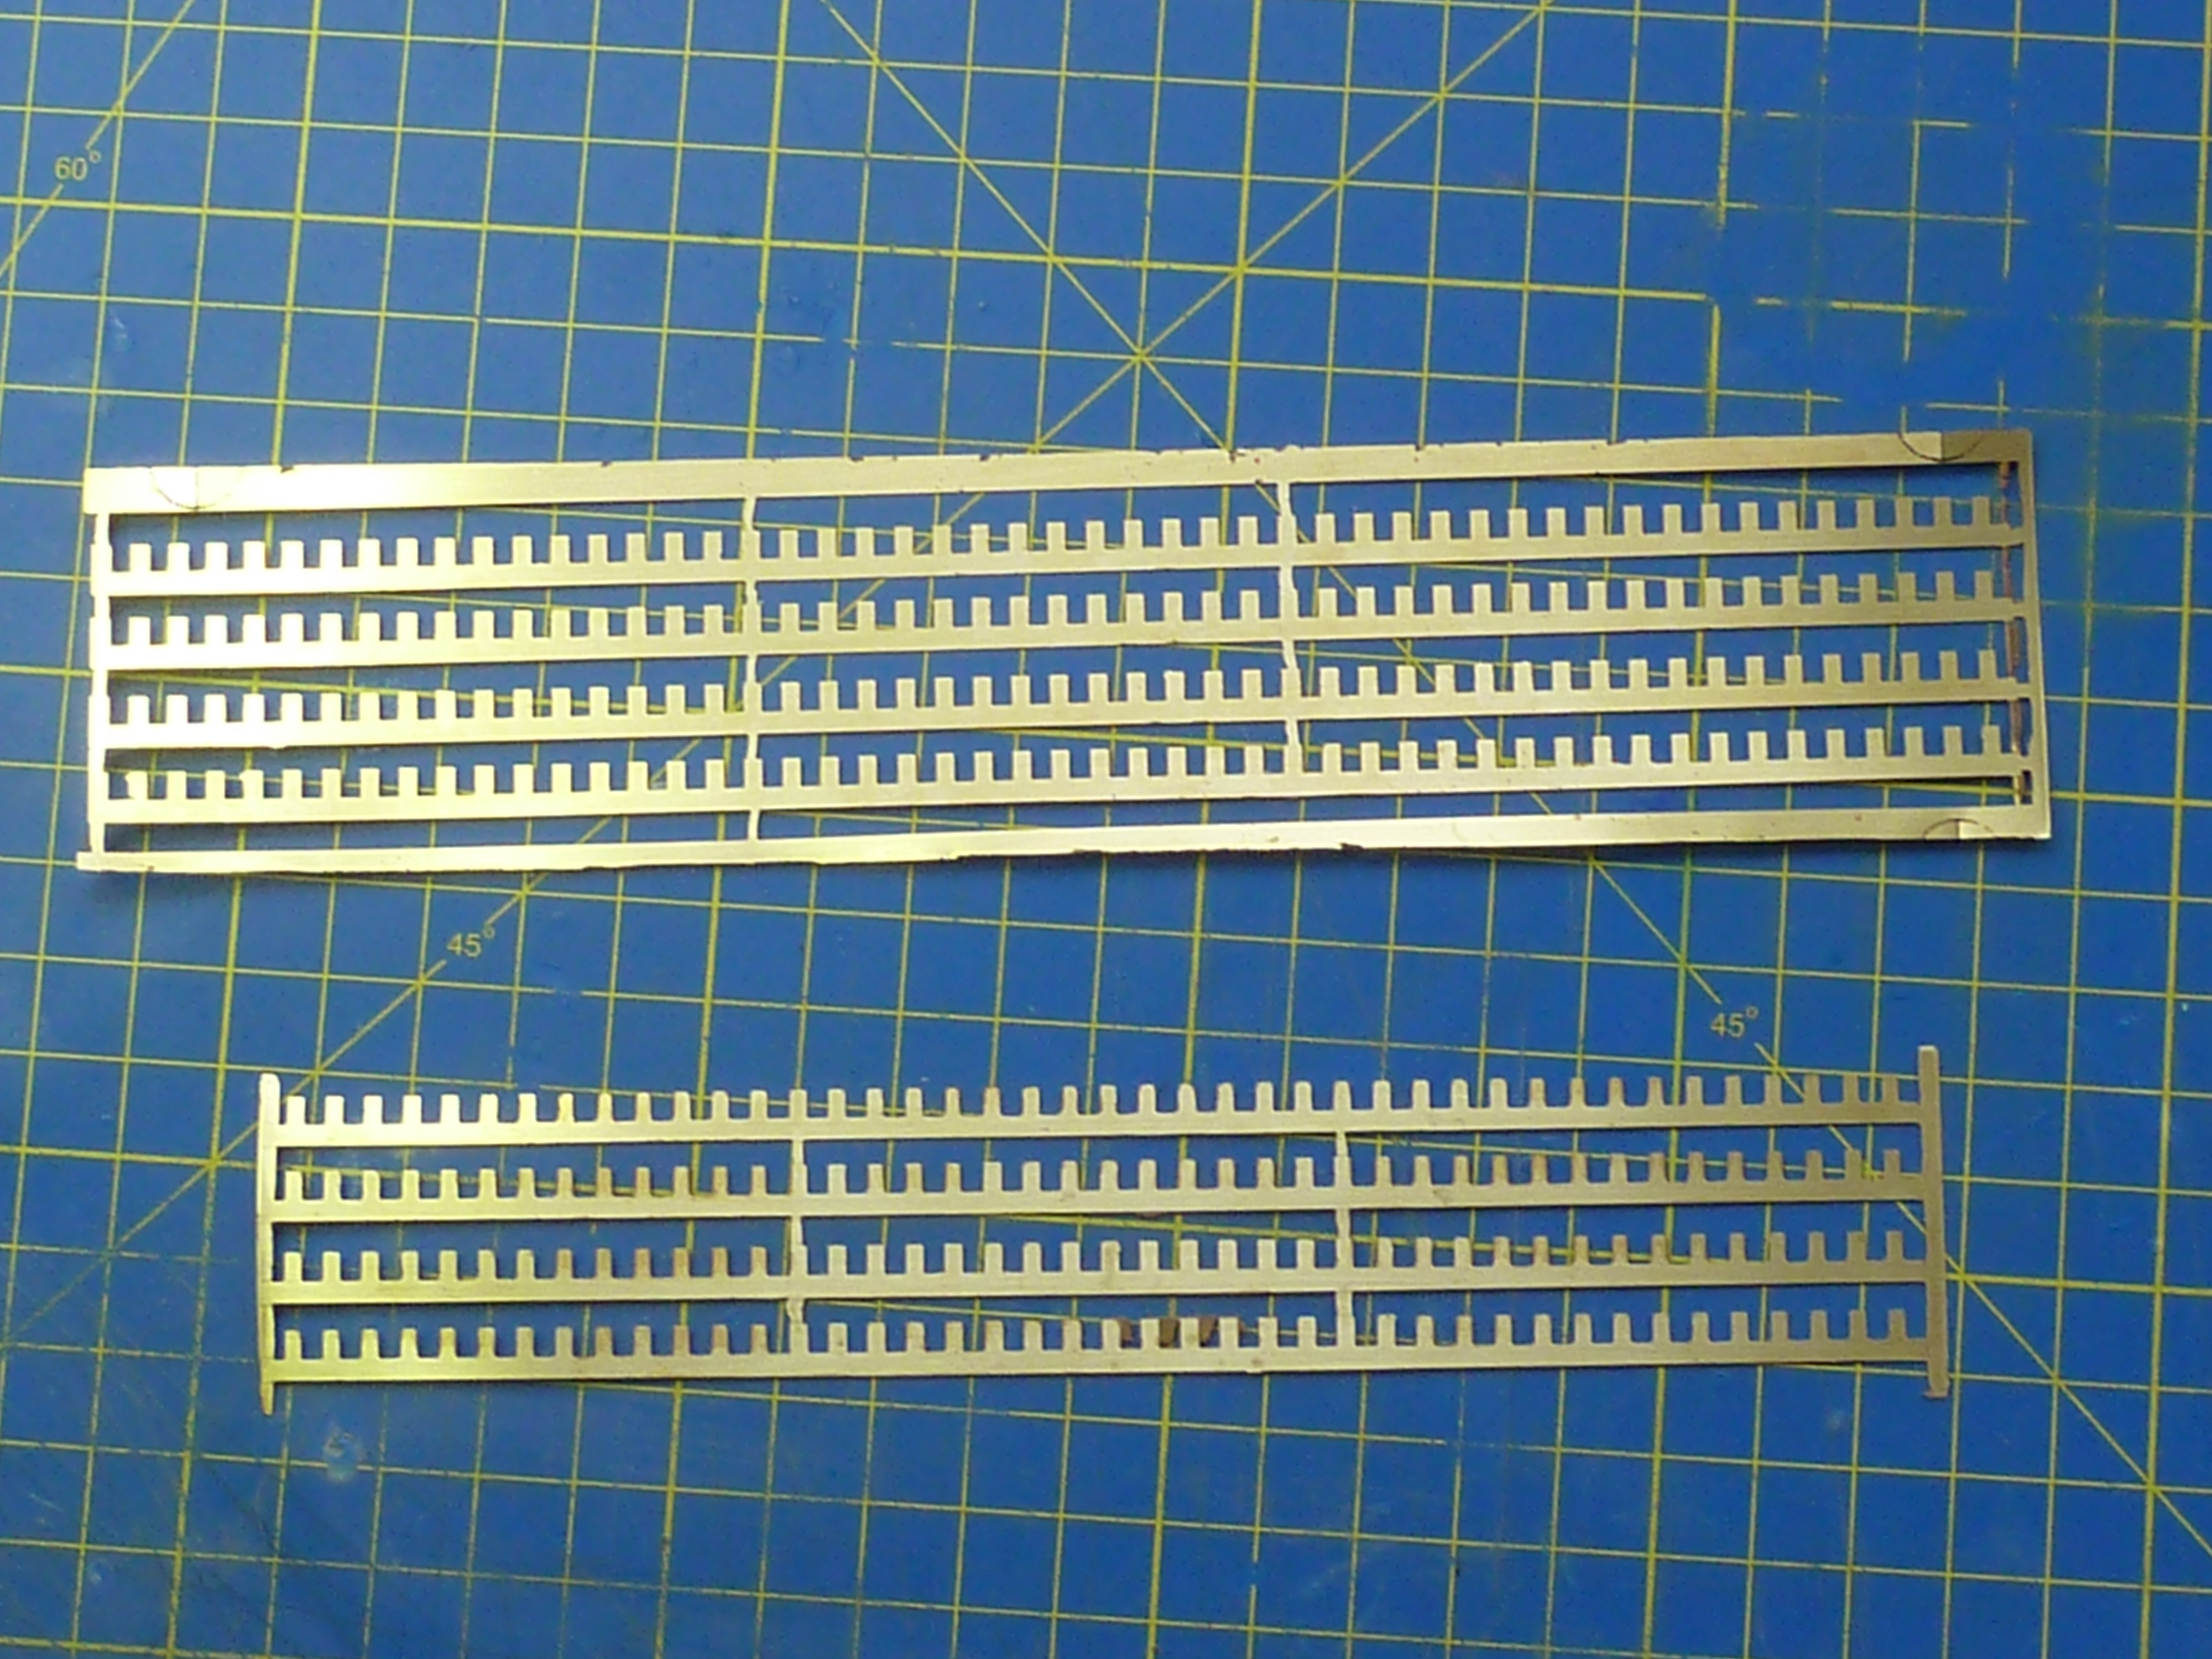
The blanks were next cleaned up to ensure the two opposing sides of the hinge met without fouling.
The actual forming of hinges can be awkward apparently based on my net research. All I can say is that it wasn’t a problem at all using my photoetch bending jig. I’ll not provide a link for it as mine is an older one, and reports I’ve read recently say some components have been changed to plastic now, and it isn’t as good anymore.
The hinge pin is 0.7mm nickel silver rod by the way. No special reason other than it was the only 0.7mm diameter rod I had in stock and that’s what the tab lengths were designed for.

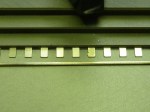


Here’s a picture of the finished and polished item next to the hinge supplied in the kit.

My hinge is about 5mm across and has a pitch of 2mm. Truth be told it’s probably a bit too small. 0.5mm on each leaf and 6mm total width wouldn’t go amiss.
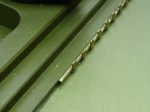
Here’s a 9mm hinge and a short prototype offered up to the engine hatches on my Chris Craft model to give you an idea of the scale improvement.

Next: Learning to nickel plate.
Or you can go straight to the next Miss Severn specific post here:
‘Miss Severn’ 1922 Gold Cup Racer – Mack Models 1:8 (Part 5)

Great modelers always make it as difficult as possible.
LikeLiked by 1 person
I never fail to be amazed how you manage to work with such tiny pieces so well. They look great and you make it sound so easy!
LikeLiked by 1 person
Brilliant. Glad the hinges worked for you. I learned that one on a 1/24 SE5a kit that ended up requiring me to fabricate or refabricate almost all of it, almost scratch. The engine bay required hinges. Have to say, they (yours) have come out really well and will be interested in what method works best for you and how they look nickle’d up/chromed.
I am going to have to crack on with the photo etching film you suggested so, no doubt will be in touch for guidance.
Your models always inspire.
LikeLike
Well I can confirm that plating an assembled hinge doesn’t make it seize up.
I’m halfway through writing the next blog post which is about plating. I just need to photo a few bits so that I can include them.
LikeLiked by 1 person
That is so good to hear. I really thought it might….
LikeLike