
At the end of last post on this protracted Miss Severn build I mentioned learning to nickel plate…
I pioneered that in my last post on the Chris Craft build, which is being used as a prototype for the new techniques being learned for this build. Since that post I’ve refined and improved things a fair bit, not least by investing in an Eventek bench power supply. I went for the 10A version, but I’ve seldom used more than 2A for my modelling parts, so saving money and getting the 5A version wouldn’t have hurt.
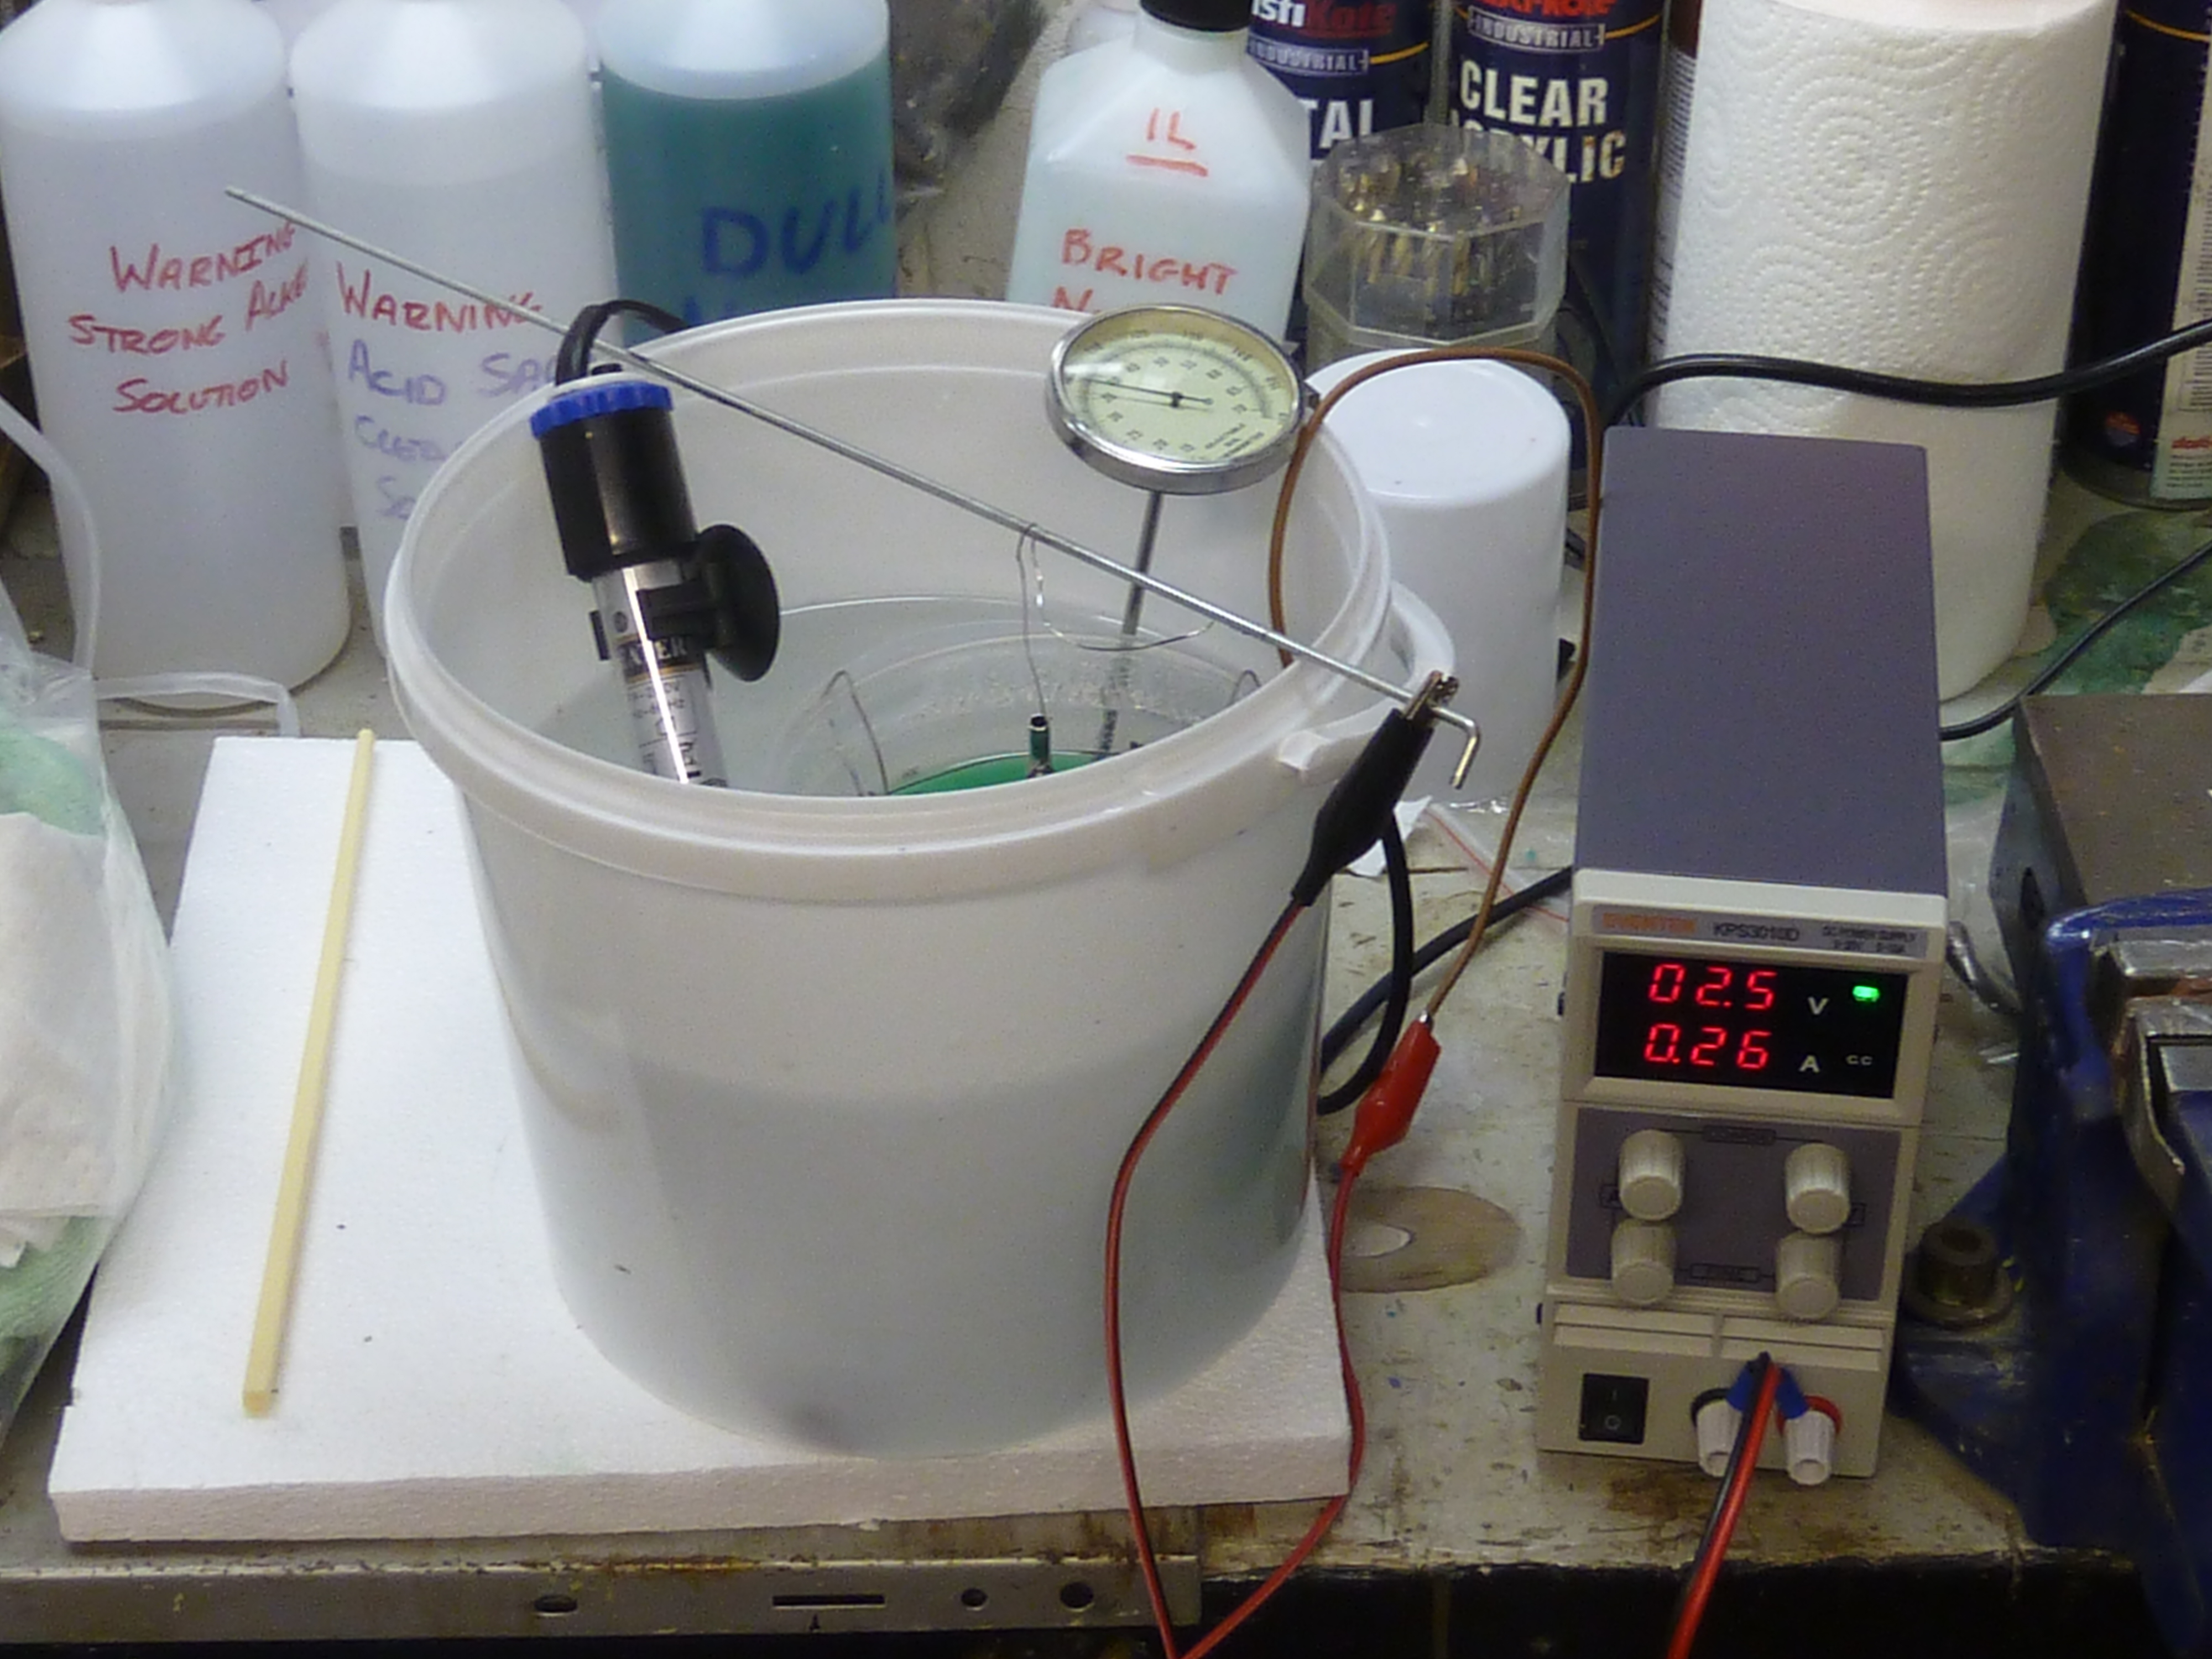
Having the power supply has transformed things. I now have MUCH more control over the plating process and am getting significantly better results. And most importantly, almost zero failures due to excessive voltages.
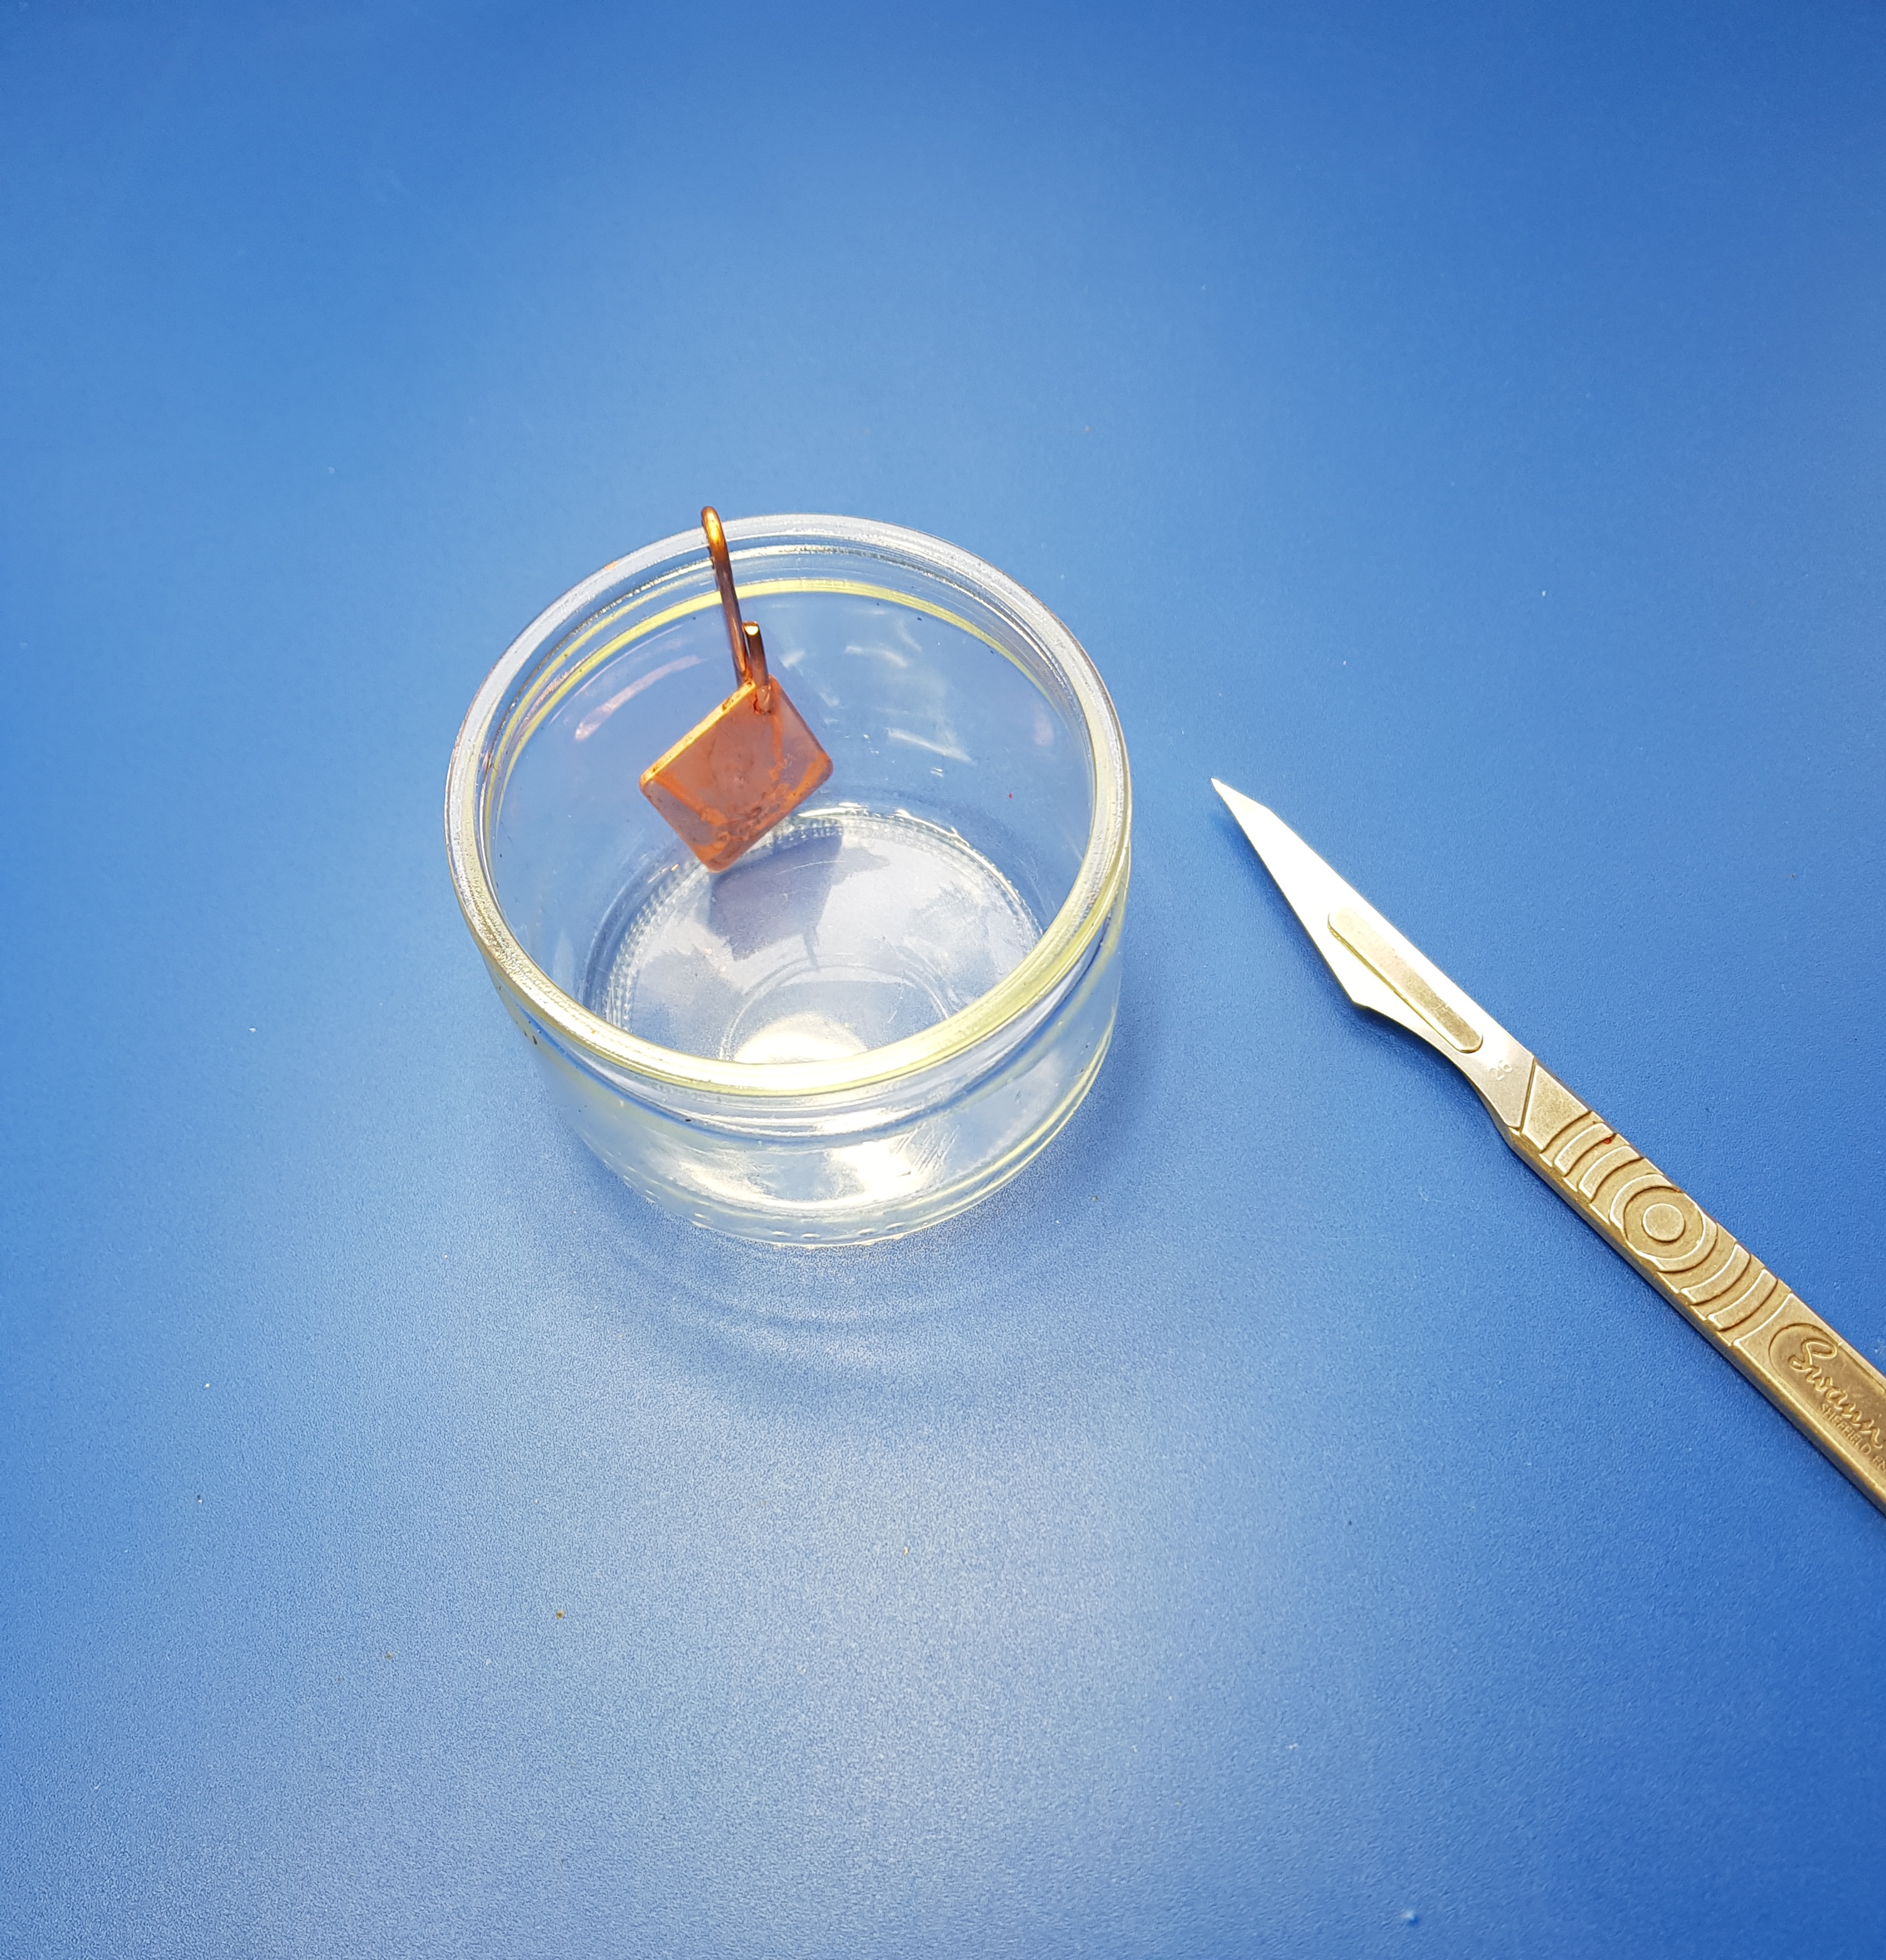
One other thing that I have included in the process is to initially plate with a thin layer of copper (a copper strike is the technical term I think).
Unless the tin was scrupulously clean the nickel didn’t adhere well, and I knew already that a copper strike was required for steel and zinc plating. Hence I invested (more money…) in a bottle of Caswell Plug N’ Plate Flash Copper Solution, which unfortunately is no longer available from them. I have a small plating bath with a copper anode and this has worked extremely well.
This will also allow me in the future to fabricate parts from steel and brass, then plate all over with copper prior to the final nickel.
To those thinking that this is all a bit involved and advanced for their modelling tastes I’d say just have a go. It’s really not as esoteric as you might think. There is a fair investment to get to where I am now though.
Anyway, back on to the actual model making stuff…
Having learned how to plate properly I moved on to making a number of the deck fittings for the Miss Severn model. I’ve carped on about the quality of the standard fittings in model boat kits enough already, so have resigned myself to remaking almost all of the fittings from scratch. In the future I think I might progress to full scratch-building of boats. I’m wasting a lot of money on fittings with the kits.
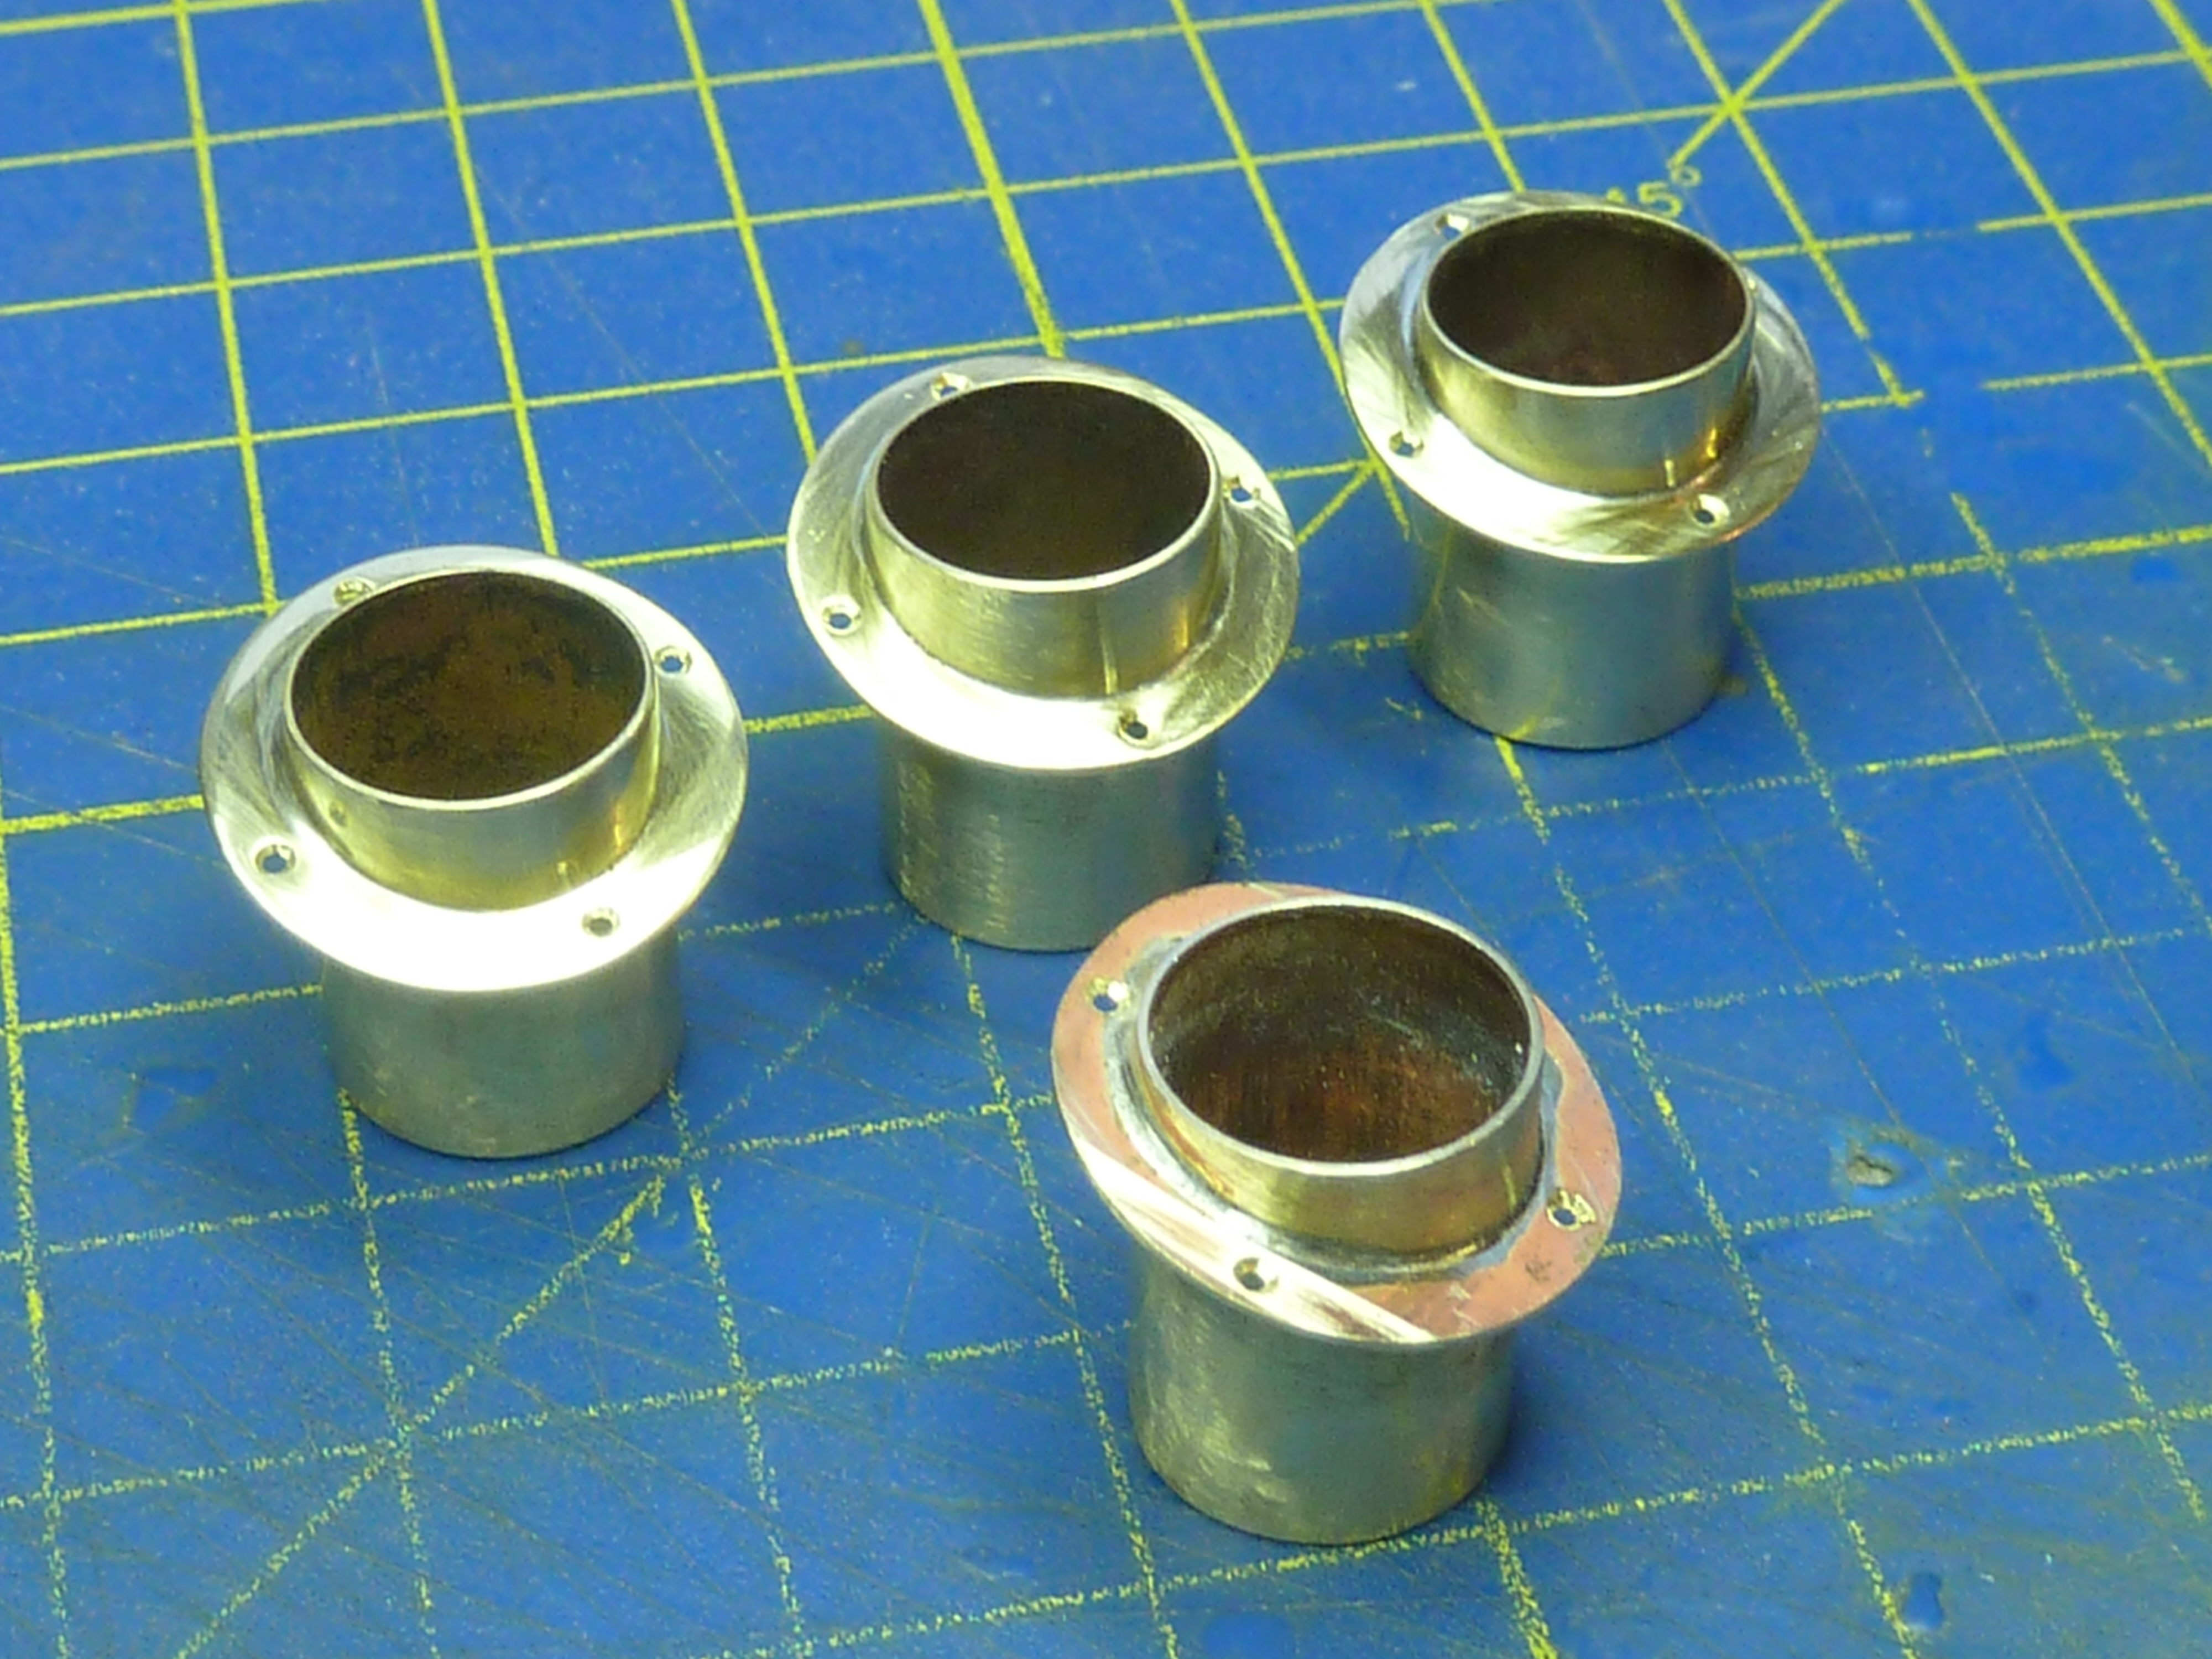
The first parts to be made were the exhausts. These were made from brass sheet and tube. The prototype was made to match the diameter of the exhaust pipes (9mm) in the cockpit and the outlet perpendicular to the transom surface.
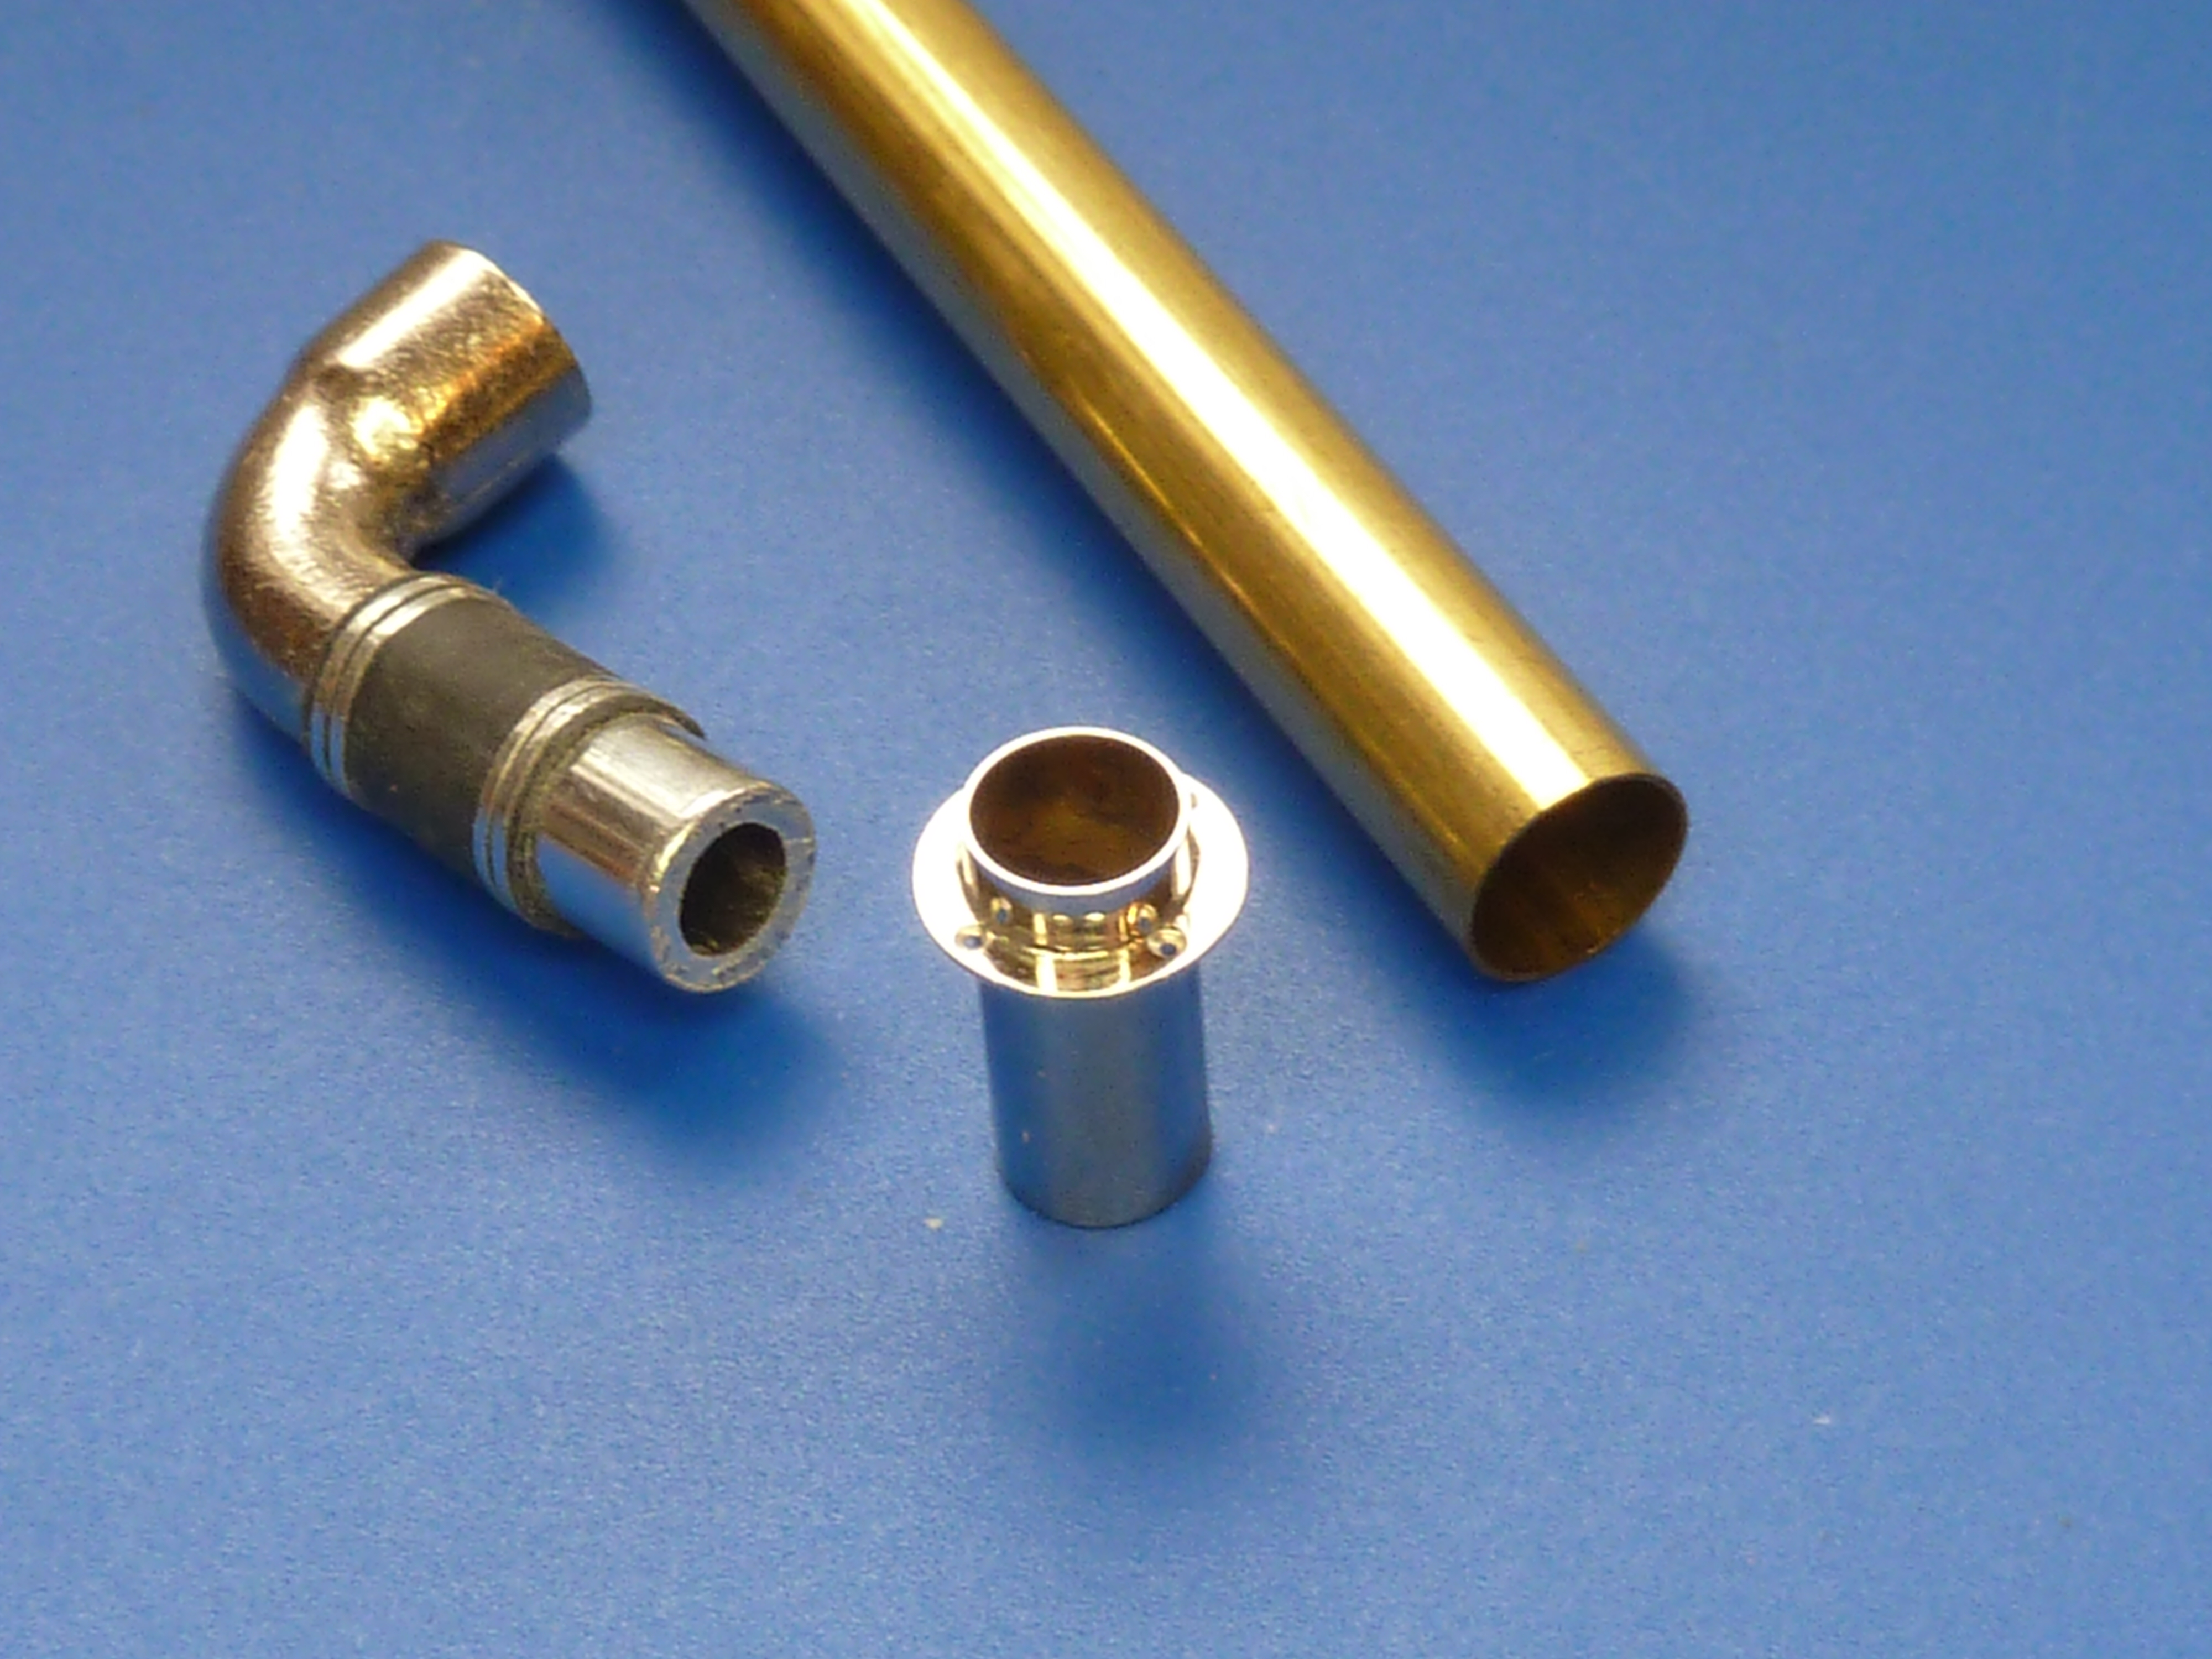
When I offered them up to the model they looked too small, so I bought some 11mm brass tube and made some more.
These were also made to exit parallel to the keel, and so at an angle to the transom. It isn’t how the real boat is, but I think it looks better.
This model isn’t going to be a replica anyway, only based on Miss Severn. I might build a full replica later.
Cutting the flanges.

3 soldered and cleaned and 1 more to be done. I’ll put the best 2 on the model.
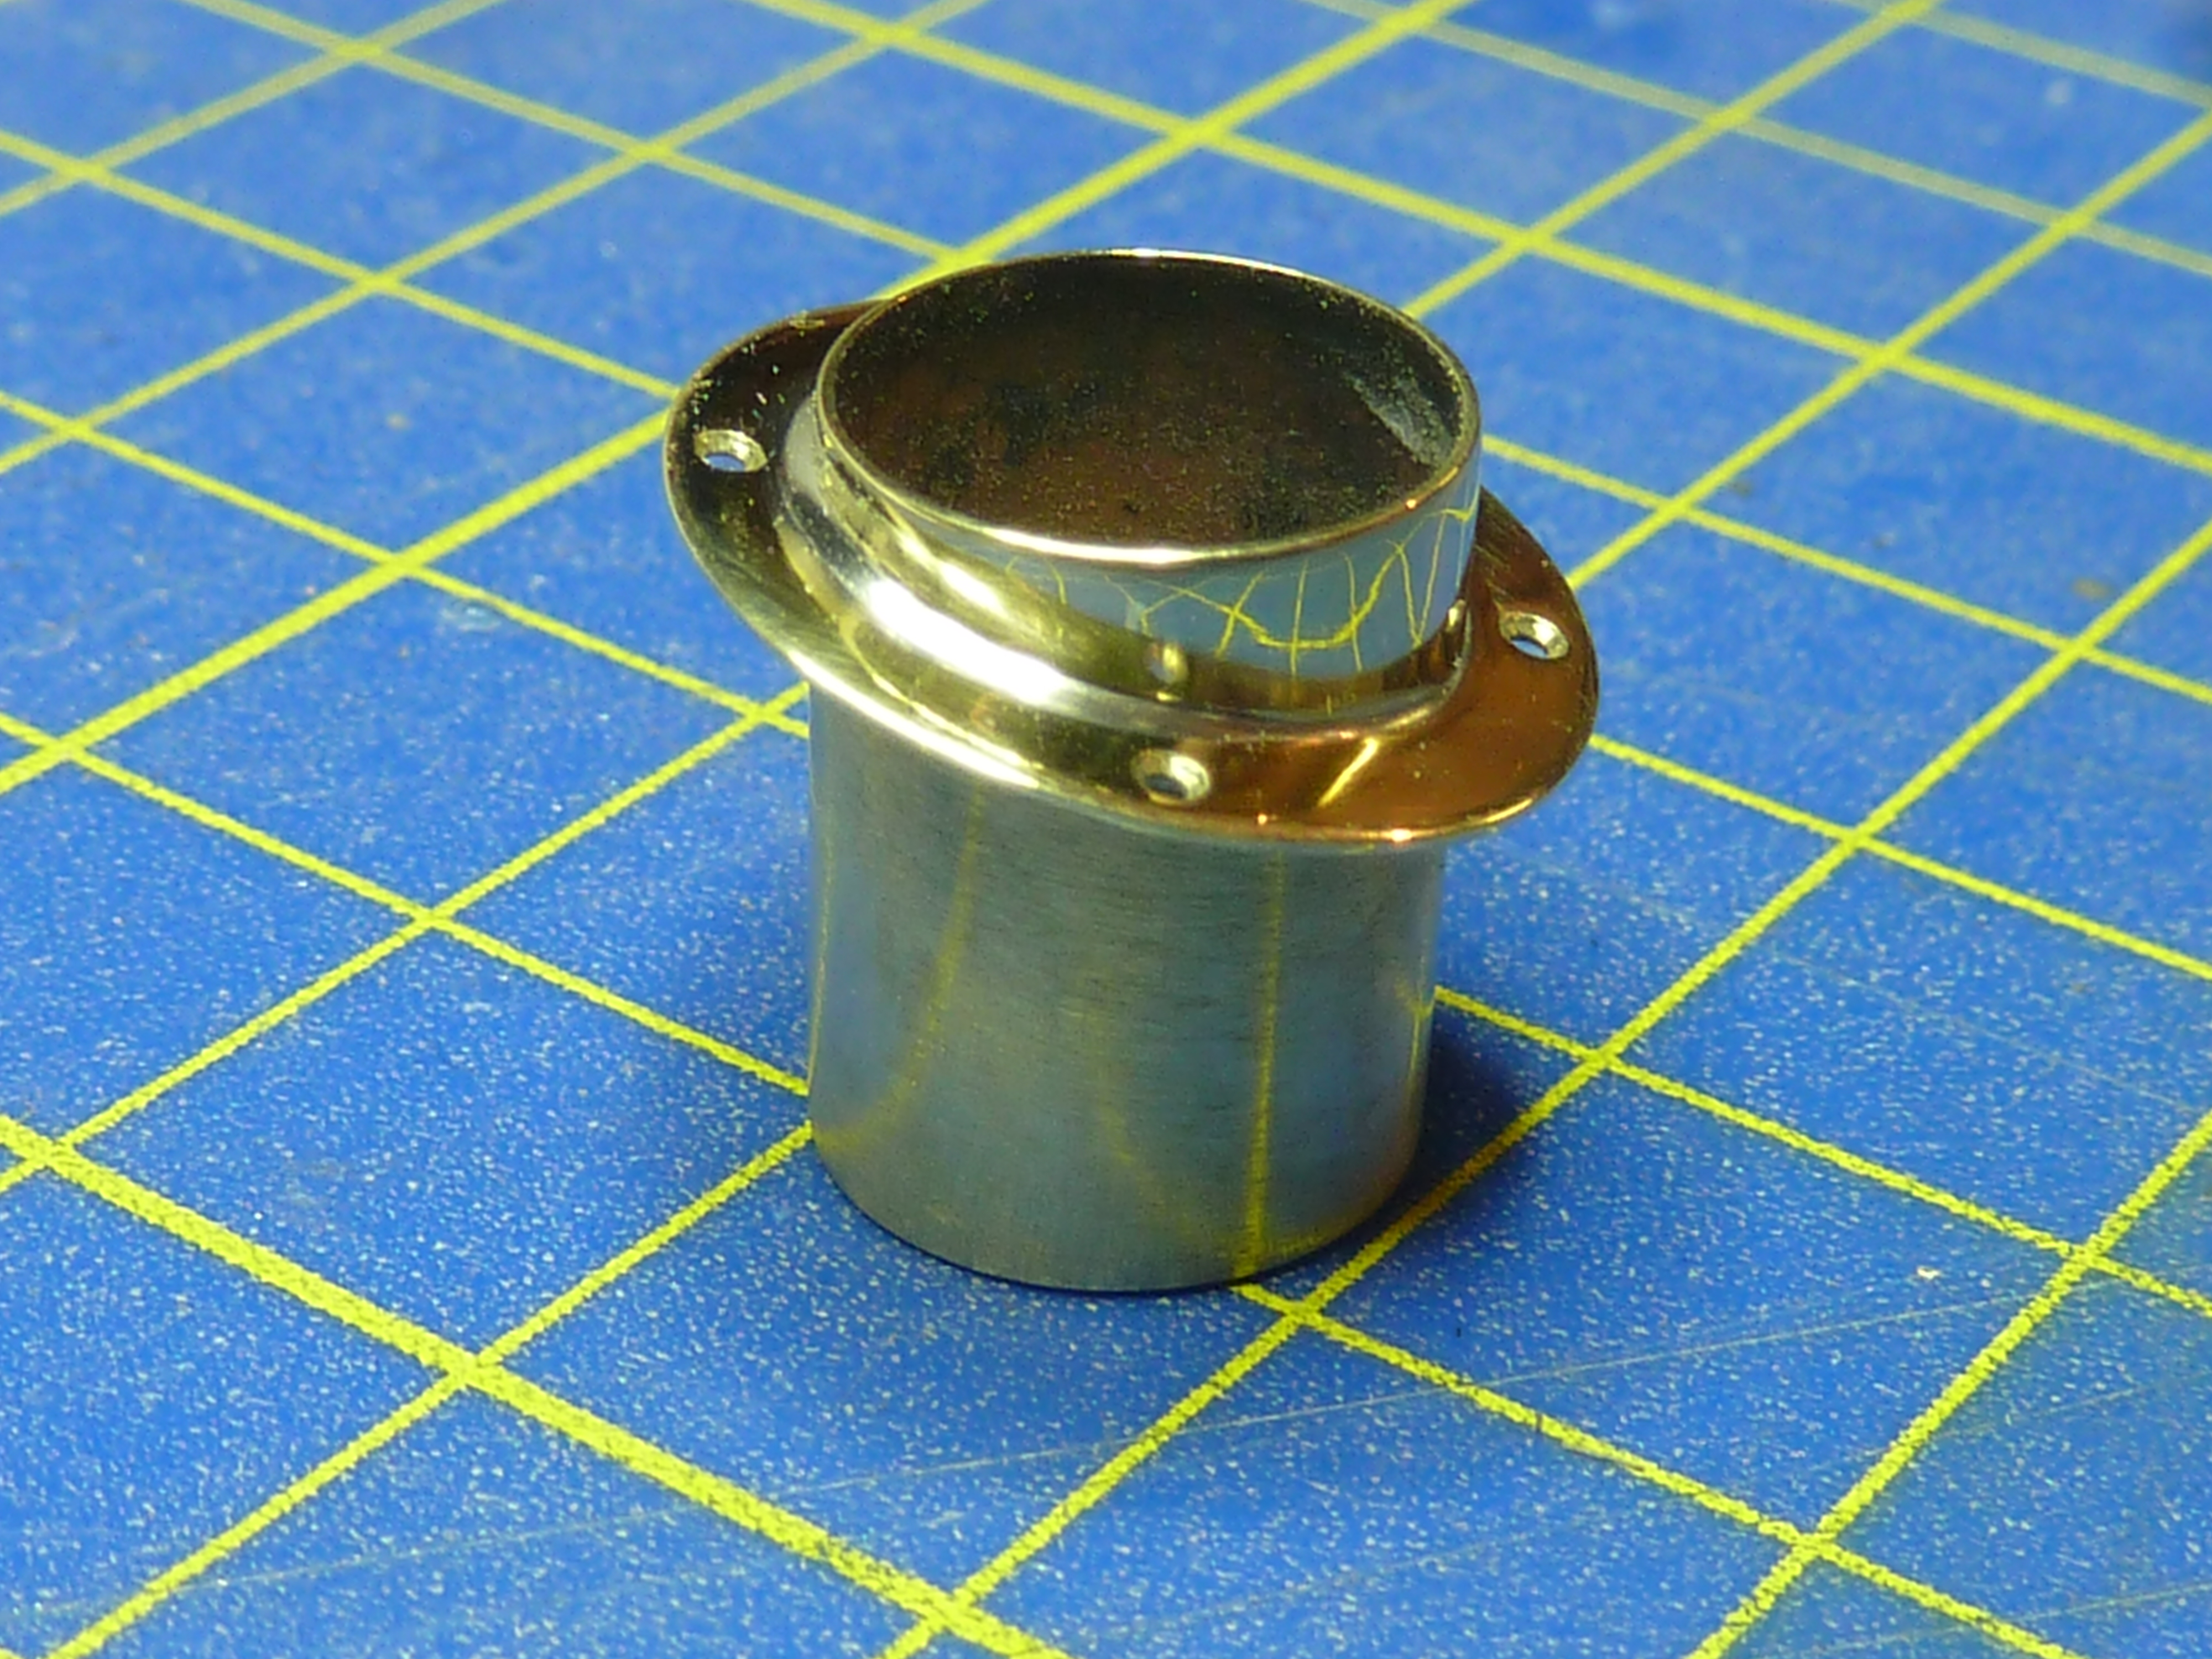
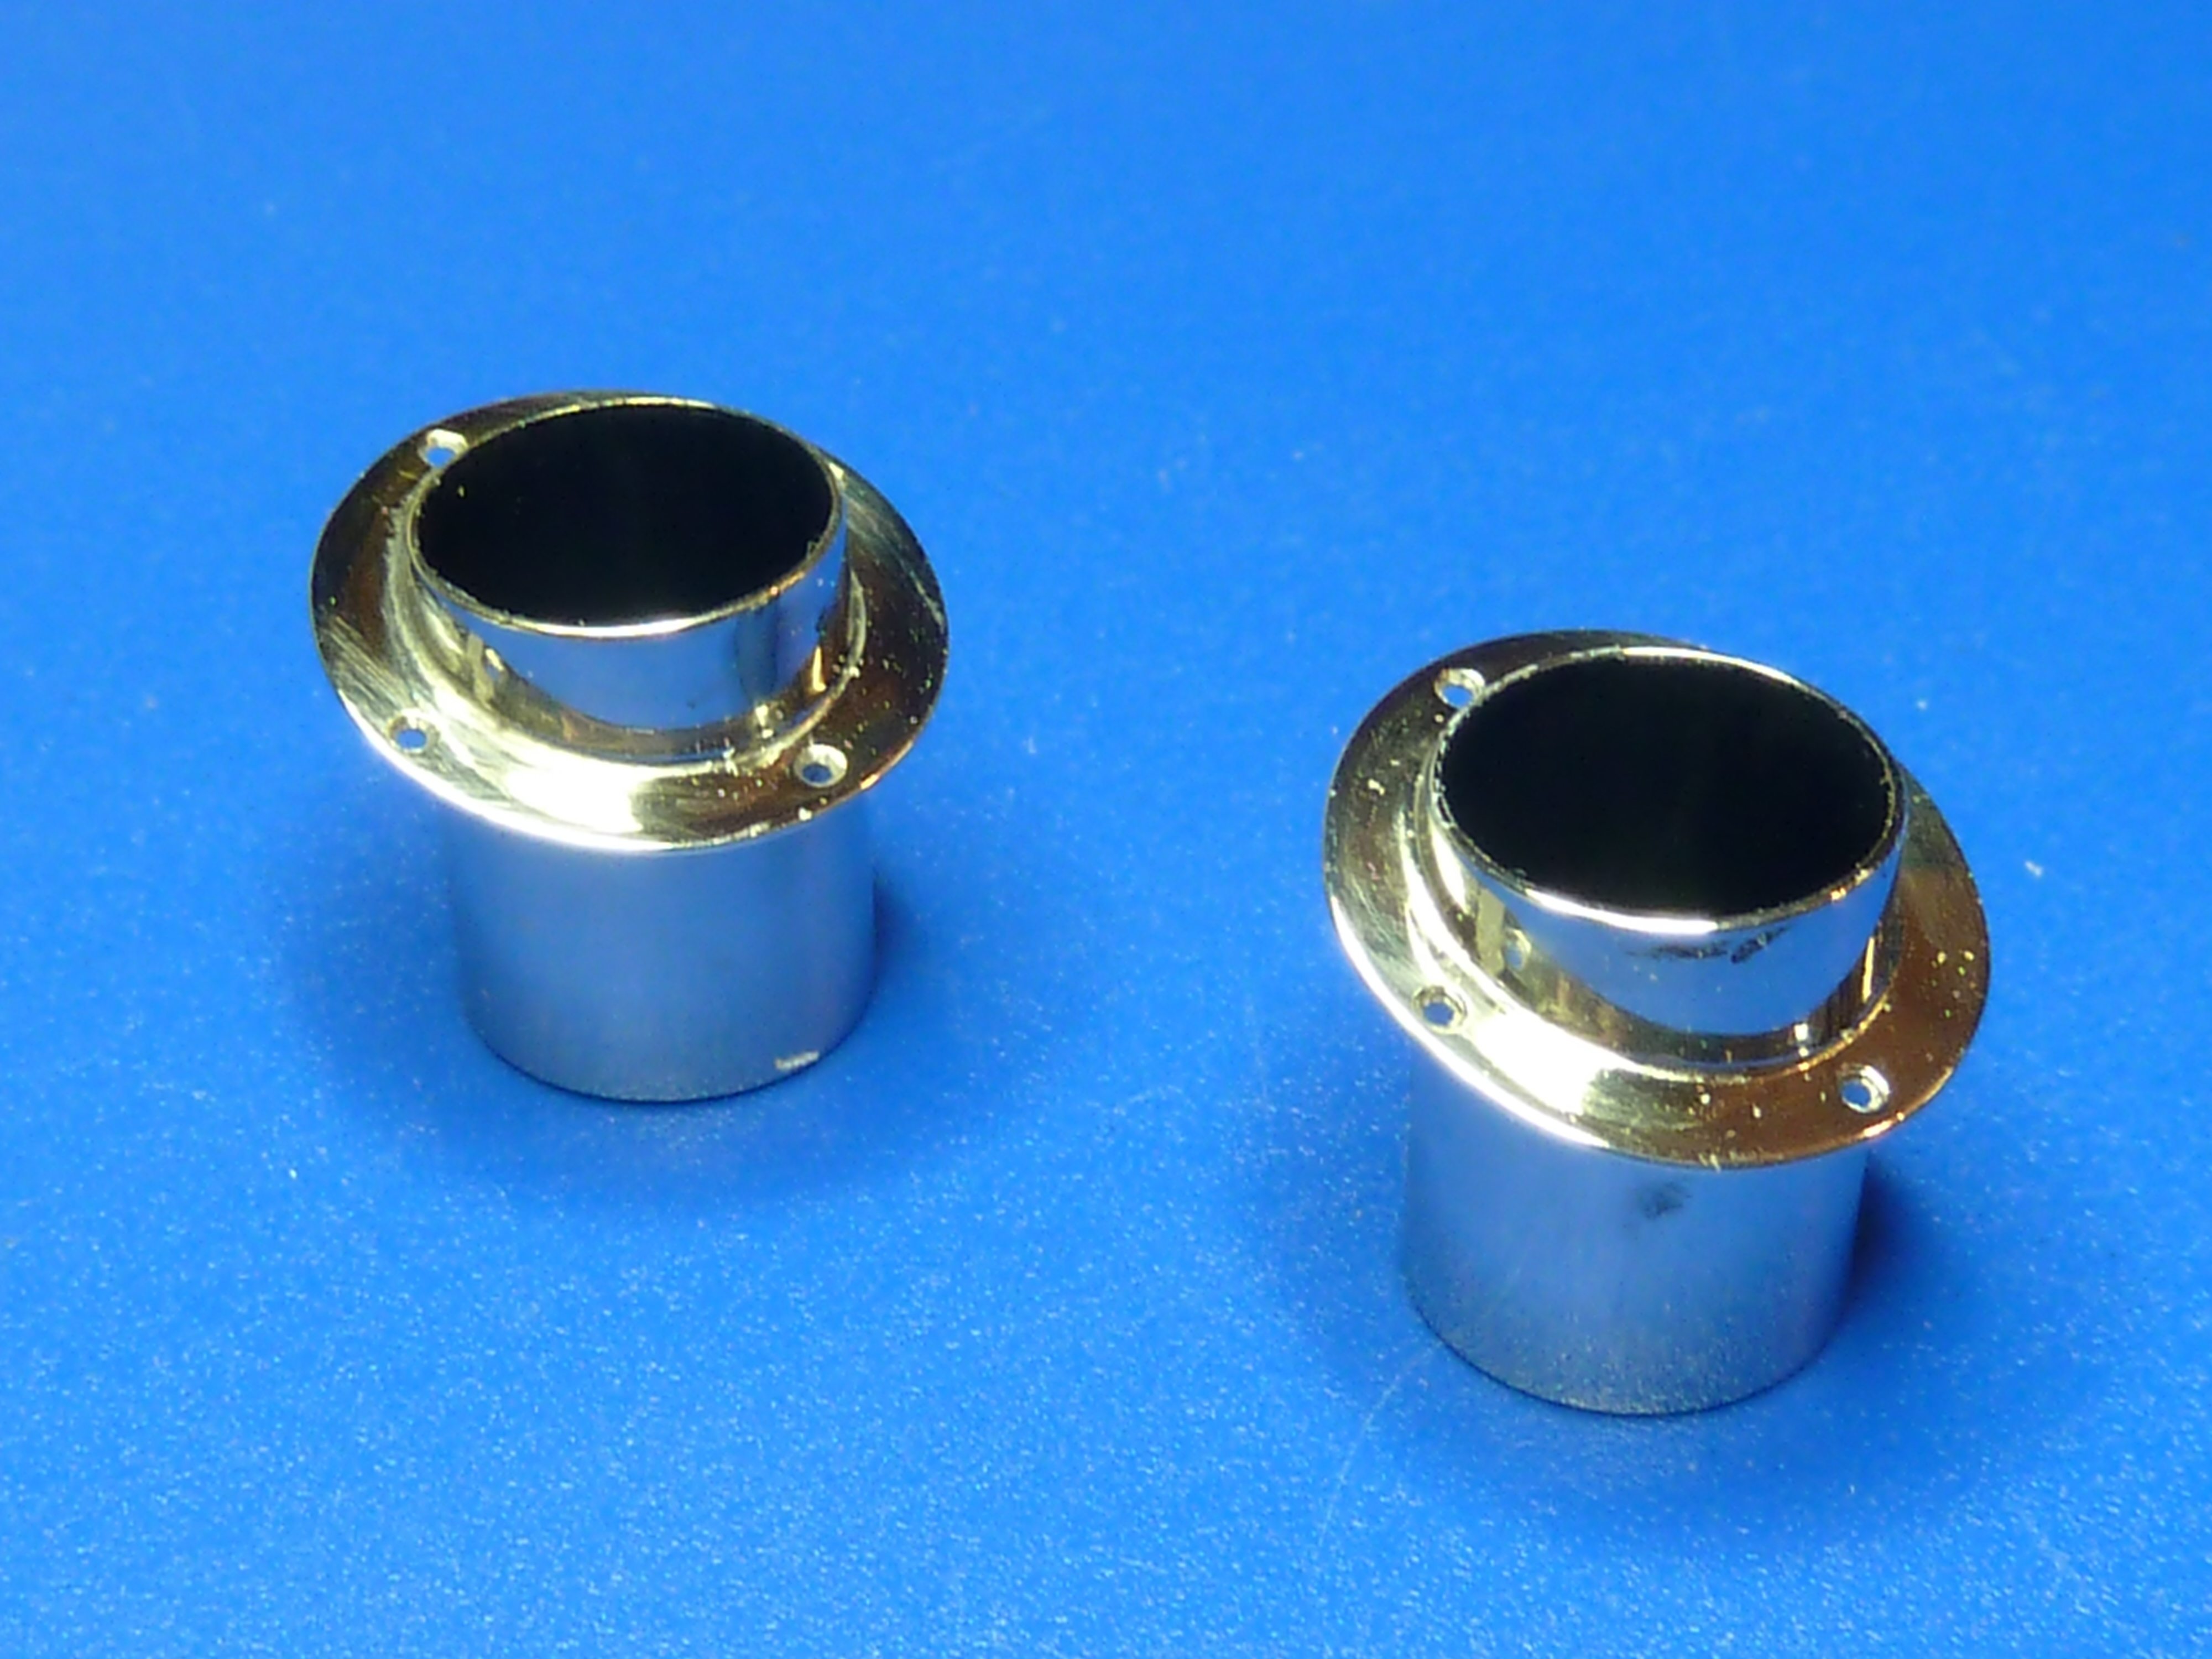
After plating and the interiors being painted matt black.
Next up were some of the deck fittings. A casting master for engine bay air vents was made in bass wood and the surface sealed with thin super glue prior to being sanded smooth.

This was used to make an RTV mould and cast the item in high tin content casting metal.
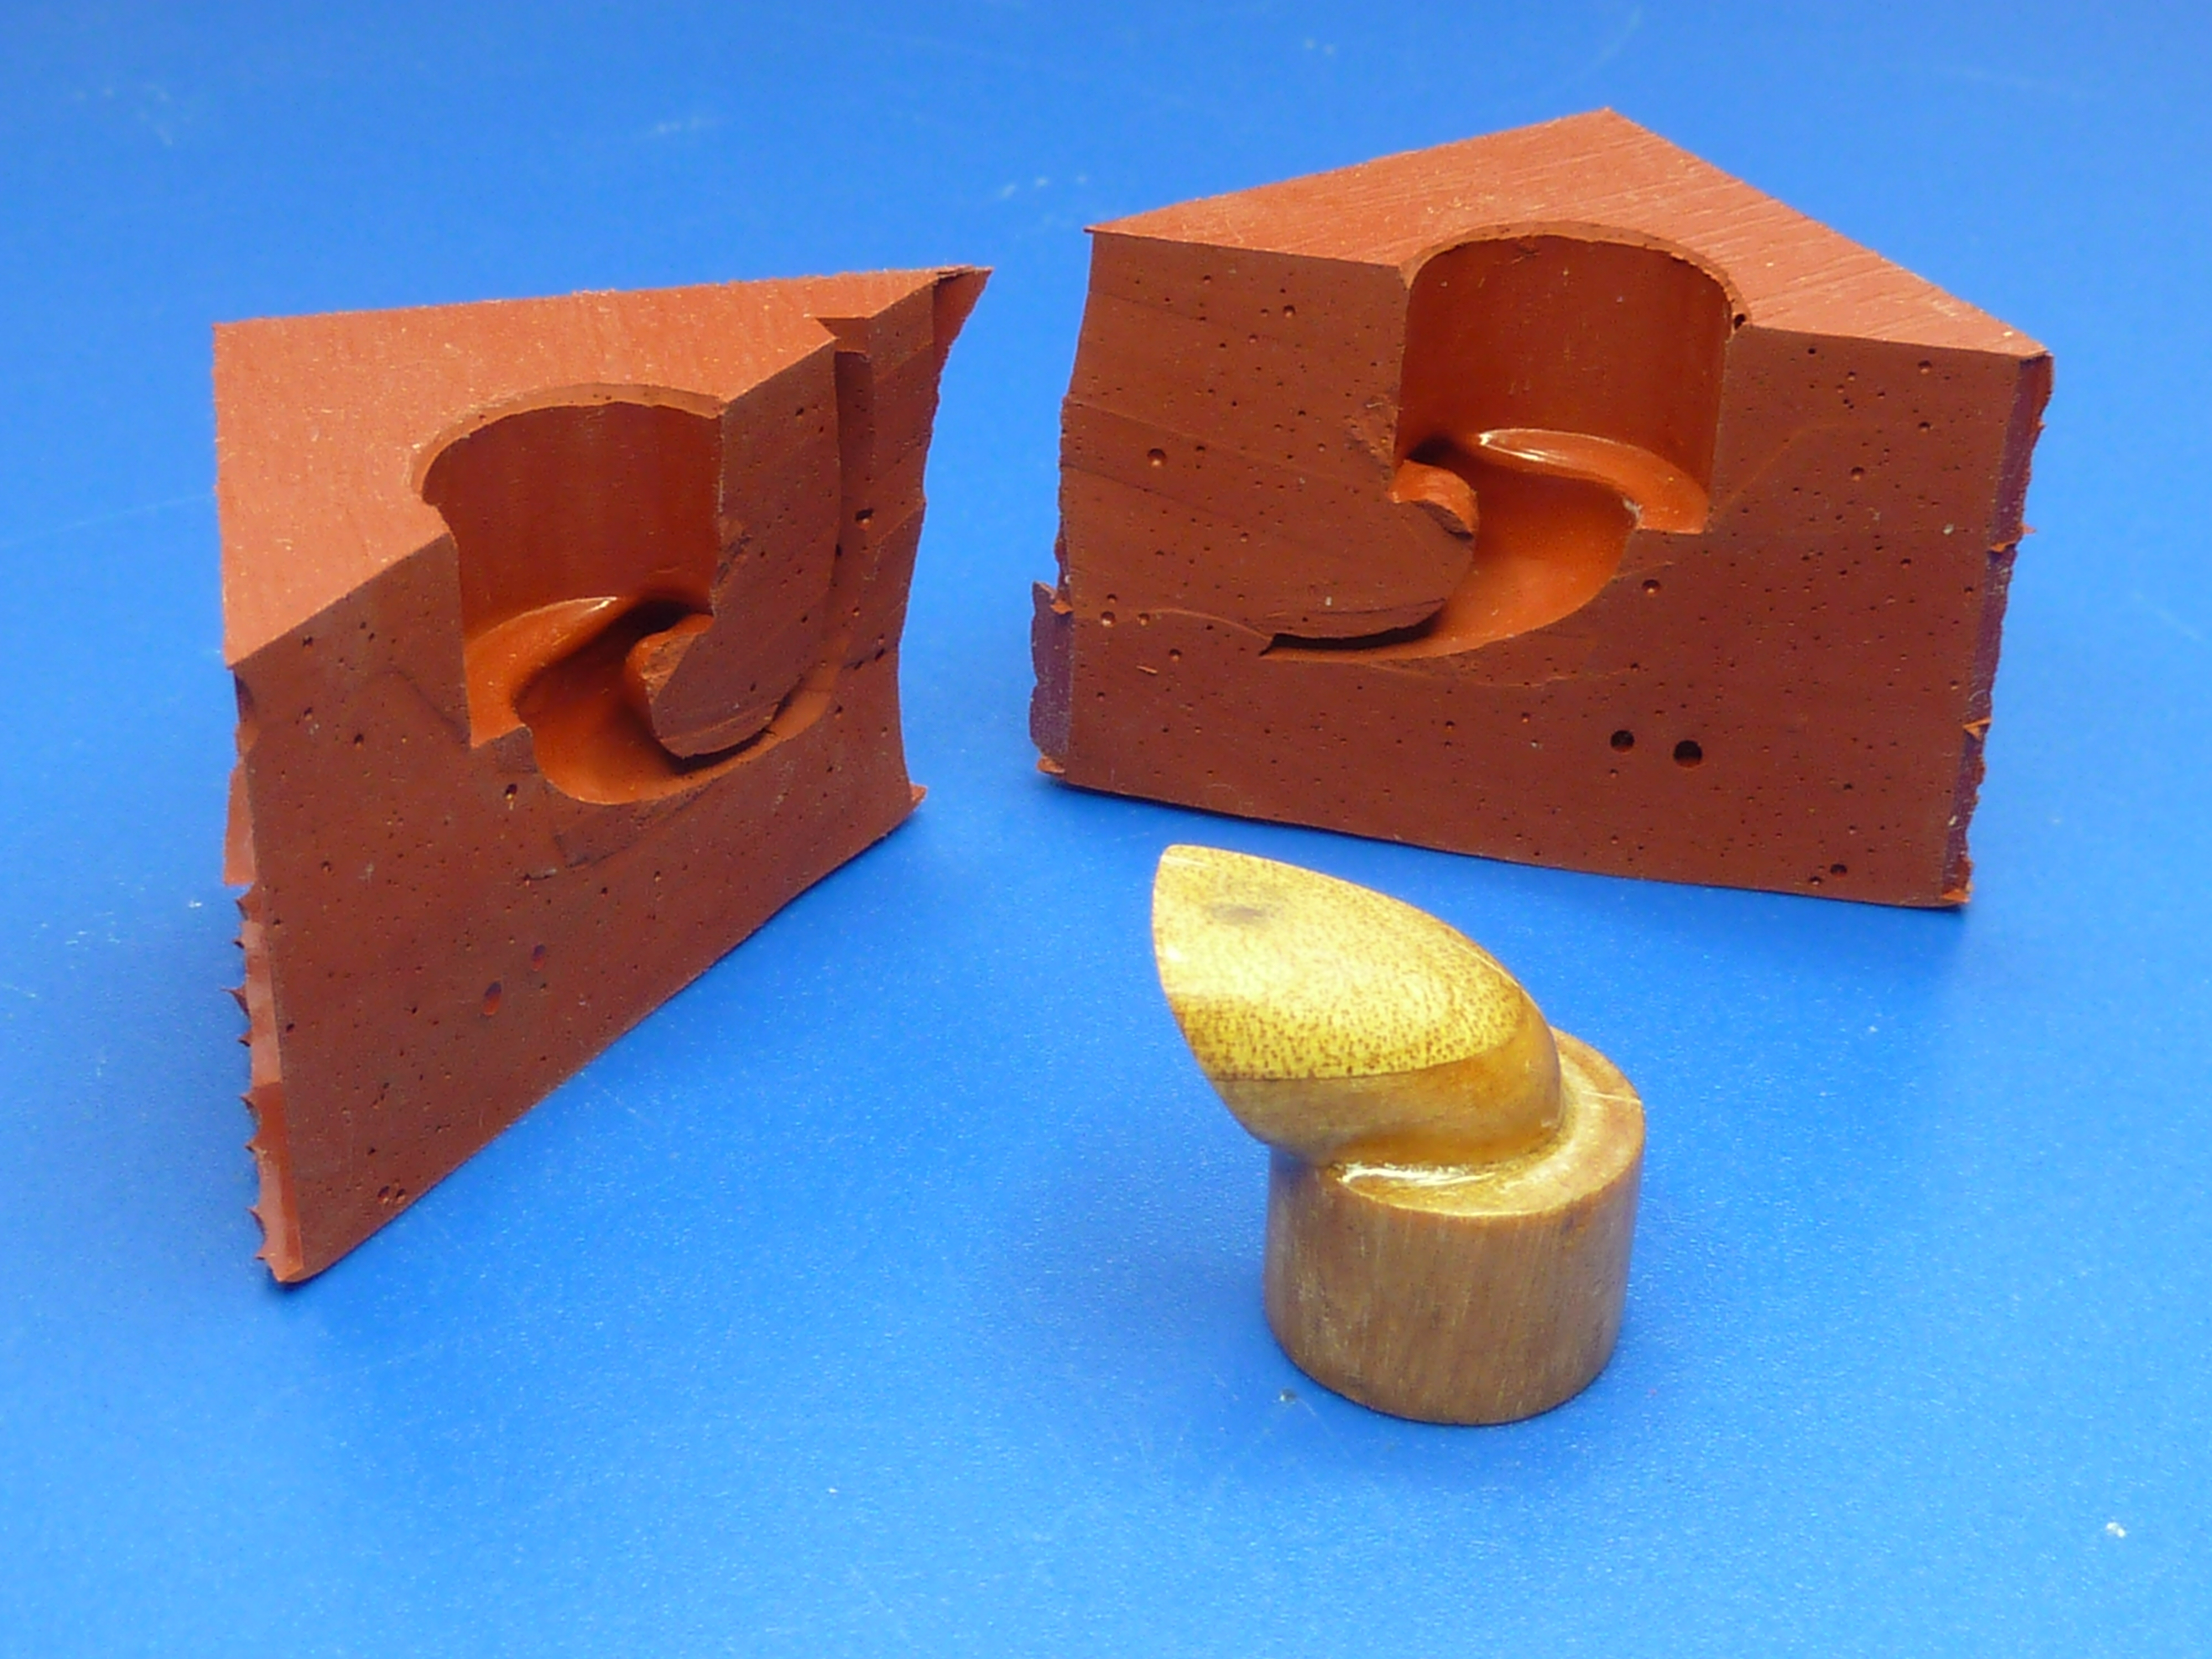
The item was then polished, plated and painted black internally.
Kit part in the middle. New items on the outside.


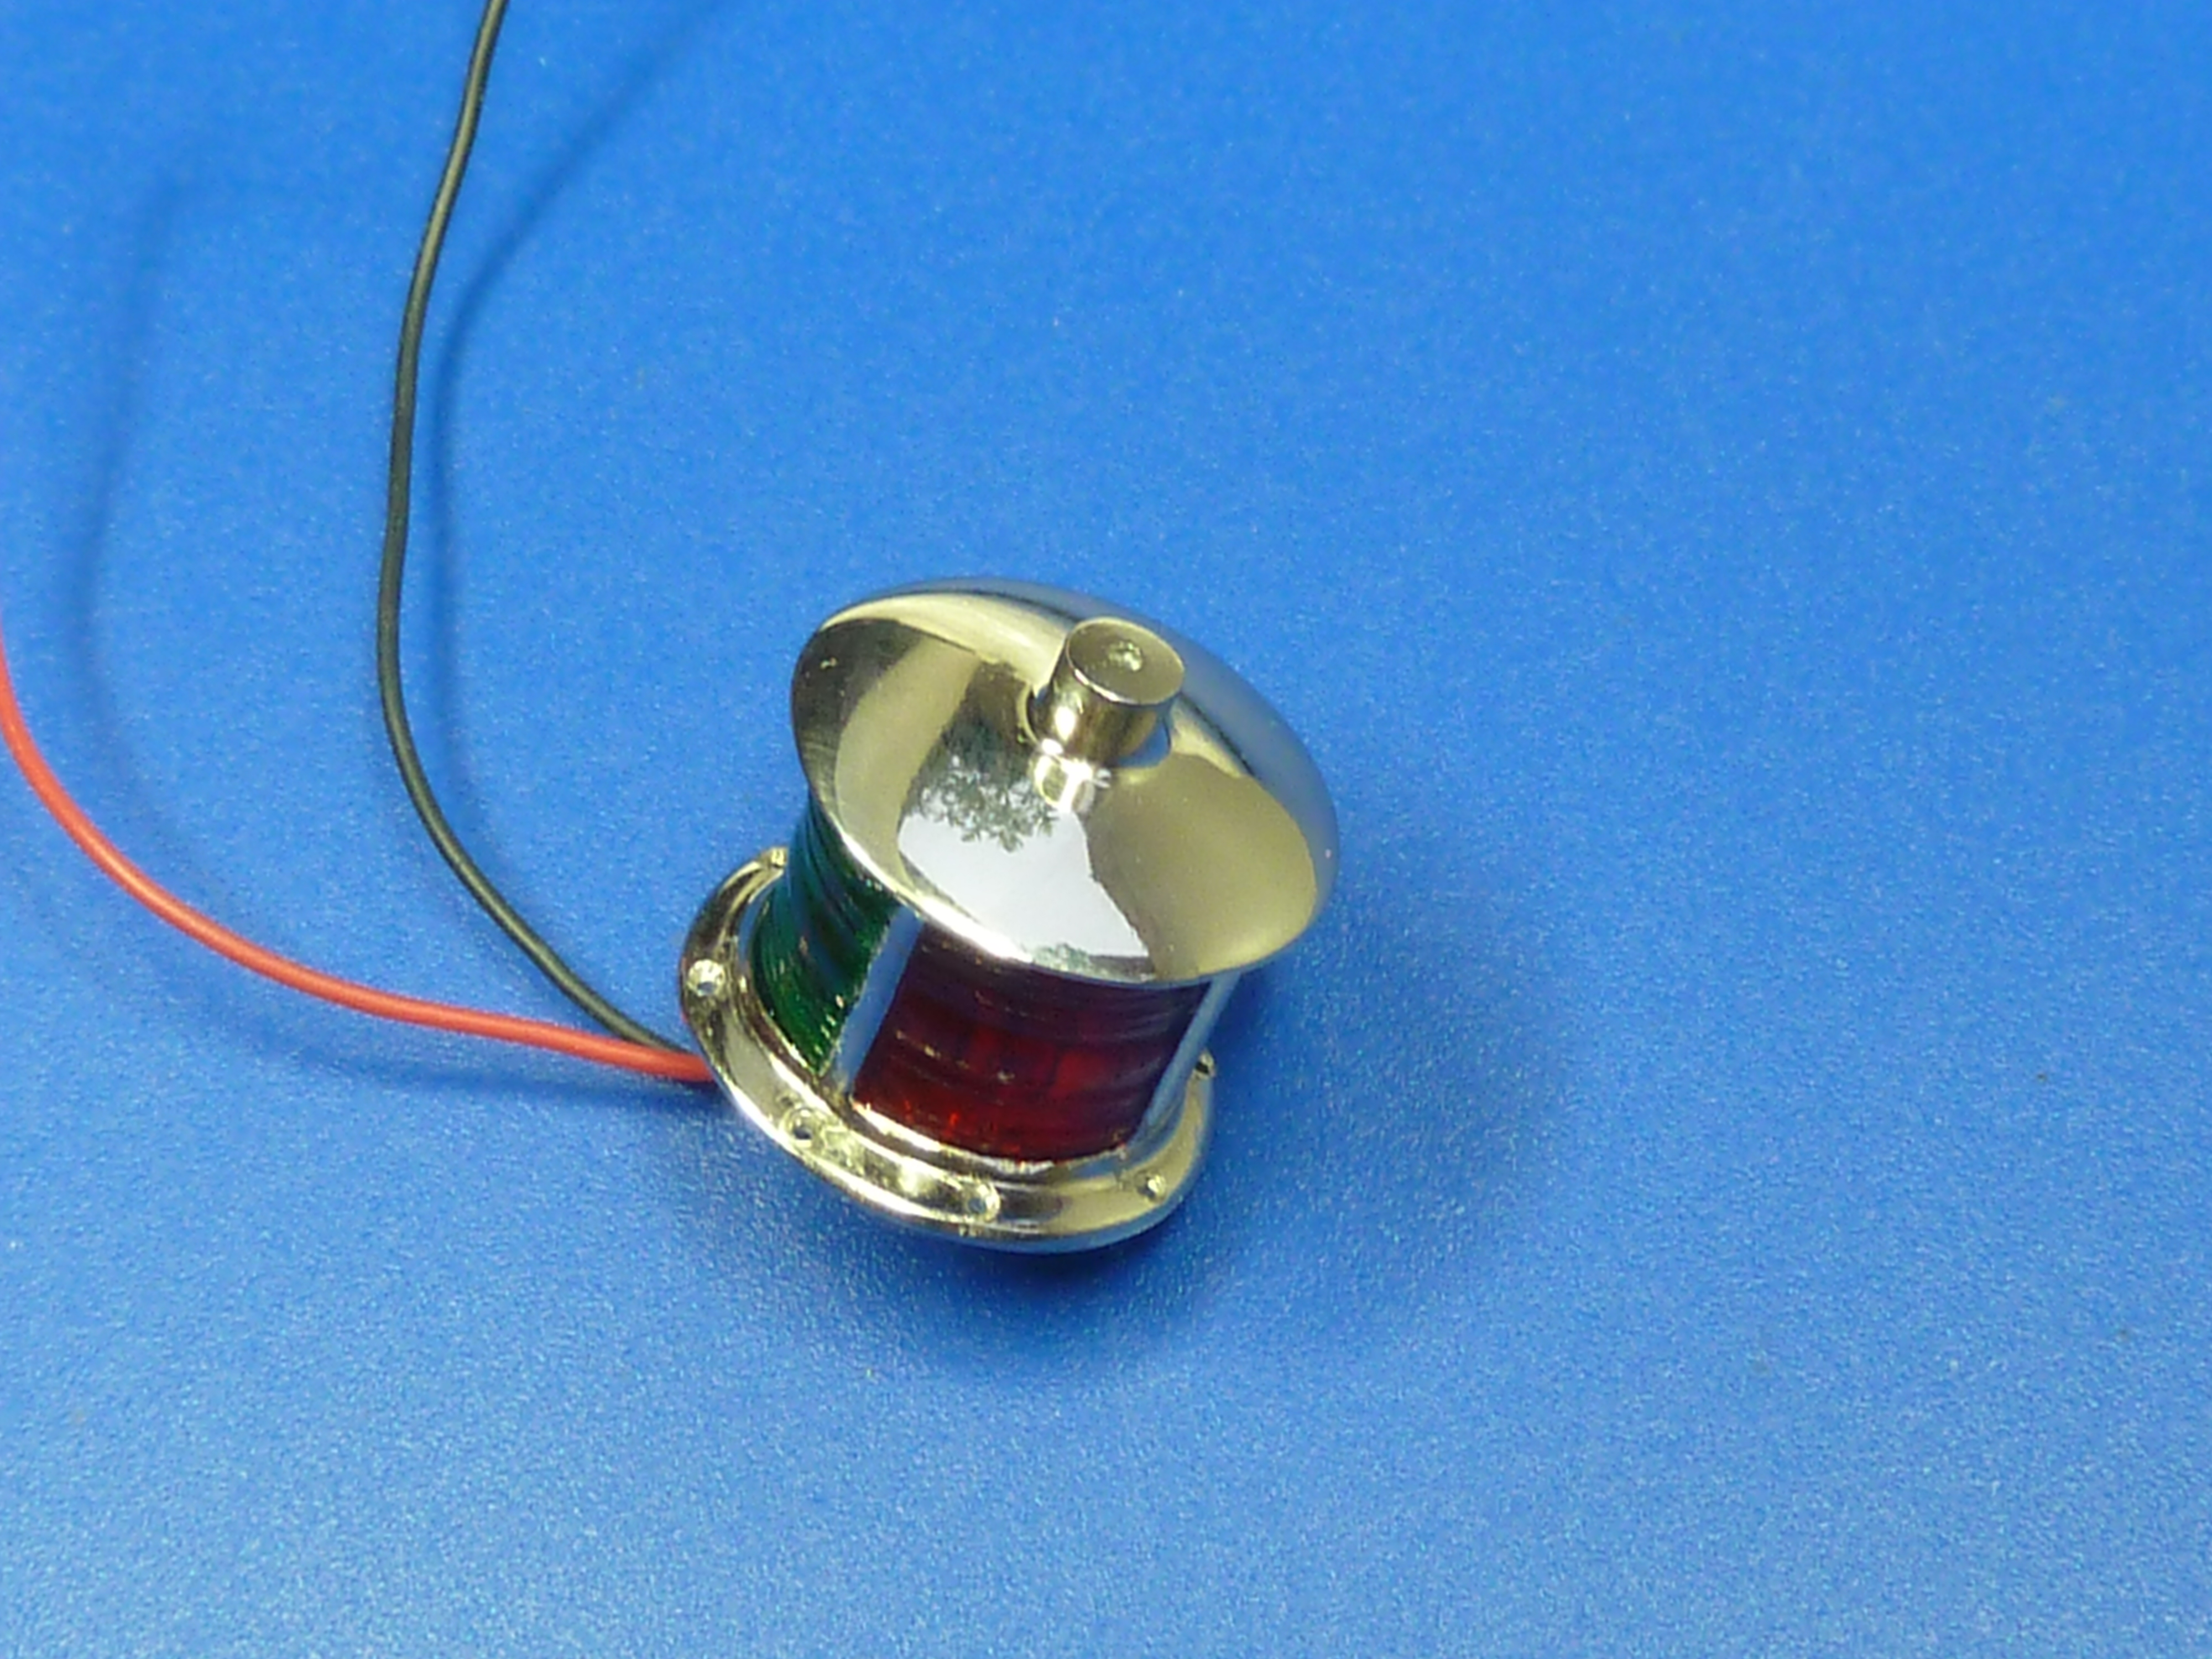
The foredeck navigation light went through a similar process.
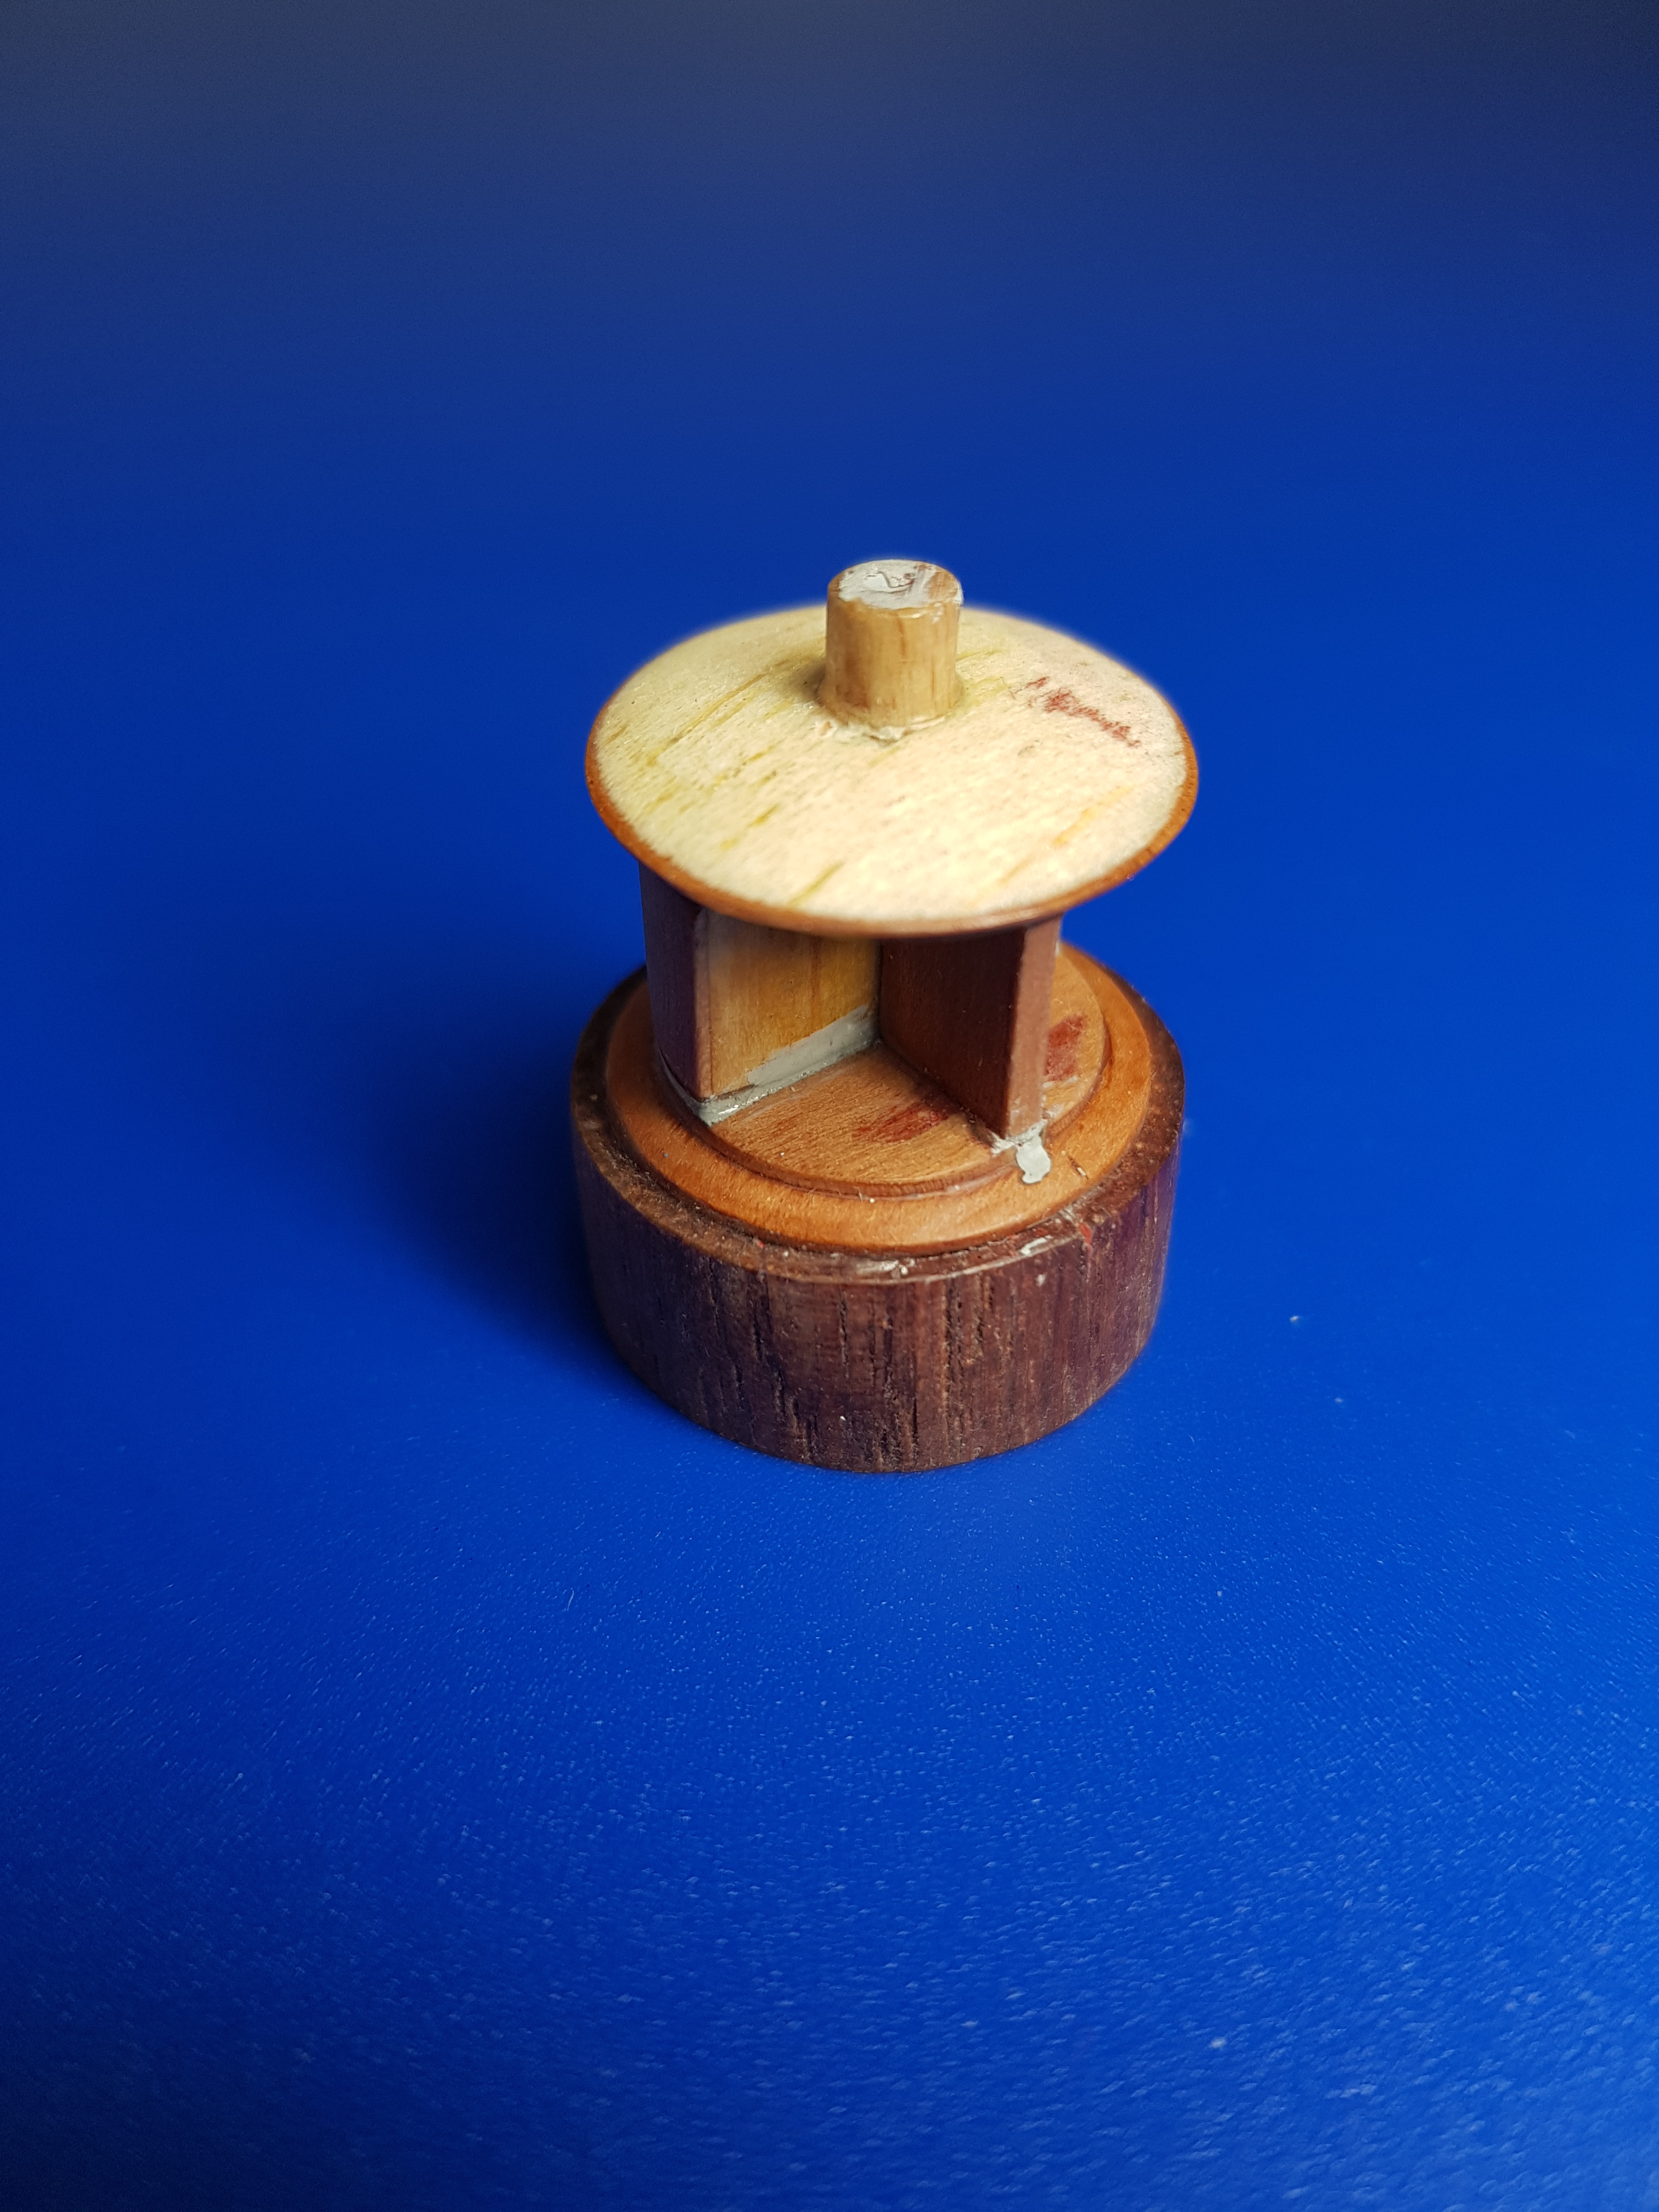

The navigation light was complicated by needing to be lit. The centre was drilled out at accept a diffuse white 5mm LED.

Some lenses were designed in CAD, 3D printed, then cast in clear resin.

The lenses were then painted with clear acrylics to get the green and red colours. The surface of the lenses could be sharper if I’m honest. They are the weakest part of the light.

It should look okay when installed though.
Next, a new rudder and helm.
‘Miss Severn’ 1922 Gold Cup Racer – Mack Models 1:8 (Part 6)

Simply brilliant modeling! Merry Christmas, buddy.
LikeLiked by 1 person
Merry Christmas to you too.
LikeLike
The lengths you go to, to get it right are just incredible. I’m literally in awe of what you do!
LikeLiked by 1 person