
The first part of Hasegawa’s Sopwith Camel kit is the Clerget 9B engine. The kit I’d bought was second hand and the previous owner had already assembled most of the engine, and not to a standard I was happy with. However, the lady selling the model said that there was also a separate unstarted Clerget engine model available that she would include for free. Top stuff!
So I was able to commence the build on a kit unsullied by human hand, whilst having the part built one available for reference and to check the fit of scratch built components.
The kit is pretty simple and the fit of the parts very good indeed with no flash whatsoever and little clean up of mould lines required.
First up was assembly of the two part crankcase which is split as per the real thing. After that the 9 cylinders were assembled from the three parts each in the kit. All straight forward and only requiring accurate alignment of things to get a nice fit. One area that is awkward is trying to hide the join line in the depths of the cooling fins. If you look closely you can still see this on the finished model, but it is awkward to get at and even see with my eyes. The camera picks it up just fine though.


Then it was a quick coat of primer and several different shades of steel to add some interest to what would otherwise be a uniformly silver engine. I also added a fair amount of highlighting with graphite powder to give the parts a metallic feel, especially the upper parts of the cylinders. The lower parts got a dry brush with a faint orange. I held off fully weathering the engine as the final model will be an engineering example rather than true to life.
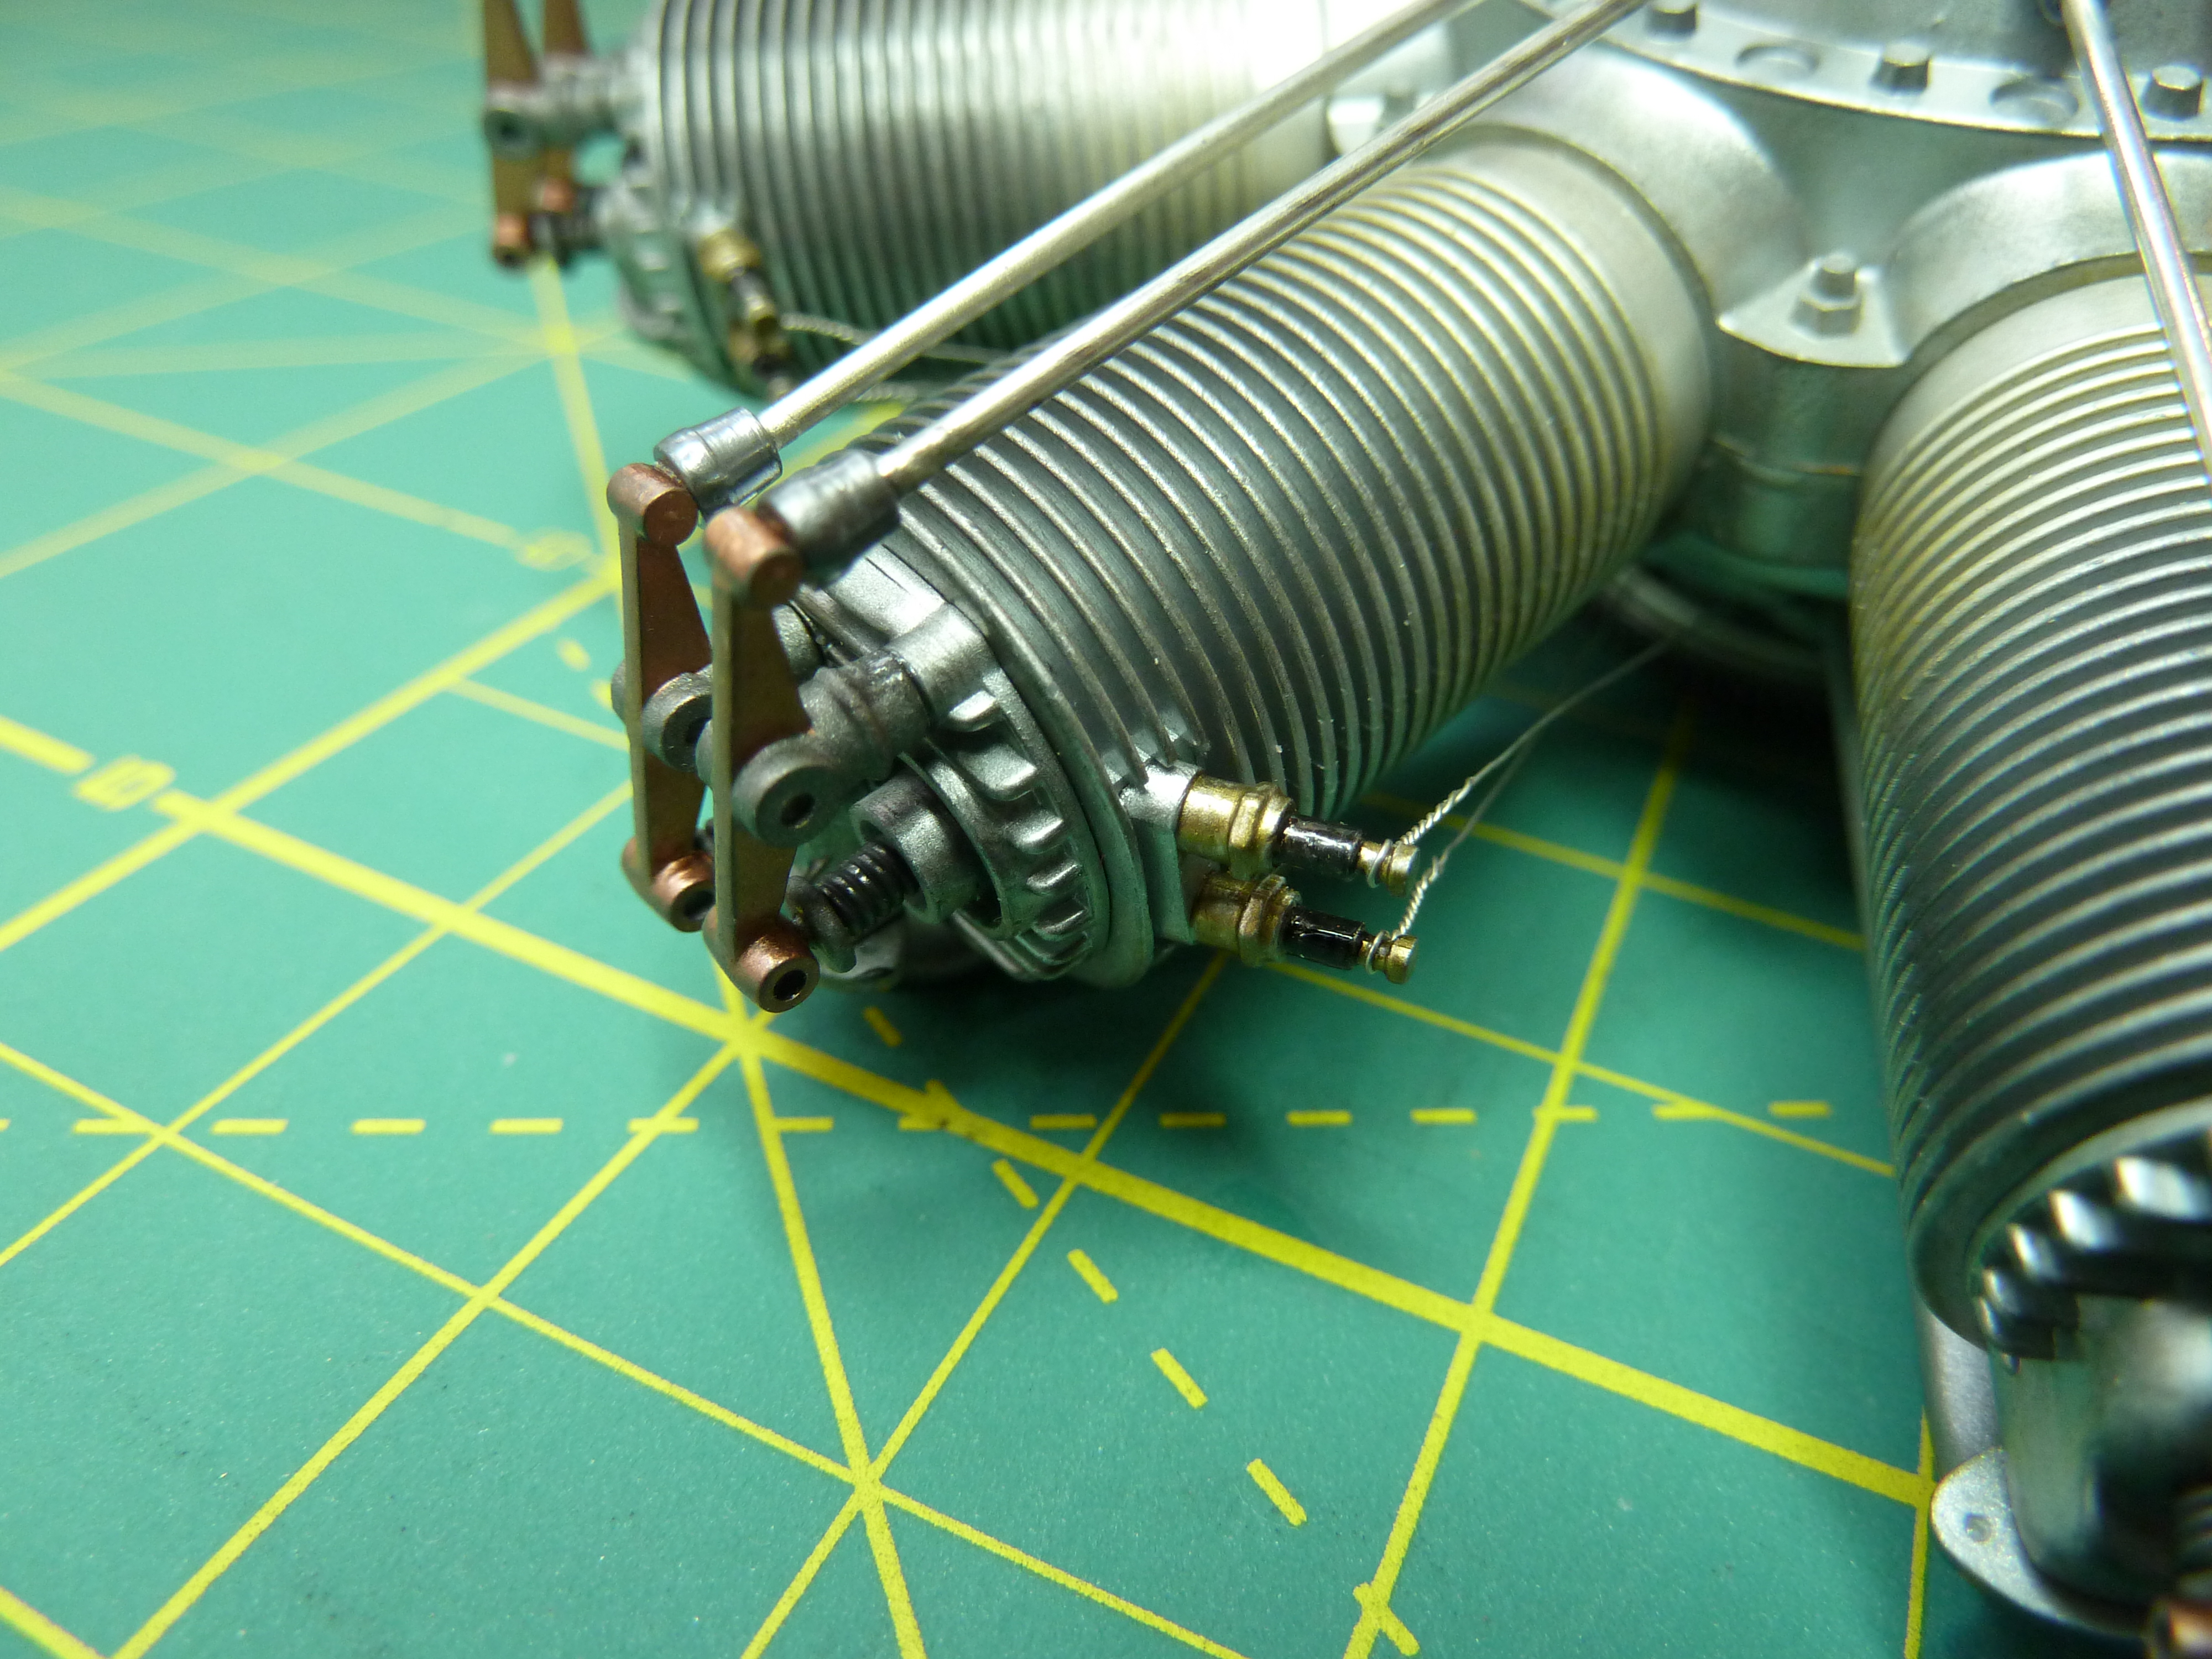
I also added the magneto wires and painted the spark plugs. I used tinned copper wire for this as the copper wire supplied in the kit seemed too thick to me and I’ve never seen a real engine with copper coloured wires.


Obviously the paint brush is only stuffed up the middle to allow me to manipulate the model without handling it.
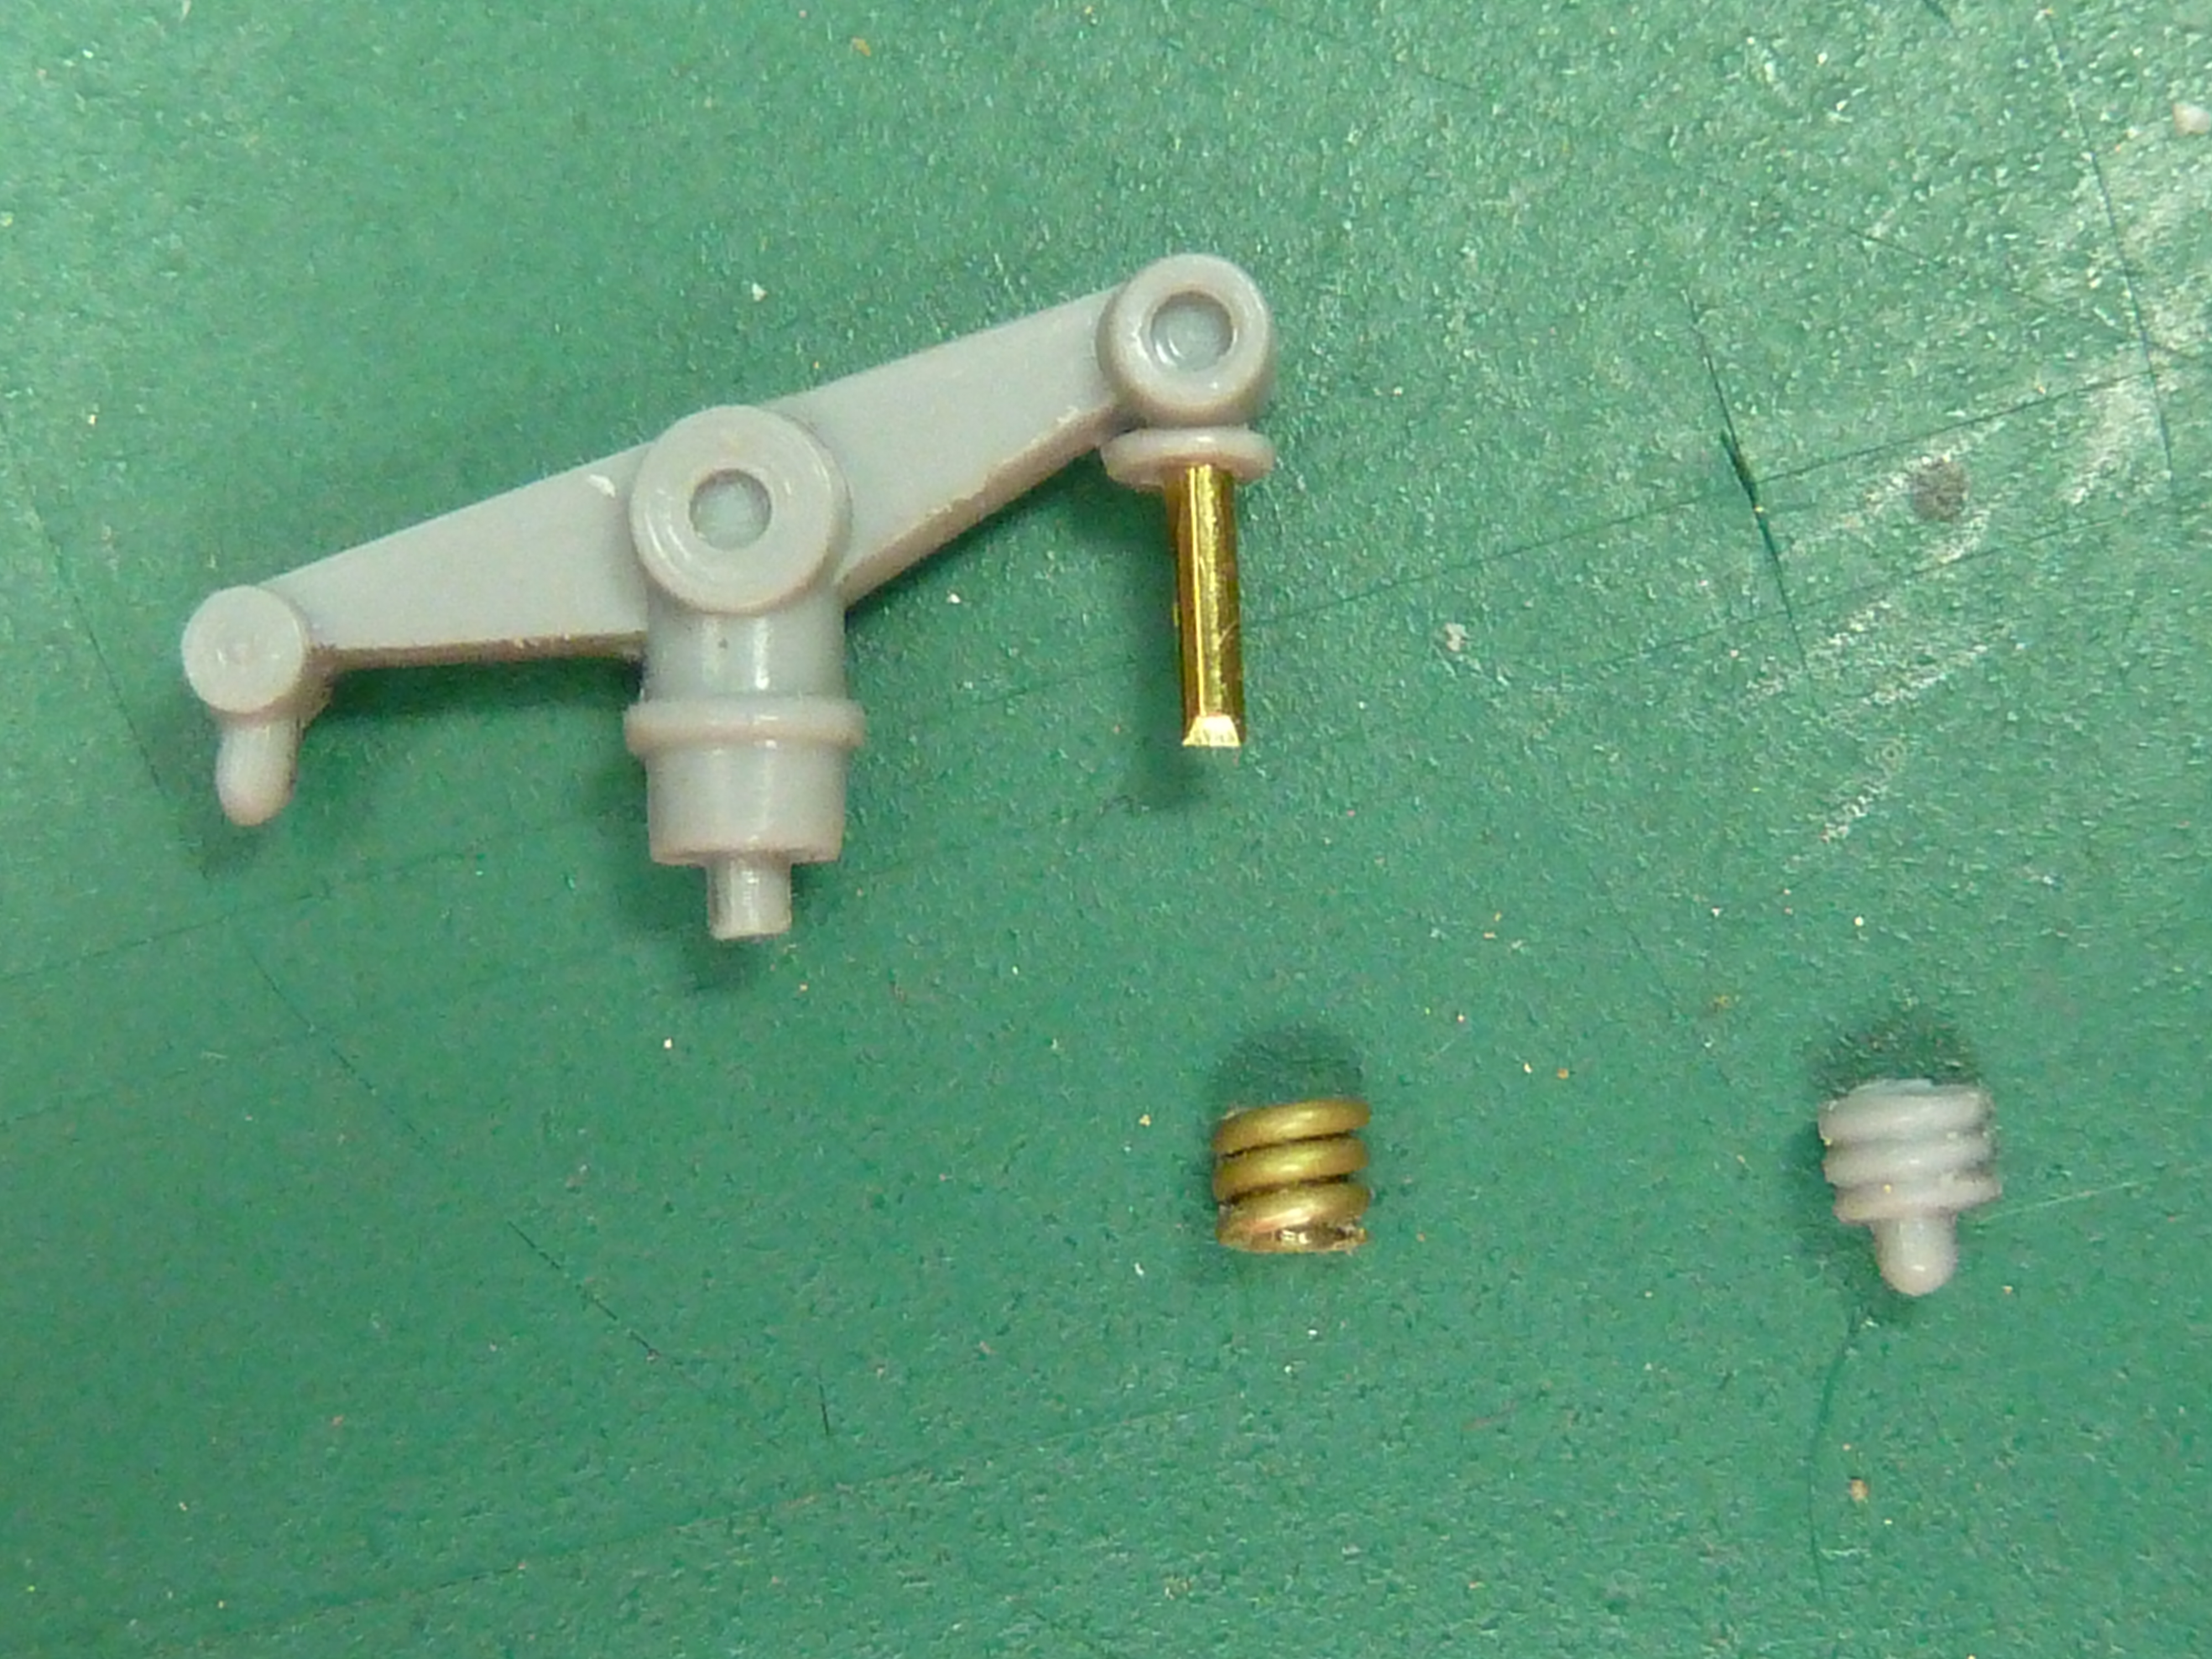
When it came to adding the rocker arms I decided to deviate from the kit’s parts. I cut off the moulded springs and valve stems and replaced them with brass rod, the new springs similarly wound from 0.45mm rod. I also replaced the unusual lever exhaust springs with a more conventional type. The ones on the kit are wrong anyway as there is a single spring when in reality there should be two side by side.
I elected to go with a more normal coil spring around the valve stem as per the inlet valve. I’ve seen these on a number of Clerget engines and the 1917 parts book published by Gwynne’s Ltd, who were the British licensees for the engine, also lists them as parts. I suspect they may apply to the upgraded 9BF engine though. If anyone knows I’d be grateful if you could clarify it for me.

I also took the opportunity to paint the rocker arms a copper colour. This is something I’ve also seen on some engines and I assume it’s to offer some sort of protective finish. Whatever, it adds some much needed colour to the model.
I had been intending to use the brass pushrods supplied in the kit as most others do on this model. The instructions say to leave them in their natural colour, but I’ve never seen a brass pushrod on any Clerget engine. They have all been steel or occasionally painted black. Rather than go through the hassle of priming and painting a steel colour I opted to replace then all with some slightly thinner plated steel rod I had to hand.
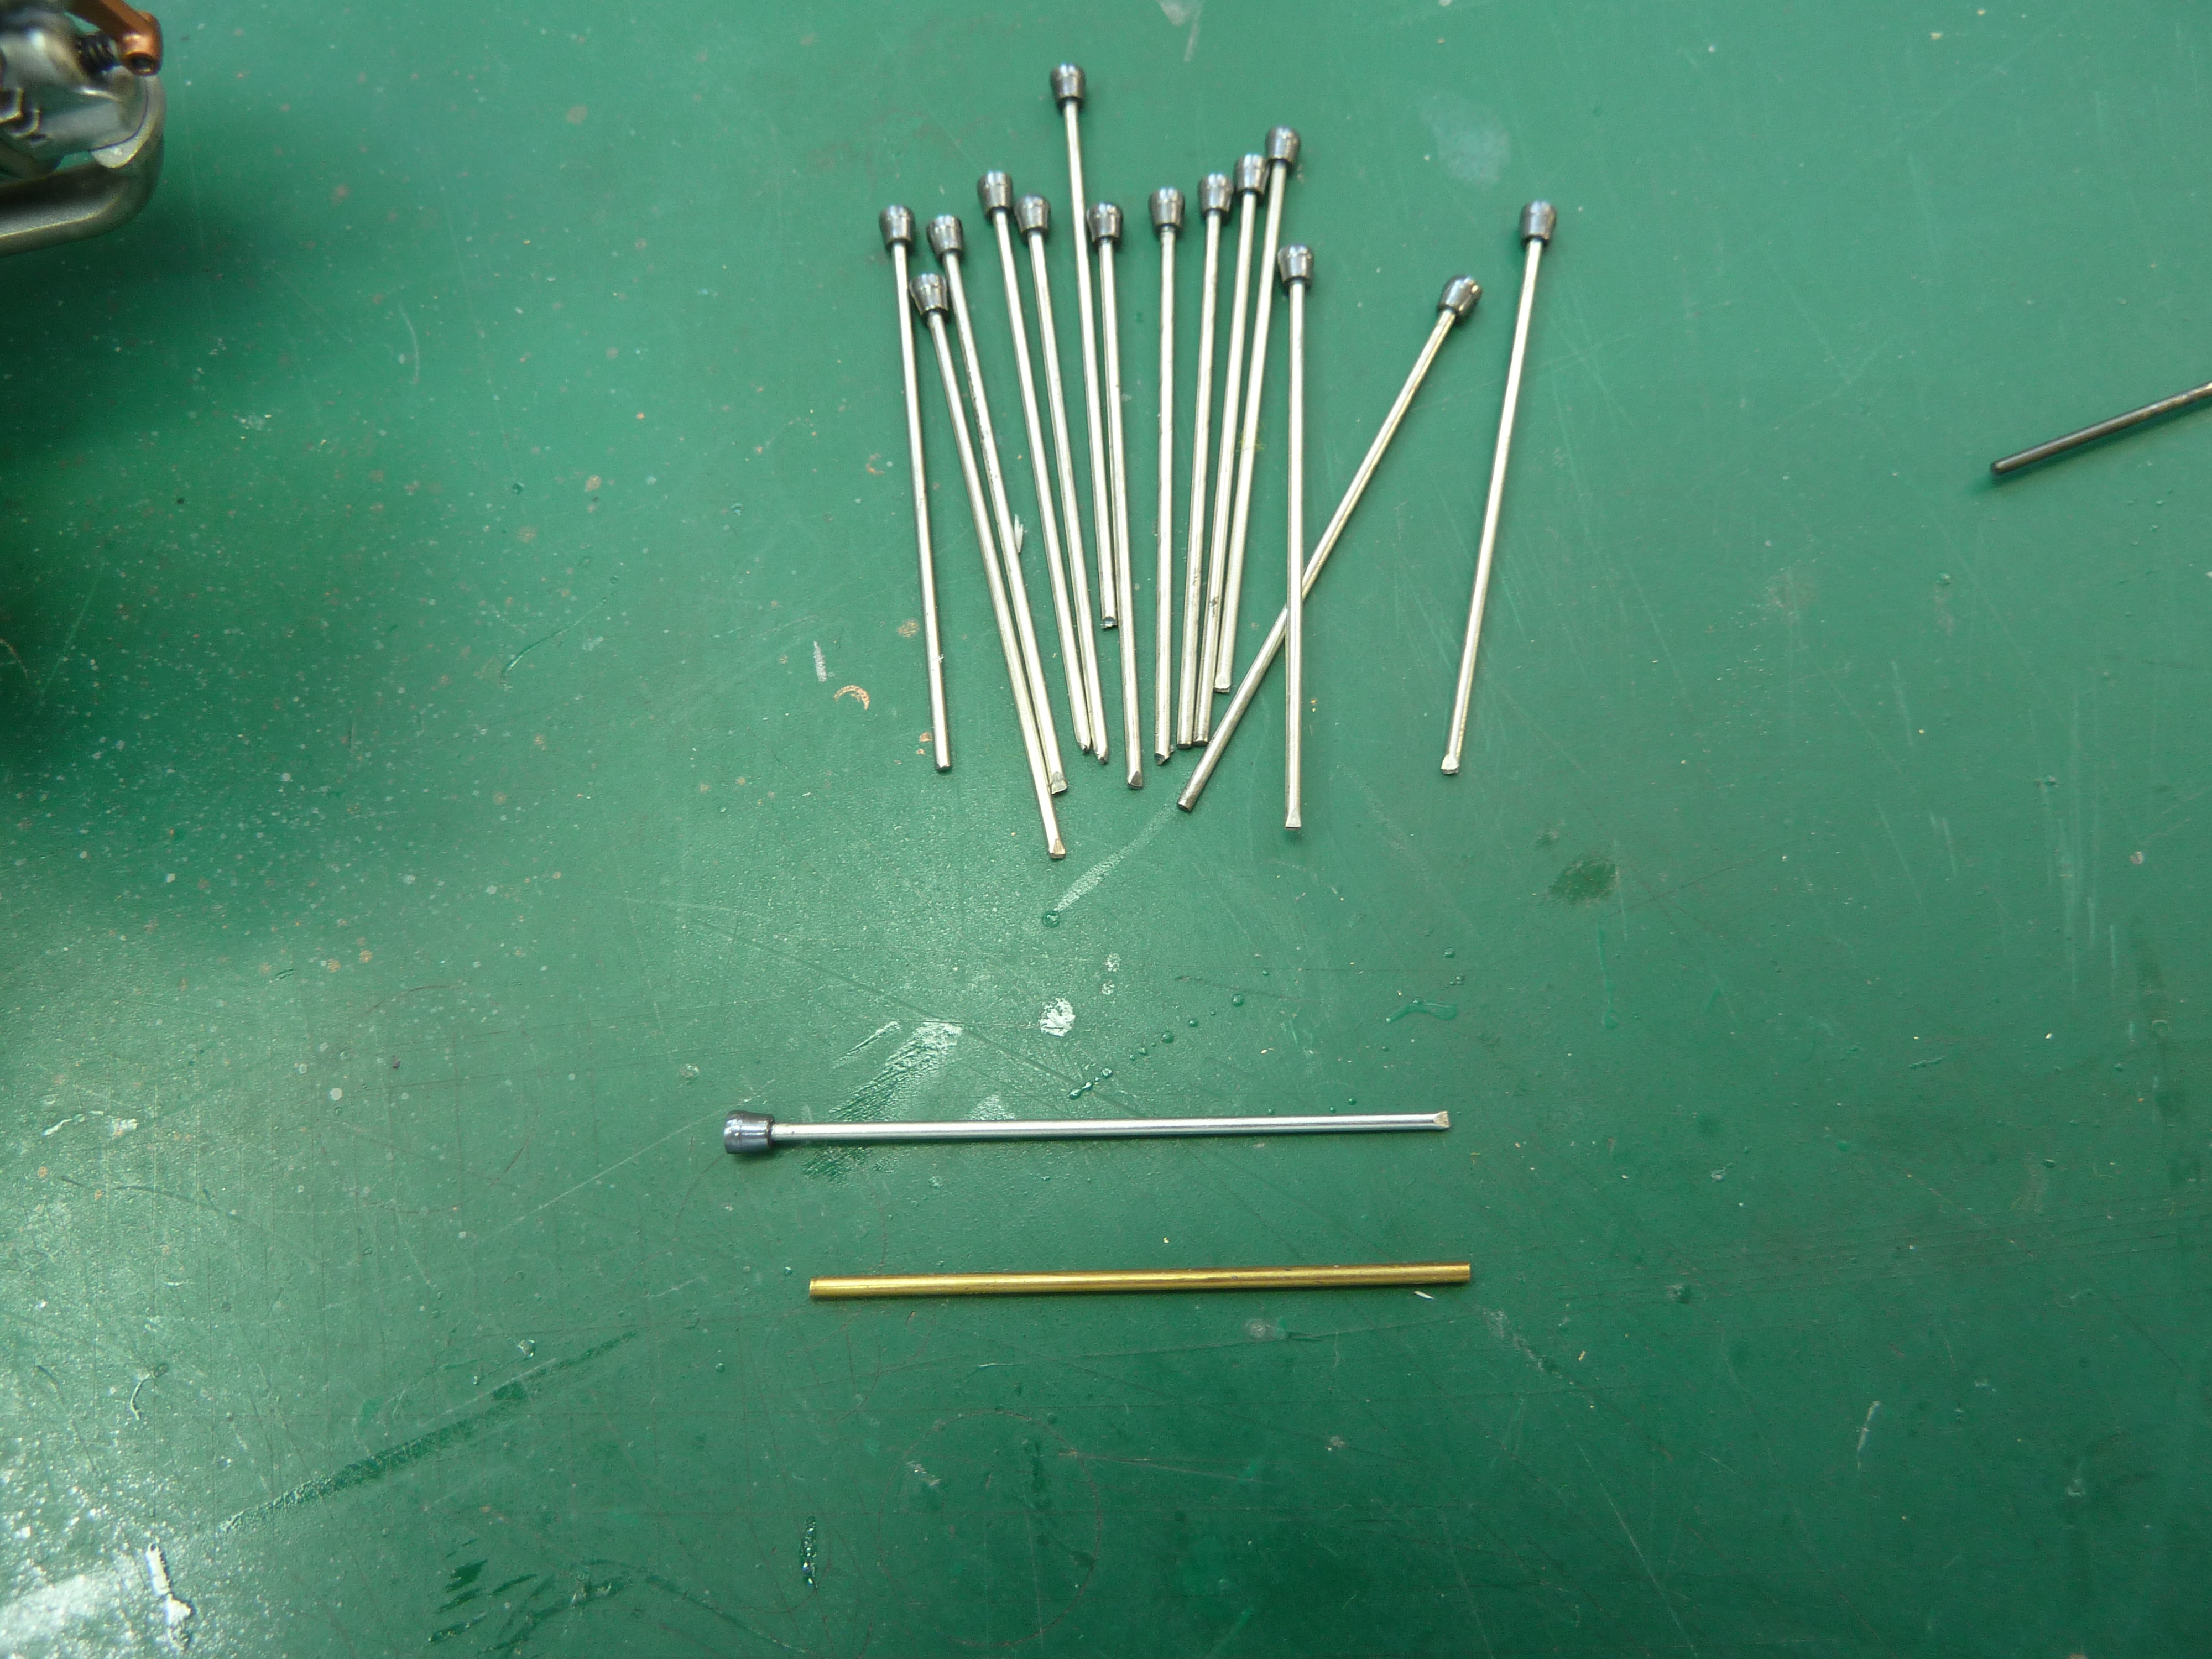
In order to make this simpler I drilled out the mounting bosses on the crankcase so that the rod could protrude through. This meant I didn’t have to be too accurate on length as any spare would be hidden inside.

I have to confess to being quite pleased by the substitution. I think it looks much better than the brass rods.


Here’s the finished engine with the prop which I have also just completed, but I’ll cover in another post later.


Absolutely beautiful.
LikeLiked by 1 person
This is all about a love affair!
LikeLike
Any one know where I can get a copy of the assembly manual? I have the kit without the instructions. Please email me at: strongbird41@gmail.com if you can help.
LikeLike
Try this link.
https://www.dropbox.com/s/nr22gt7gz2dacr5/Sopwith_Complete.pdf?dl=0
LikeLiked by 1 person
Thank you so much!!!
LikeLiked by 1 person
Thank yyou for being you
LikeLike