
In the post about the Clerget engine I mentioned completing the propeller and said I’d cover it in a later post, so here we are. I’ve included the wing struts too as they were done in parallel.
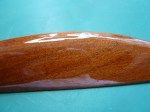
The prop and wing struts are parts of the model that catch your eye so I wanted to make sure that they had visual impact. To achieve it I opted for a high gloss, deep mahogany coloured finish. In fact glossier than the real thing probably.
The prop in the kit comes pre-shaped thankfully as I didn’t relish the idea of doing my own. It is made from a single piece of wood and not laminated like the originals, though the grain goes someway to giving a laminated appearance.
The original finish was pretty good, but there were some residual machining marks on it, especially around the central boss. To remove them I sanded the prop down with 600, 800 and finally 2000 grit paper and leave a smooth, almost polished, bare surface for the wood dye.
I used Liberon’s Georgian Mahogany Spirit Dye for the staining which was new to me, but worked very well. I initially tried applying it with a wide brush but couldn’t get a uniform enough finish so experimented with a lint free cloth. The latter is infinitely easier, and a few applications achieved the even deep red/brown I was after.
The stain was sealed in with a generous coat of yacht varnish and then left to harden for a few days. Once dried it was sanded down (gently!) with 2000 and 3000 grit wet and dry paper until all the imperfections had been removed. Afterwards a second coat of varnish was applied. I had intended to apply a 3rd and possibly 4th coat to get the deep shine finish I was after, but the prop looked so good after 2 that I decided to quit while I was ahead. There are a couple of imperfections left though, as dust control is a perennial problem in the environment where I make my models. However, the overall visual effect of the prop was what I wanted.


Alongside the prop I also assembled and finished the cabane (wing to fuselage) struts and the interplane struts. These are assembled from three parts each: a die-cut plywood inner which is sandwiched between two lengths of Japanese Cyprus cut from the stock supplied in the kit. No one would accuse Hasegawa of being over generous with the stock lengths supplied as I only had about 2 or 3mm of spare left out of each 400mm long length when I’d finished cutting.
Once the various lengths had been trimmed and checked I laminated the parts together using instant wood glue which was pretty straightforward. After which the struts were sanded to the aerodynamic profile shown in the drawings. Again not a difficult job, but messy to one used to plastic model kits.
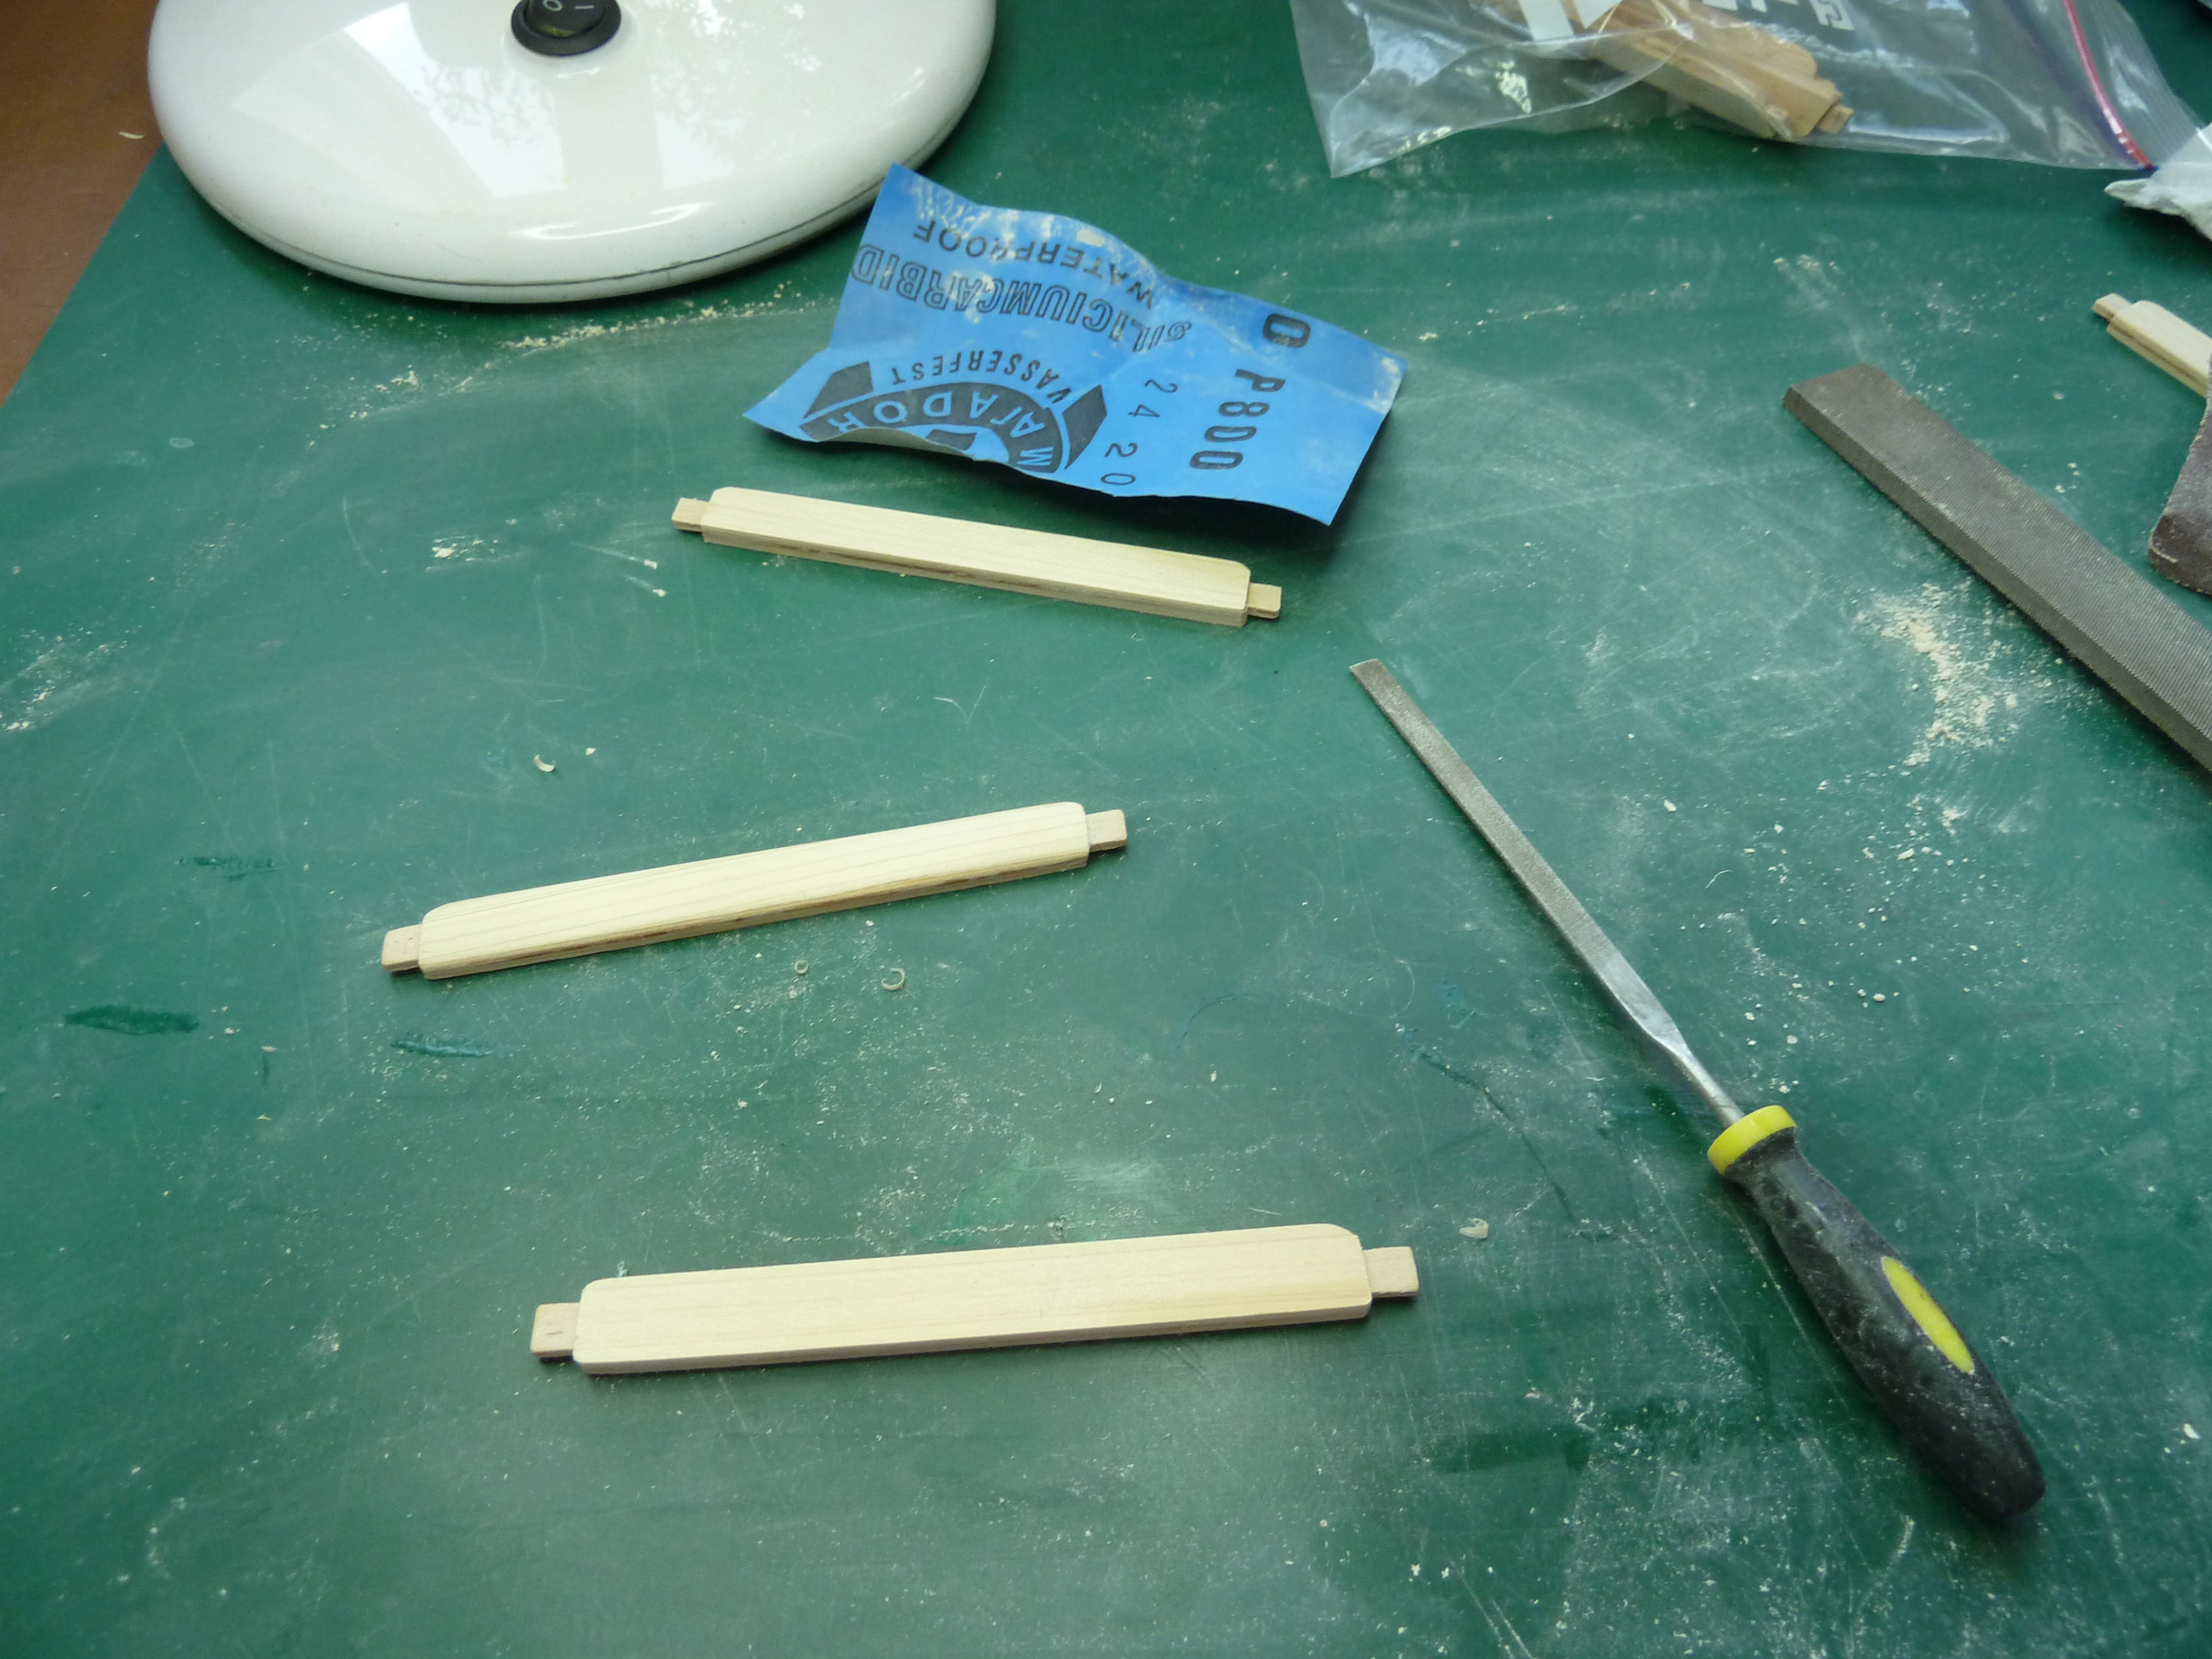
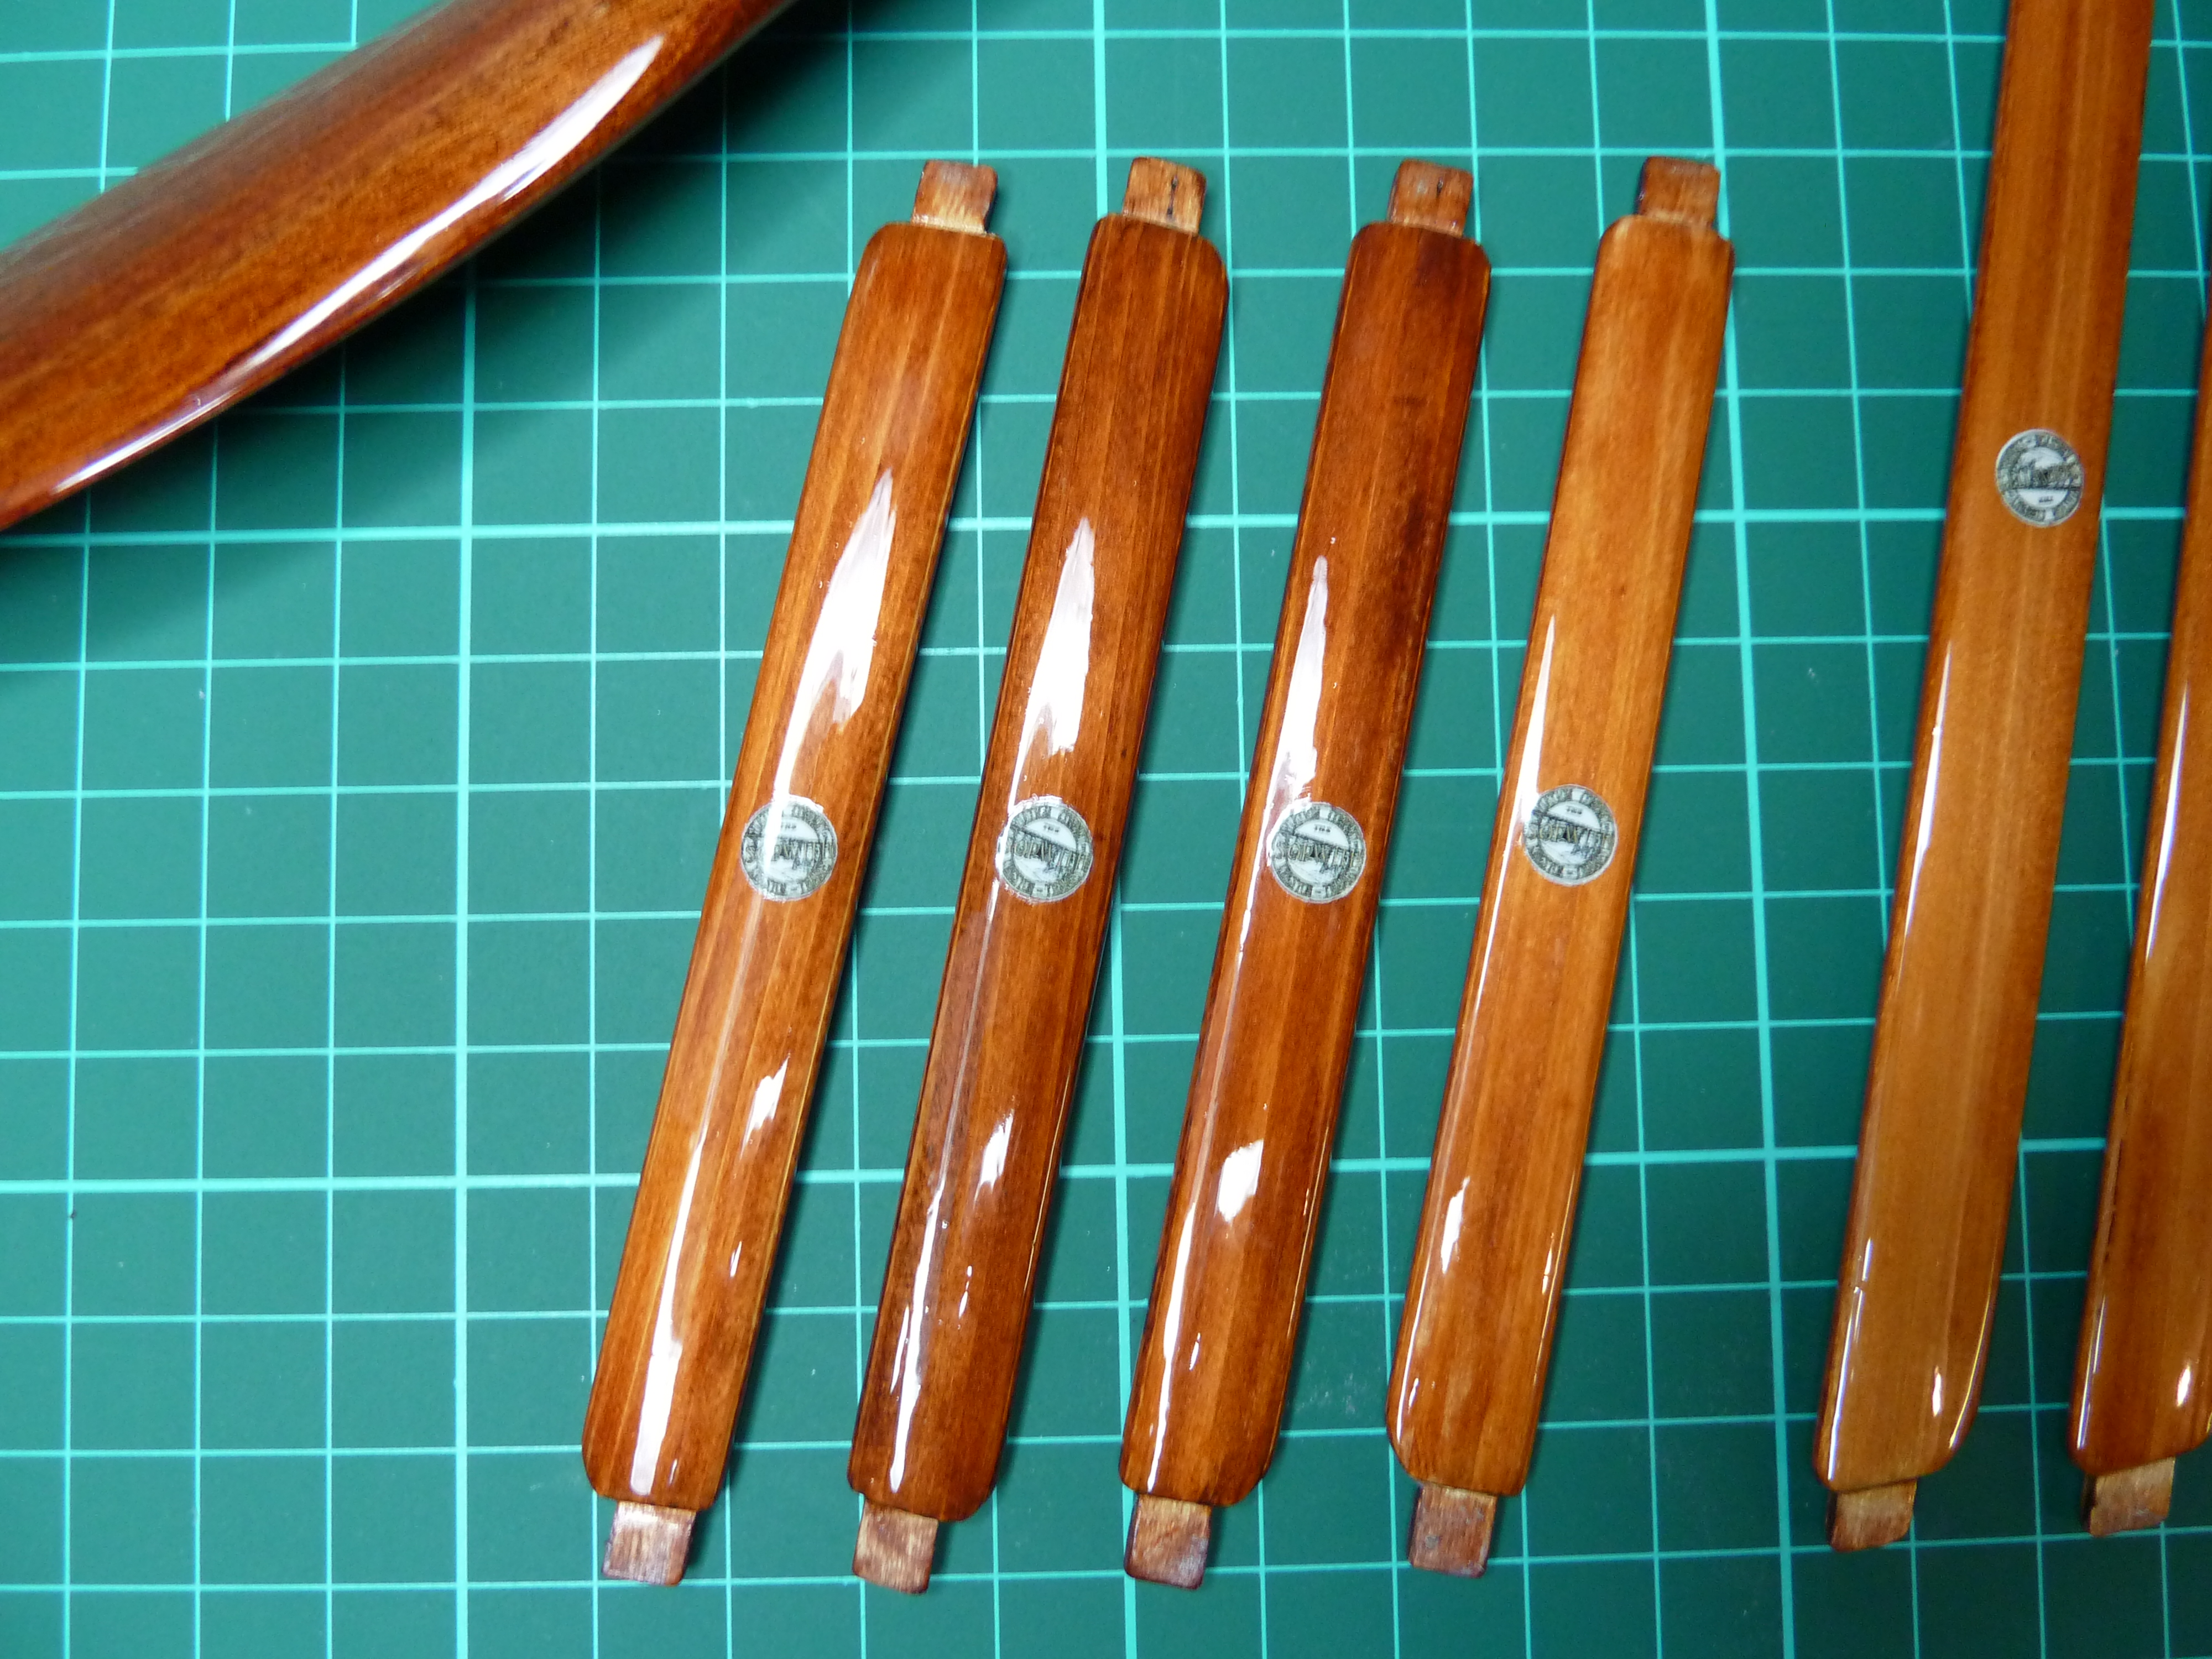
Once all the struts were profiled I sanded them to a smooth finish in the same manner as the prop and applied the same wood stain. The struts were actually a dark pine in reality, I think, so really they shouldn’t have been as red as the prop and I was hoping to achieve this via deft application of the spirit dye. As it turned out the wood took the stain in a different way and turned out naturally less red.

Above is a photo of the stained struts with the finished prop. As you can see they are fractionally lighter. Perhaps not quite light enough for complete veracity but good enough for me. Following the staining it was a repeat of the varnish, sand, varnish process that I applied to the prop.
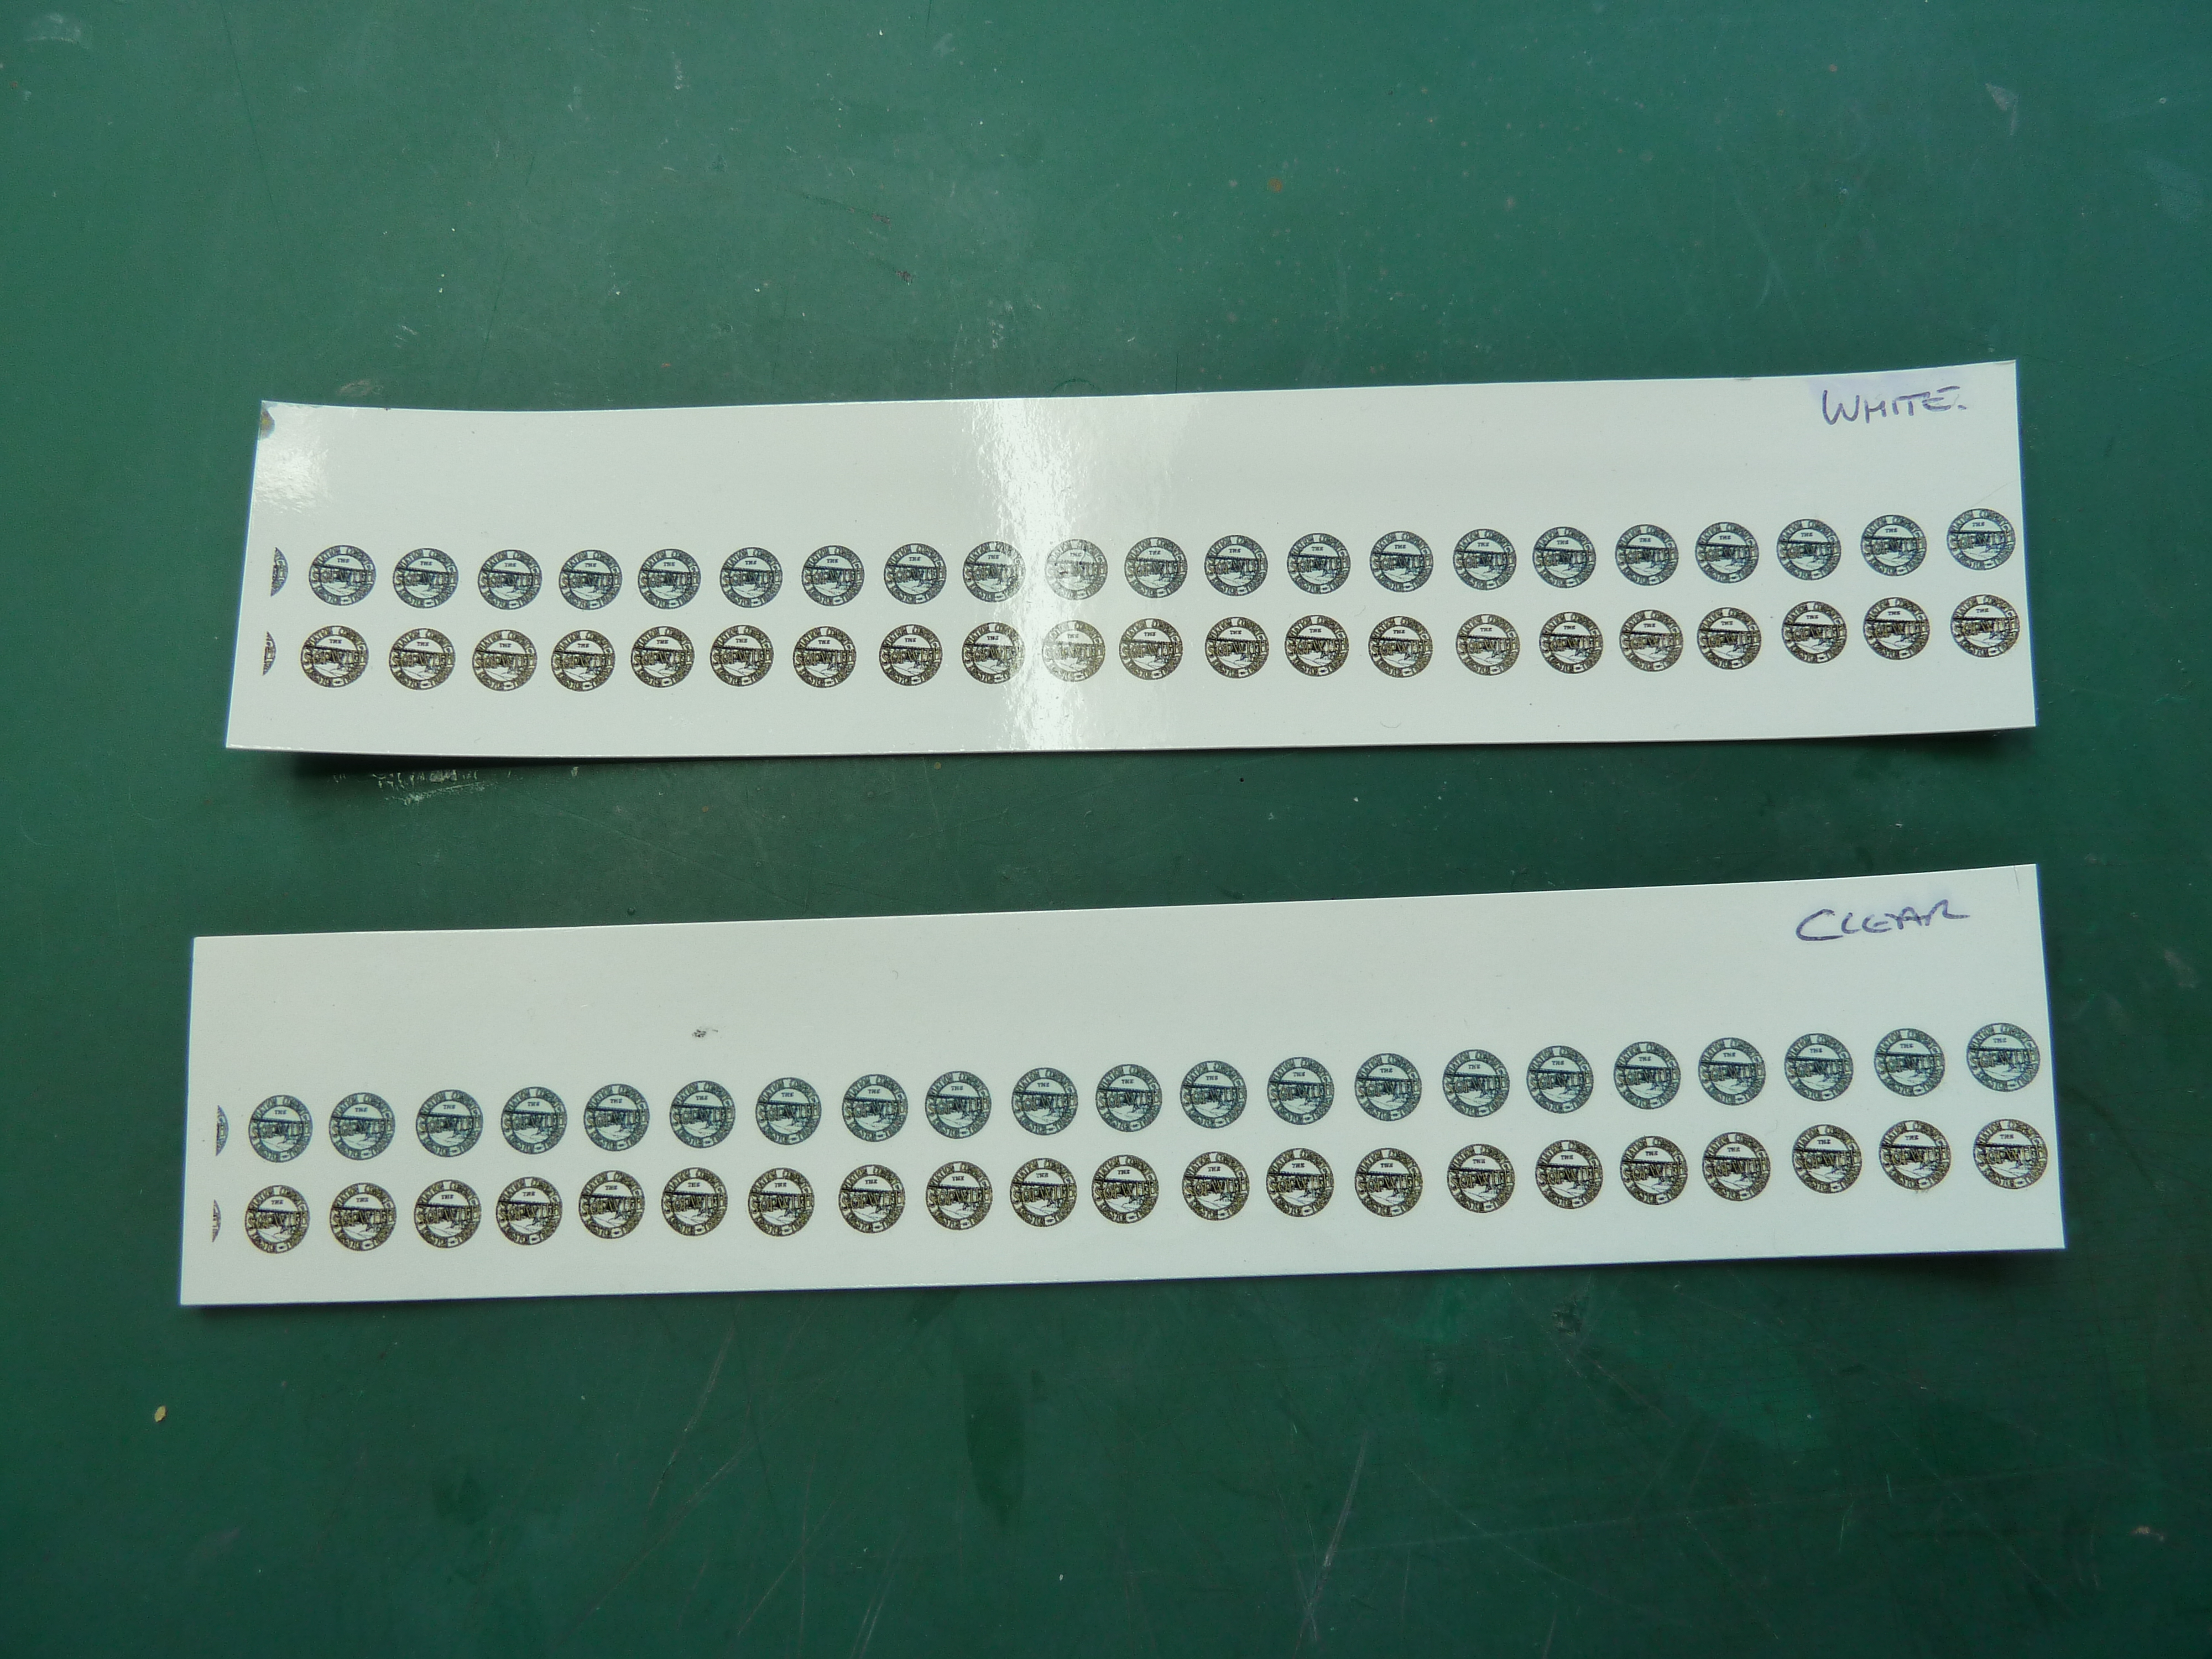
At this point the struts were good enough for the model, however Camels that were actually manufactured by Sopwith at their Kingston-on-Thames factory had a Sopwith logo applied to each strut and I wanted to replicate this. After a quick Google I located a sample of the Sopwith logo and a couple of pictures of it on actual Kingston made Camels. This revealed a slight conundrum. One aircraft had what appeared to be a black and white version and another, from the Shuttleworth collection, a blue toned version so I was unsure which was more representative. In the end I decided to test both and see which looked best on the model. Below are large-scale printouts of the two versions of the decal made using Photoshop.

As I was making the logos using decal paper and my inkjet printer there was also the question of the best way to achieve the white/pale blue background. One was to print on white decal paper and cut them out (which I’m not good at!) and the other was to print on clear and paint a white disk on the struts to which the decal would be applied. Again I decided to pioneer both variants and see which was best. Hence, two sets of decals were made, with lots of spares to allow for mistakes.
A spare offcut of plywood was next stained and varnished a la struts. Two white disks were airbrushed on and then the test decals added and the whole thing over-coated with more varnish.
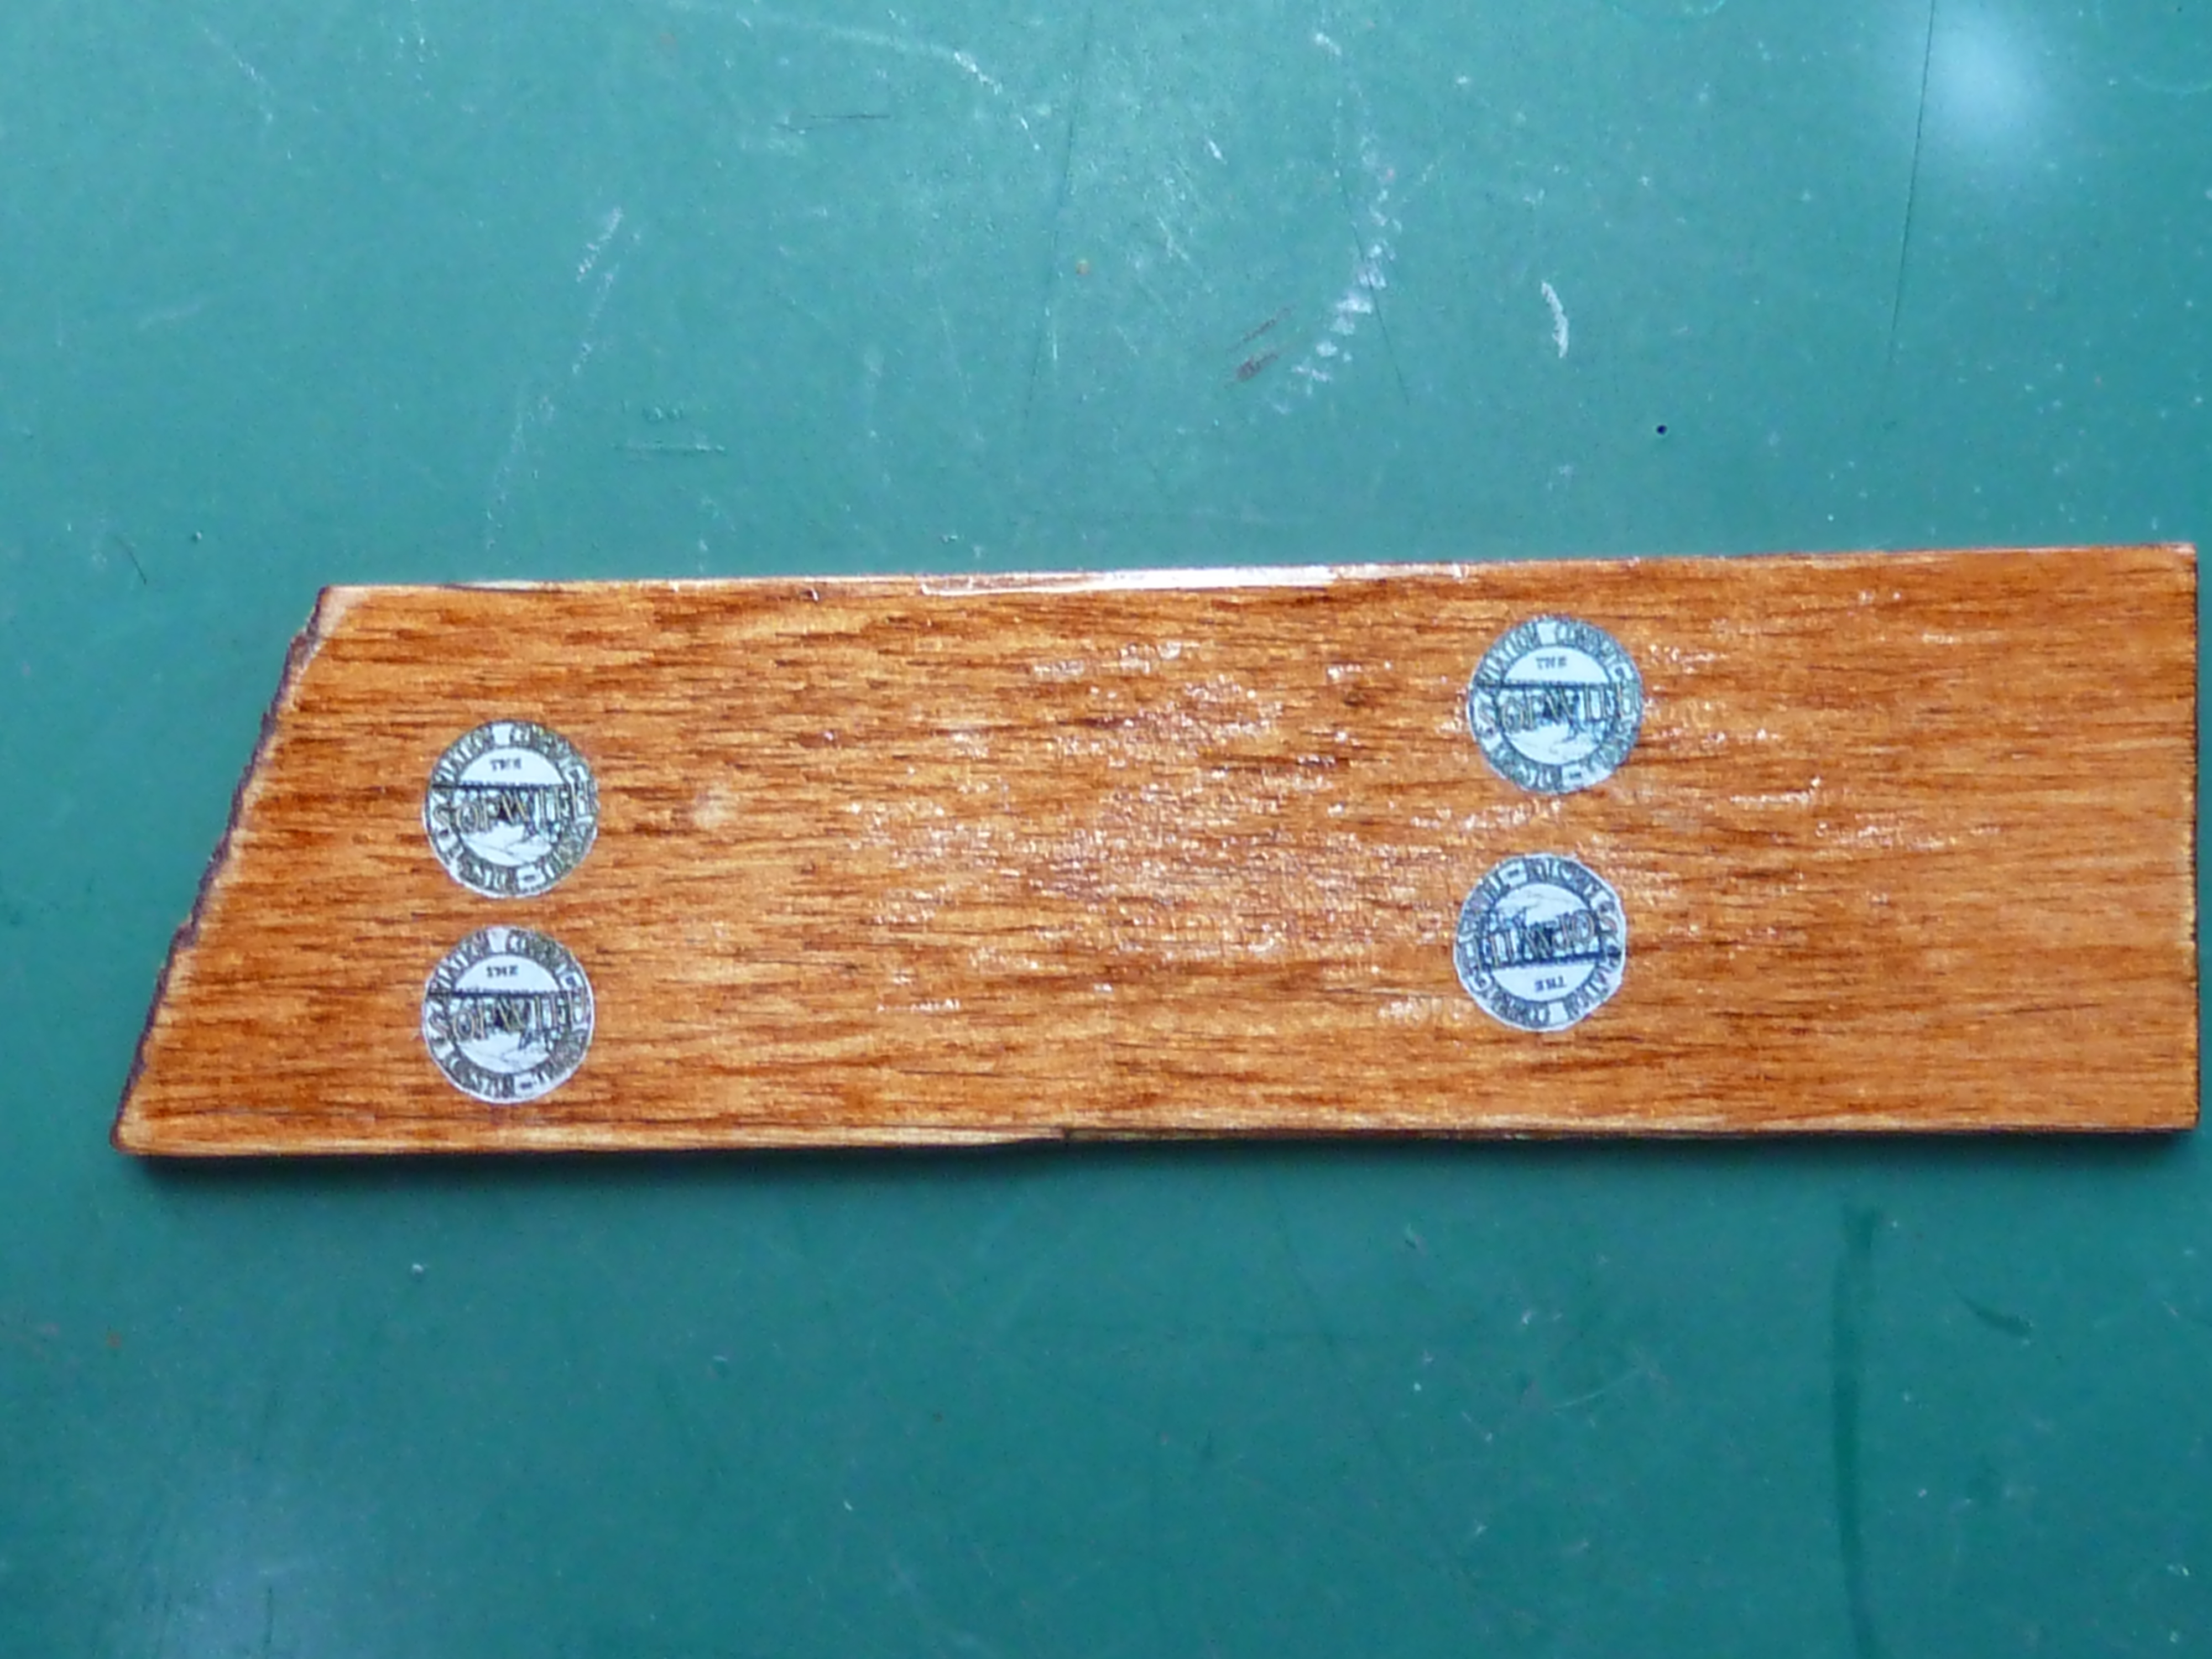
The top row have painted discs and clear decals while the bottom row are printed on white decal paper and cut out.. The black/white logo version is on the left and the blue on the right. Comparing the various types there wasn’t that much in it to be honest. However, having done the work I judged the black and white version on the painted disk to be the best.

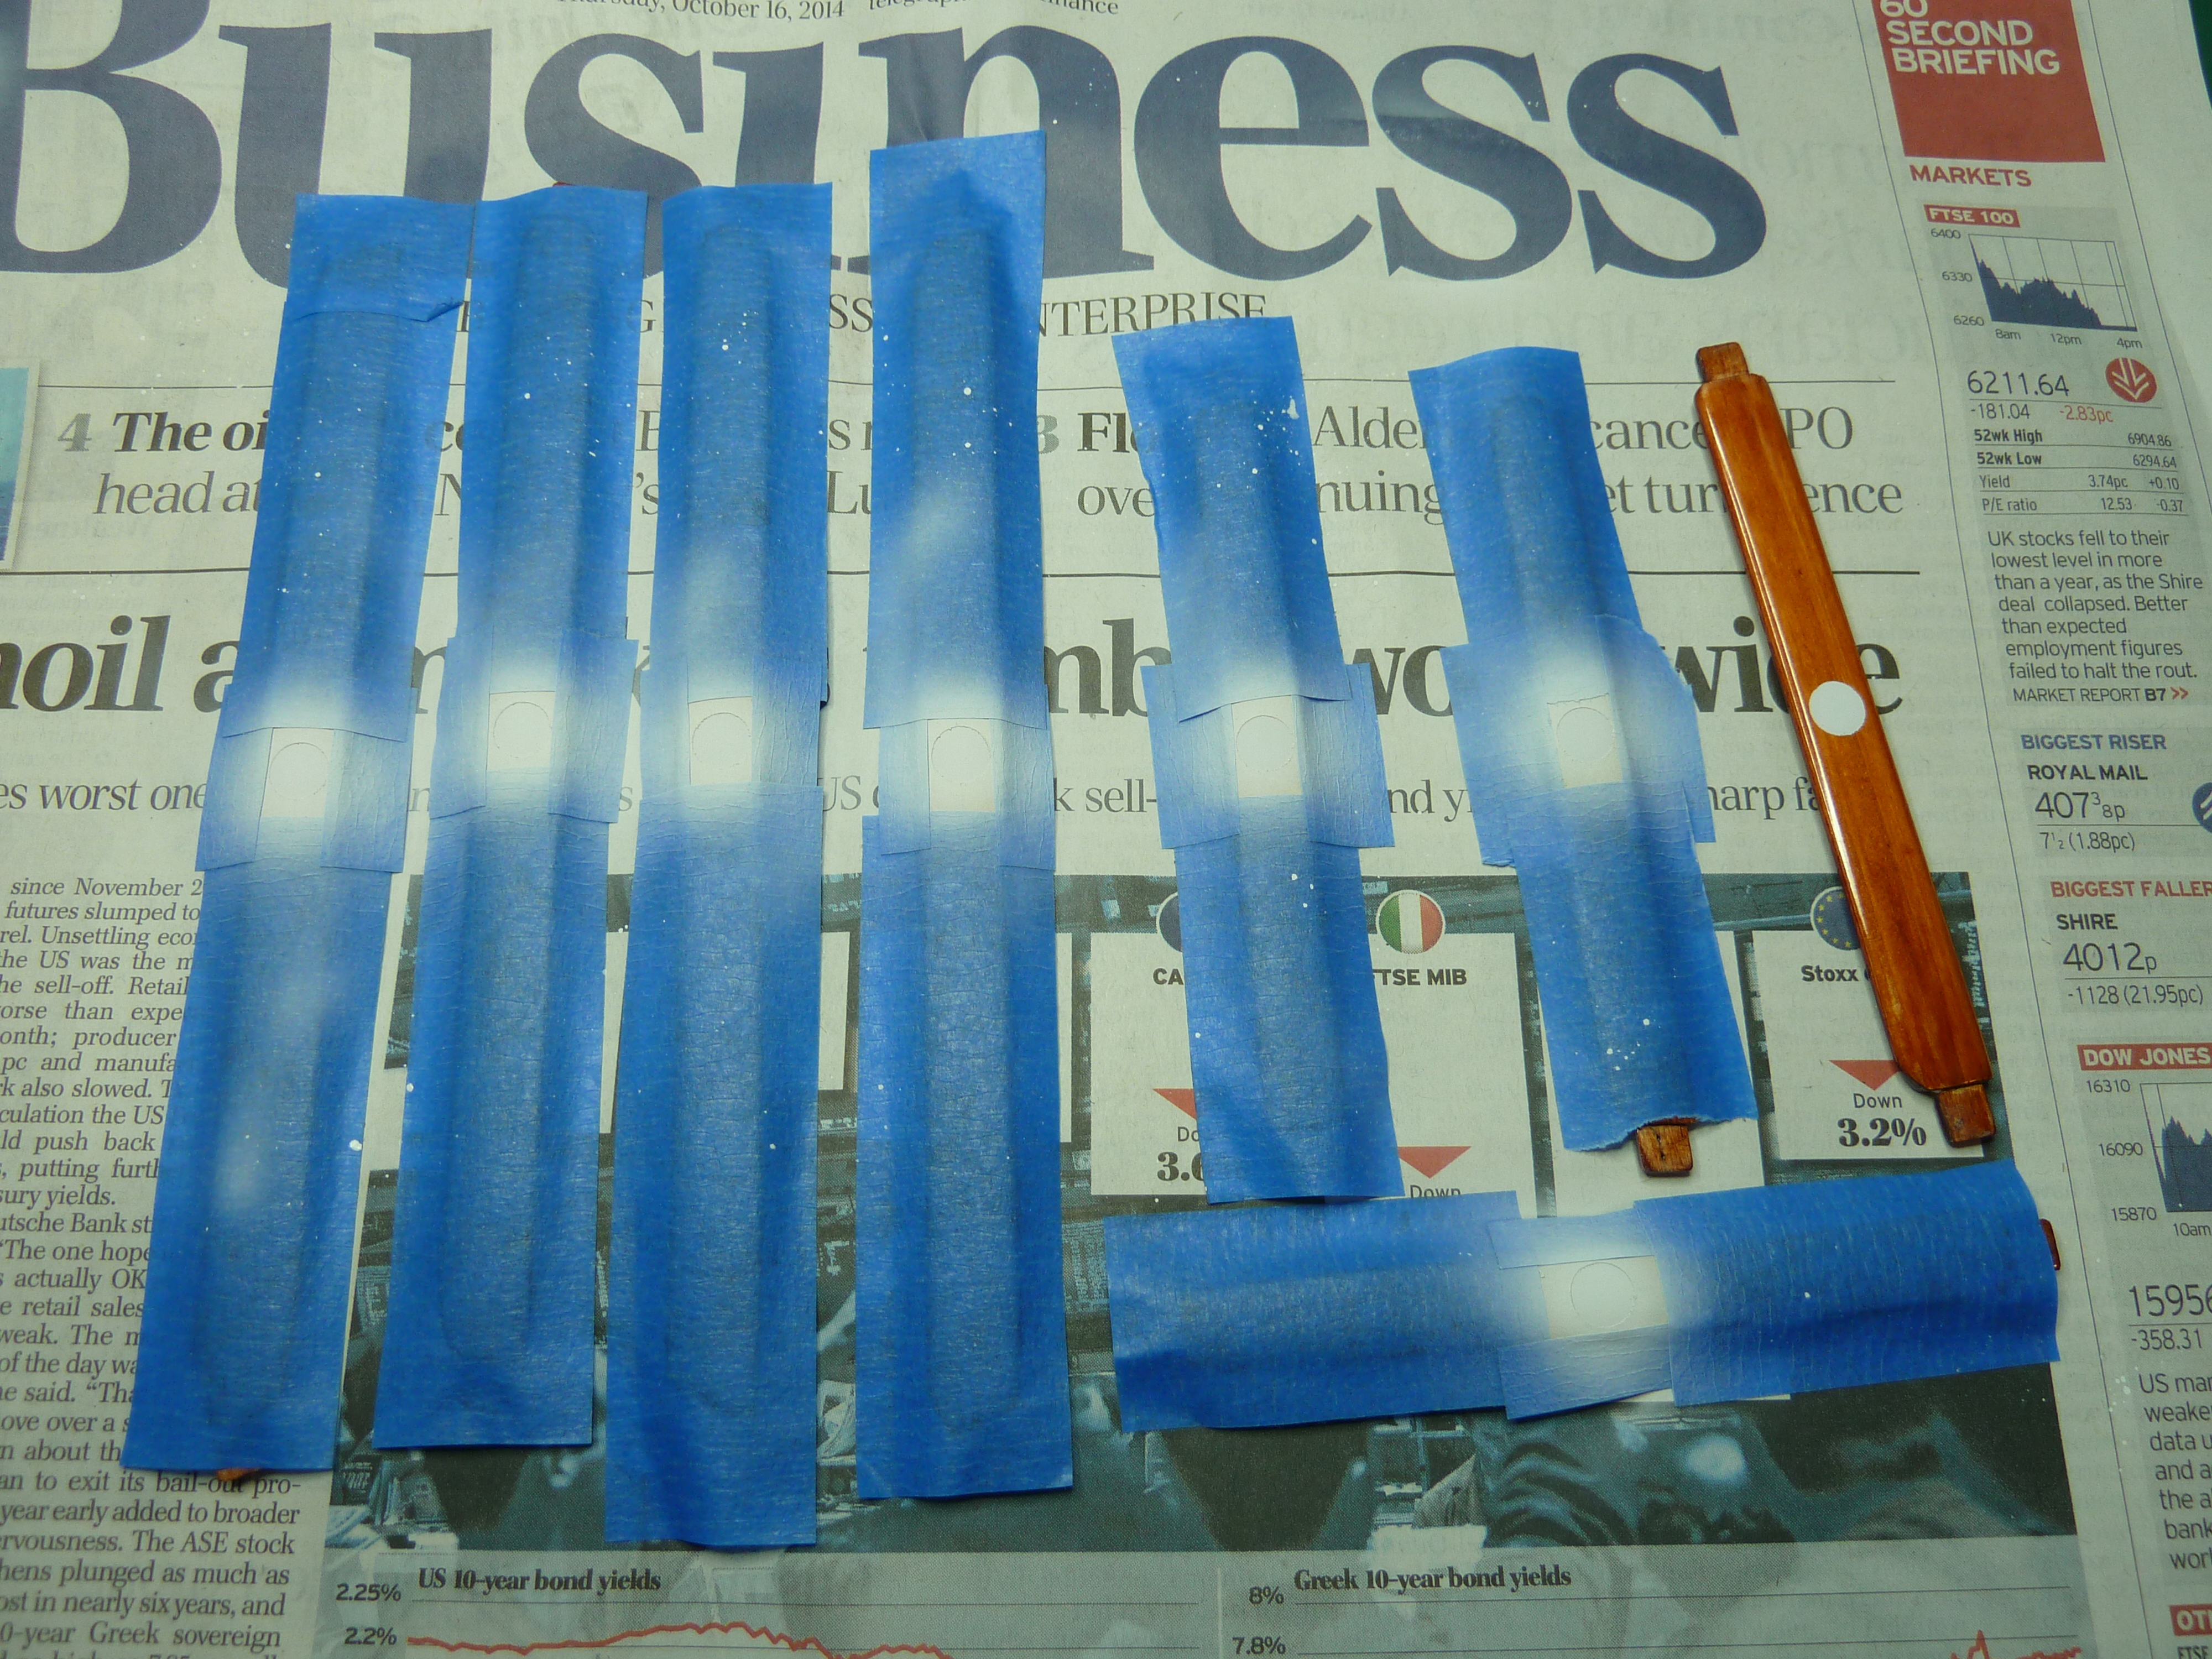
Sooooo, the next step was to paint disks on all the struts. Masks were made by cutting a circle in Tamiya masking tape with a pair of dividers with one needle sharpened for the purpose. The struts were then sanded smooth again, masked and finally sprayed using Tamiya acrylics.
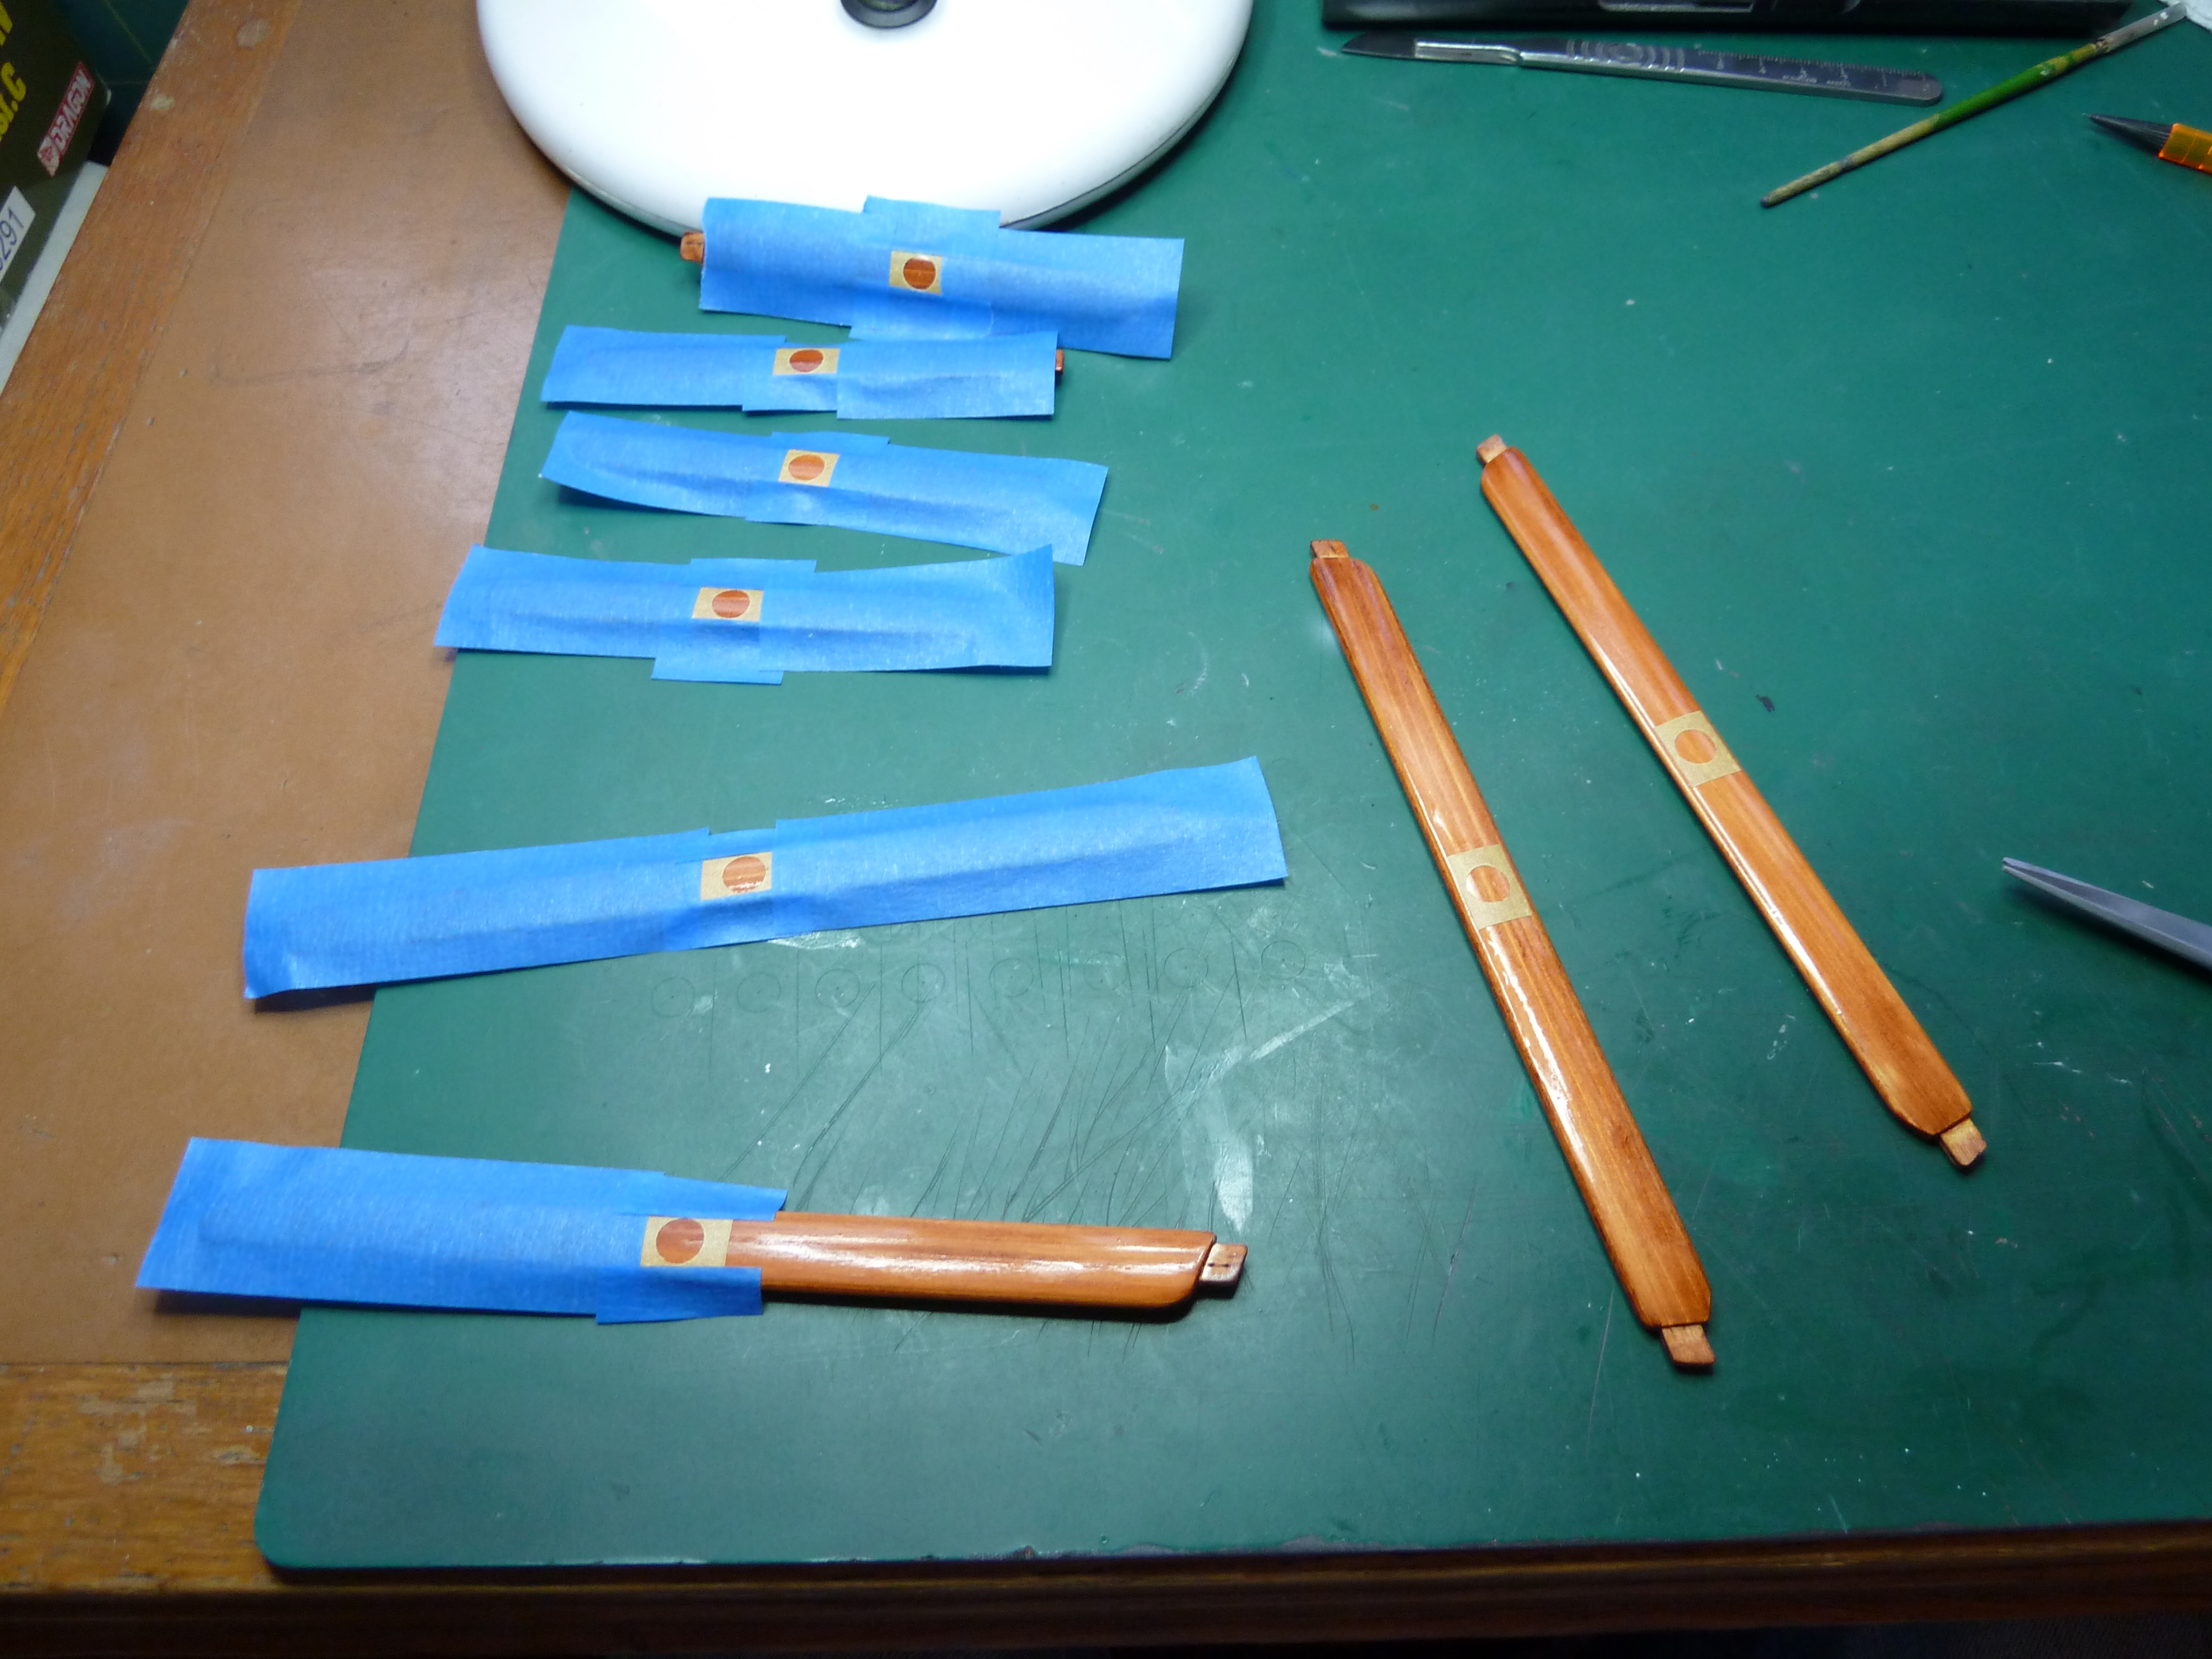
A quick coat of Klear/Future on the painted discs and the homemade decals were applied, taking care to ensure the logos would appear level when the struts were installed on the aircraft.
Once they were completely dry a final coat of yacht varnish was applied to seal everything in and get the desired glossy finish.
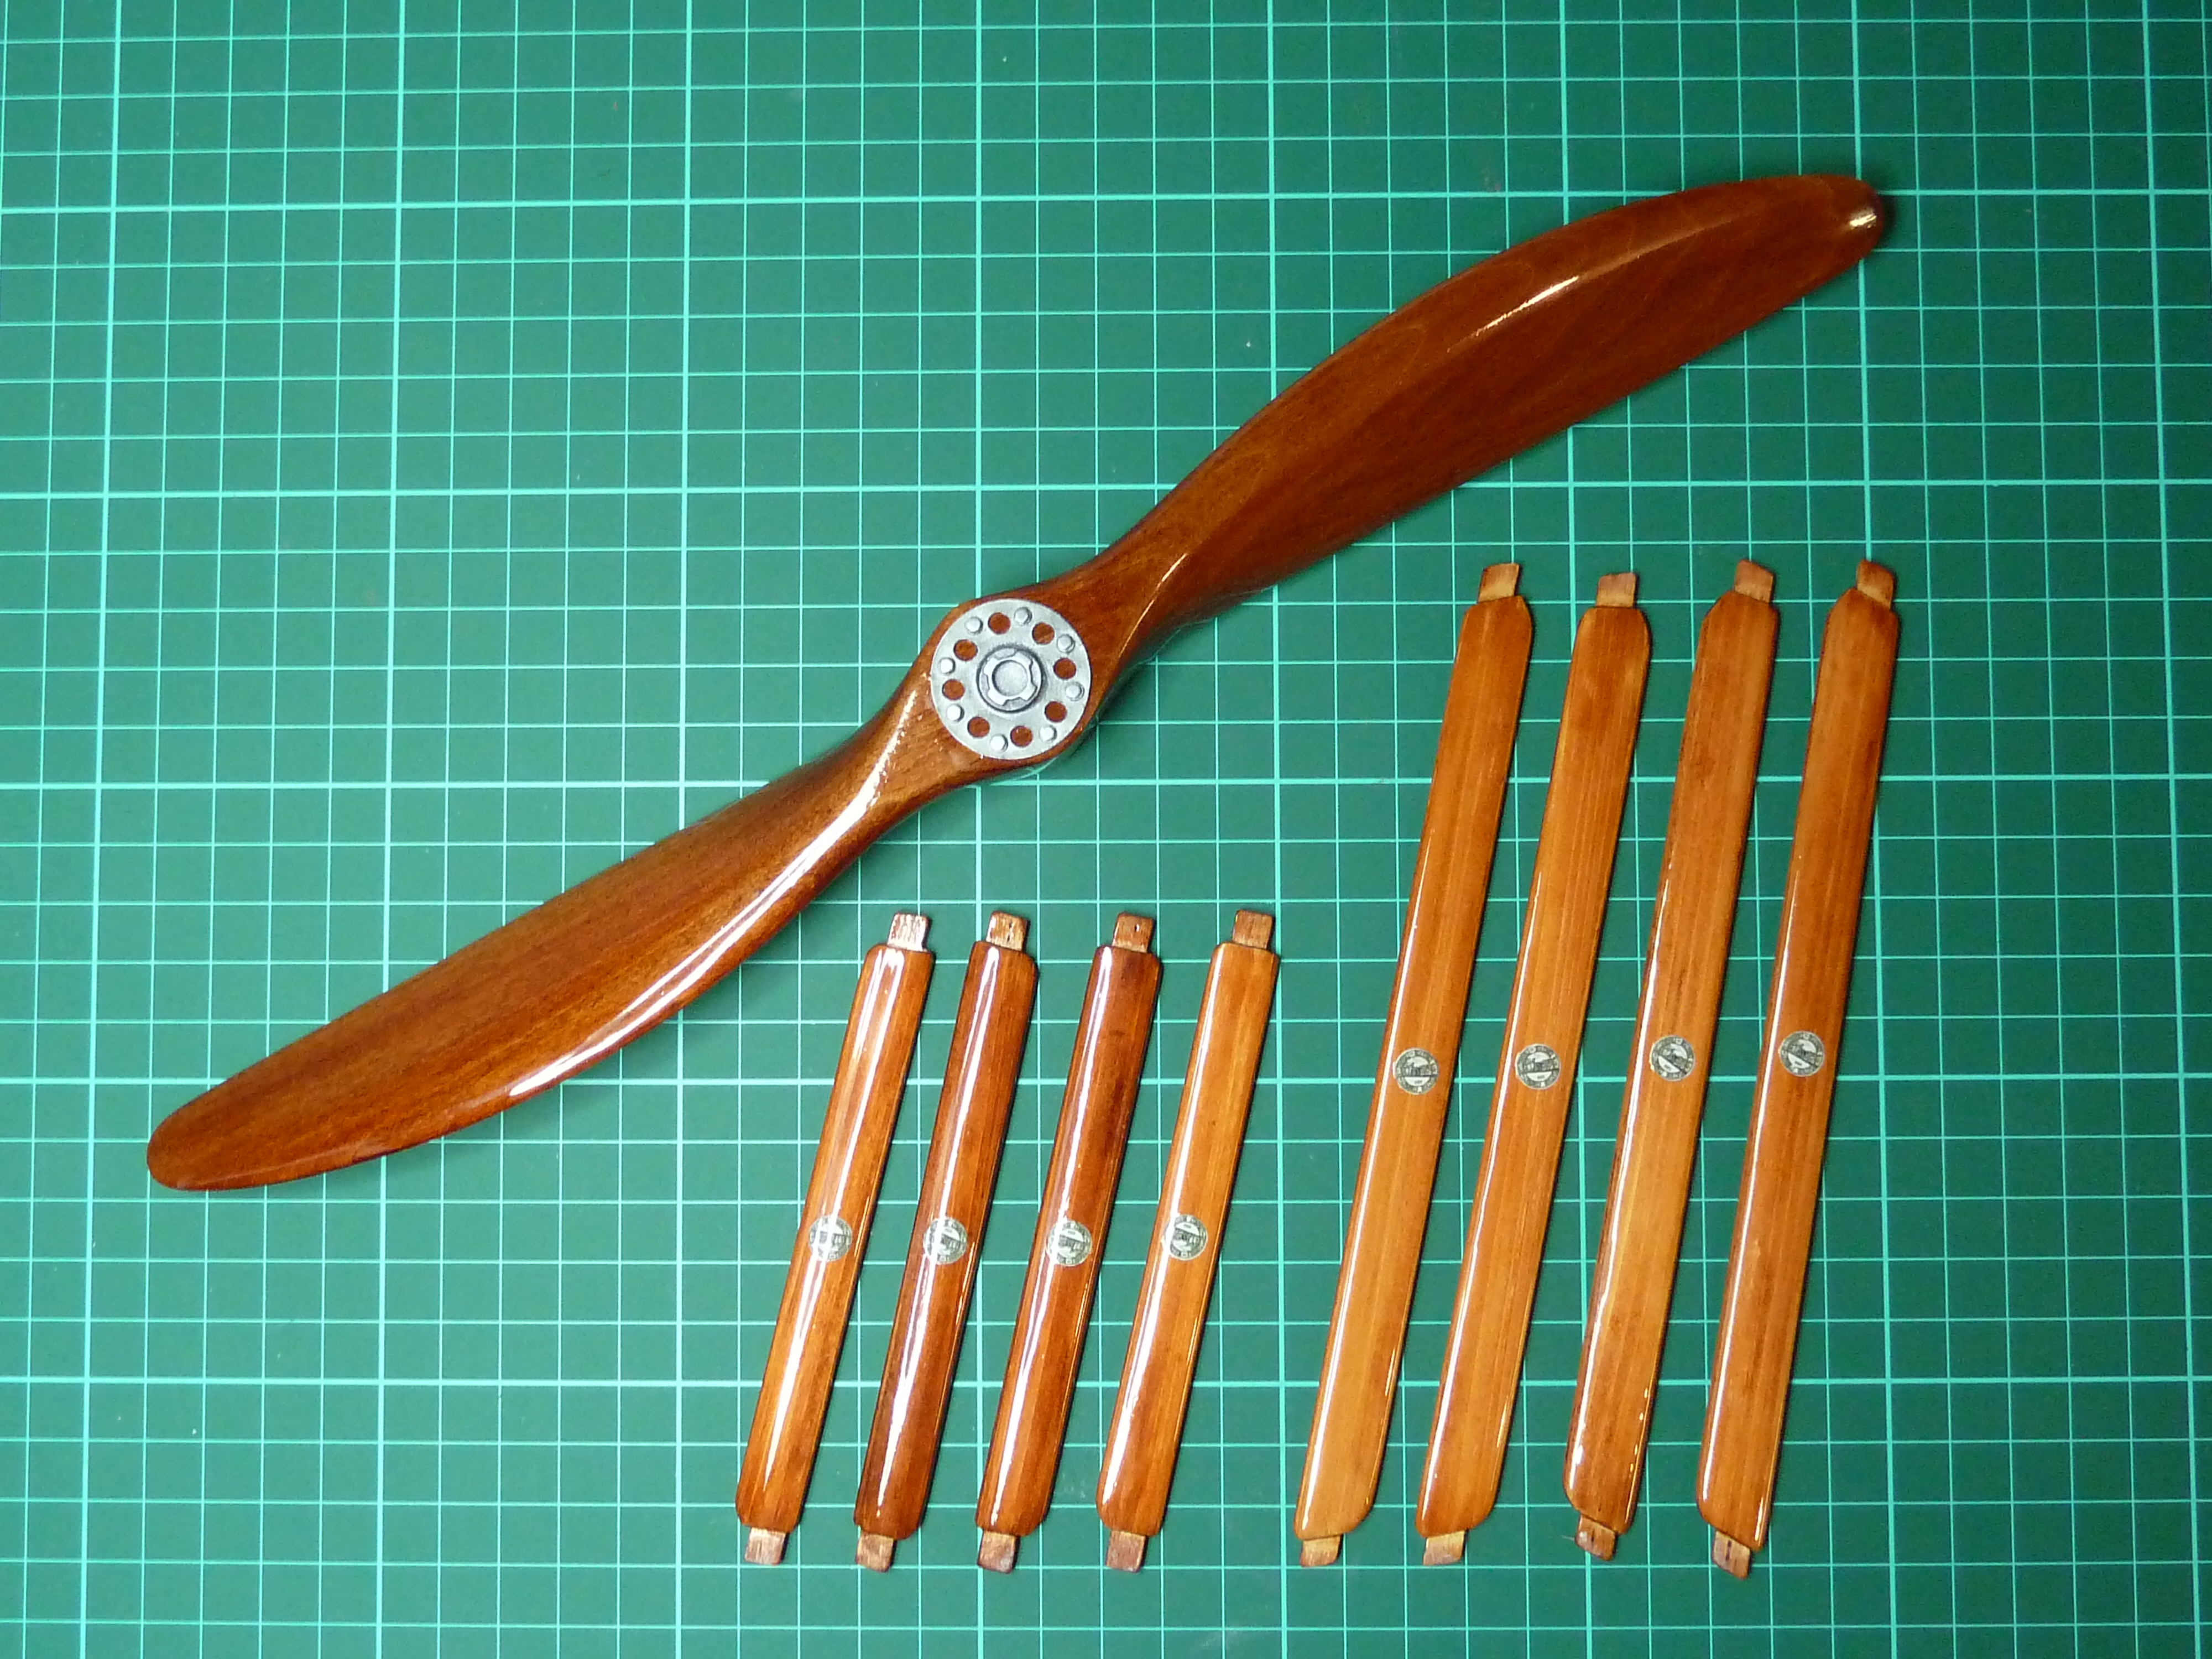
And that completed the prop and wing struts. Next, the fuel tanks, instrument panel or the wheels. I haven’t decided yet.

I am amazed by the work you do.
LikeLiked by 1 person
Thank you. I’d like to be a lot better than I am though. Hopefully I’ll get there with practice.
LikeLike