
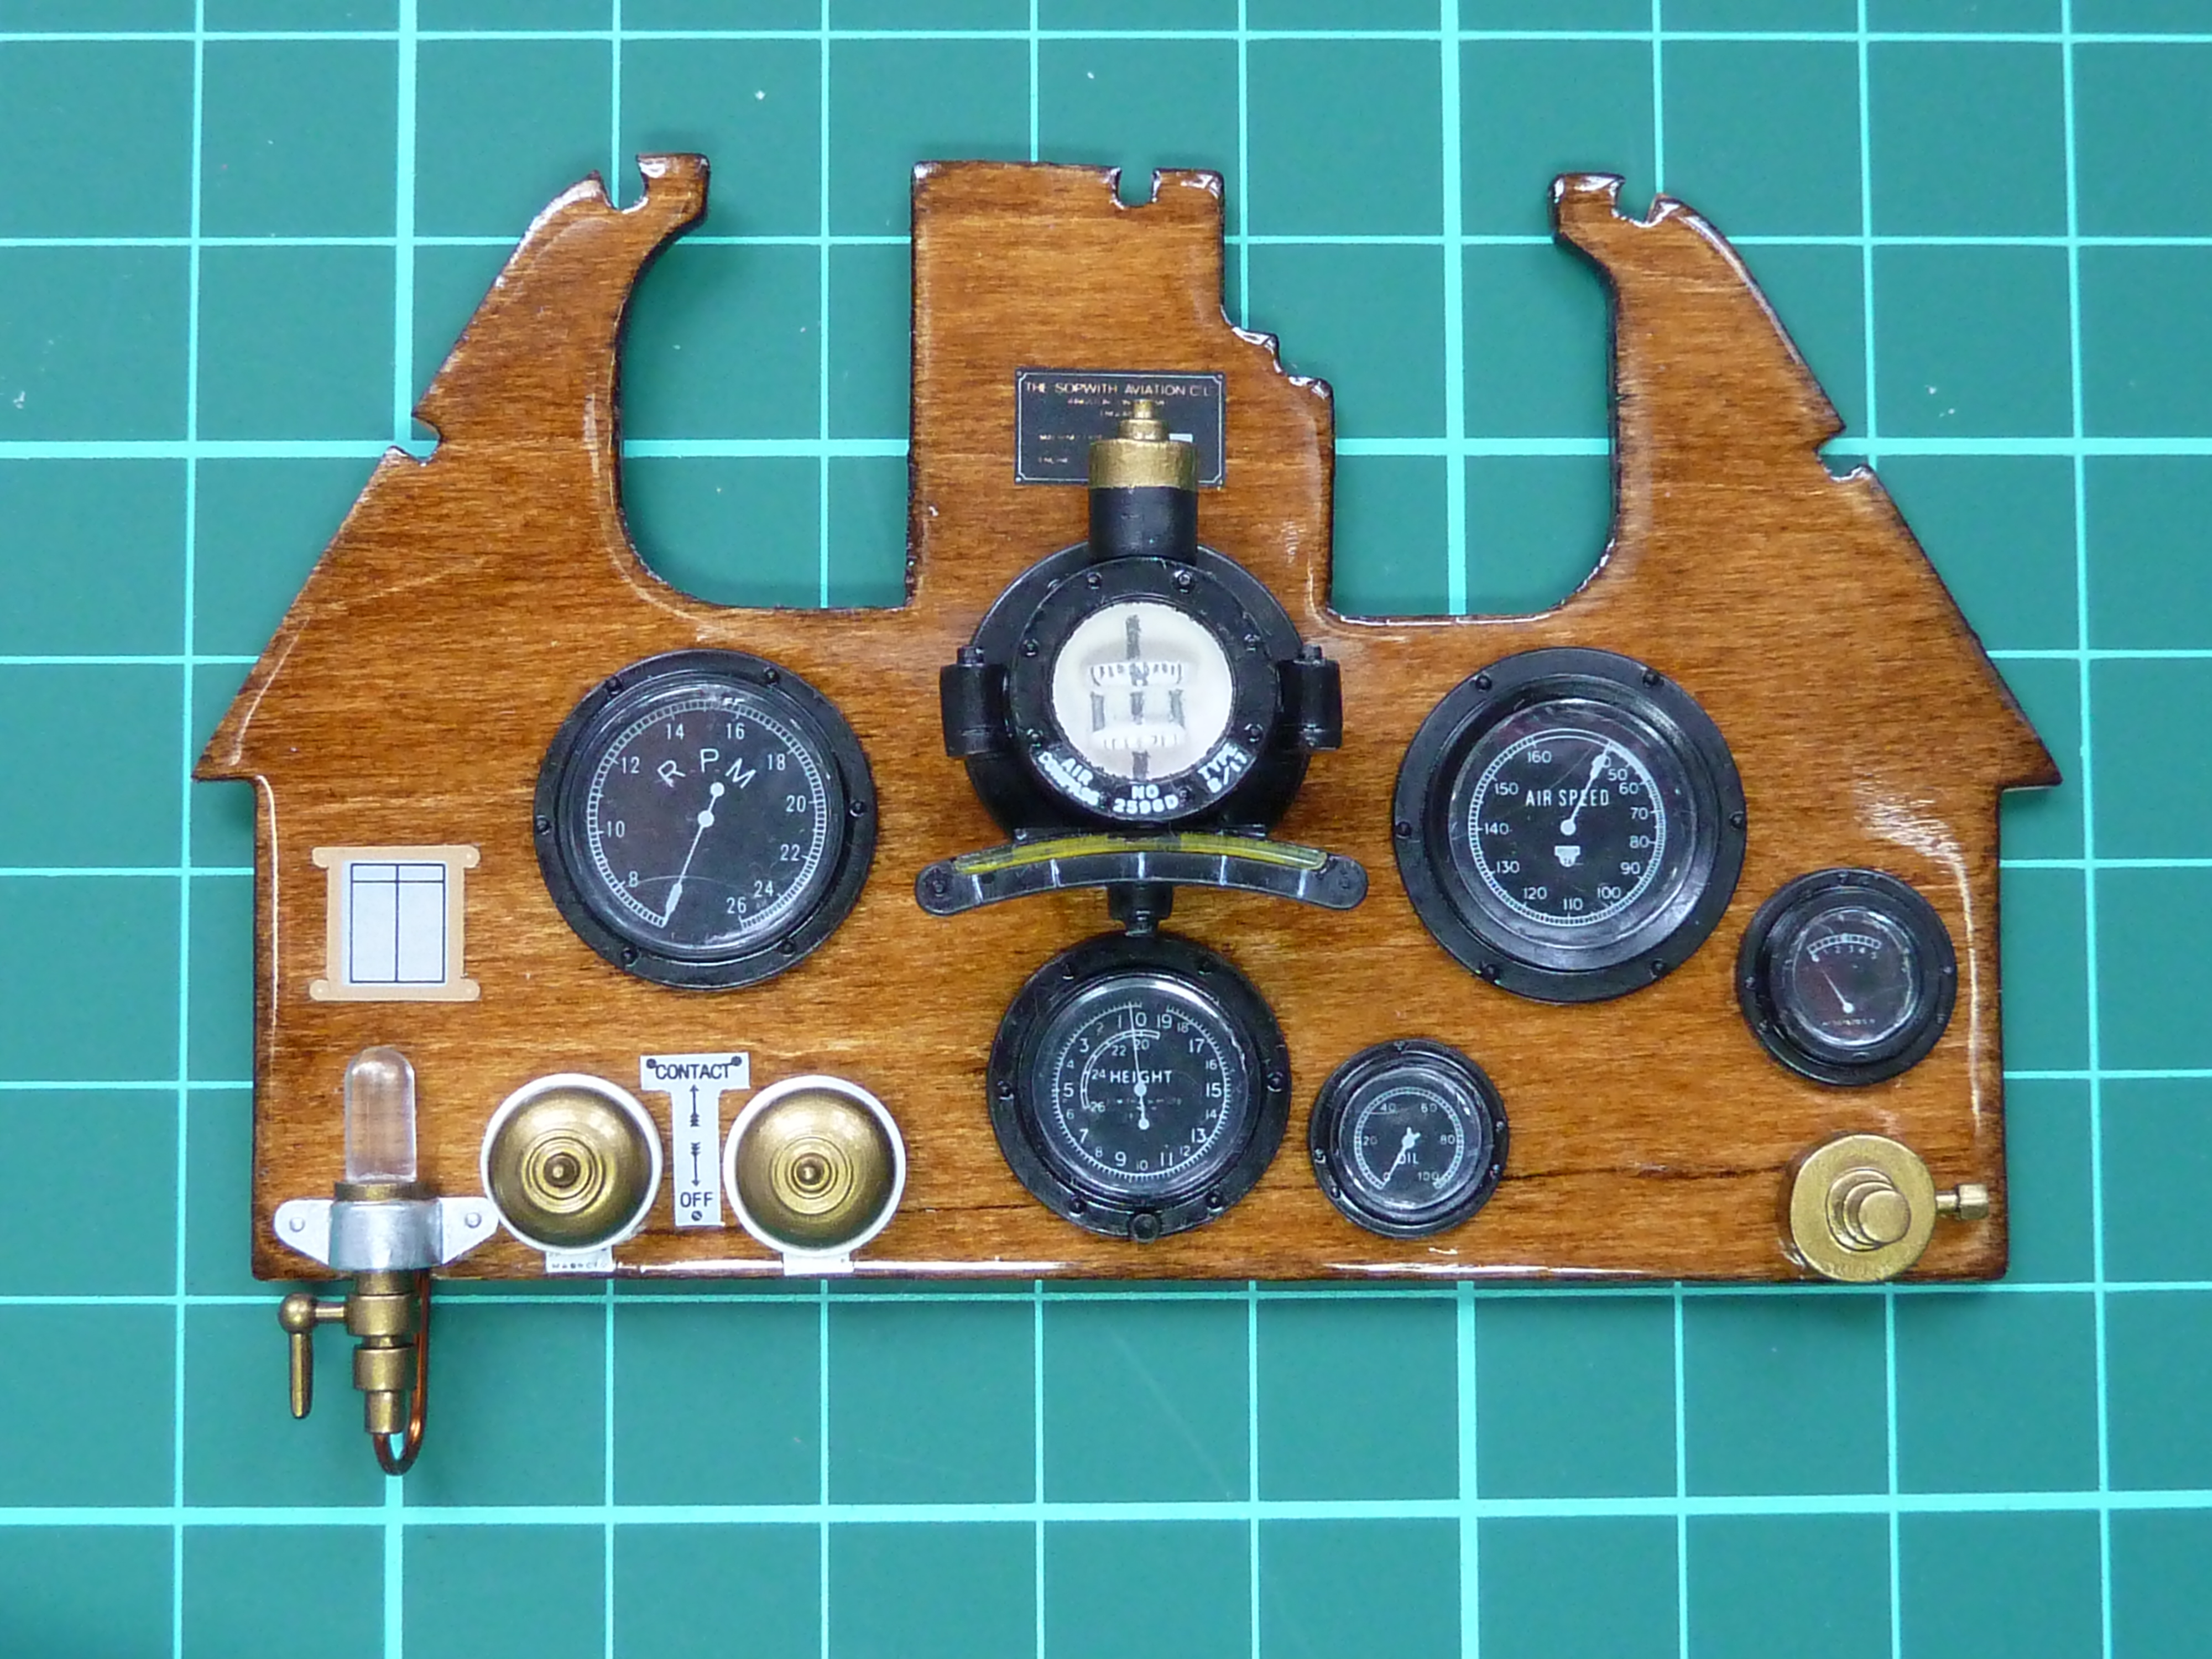
As a bit of light relief, and also to put off the time when I have to embark on the main structure of this camel, I decided to assemble the instrument panel. (You will have noticed by now that any adherence to Hasegawa’s recommended build sequence is purely accidental).
From pictures on the net it would appear that the Camel’s instrumentally panel was either naturally, or stained to be, darker than the spruce used for the main structure. According to an original drawing for the machining of the basic panel it was actually made from bass wood.
In order to achieve a similar effect I started out by staining the die cut panel supplied in the kit with Liberon’s Antique Pine Spirit Dye. Luckily, as with the Georgian Mahogany dye used from the prop and struts, I was able to get a small sample free from a local picture framer who decanted a small amount off for me. Otherwise the £8-£10 required for a 250mL can would be a bit salty.
I’m not sure the finish is that antique piney to be honest, but it was the hue I was after. Once the dye had dried I gave the panel a couple of coats of the old yacht varnish, sanding between coats of course. The result was pretty much what I was after, though it’s glossier than the real thing which was more of a satin finish. I don’t thing I’ll change it though.

One problem that I did find is that the top left part of the panel has warped a little as the varnish dried. You can just see it in the picture above, but I don’t think it’ll be a problem as it bends back easily and I’m sure I’ll be able to persuade it into position when the time comes.
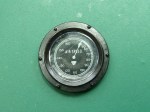
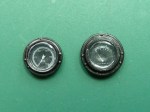
Having stained the basic panel it was on to the instruments. These were hand painted satin black, which was a mistake. I was too lazy to fire up the airbrush for just these but I should have, as the finish on them isn’t great when you look closely.
The dial faces are supplied as stickers which you have to cut out from a sheet, they aren’t pre-cut. They are a bit of a sod really. Cutting them out is OK, but you have to be accurate because there is very little leeway between the edge of the sticker and the size of the recess in the dial. The trouble comes in that as you peel them off the backing they become electrostatically charged (parting the glue strips off electrons I assume). So you are left with a thin, charged sheet of plastic with a very sticky glue on one side. The moment it gets near anything it is attracted to it and sticks. This made positioning the things accurately in the dial recesses very awkward and was another operation that began to test my patience.
Once the dial stickers were in it was then a simple case of fitting the dial faces. The plastic discs supplied are very accurate on size and you could almost get away with just wedging them in place, though I used some special aircraft canopy glue too, just to be sure. The plastic isn’t as clear as I’d like, but I’m not up to cutting thin glass discs that accurately.
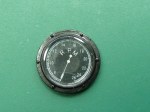

Assembling the compass was a little different to the dials. It comes as a two piece white metal casting which isn’t bad. There is some internal detail included but no decals (or stickers) for the markings. I opted to paint it white, with reference to pics from the net, and then hand draw some markings on with a sharp pencil to give the impression of at least something happening in there. The markings should actually be white on black, but obviously with a pencil you get the inverse. It doesn’t look too bad though.

The last bit of detailing was to add the spirit level indicator below the dial face. Hasegawa tell you to just paint this yellow, but I decided to take some clear sprue, melt it in a flame and then stretch it and bend it until I had a facsimile of the real thing. A quick coat of yellow on the back side, with a gap scratched in to simulate the bubble and the job was done. Unfortunately when I glued it in place with CA glue it changed the optical effect and so installed, it doesn’t look nearly as good as it did. Ho hum… It did look really good, honest.
The other parts of the panel were straightforward paint and fit. The only addition was to drill out and add a feed tube, made from copper wire, to the pulsometer on the bottom left of the panel.


The remaining instrument panels stickers were cut out and stuck to the panel face and the assembled instruments fixed in place with CA glue.
The final result’s OK, but lacks the full ‘wow’ factor I was after. It’ll probably grow on me with time…
The next job will be to finish off the fuel tanks.

Stunning! You have the patience of a saint.
LikeLiked by 1 person
I will now refrain from commenting more…
LikeLike