
When I received the Sopwith model the main fuel tank was one of the components the previous chap had already assembled and painted. Unfortunately the brush painted finish wasn’t the best, so I decided to remove it and redo the whole thing.
I don’t know what sort of paint he’d used but it proved to be impervious to most solvents and even oven cleaner. I confidently put it in a bath of the stuff and half an hour later it had not made the slightest impact. In the end I found that alcohol was as good as anything. It lifted the paint at exposed edges even if it didn’t actually dissolve it at all and it didn’t damage the plastic in any way. It meant that it was a slow job to remove the stuff though. You can see what I mean below.
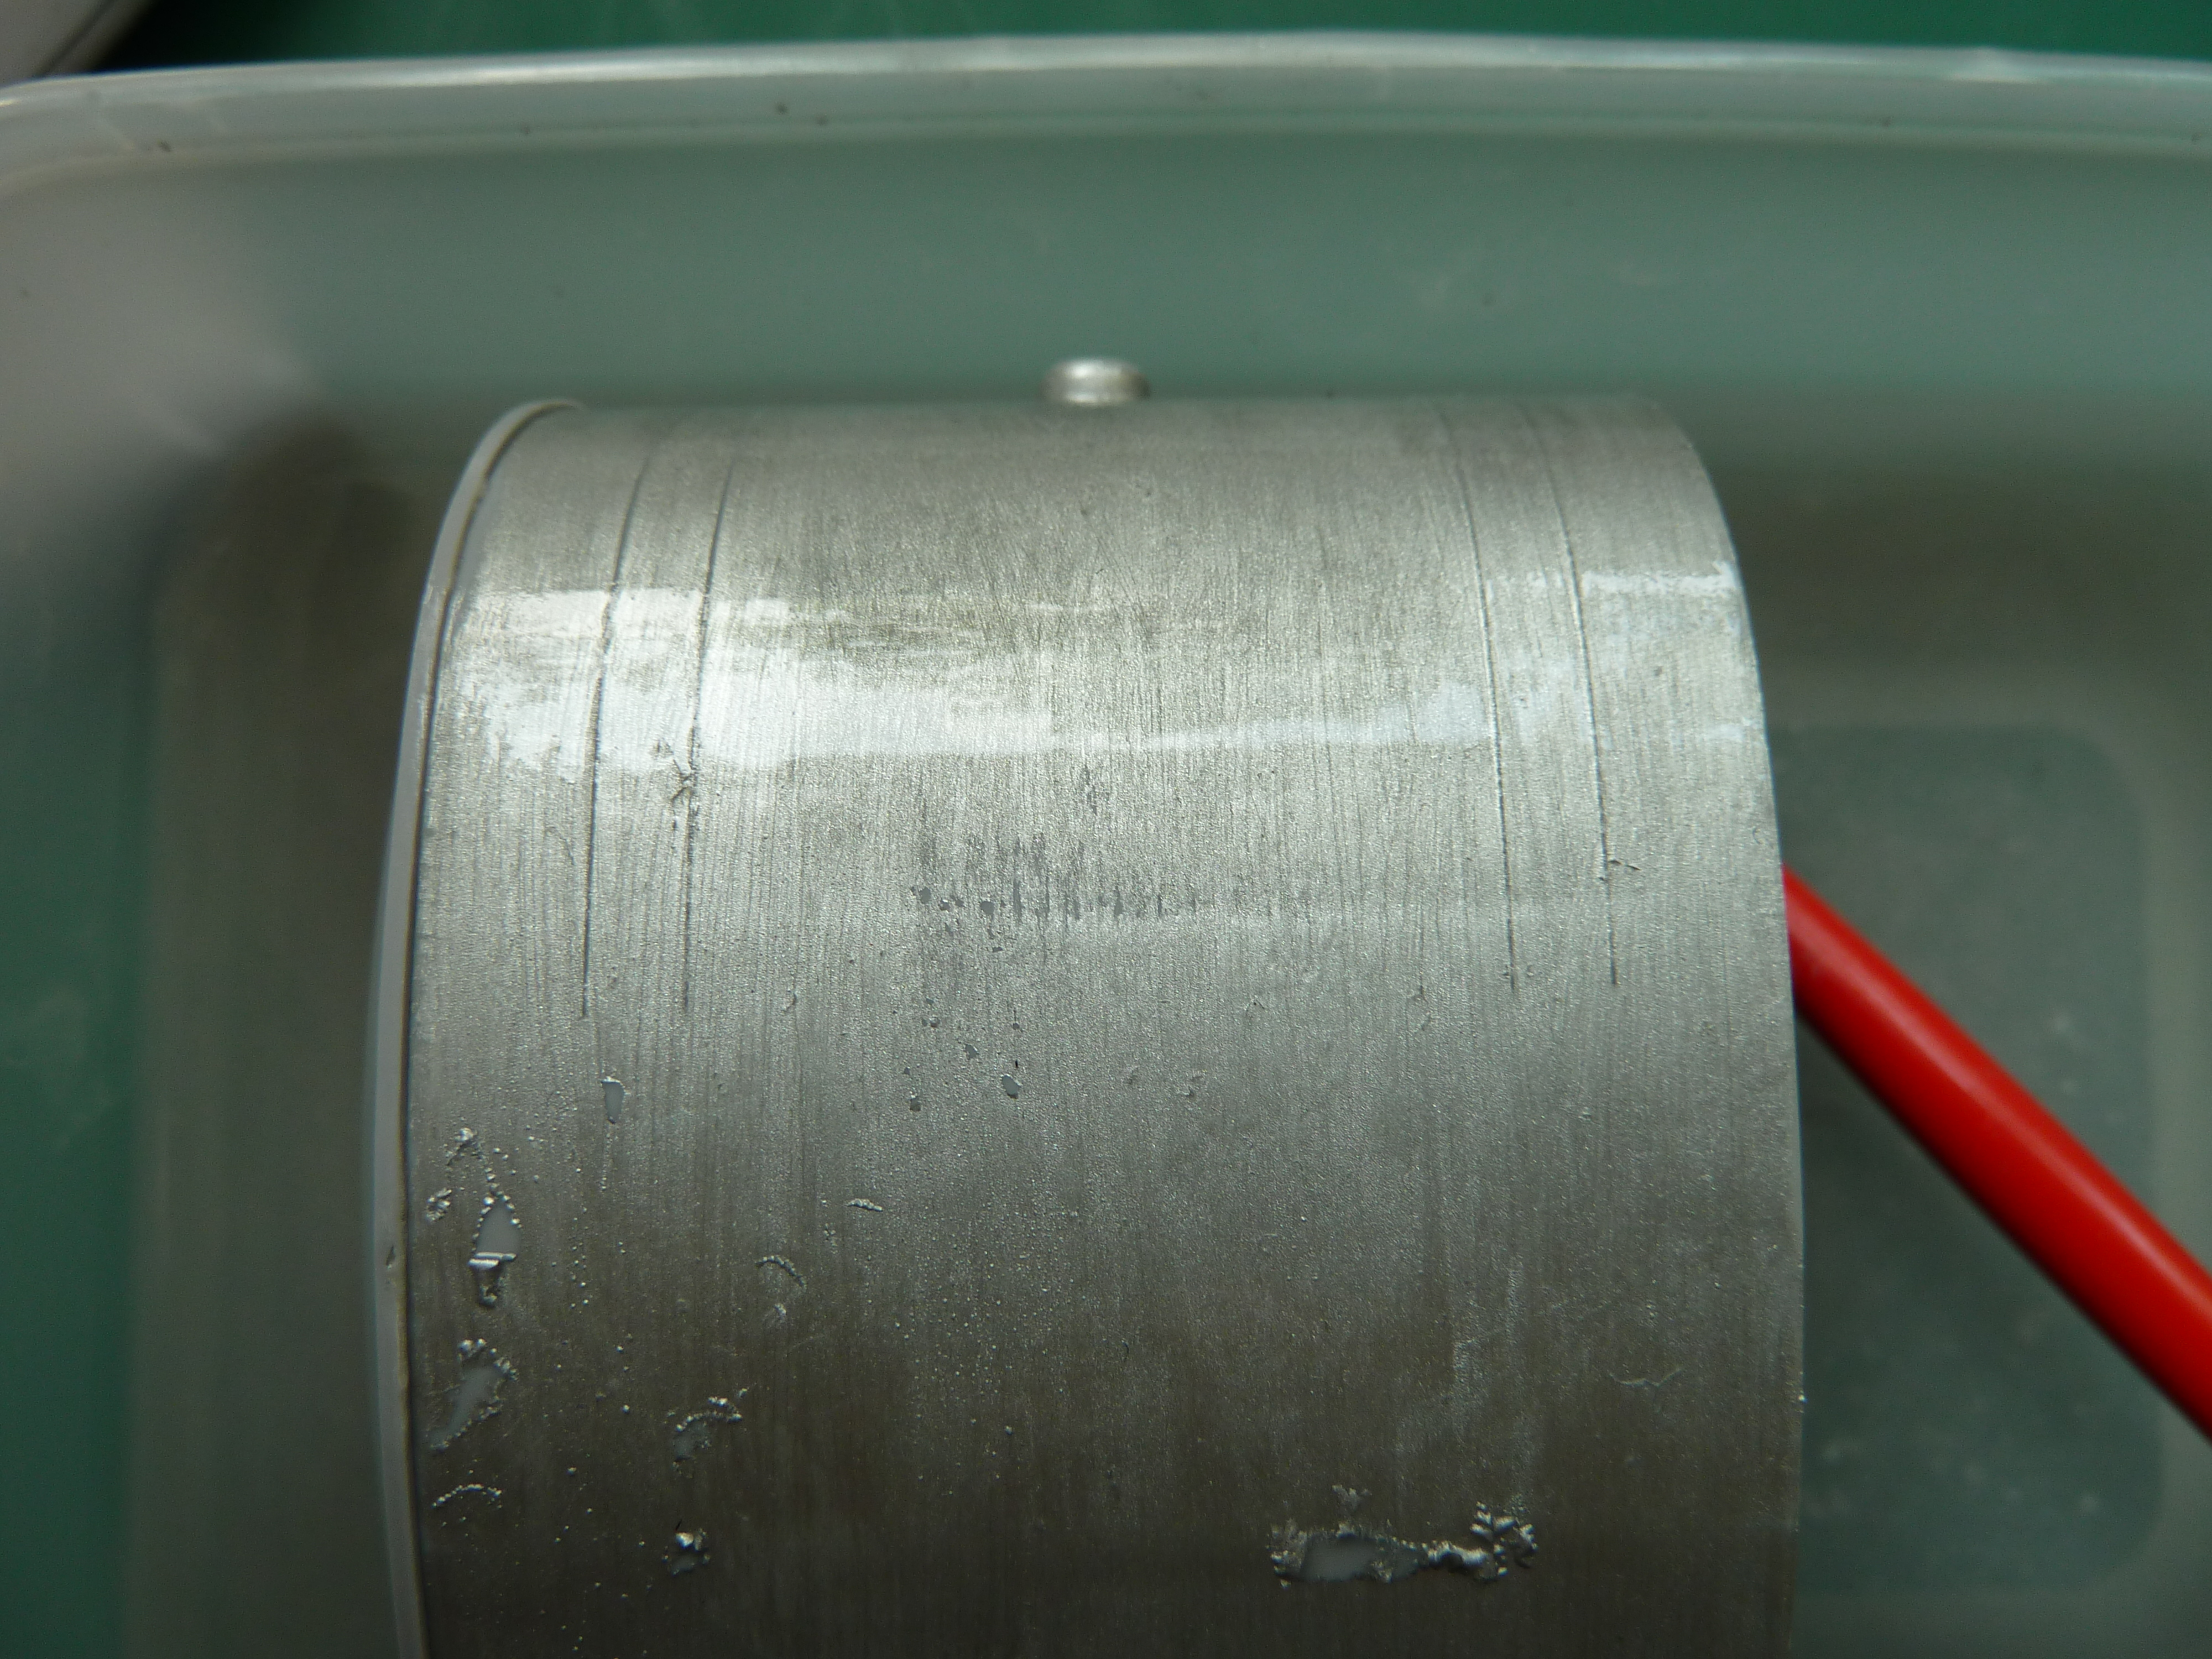
The oven cleaner did have one effect though. It denatured the glue that had been used to assemble the tank resulting in it all coming apart as I cleaned it. So, once the paint was all off, I had to clean all the joints up and reassemble the thing too.
The other reserve fuel tank and oil tank hadn’t been touched so I was able to put those together fresh.

The reserve tank did have some rather prominent ejector pin marks on the base of it which needed filling and sanding before painting. Eventually all three tanks were ready for spraying with primer and then Vallejo’s Model Air ‘Steel’. I actually sprayed them at the same time as the engine crankcase hence them all being in the same photograph.

After painting I sealed the surface with an acrylic varnish as I find the Model Air paint finish can be delicate. Then it was simply a case of spraying the white metal tank caps in Model Air ‘Brass’, super gluing them in place and applying a light wash and some drip marks to add interest.
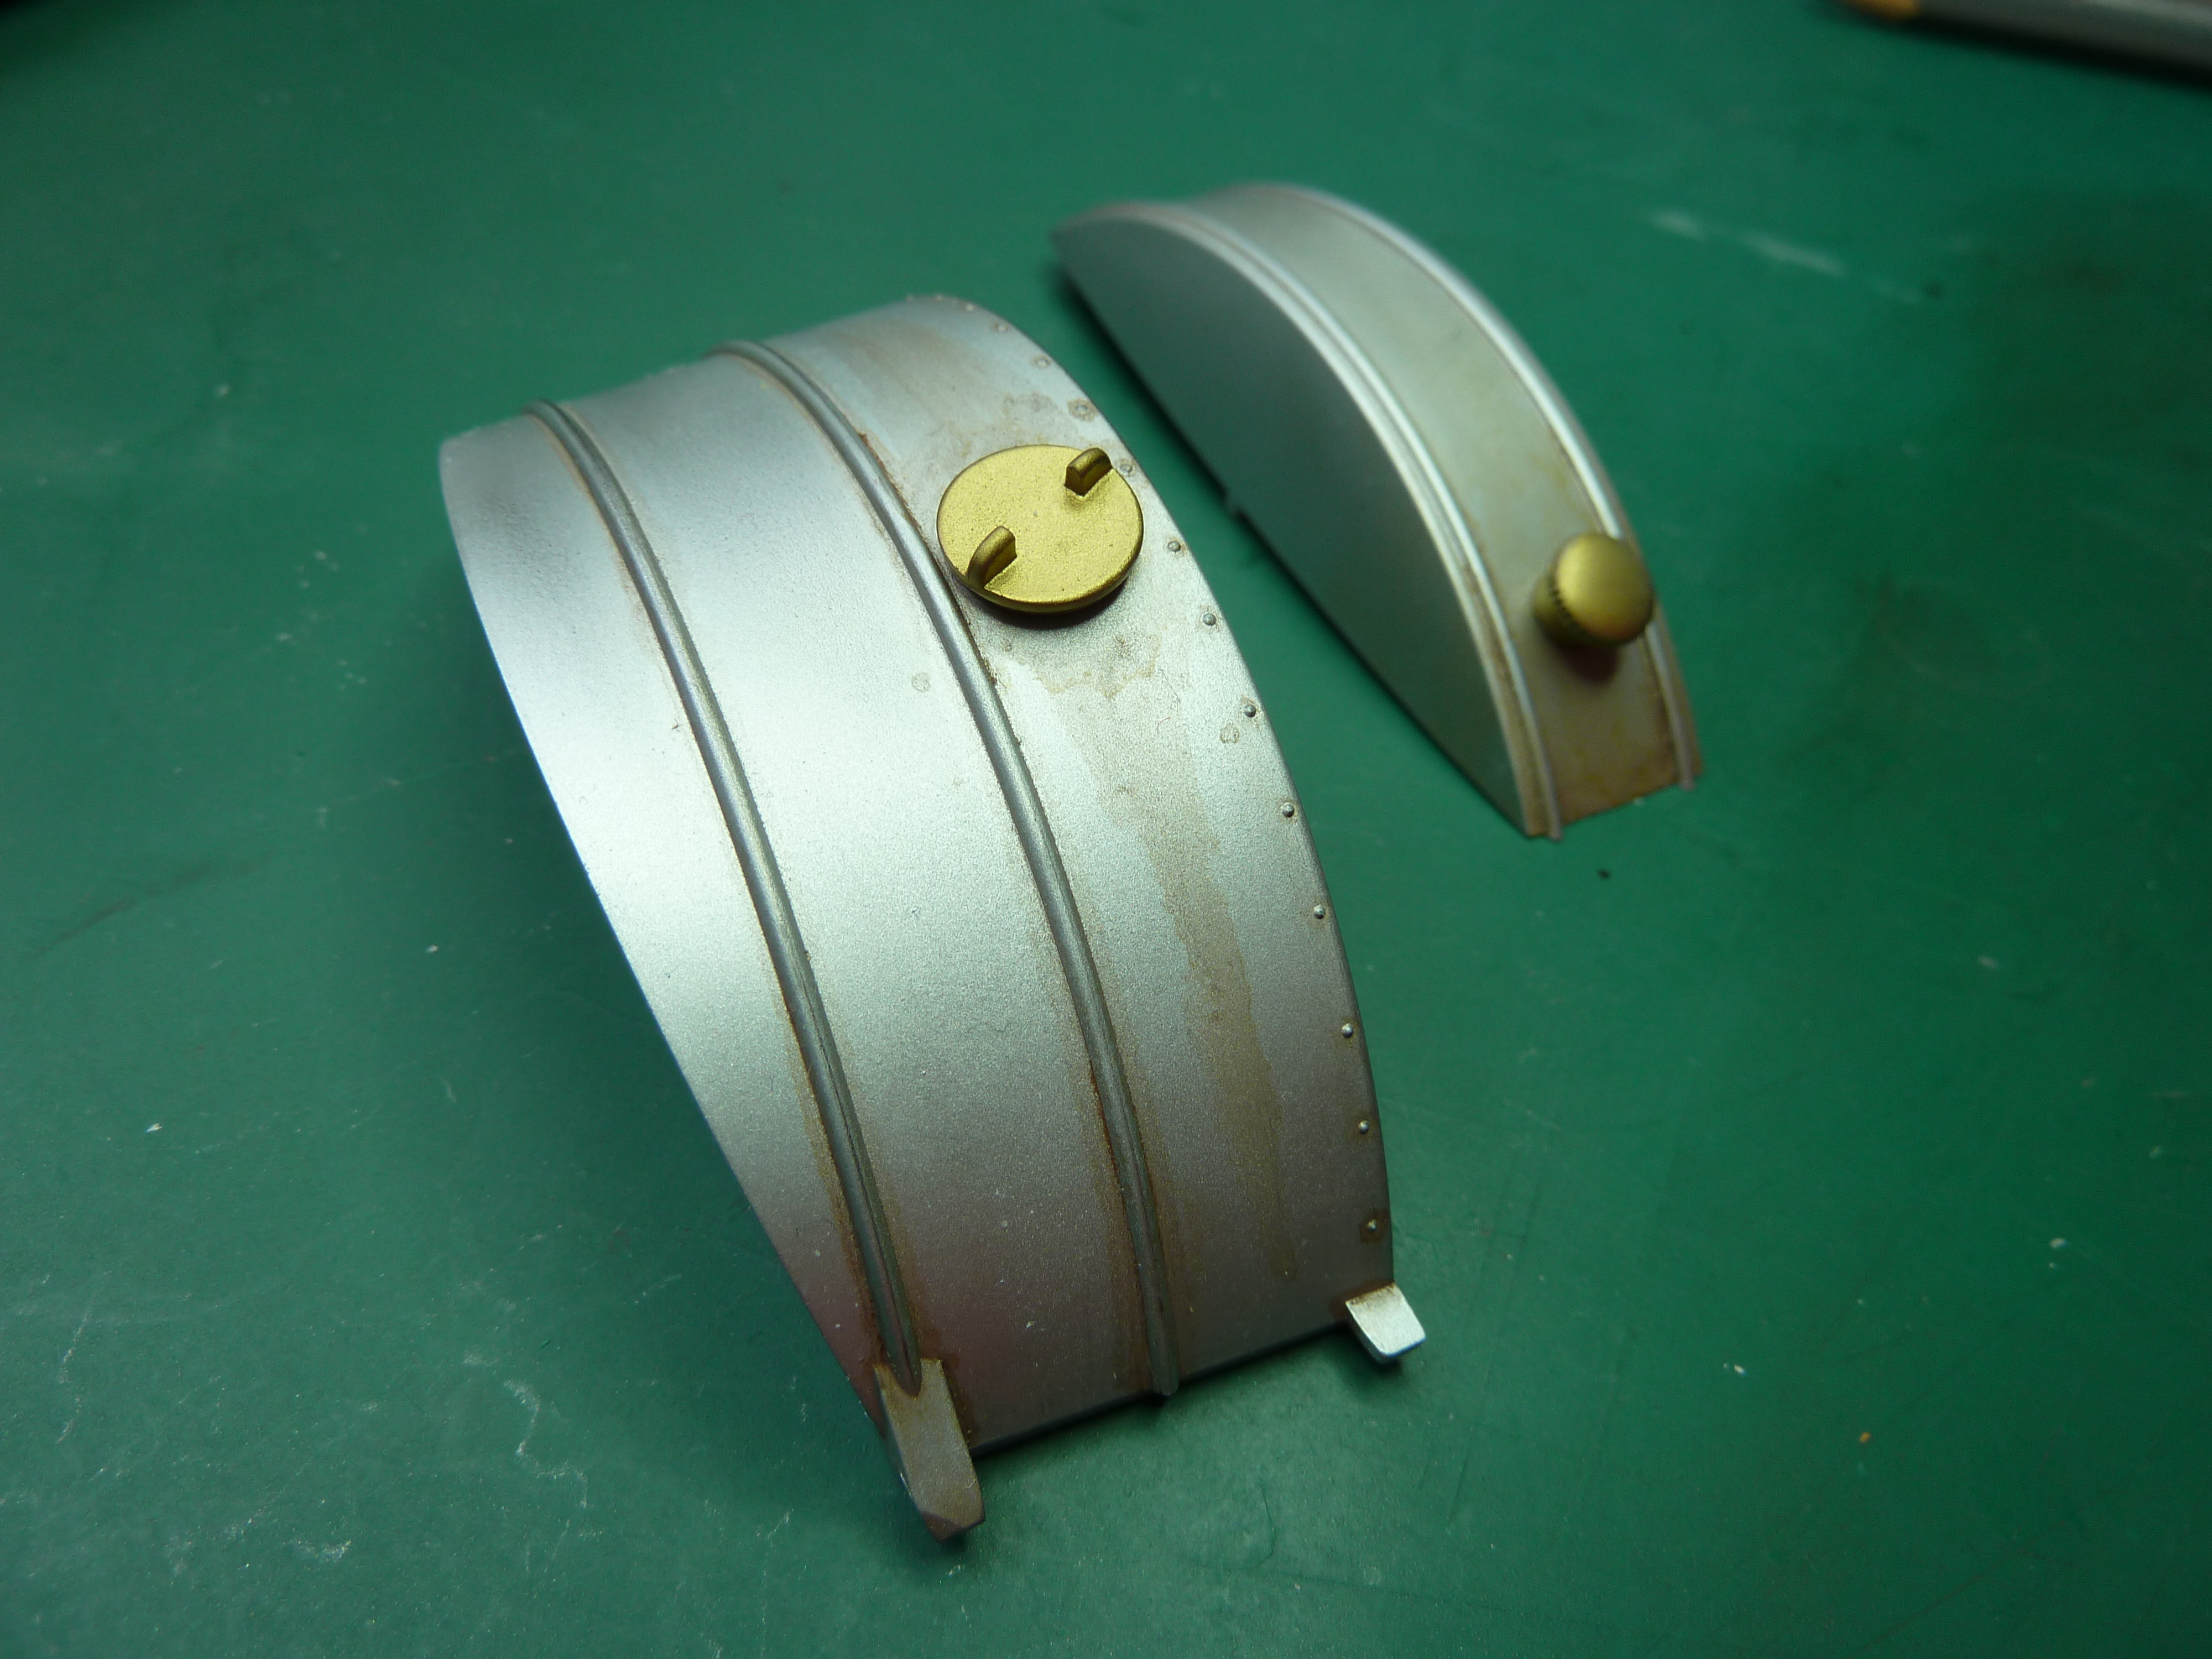
That would have been that, but I happened across a photograph in the Windsock Datafile on the Sopwith Camel which showed a Camel with an exposed fuel tank on the side of which were stencilled some code numbers. They enlivened the otherwise fairly blank tank, so I thought I’d add them to mine. I’ve no idea what they mean or even if they were unique to that aircraft to be honest.
A quick session on Photoshop and a series of decals were made up with varying levels of fuzziness to give the impression of having been sprayed. Once printed I’d choose the best.

I actually chose the fuzziest which is missing in the photo above, because I used it before I thought to take a picture.
A few minutes to add the decal to the tank and another quick coat of acrylic varnish to seal it in and the job was done.


I’m not sure what’ll be the next step. I may get going on the wings as they need quite a bit of upgrading as the kit falls short in a number of areas.
